
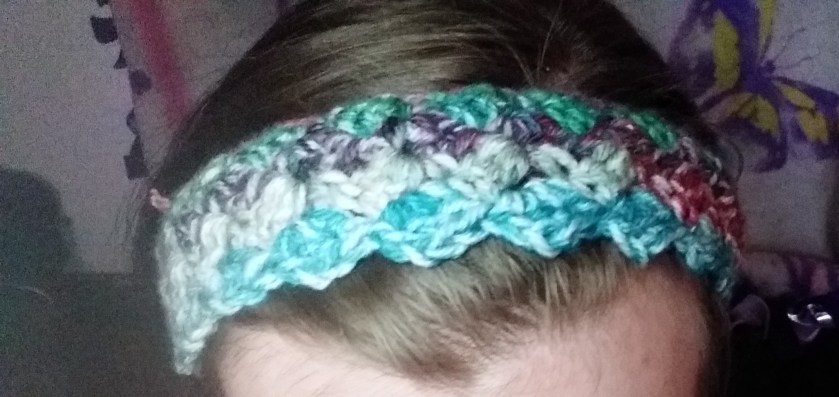
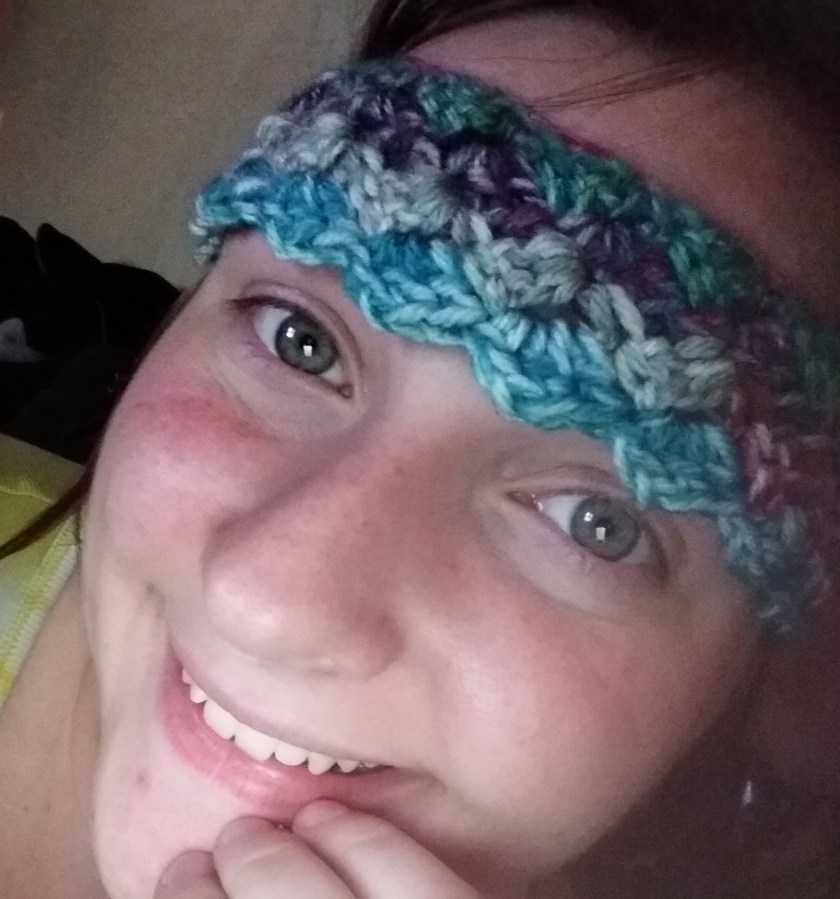
So, there was a tie on my Facebook page on whether I should make the Rose or the Headband, but since the headband has been in the last few polls, I figured I would show you how to make one.
Now, I haven’t mastered this pattern completely, but it is a very fun pattern to make! Especially, if you are a beginner. The Rose actually goes with this headband, so I figure we can make the headband and I then can show you how to make the rose and show you how to put it on, as well.
As always, let’s talk about the supplies you will need:
- Medium Yarn (Color of your choice)
- I decided to used the ‘I Love This Yarn’ multi-color yarn to show you guys what it should look like.
- 5.0 mm Crochet Hook
- And of course, a sewing needle!
So let’s get started!
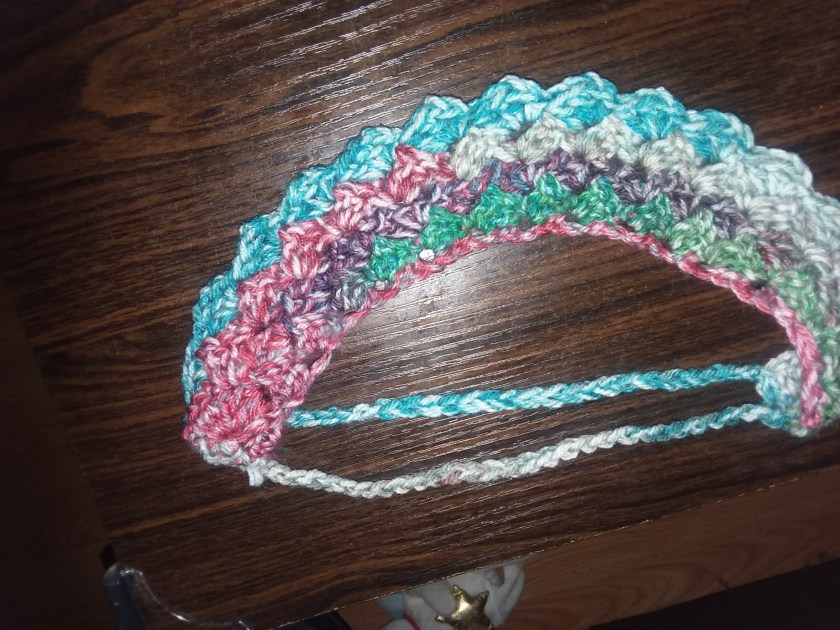
Step 1: Chain 44. Now, found it easier to count out loud, while making the chains, just so I don’t lose track of how many chains I made.
Step 2: Make 2 double crochet’s in the 3rd chain from the hook(NOT counting the chain that the hook is on!). *Skip 2 chains, single crochet in the next chain. Chain 2. Make 2 double crochets in that same stitch.* Repeat until you reach the other end, then make a single crochet in that last chain.
Note: The * represent where you start and end. Basically, you are repeating the same step until you reach the end. I will be putting in * to help you know what you need to do! A lot of crochet books use them and they are very helpful! If you are stuck or need help, let me know down in the comments!
Step 3: Chain 2 and turn your work. Make 2 double crochets in the next available stitch. *Single crochet in the chain-2 part of the work. Chain 2. Make 2 double crochets in that same space.* Repeat until you reach to the other side and then single crochet the top of the last row.
Step 4: Repeat Step 3. Twice. You should have 4 rows altogether.
Step 5: Chain 30. Then slip stitch to the opposite side of your project. Slip stitch across that small side and then chain 30. Slip stitch to the other side and slip stitch across that side. Once you are done, cut your yarn and pull your crochet hook up and pull that end piece of yarn tight.
Step 6: Sew in any yarn that is hanging around and then you are done!
Note: If your headband does not fit, you can always 4 chains add or decrease 4 chains, to fit your size head. If you are looking for it to fit a baby or child’s head, this might not be the project for that, but you can try and make it work!
For Example: If the headband was too small, I would chain 48. If the headband was too big, I would chain 40.
If you have any questions, feel free to ask me! I’ll try my best to help you out!
Also, don’t forget to check out my Facebook page, I have a poll up every week on what project I should do next! Since Halloween is just around the corner, be prepared to be Spooked!
https://www.facebook.com/katiesblog96971617/
