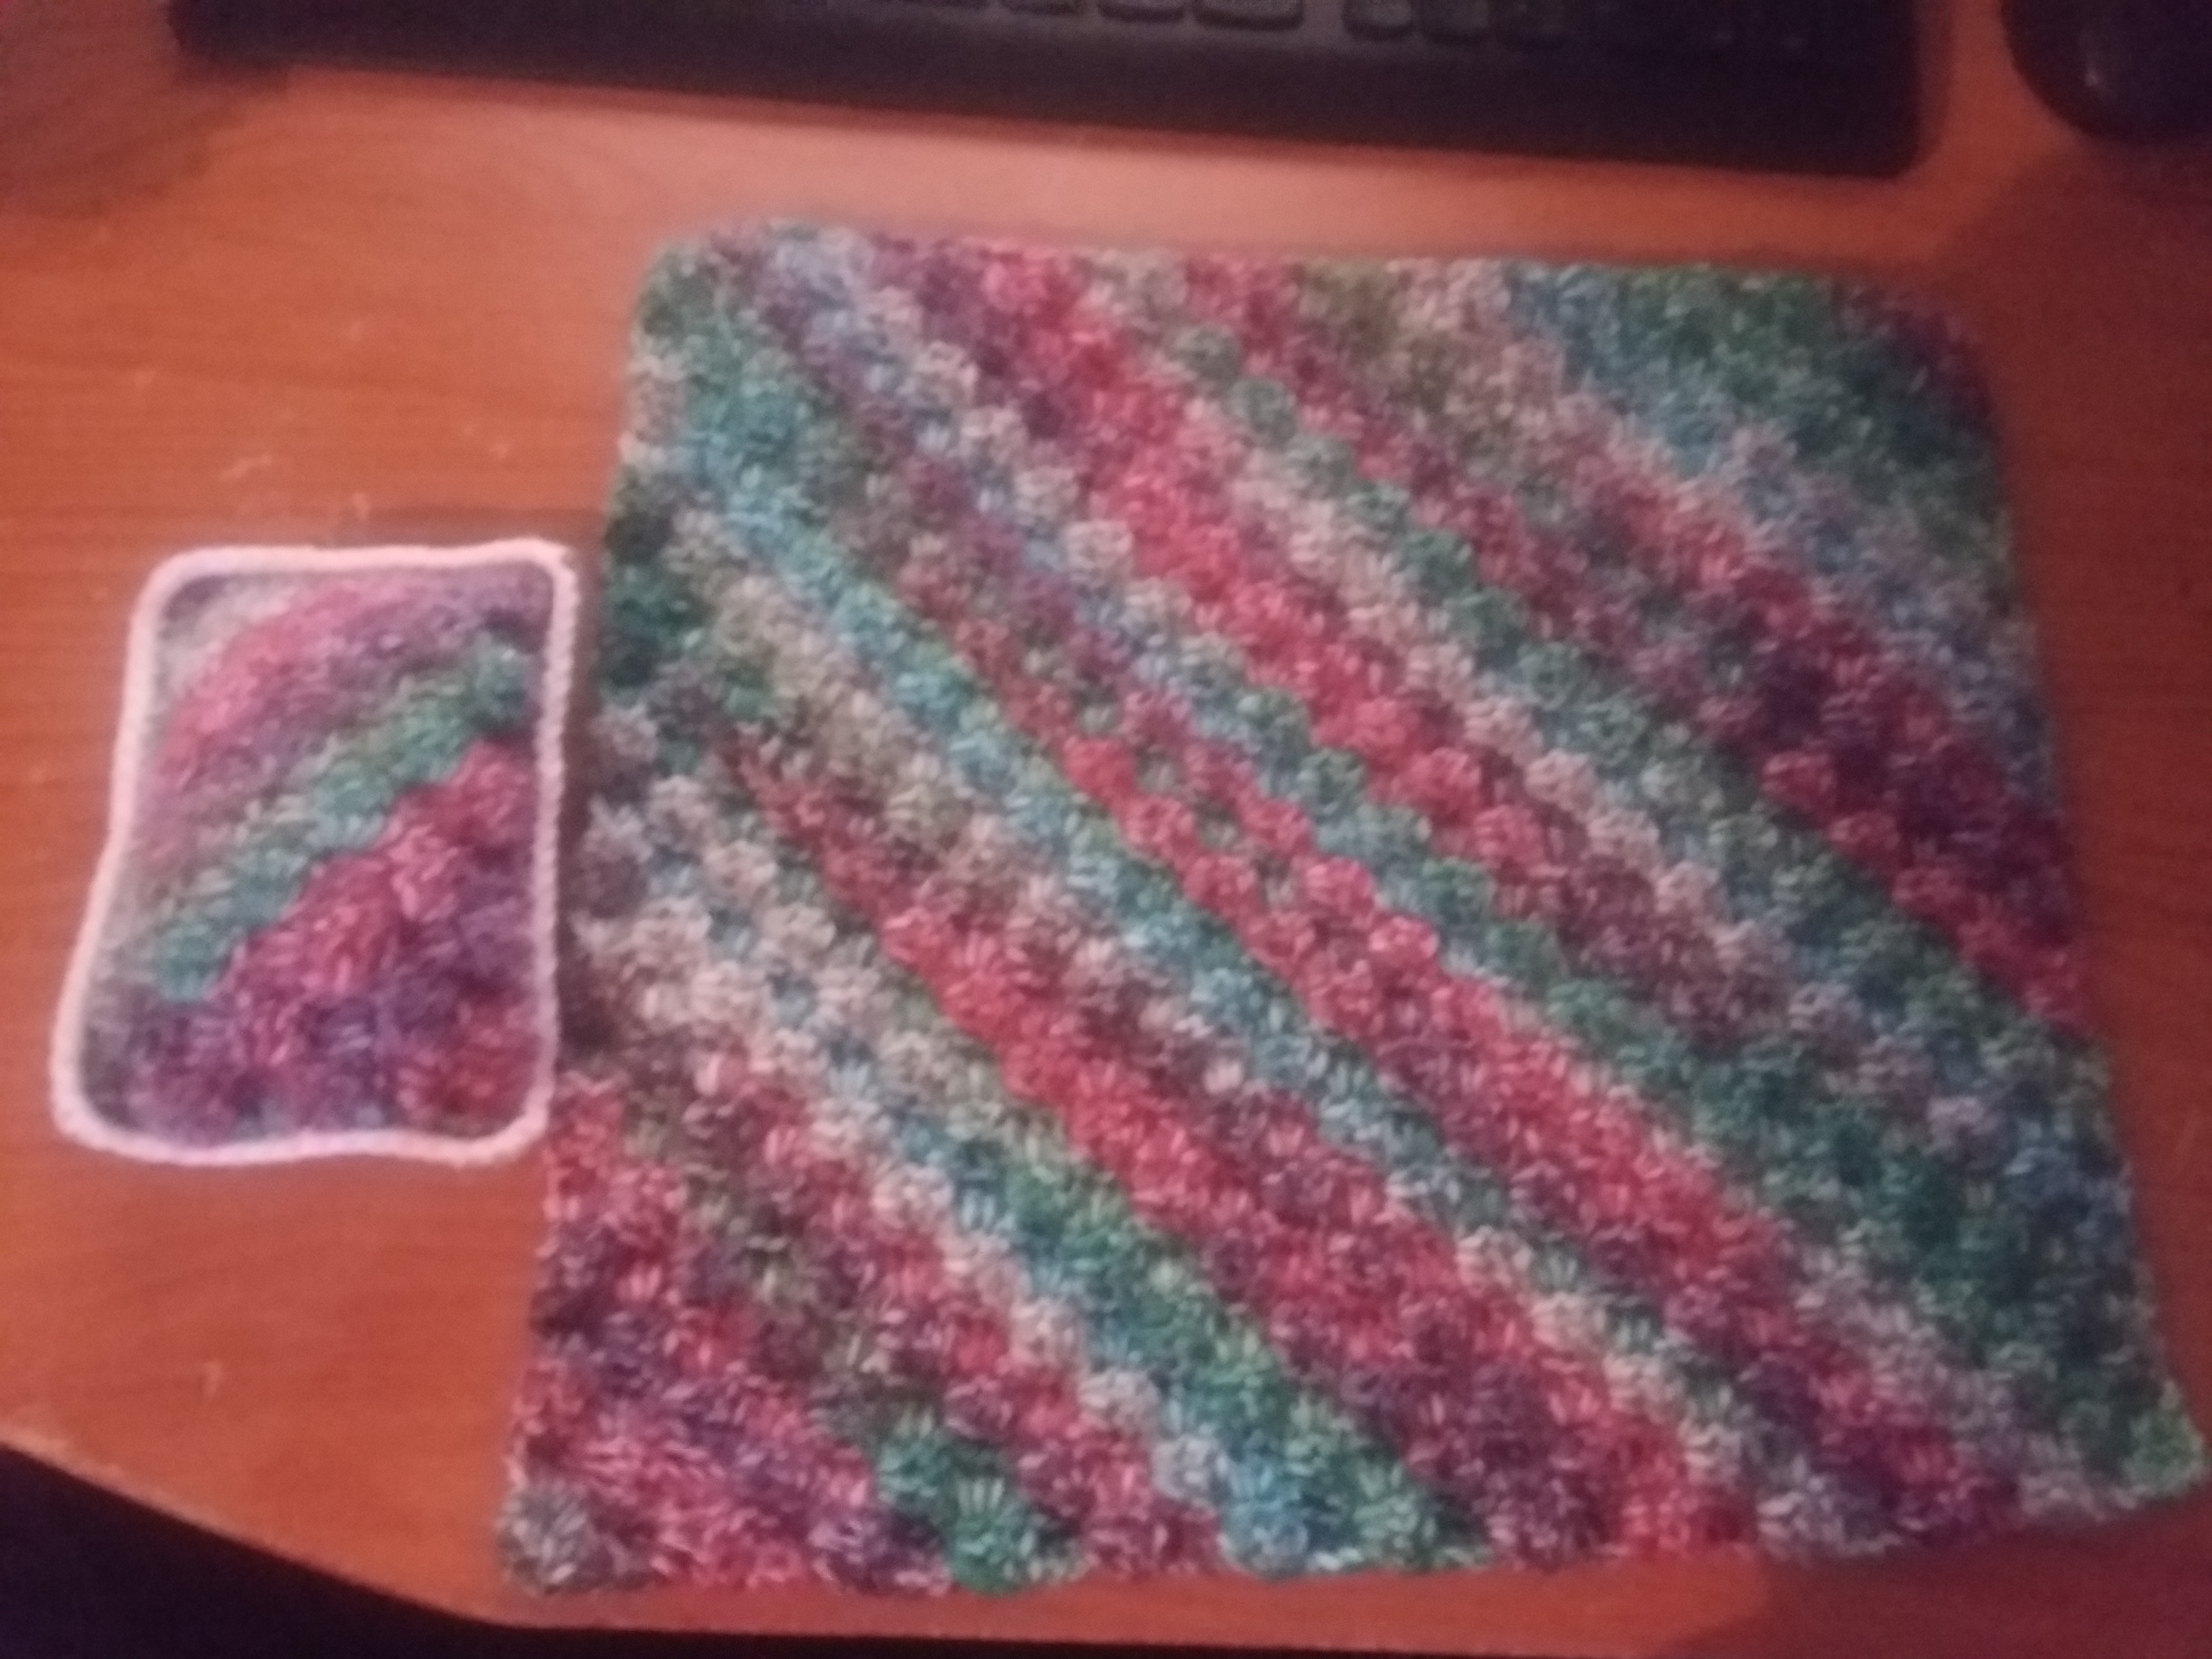
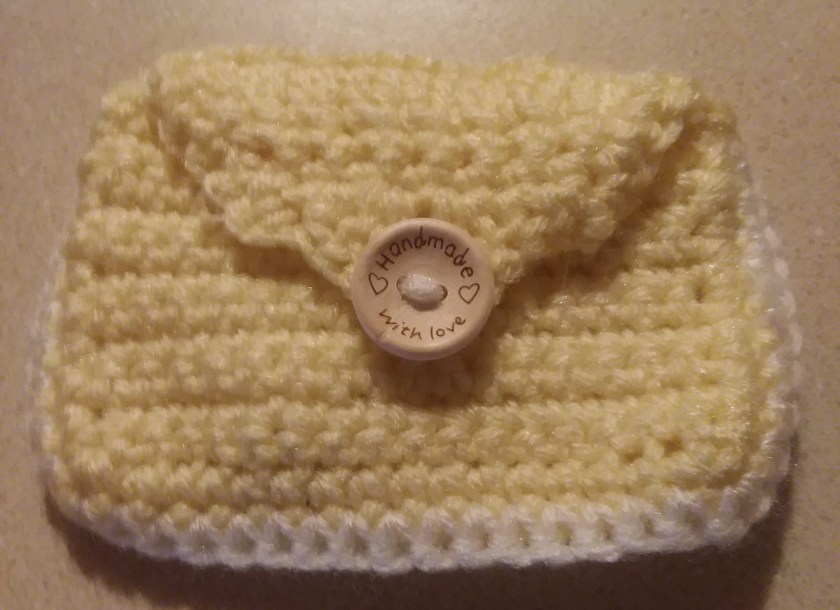
Hey Dearies! Since I have been so busy working on some new things, I wanted to share how I made this C2C (Corner 2 Corner) handbag!
I’m probably not the only one who hasn’t thought about using the C2C stitch to make a handbag, but I wanted to come up with a twist that also gave me the chance to crochet my own buttons as well!
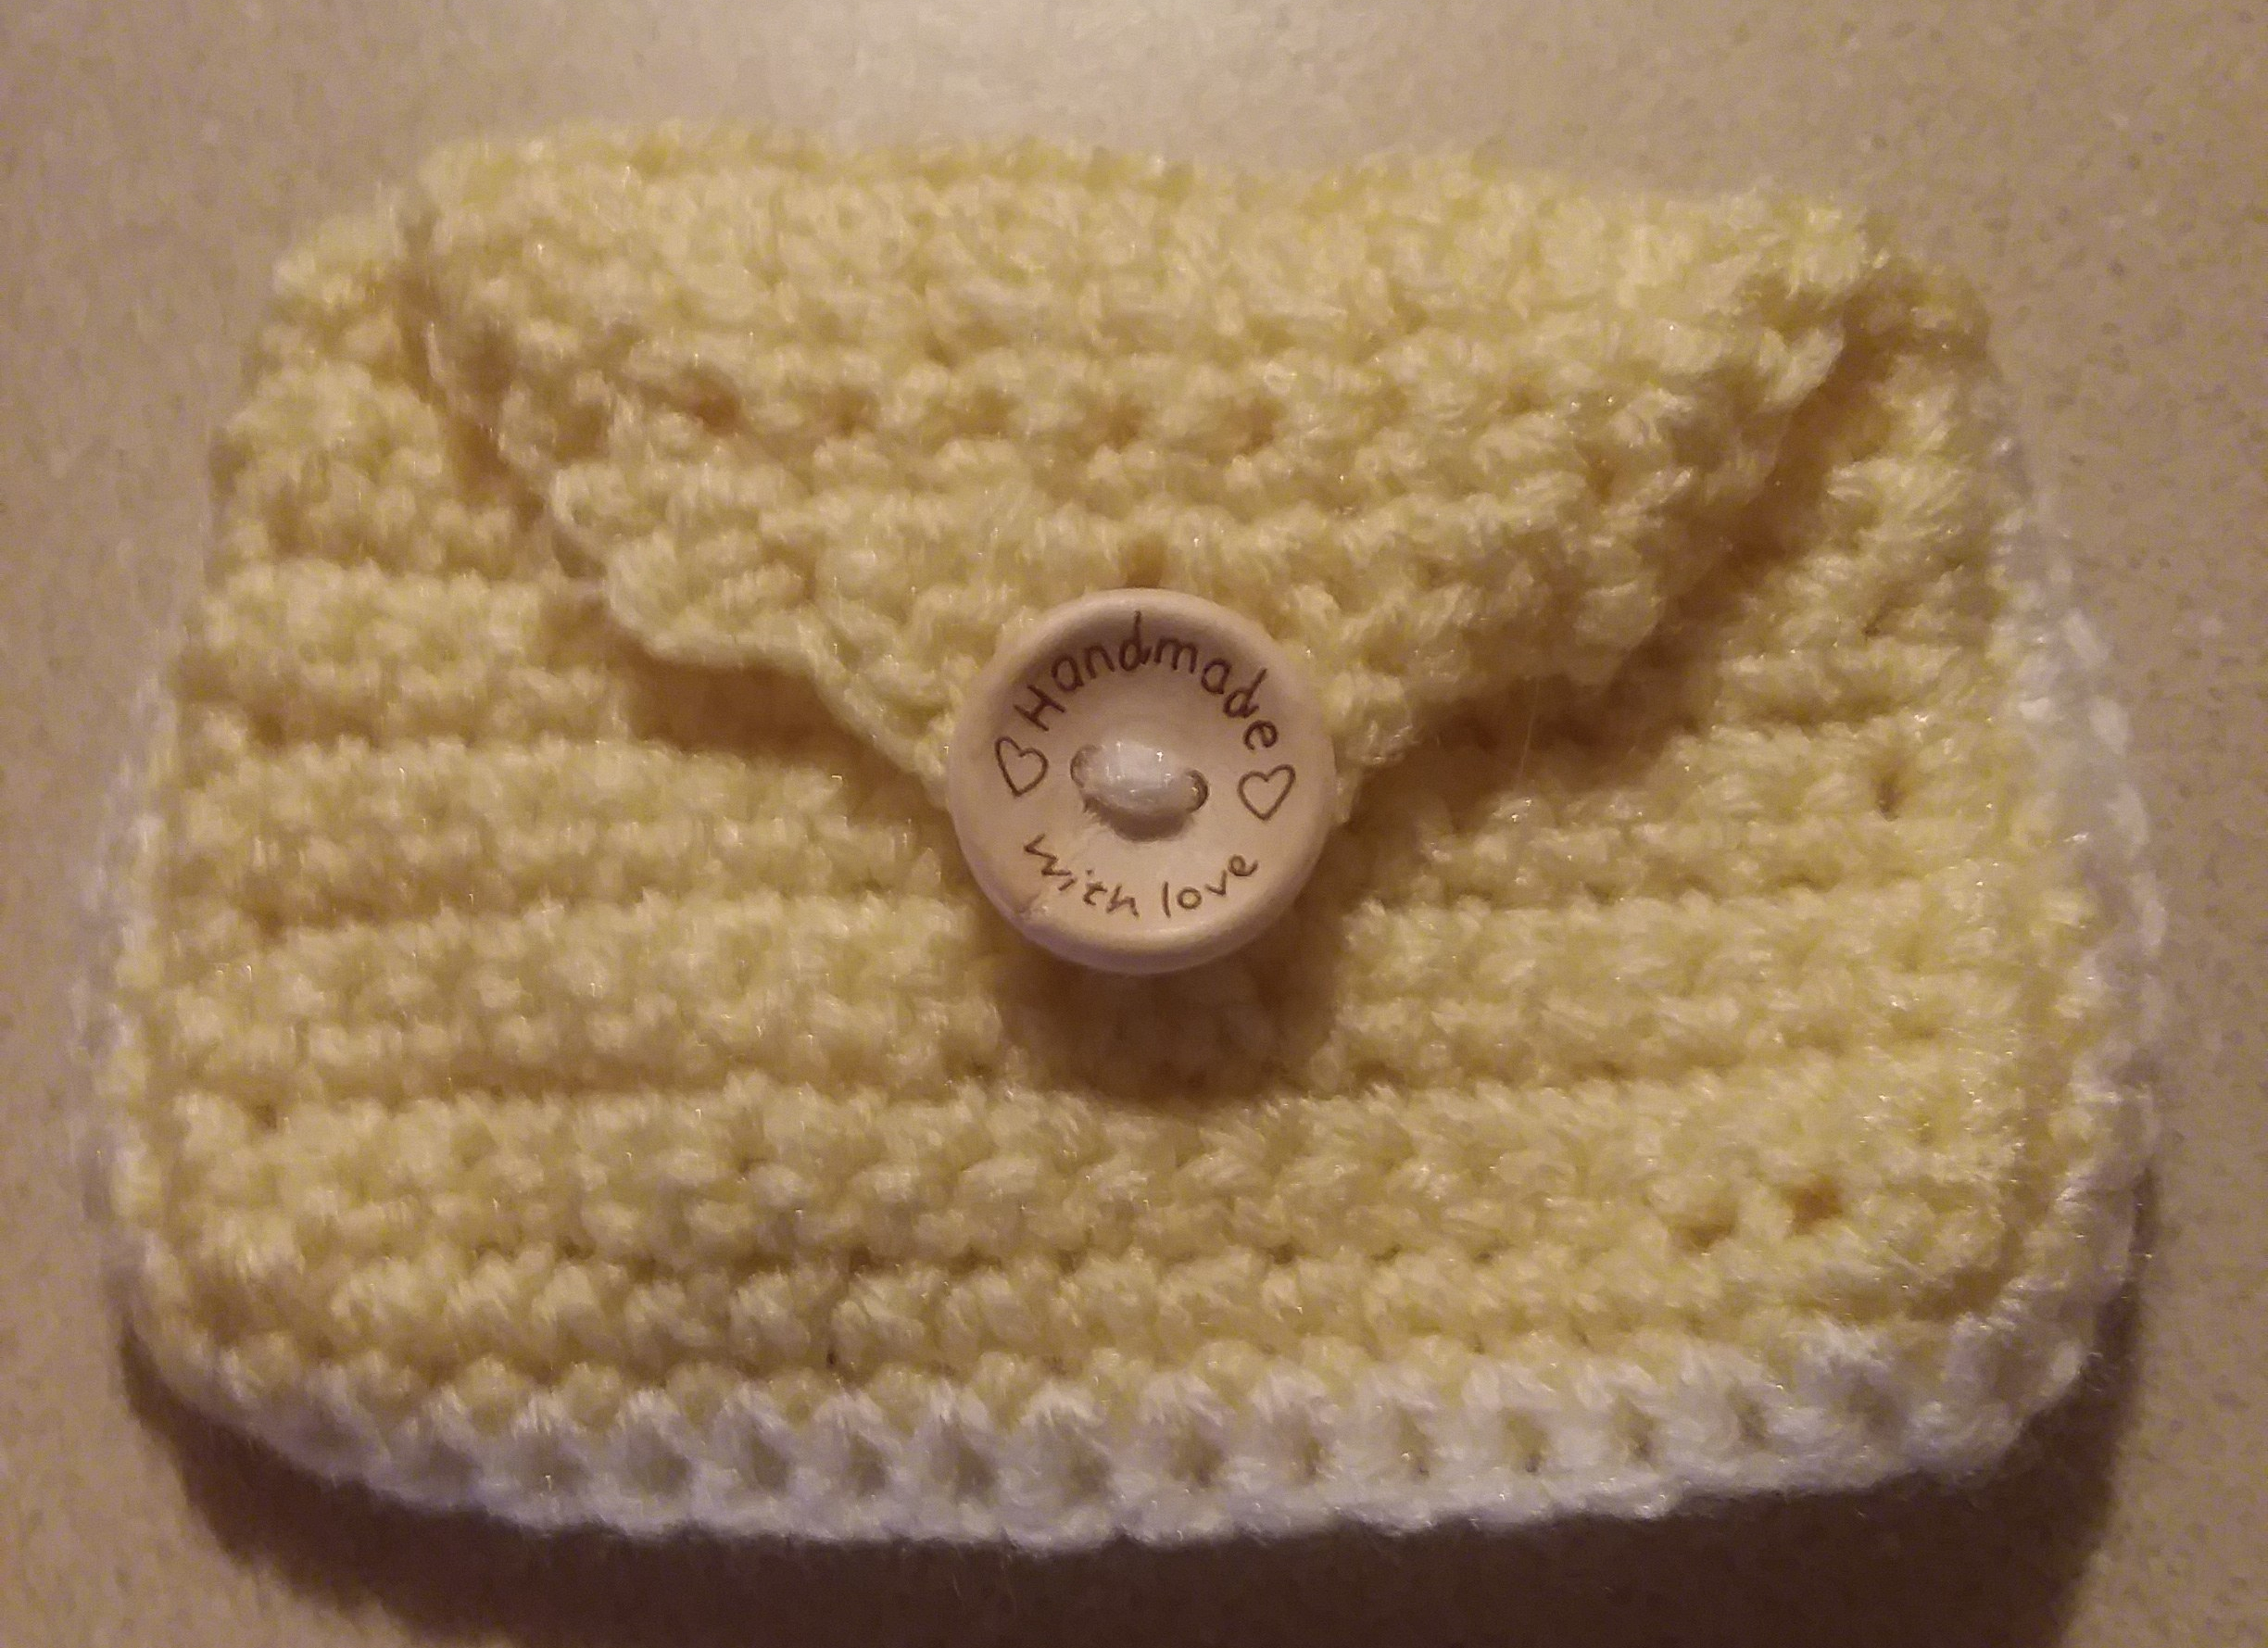
Not only will I be showing you how to make this bag, but I will be also be showing you how I made my homemade crochet buttons! You can use regular buttons, but if you are like me and forget to carry some in your crochet bag, then this is the perfect time to practice!
What you will need:
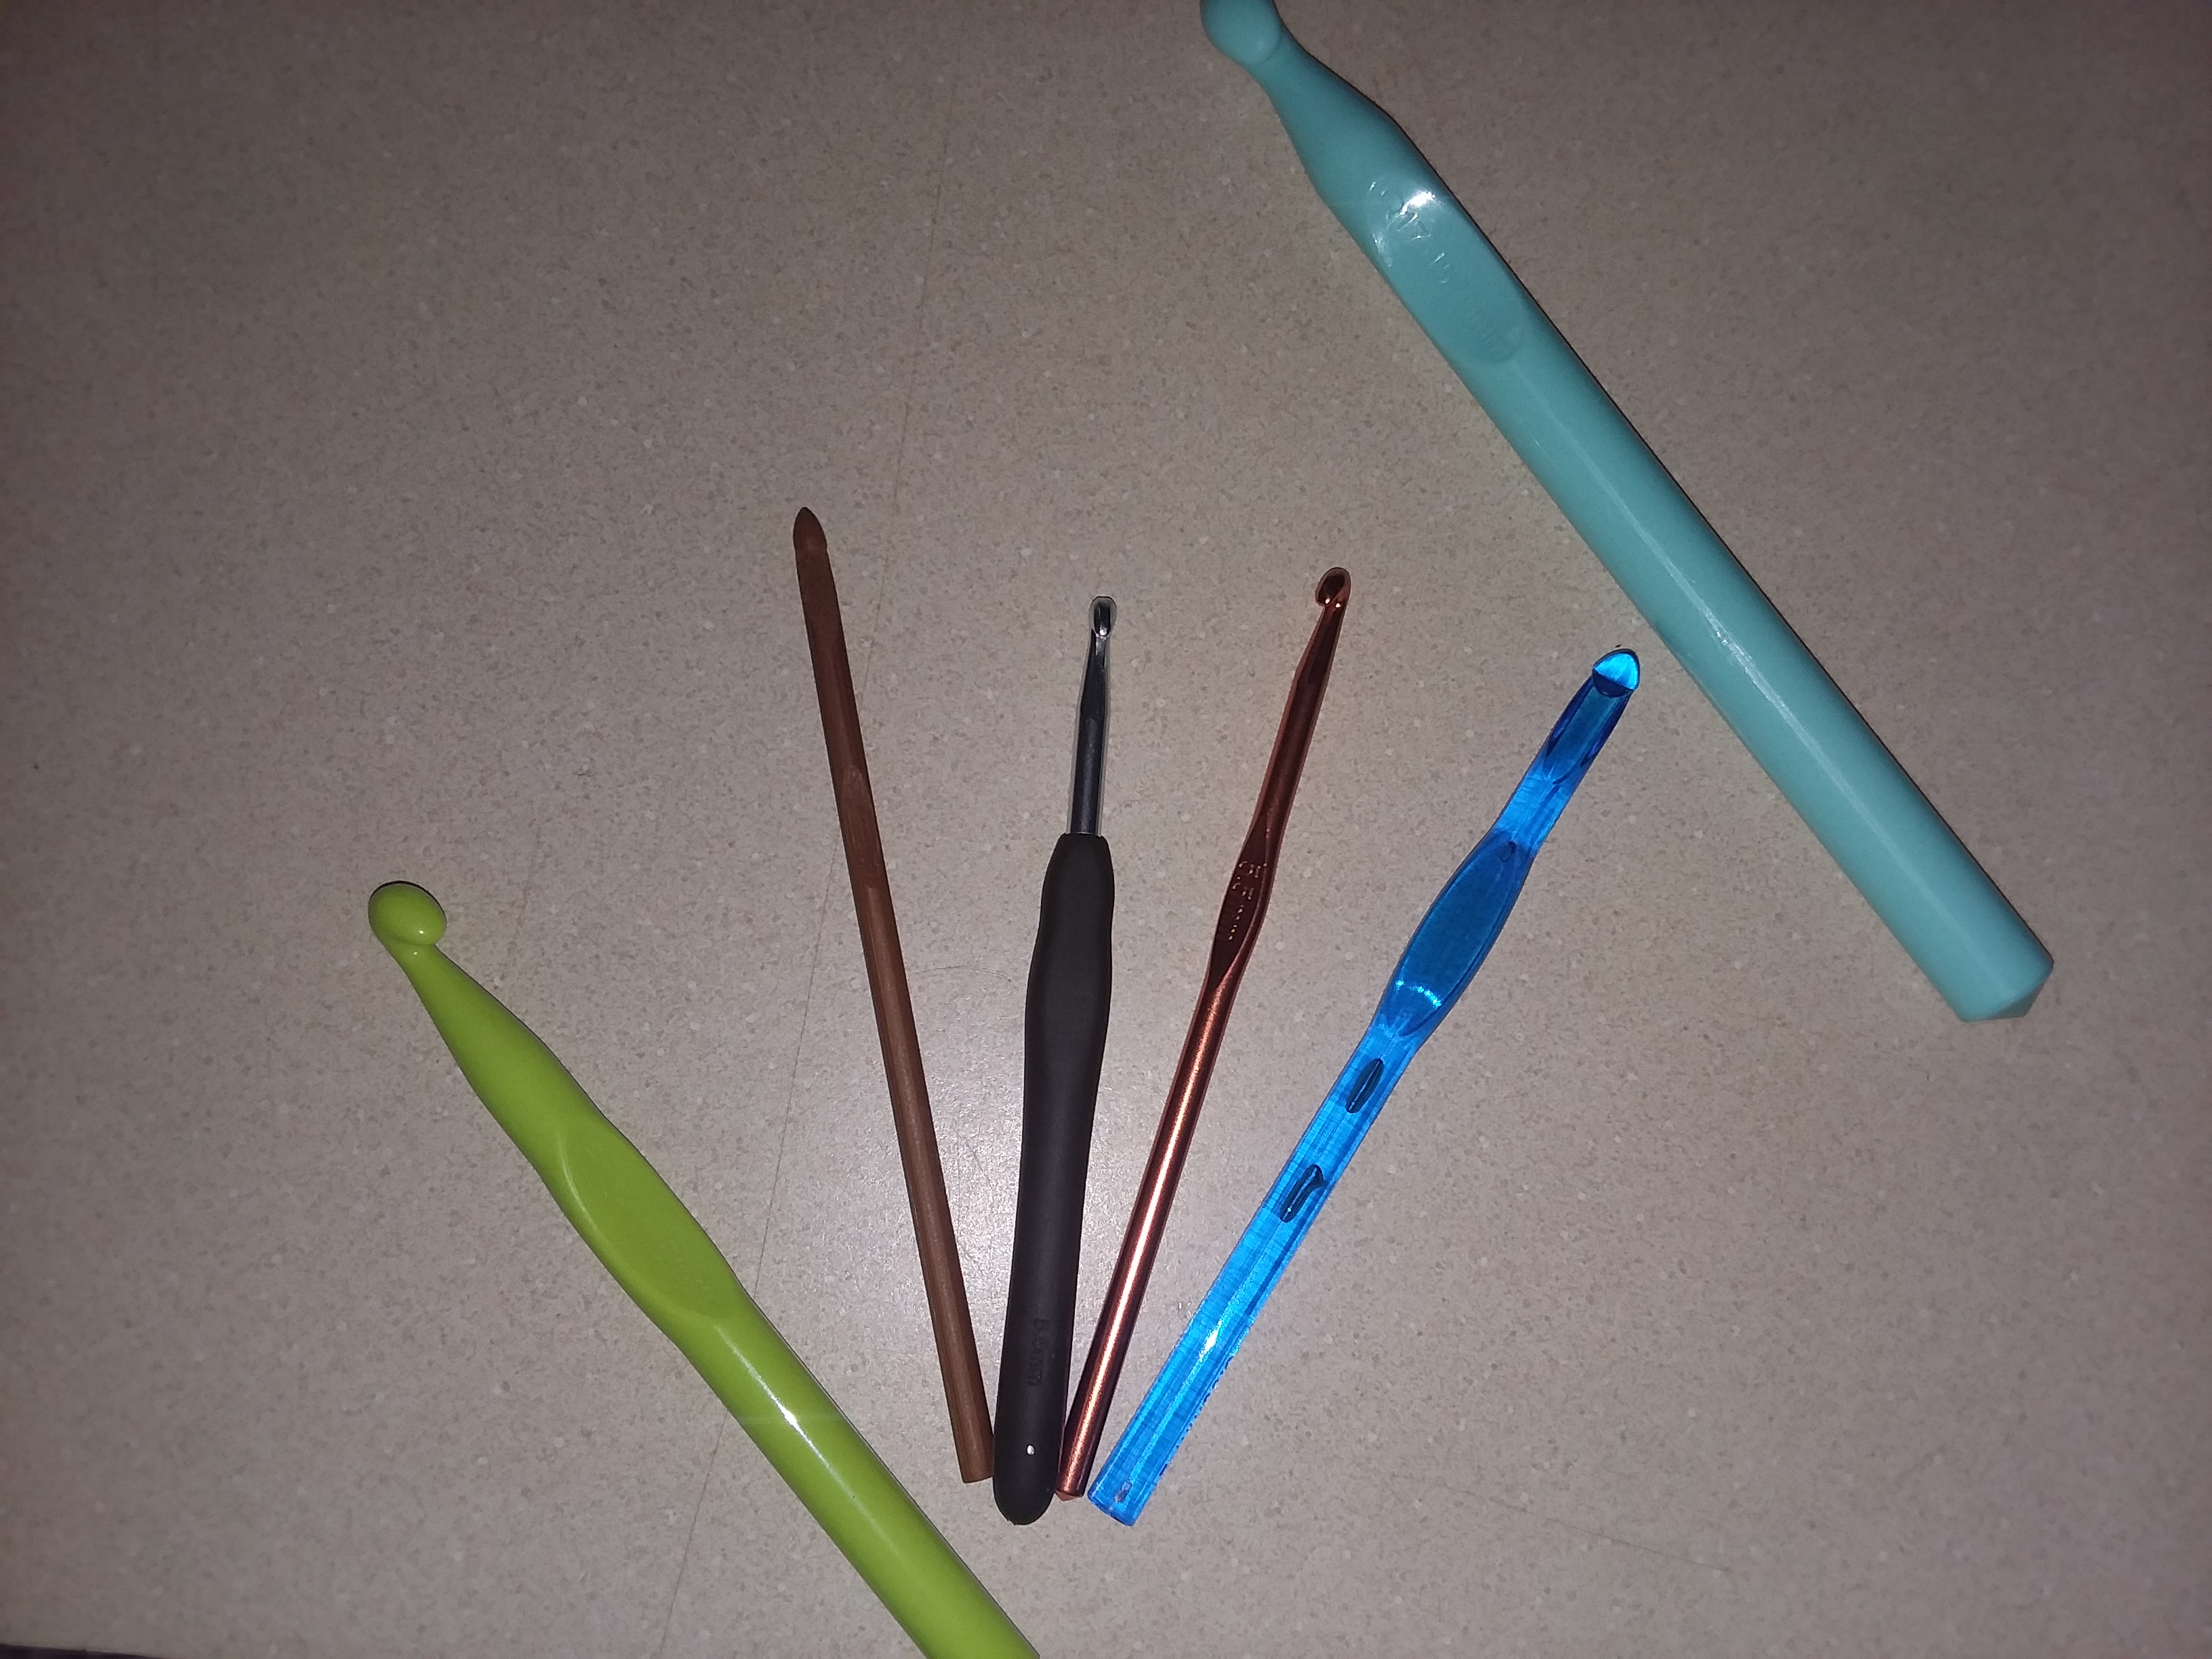
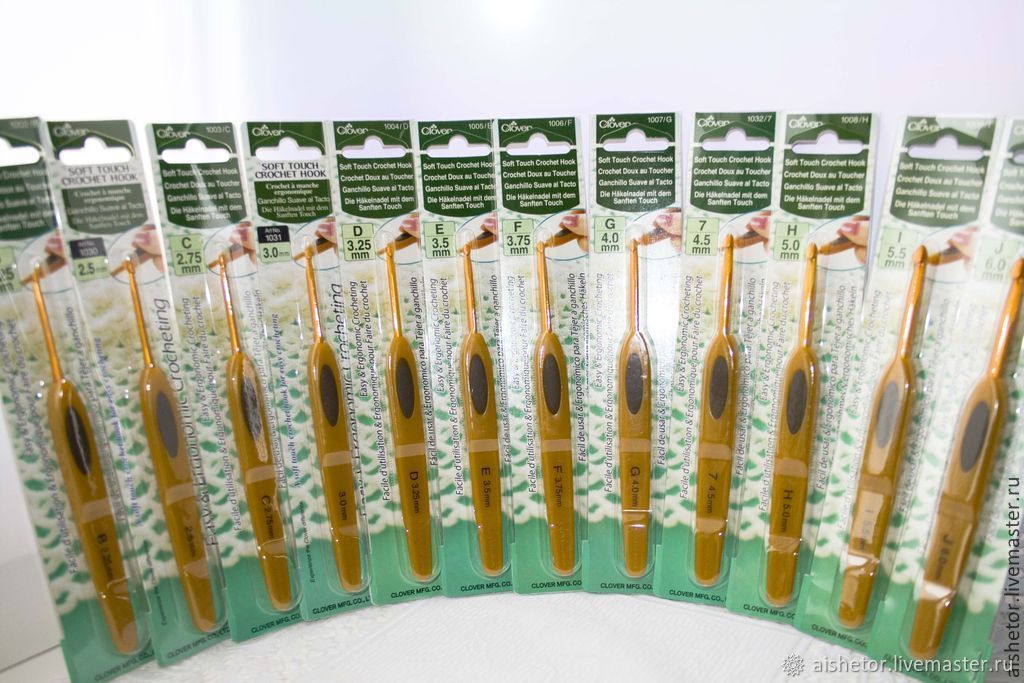
- 5.25 mm hook
- You can use a 5.0 mm hook, I only went up a size because I wanted to try something new.
- Going down a size, than what is recommended isn’t a problem, but keep in might that the small your hook size, the small your project might be. Same if you go larger for you hook size, the larger your project might be!
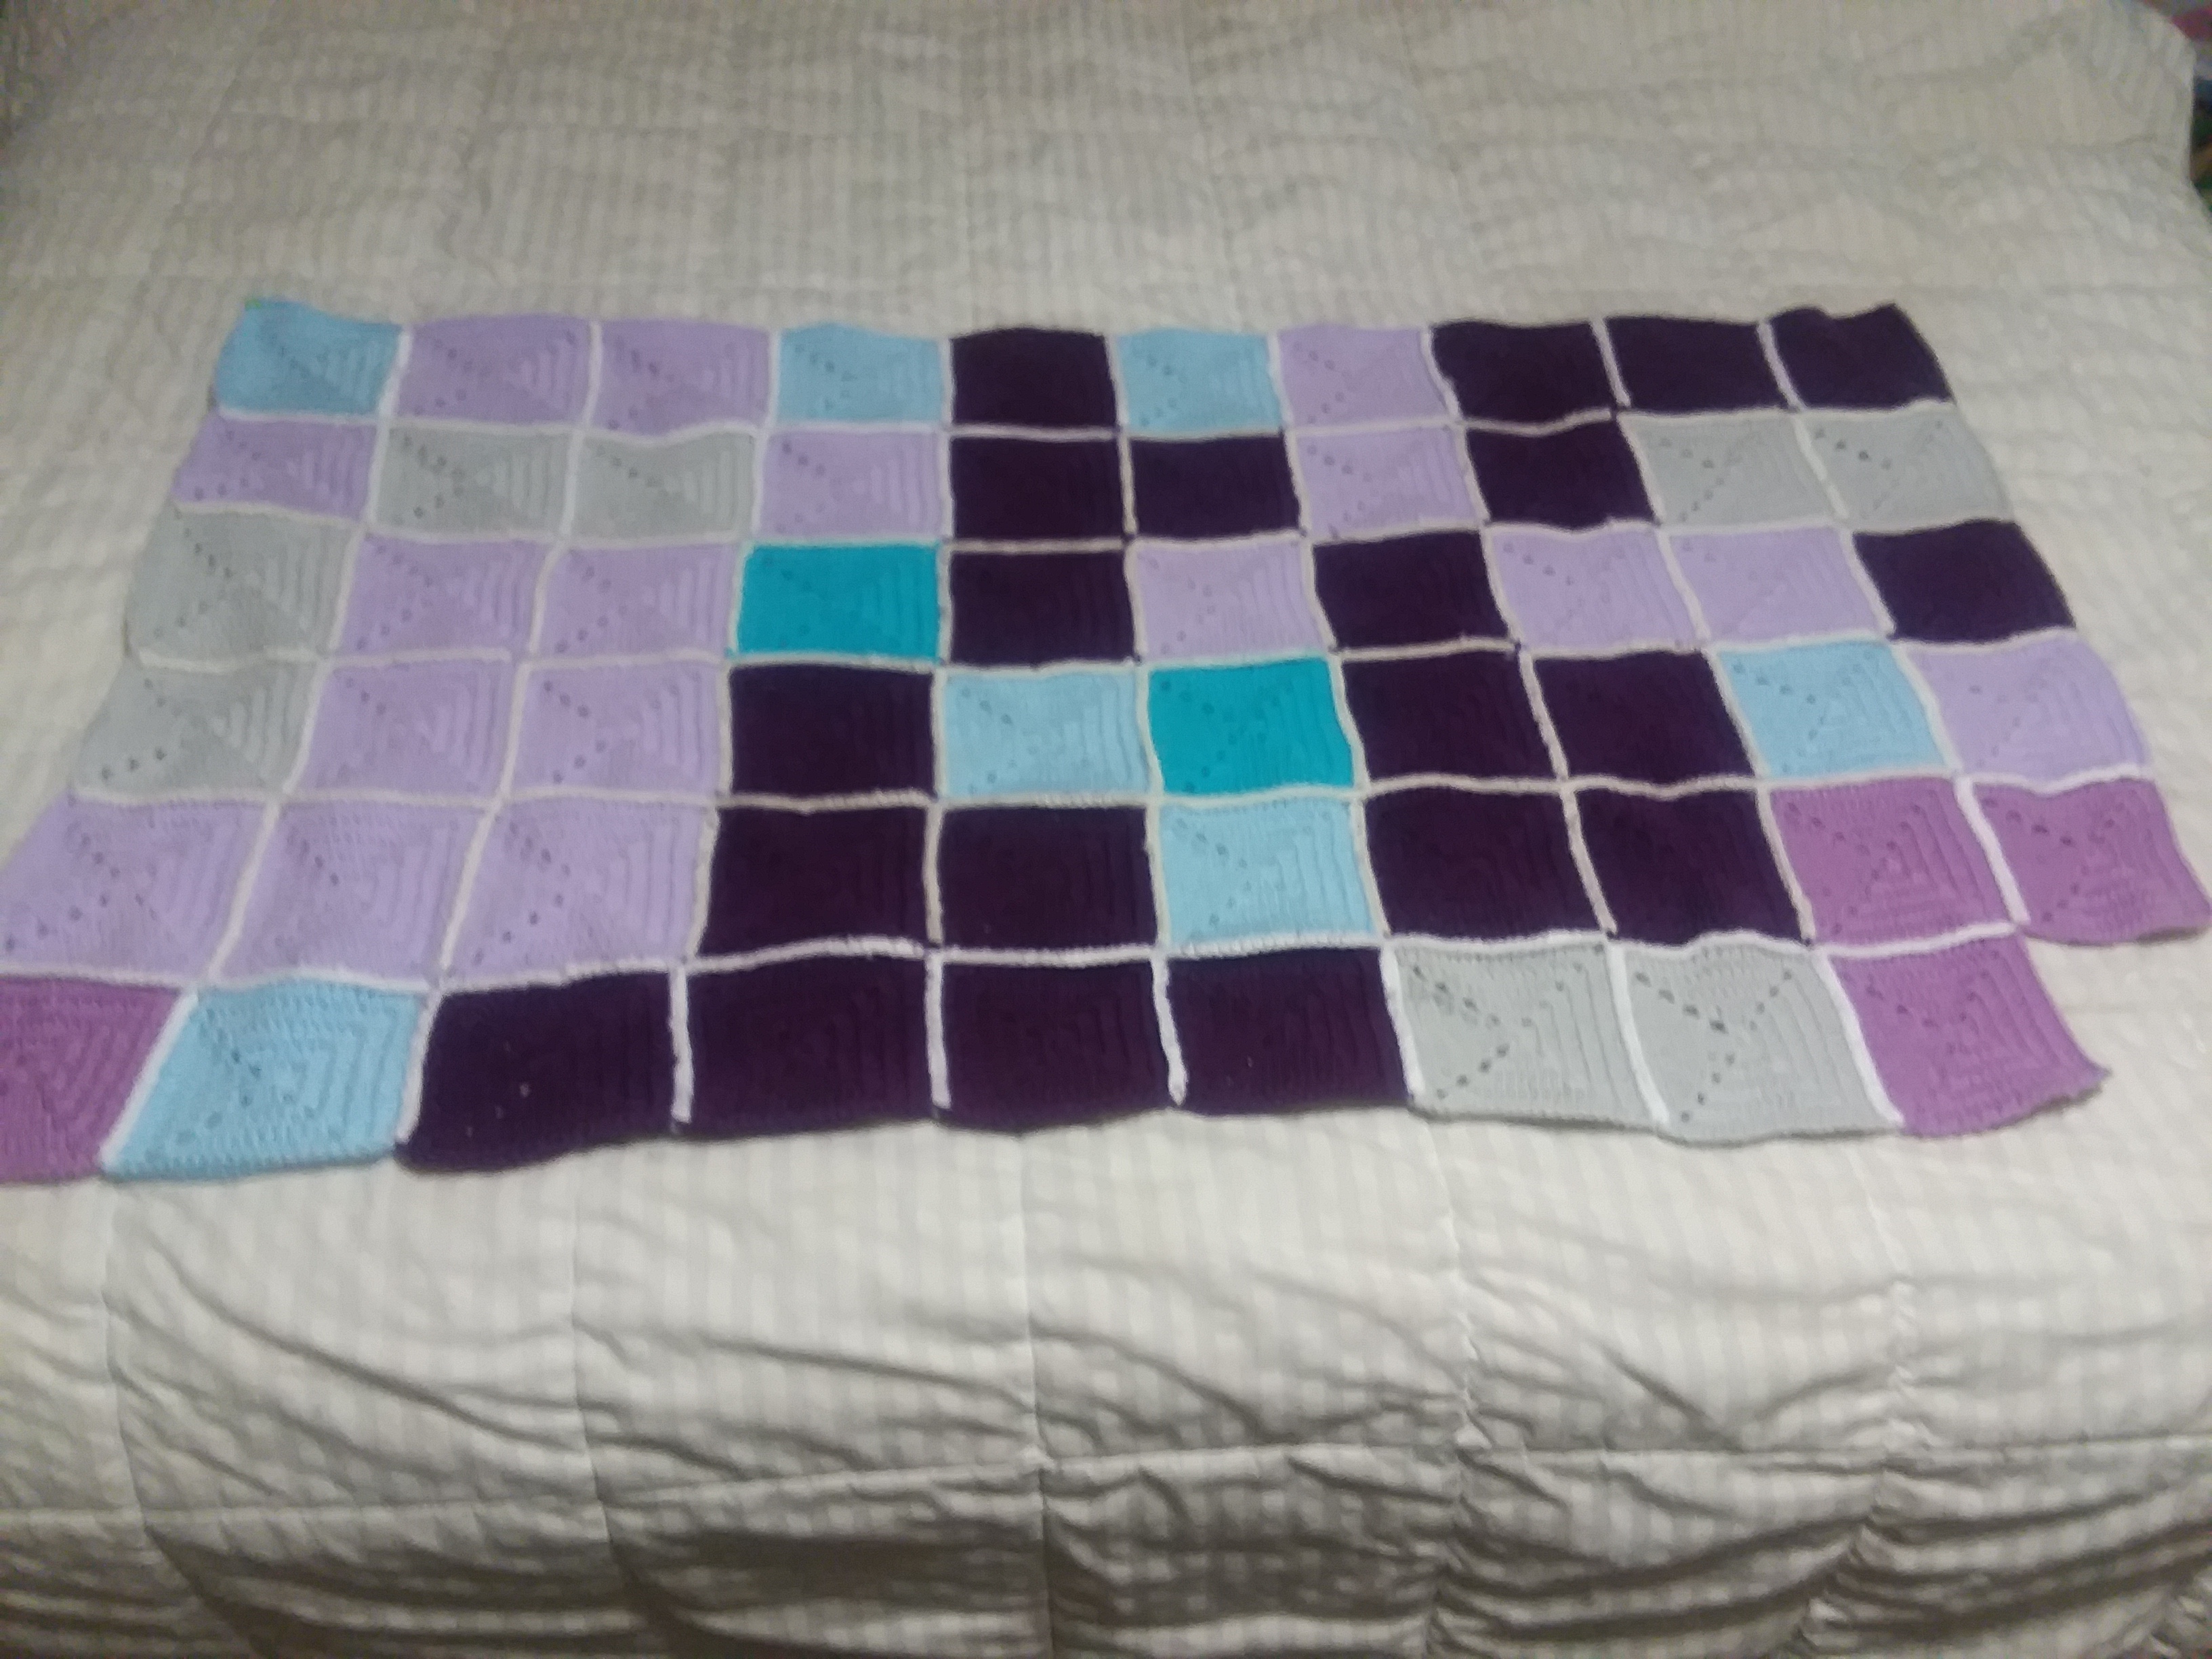
- Medium Size Yarn
- I’m using Red Heart Super Savor yarn in the color Zebra.
- I suggest using another color for the boarder, I didn’t and I wish that I did instead of using the same color for the entire project.
- 3 buttons
- I suggest using 1 inch buttons, the buttons I had were too small.
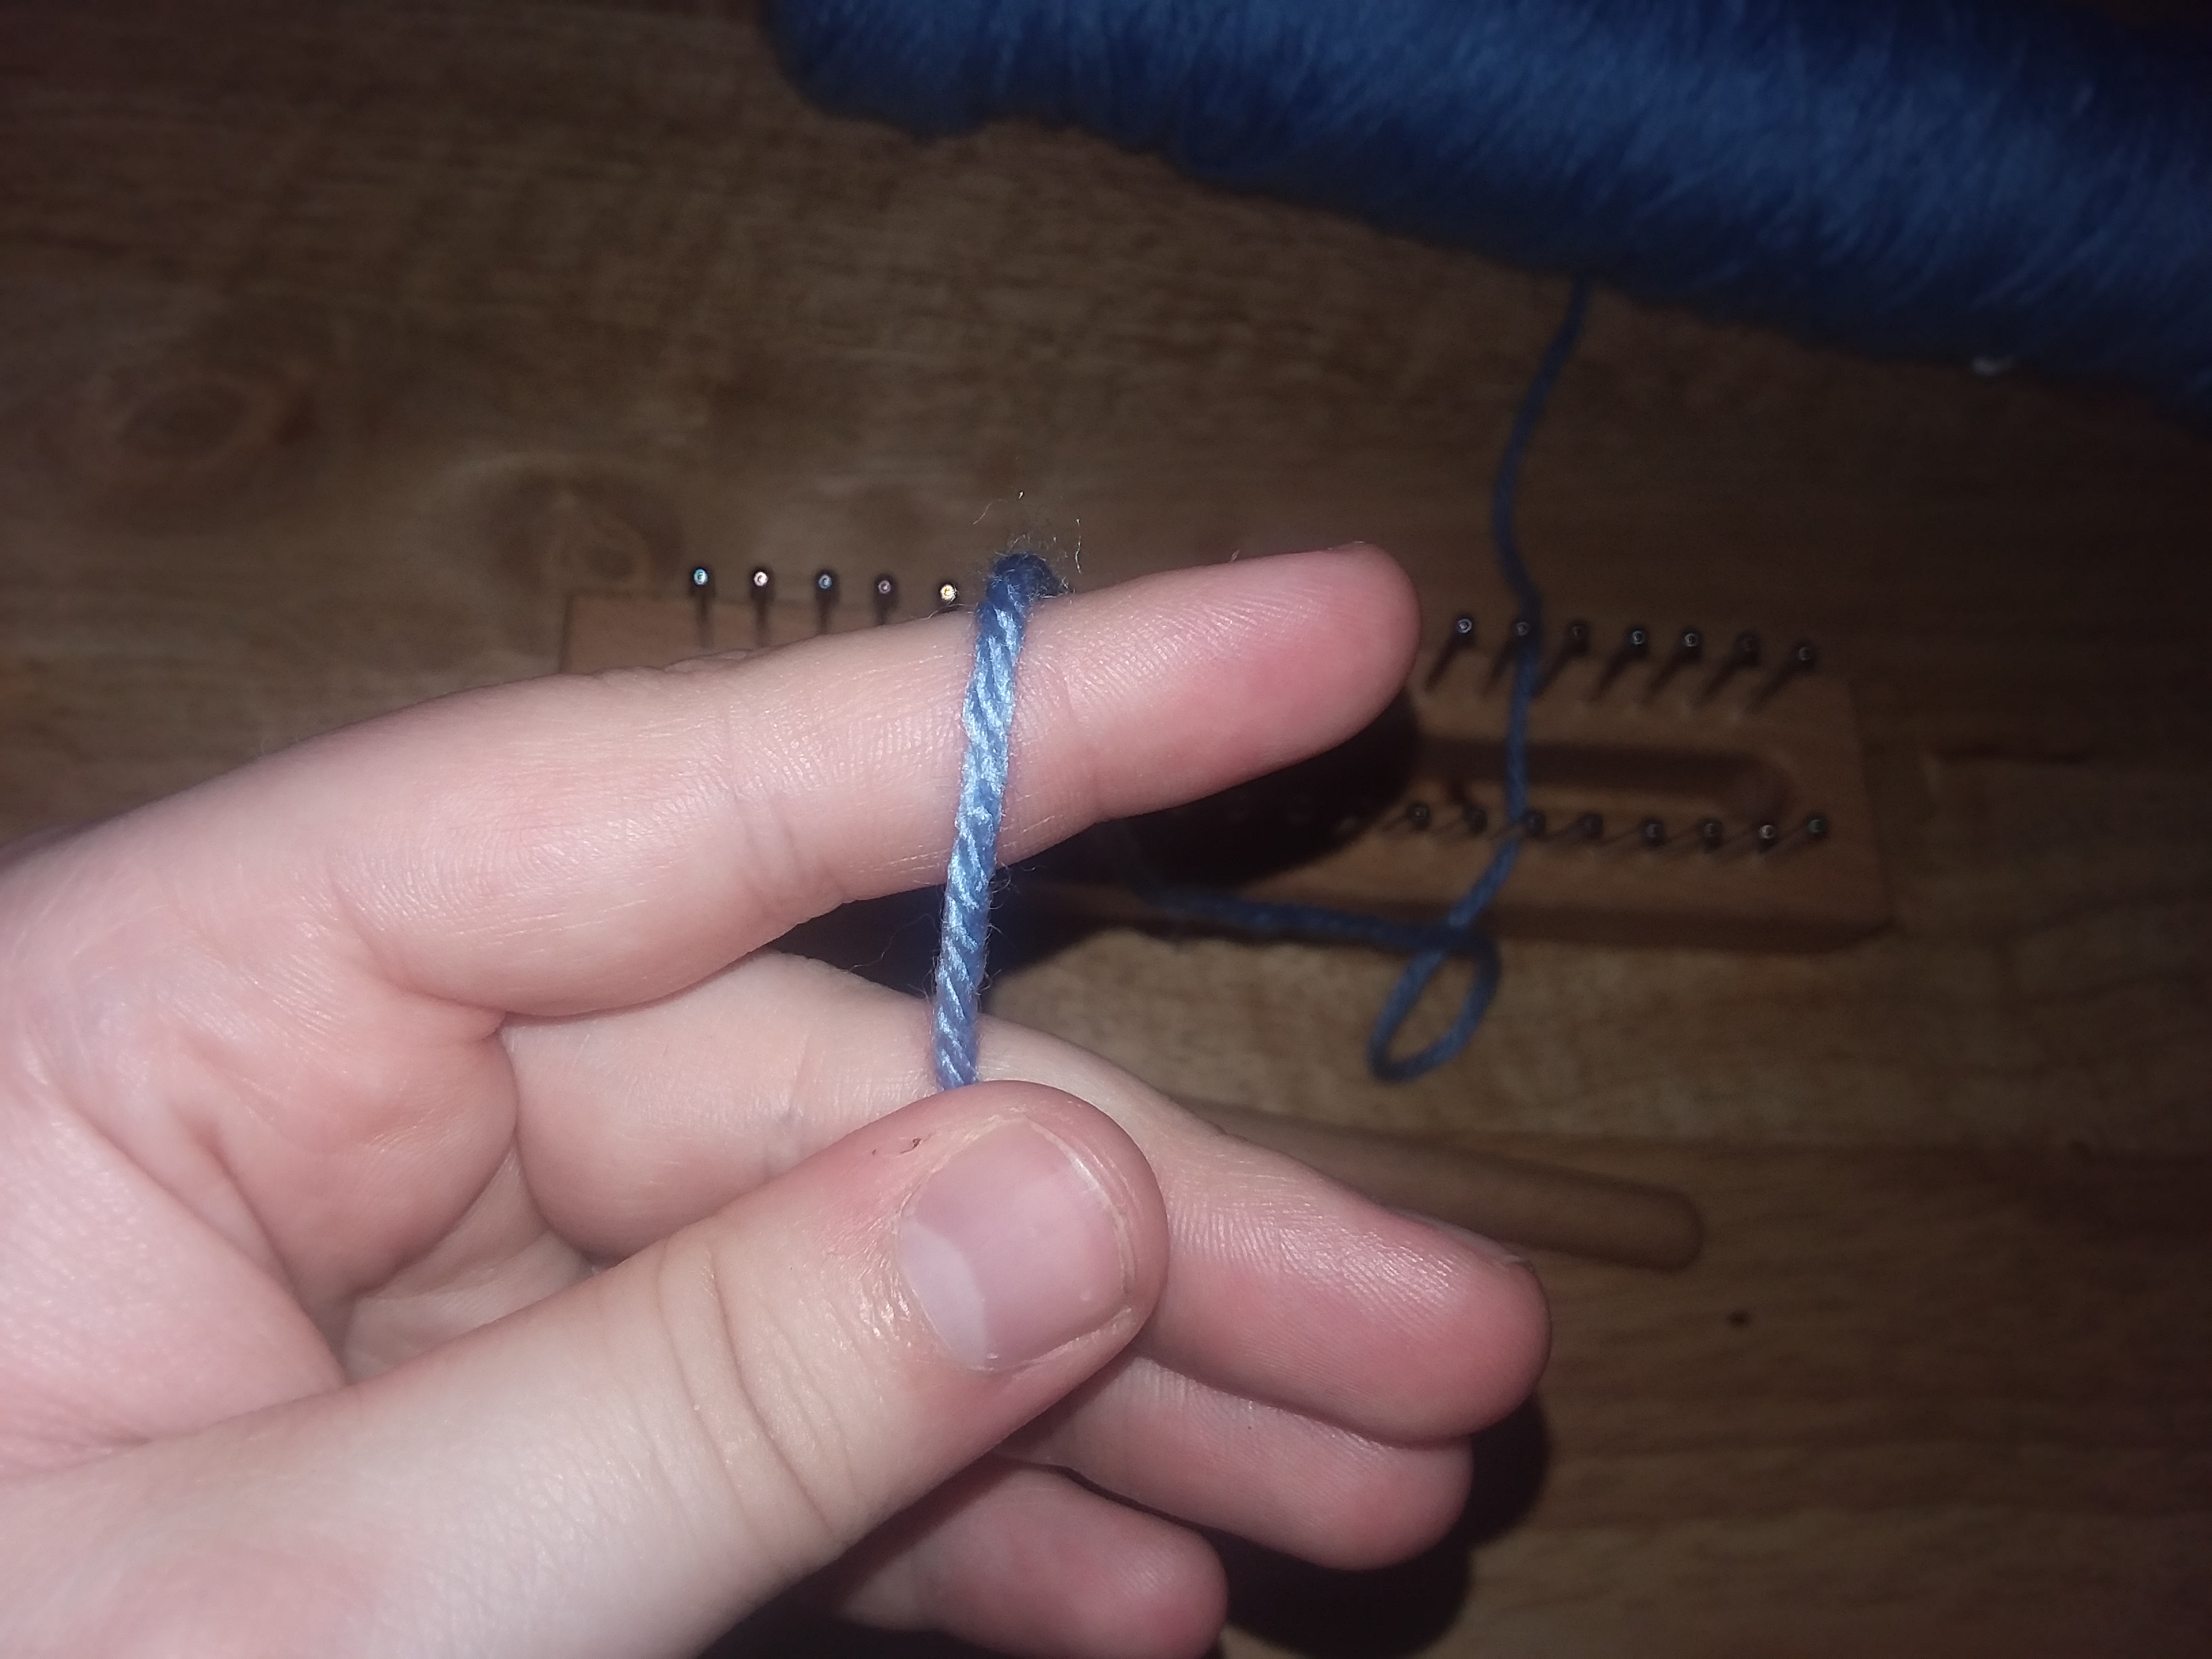
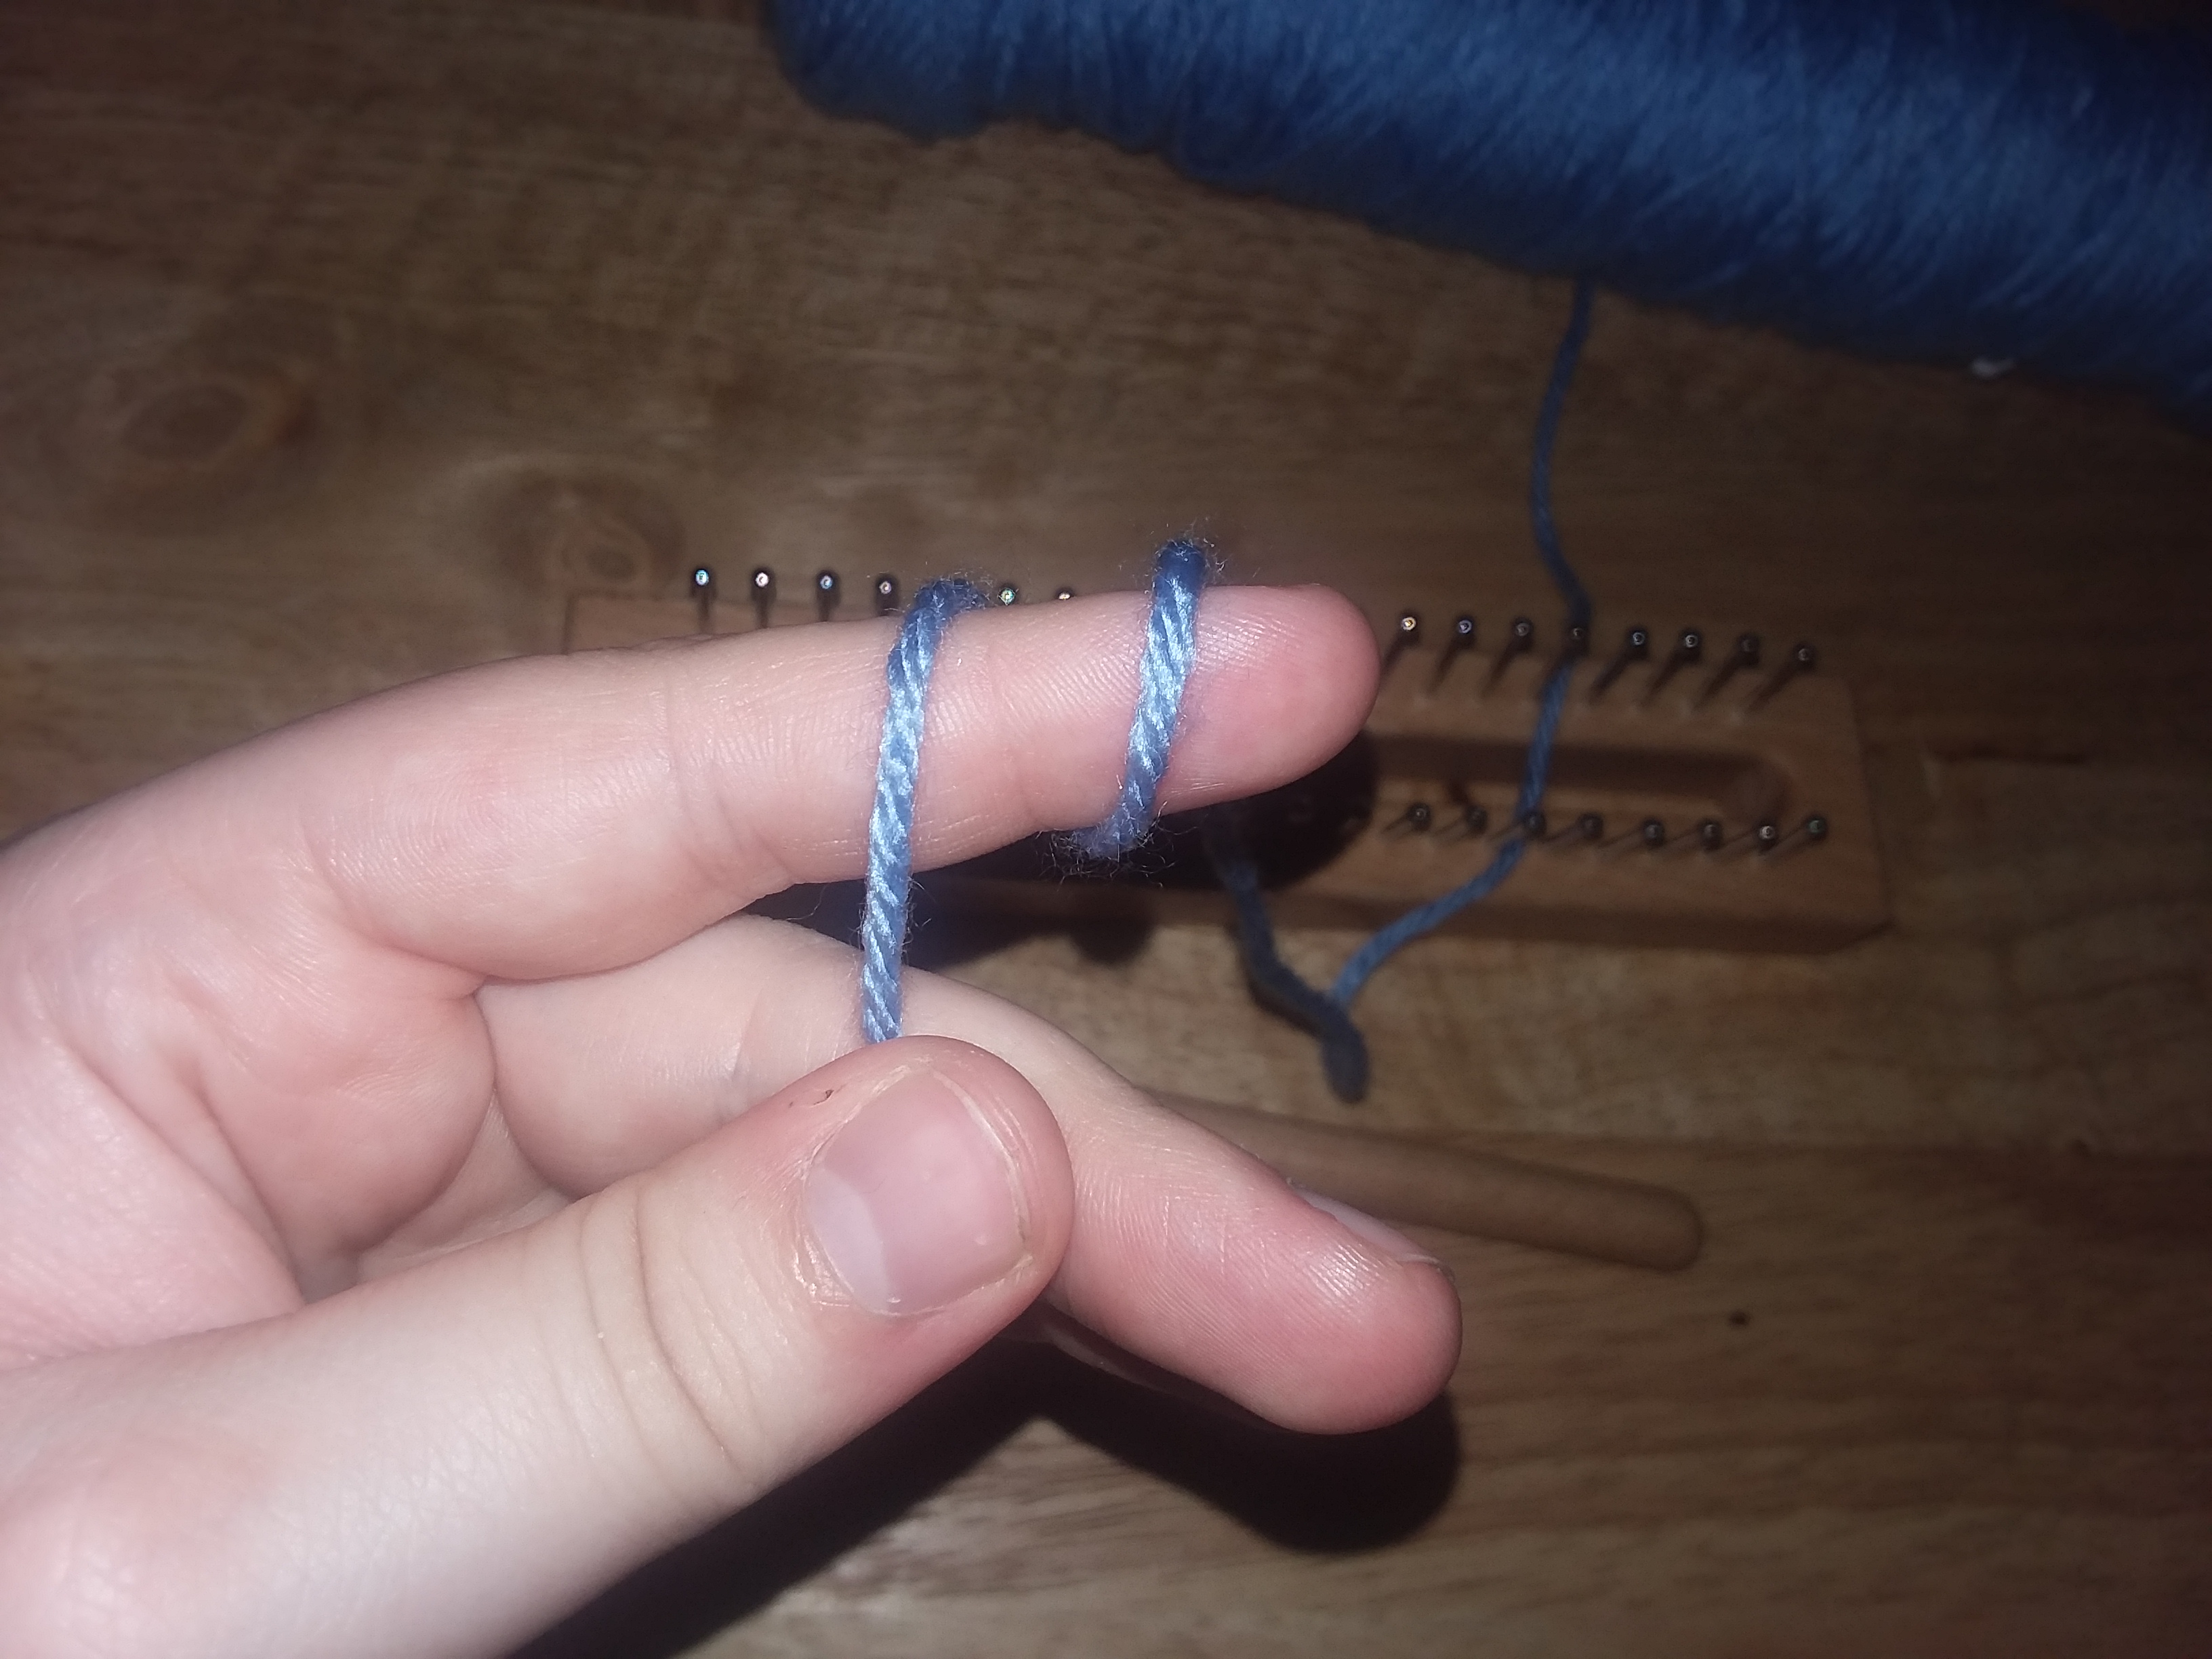
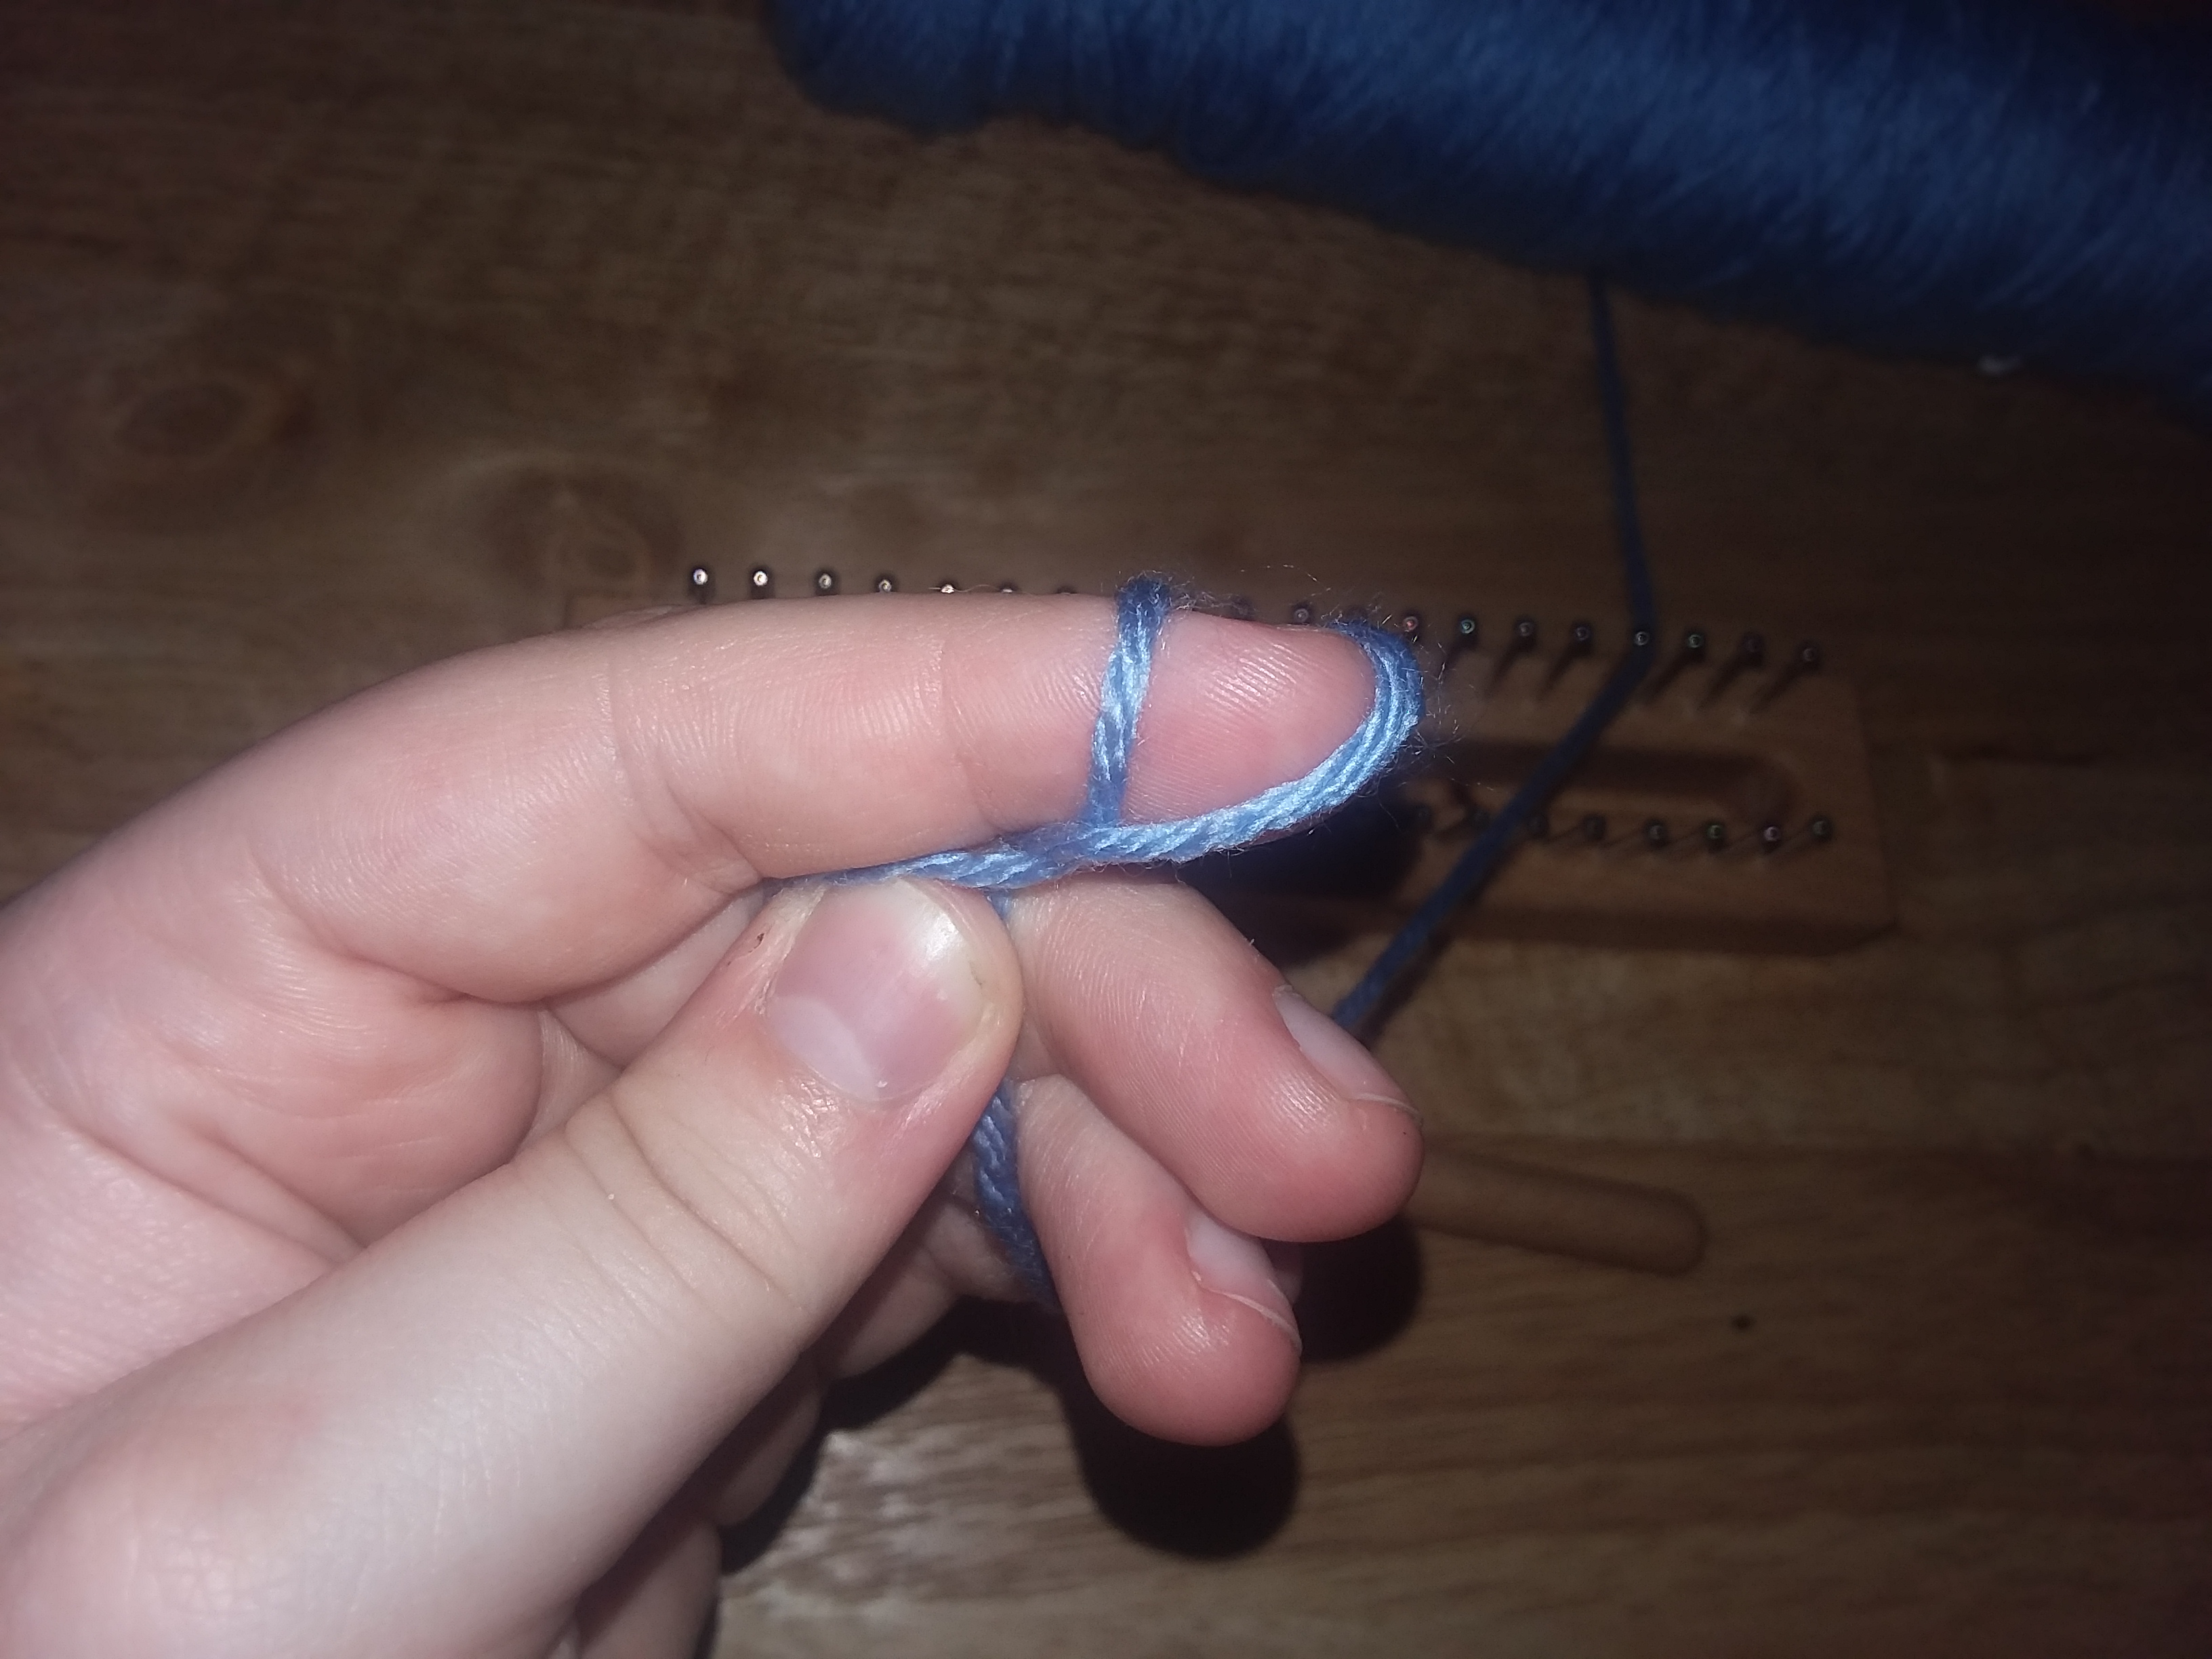
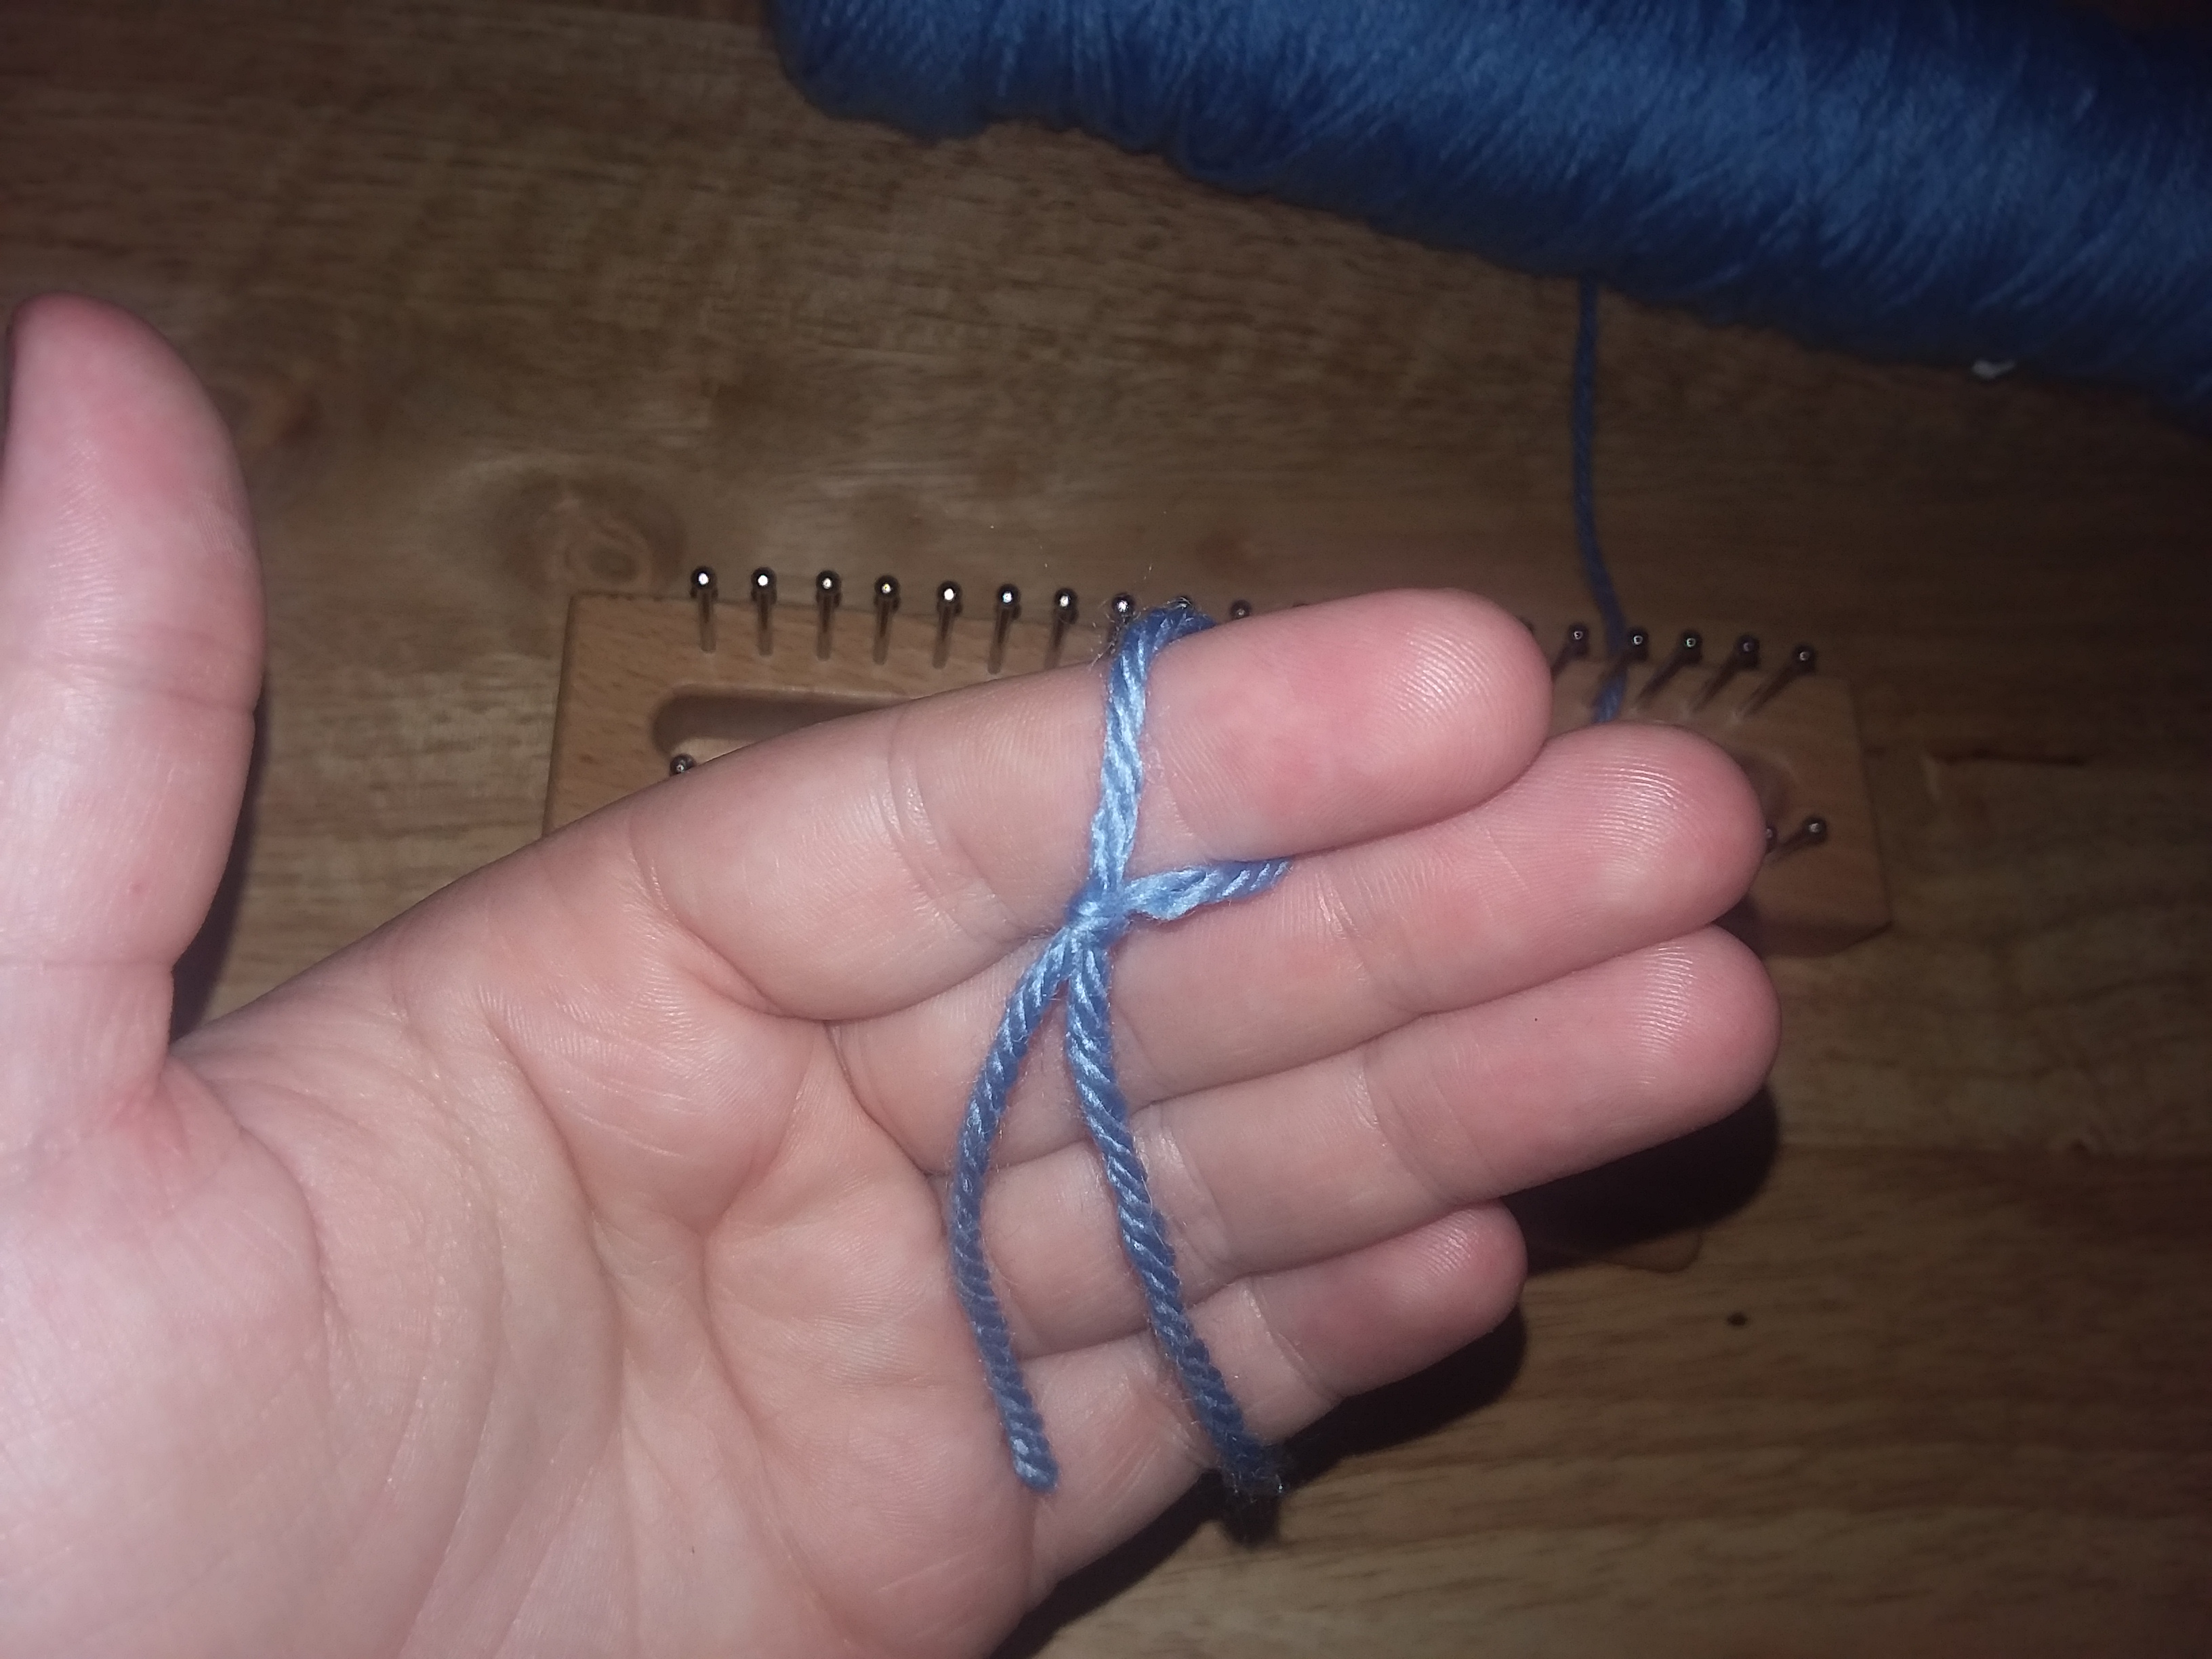
- Also, you can crochet your own buttons, I’ll leave a link for that here: https://www.fiberfluxblog.com/2020/04/easy-crochet-buttons-free-crochet.html
- Sewing Needle
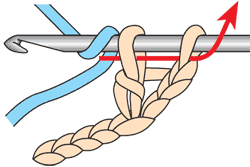
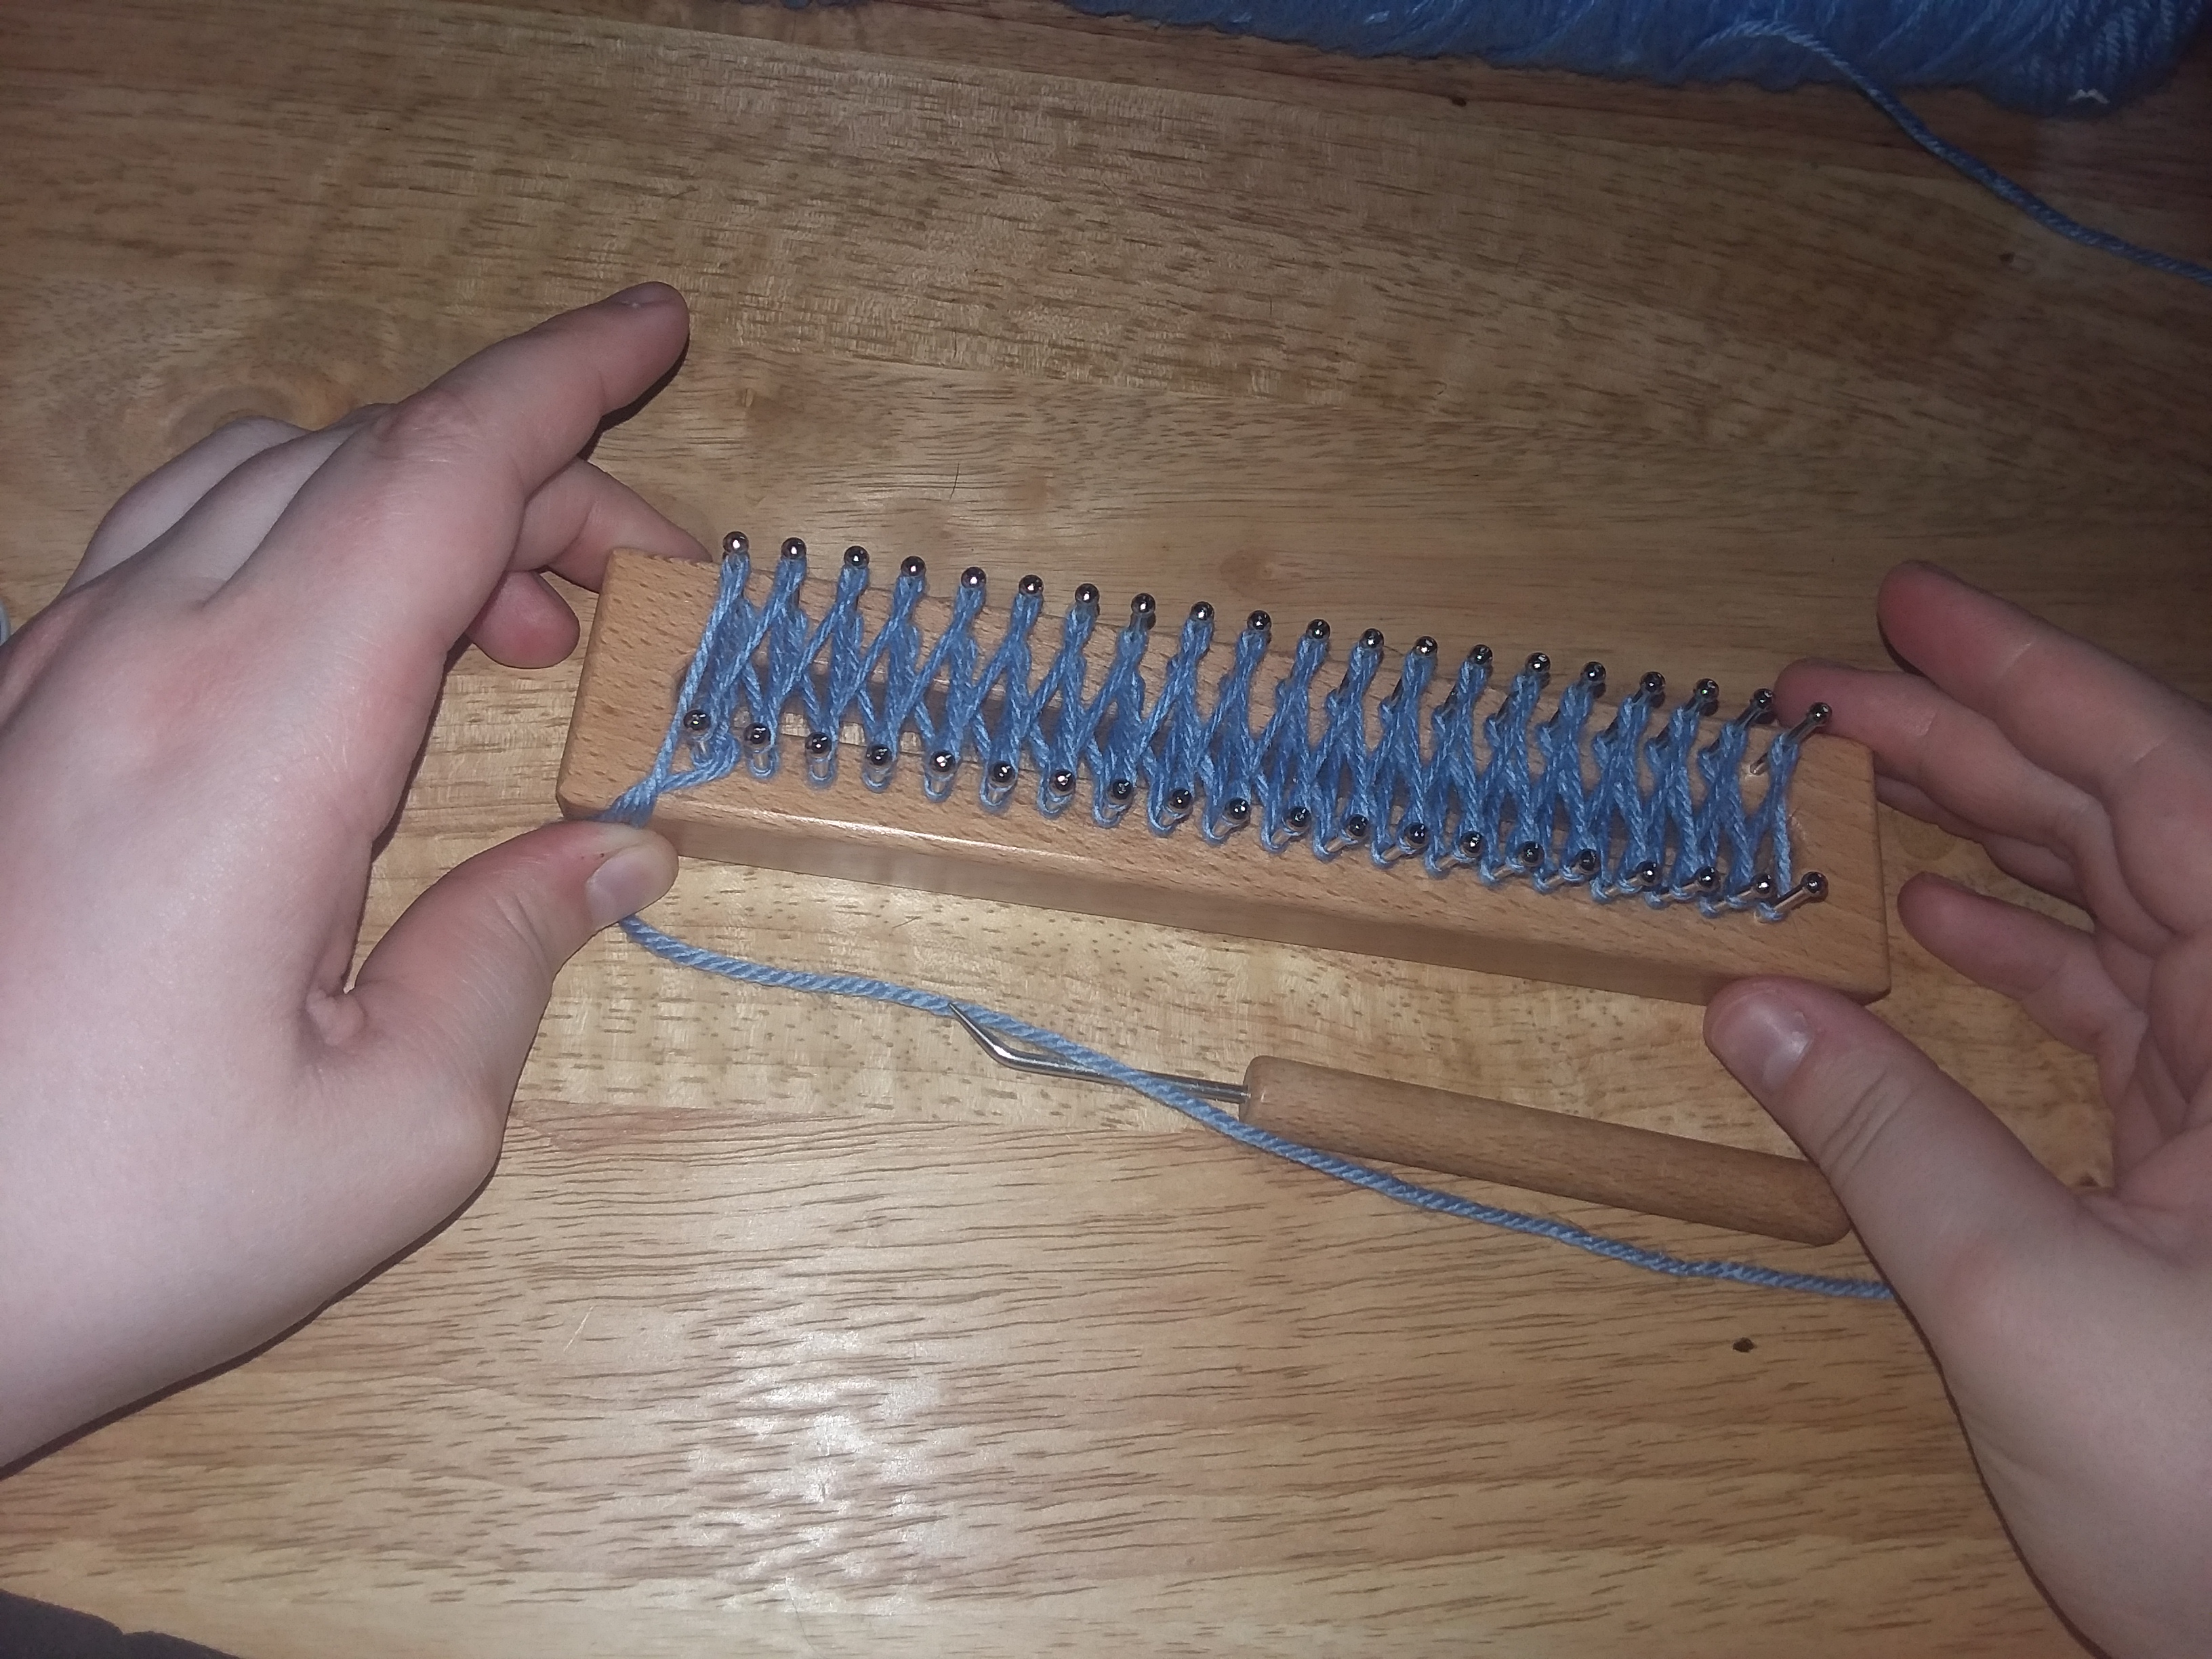
Before we begin, if you don’t know how to do the C2C stitch or need some help on how to get started, I highly recommend seeing Heart Hook Home’s video on how to do the C2C stitch, I found her video very helpful when attempting to learn this stitch!
Let’s Begin!
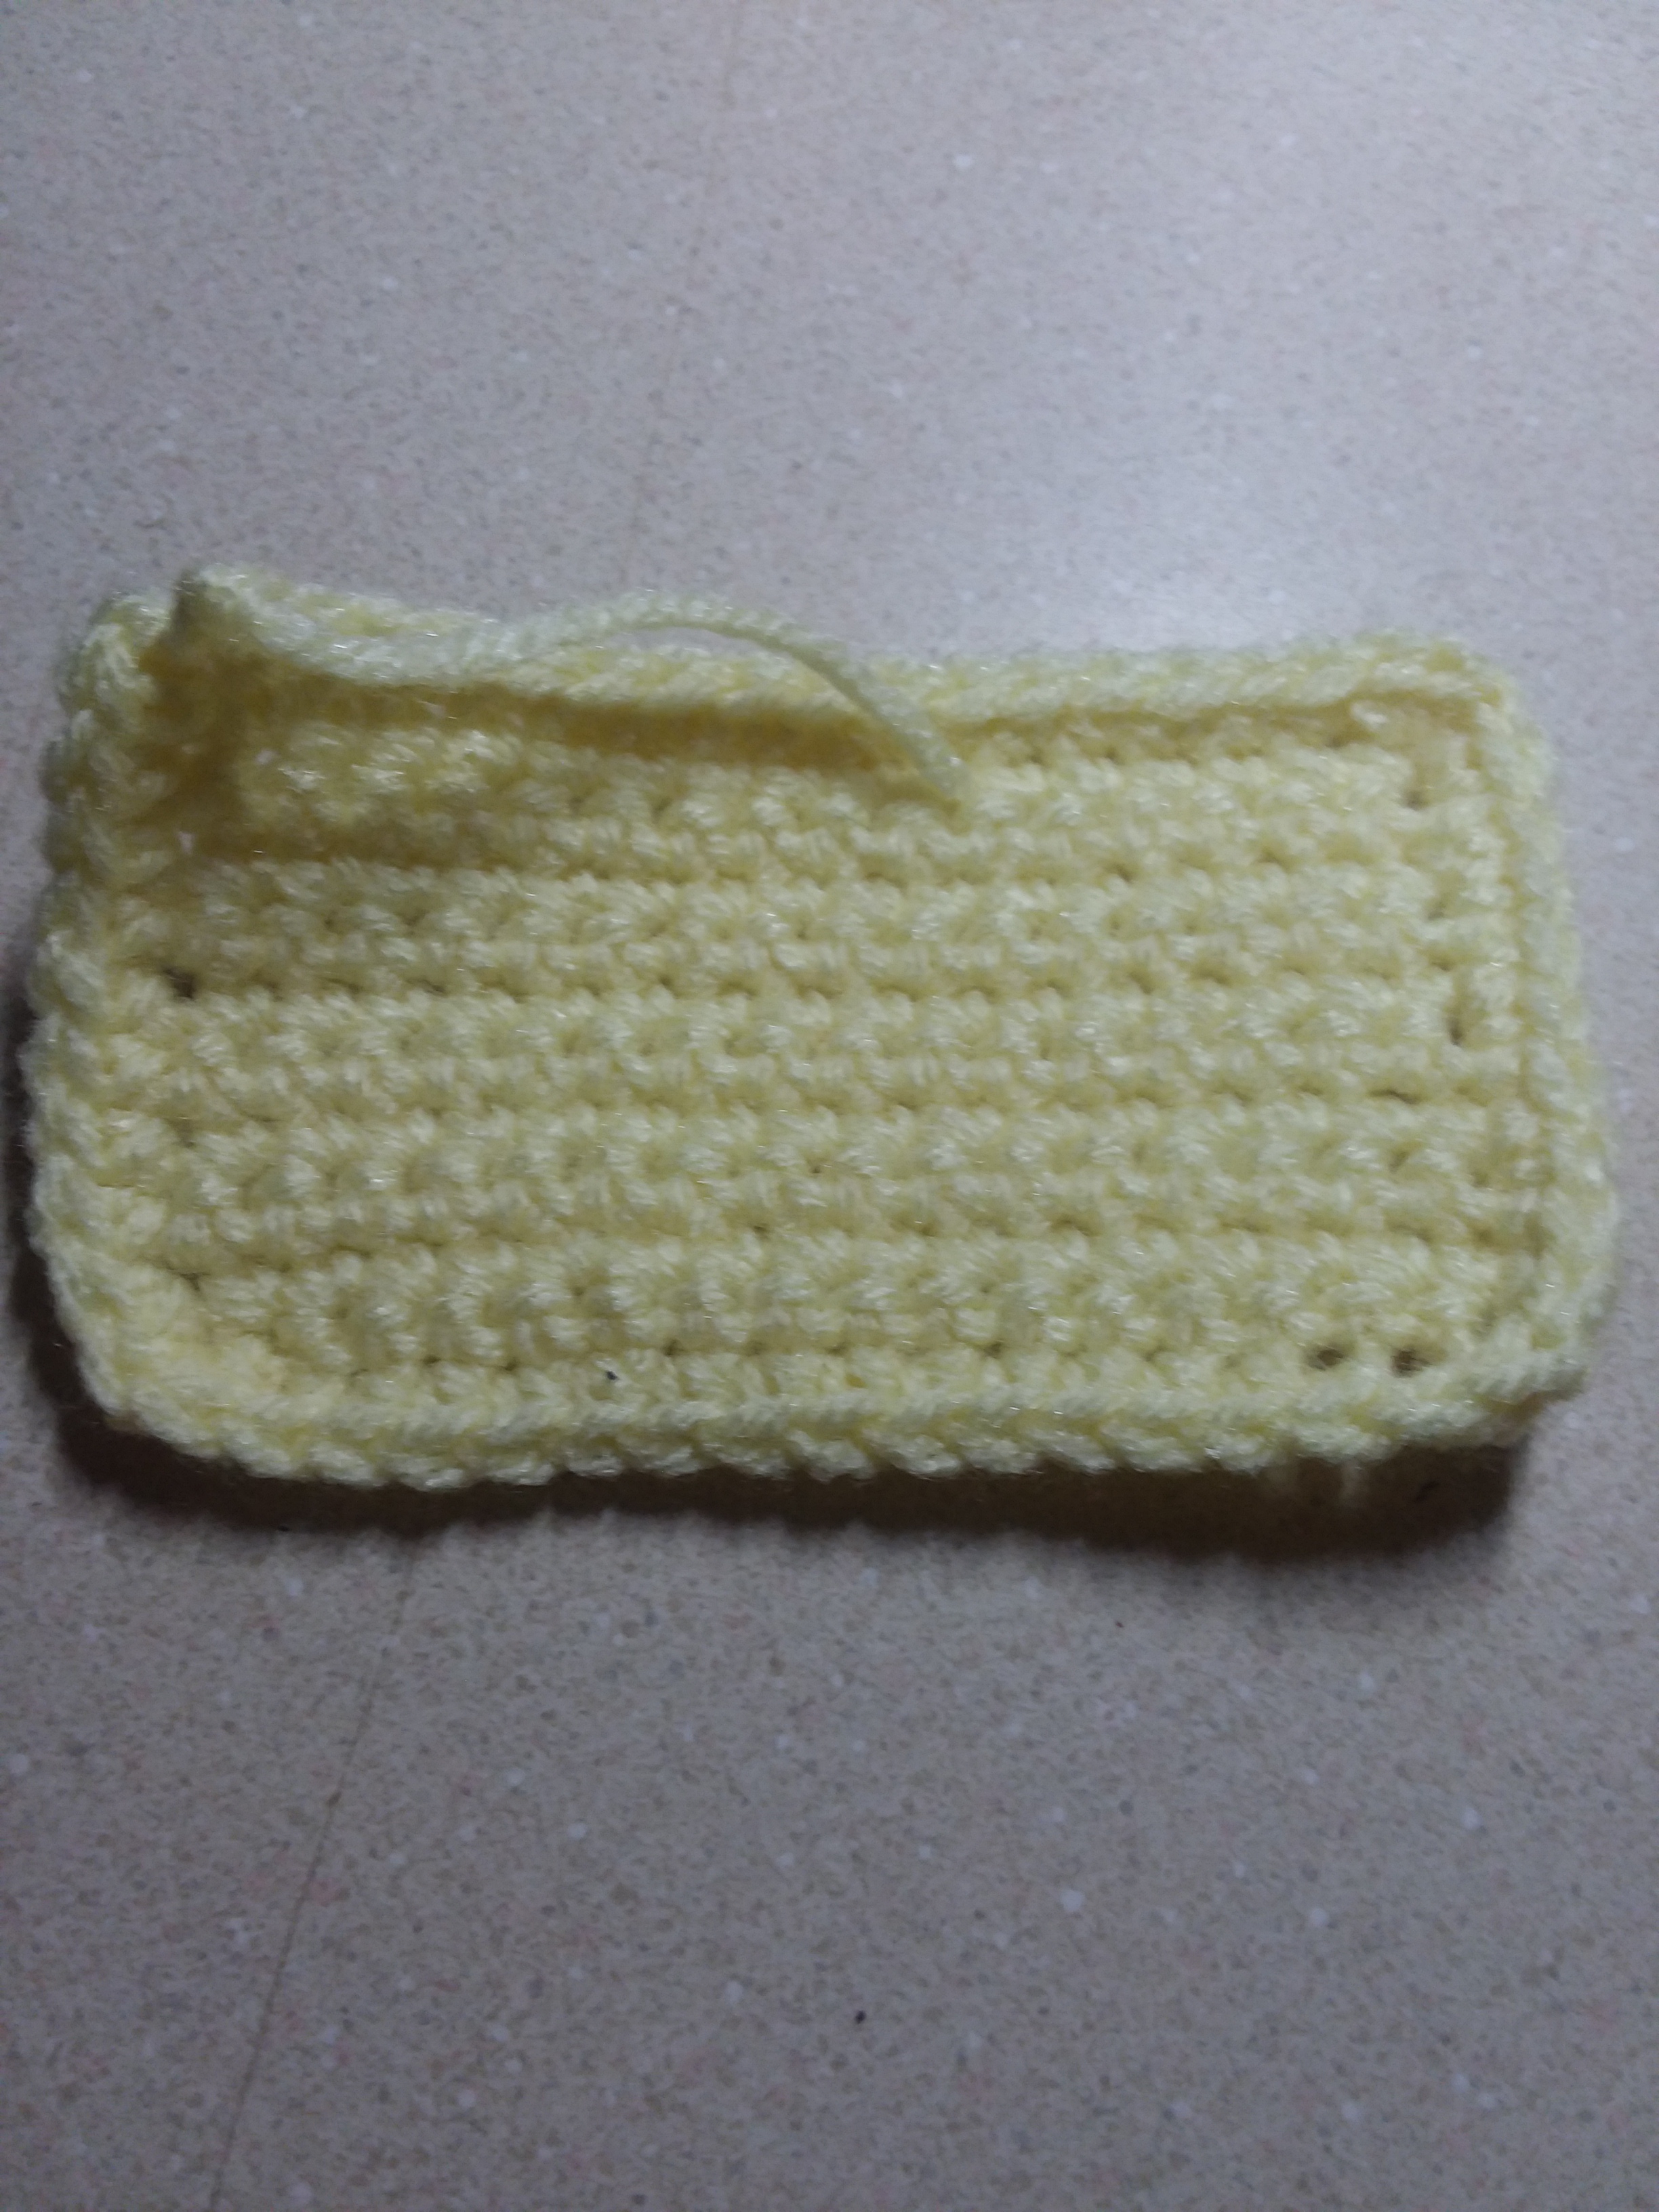
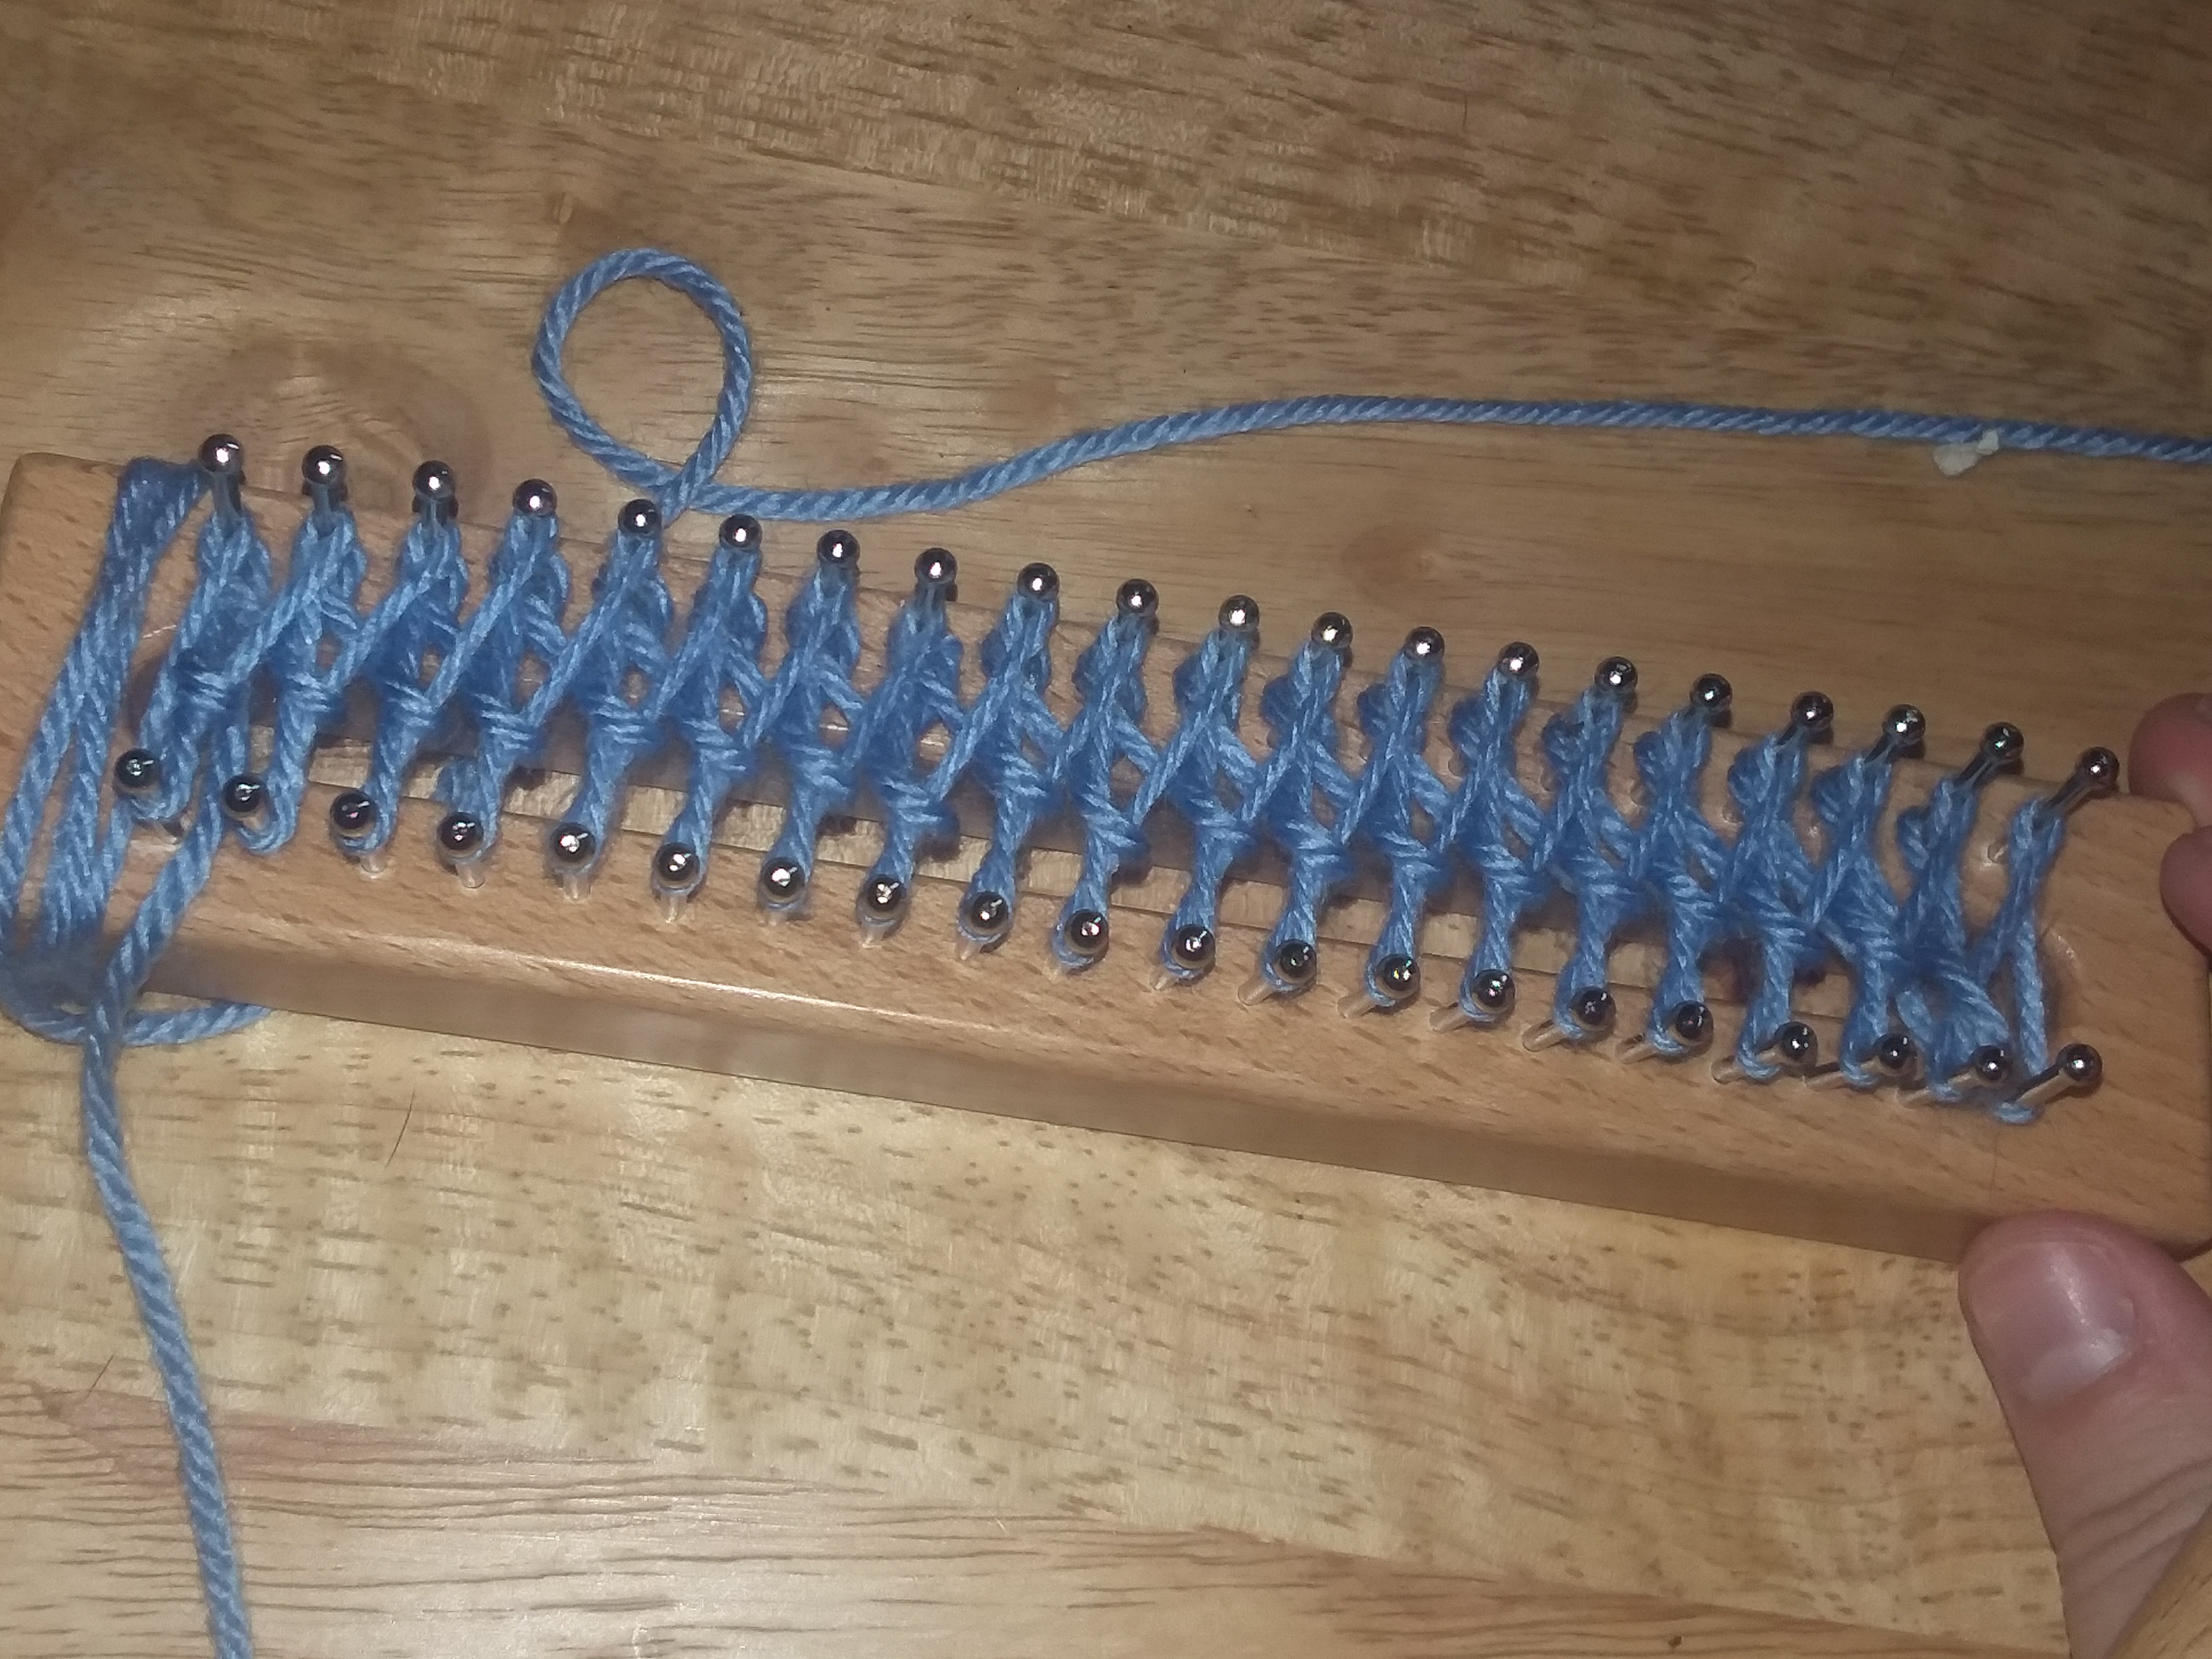
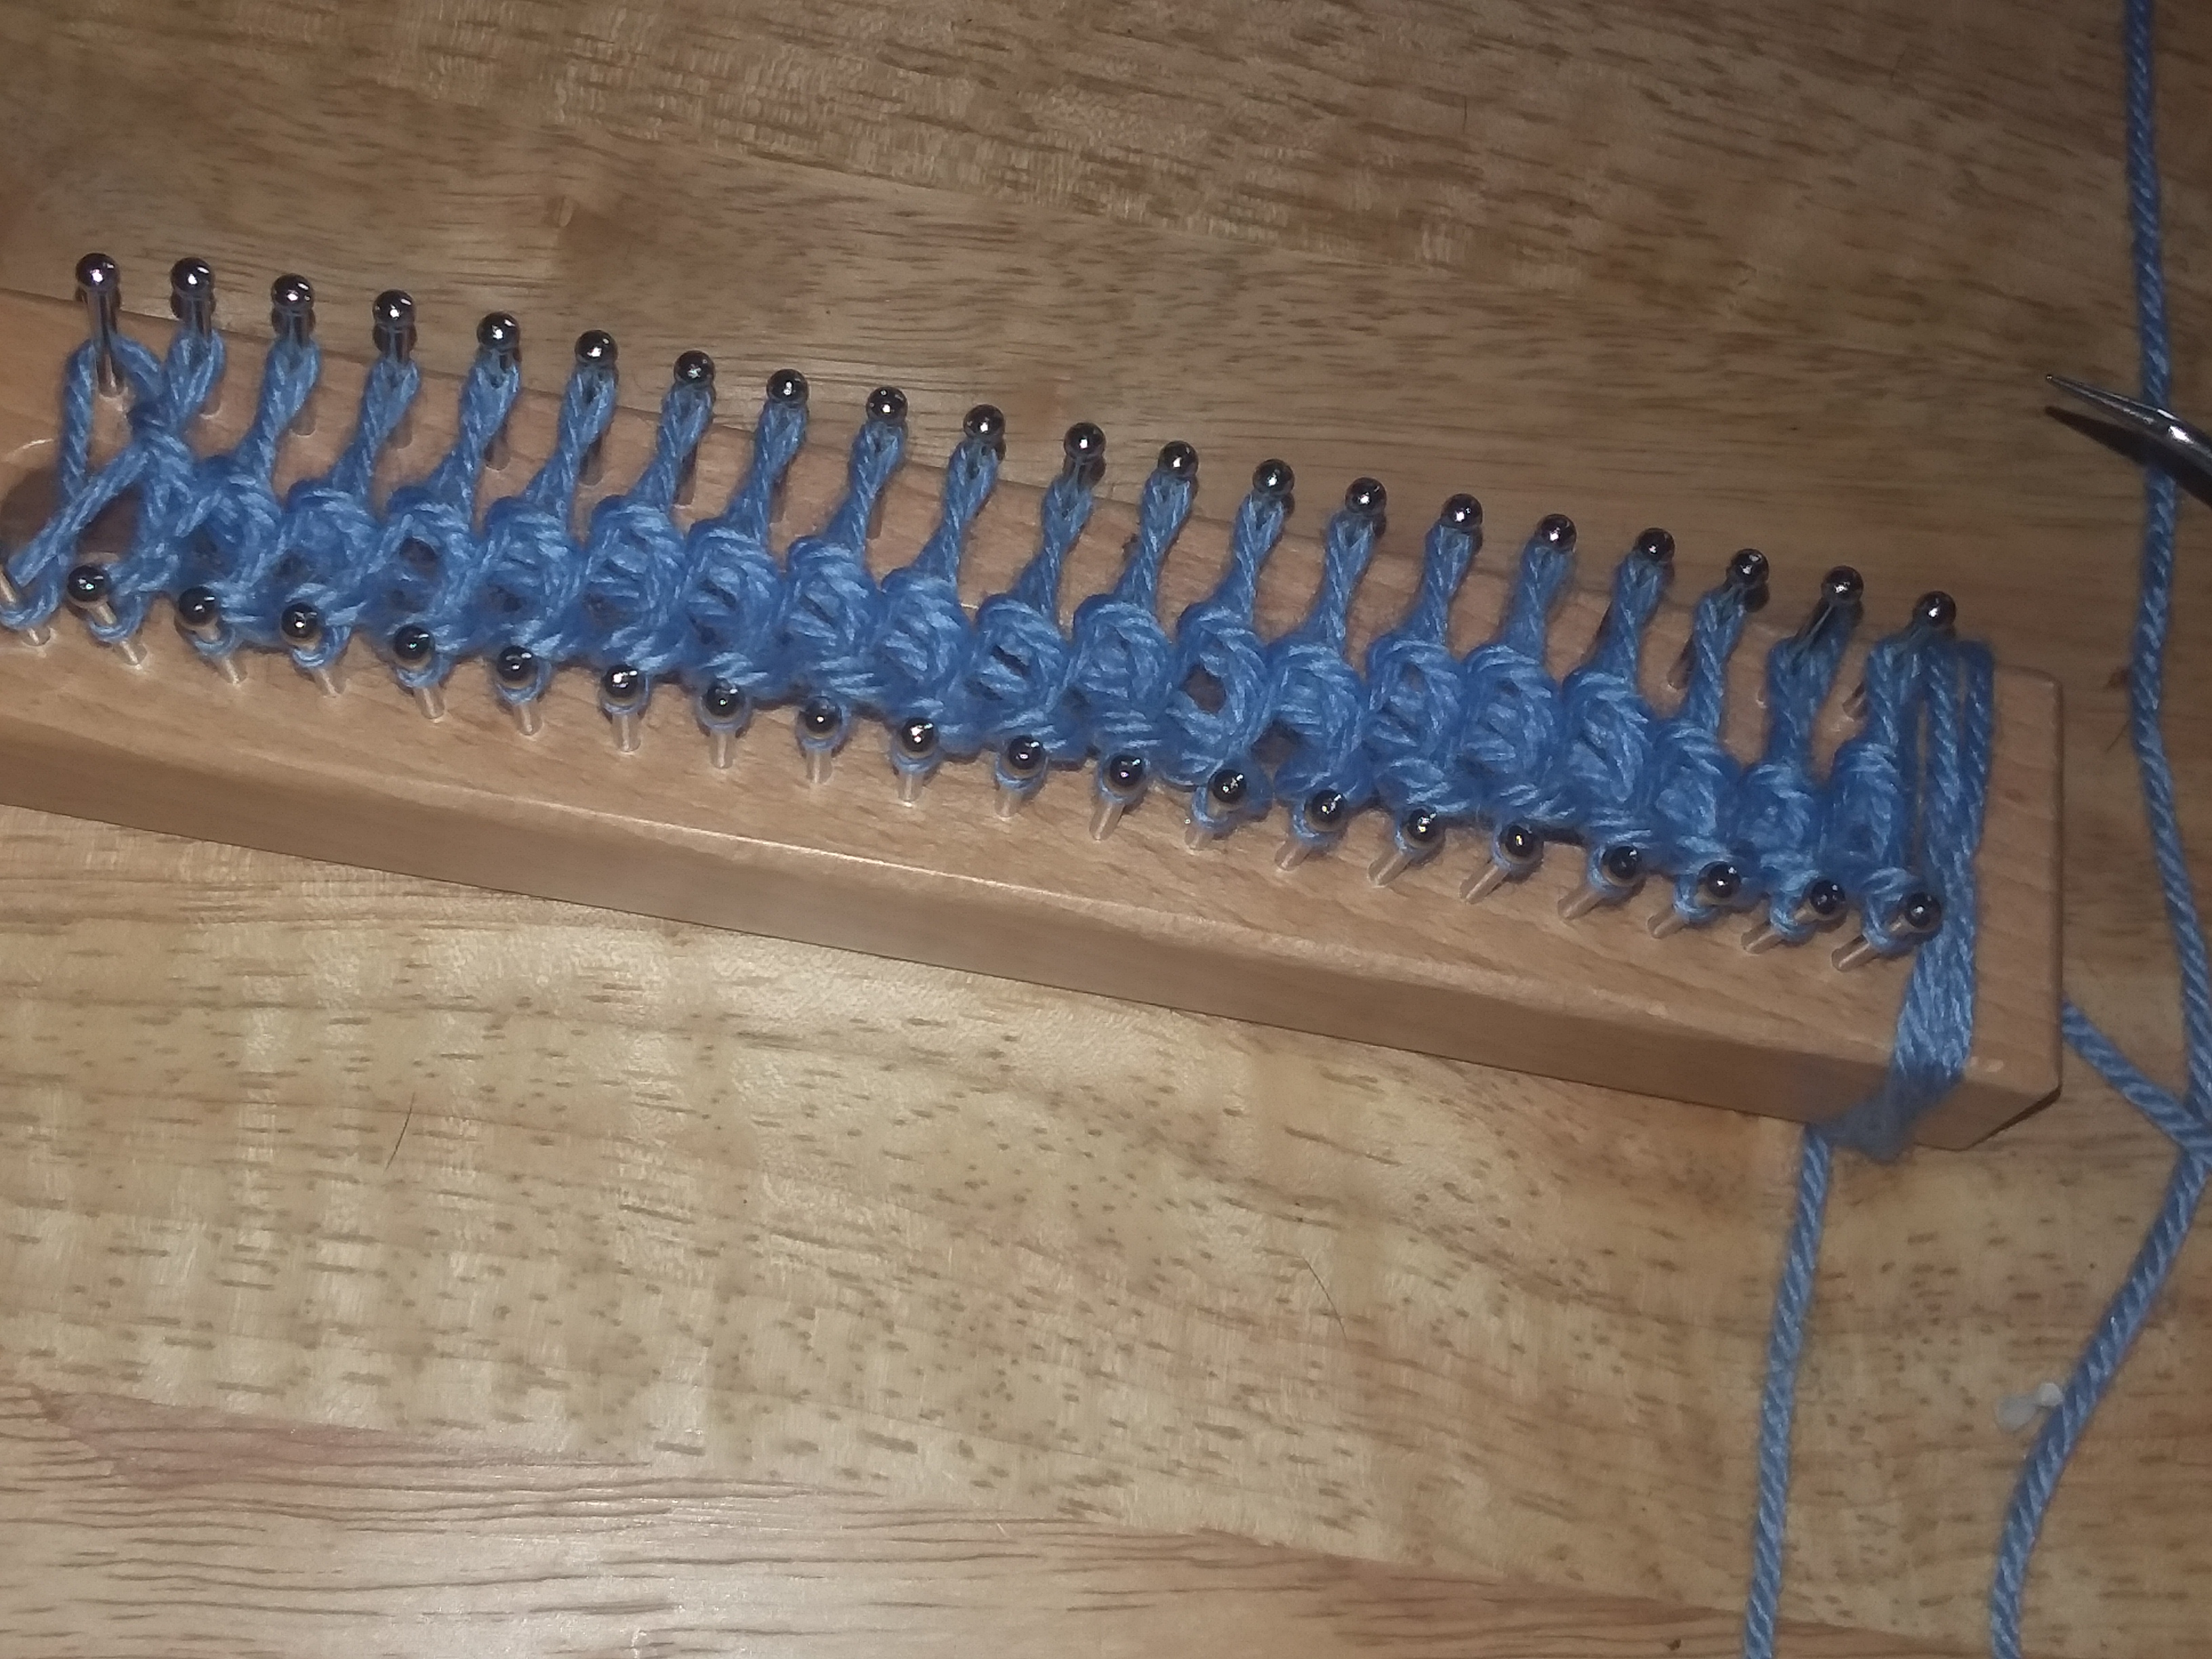
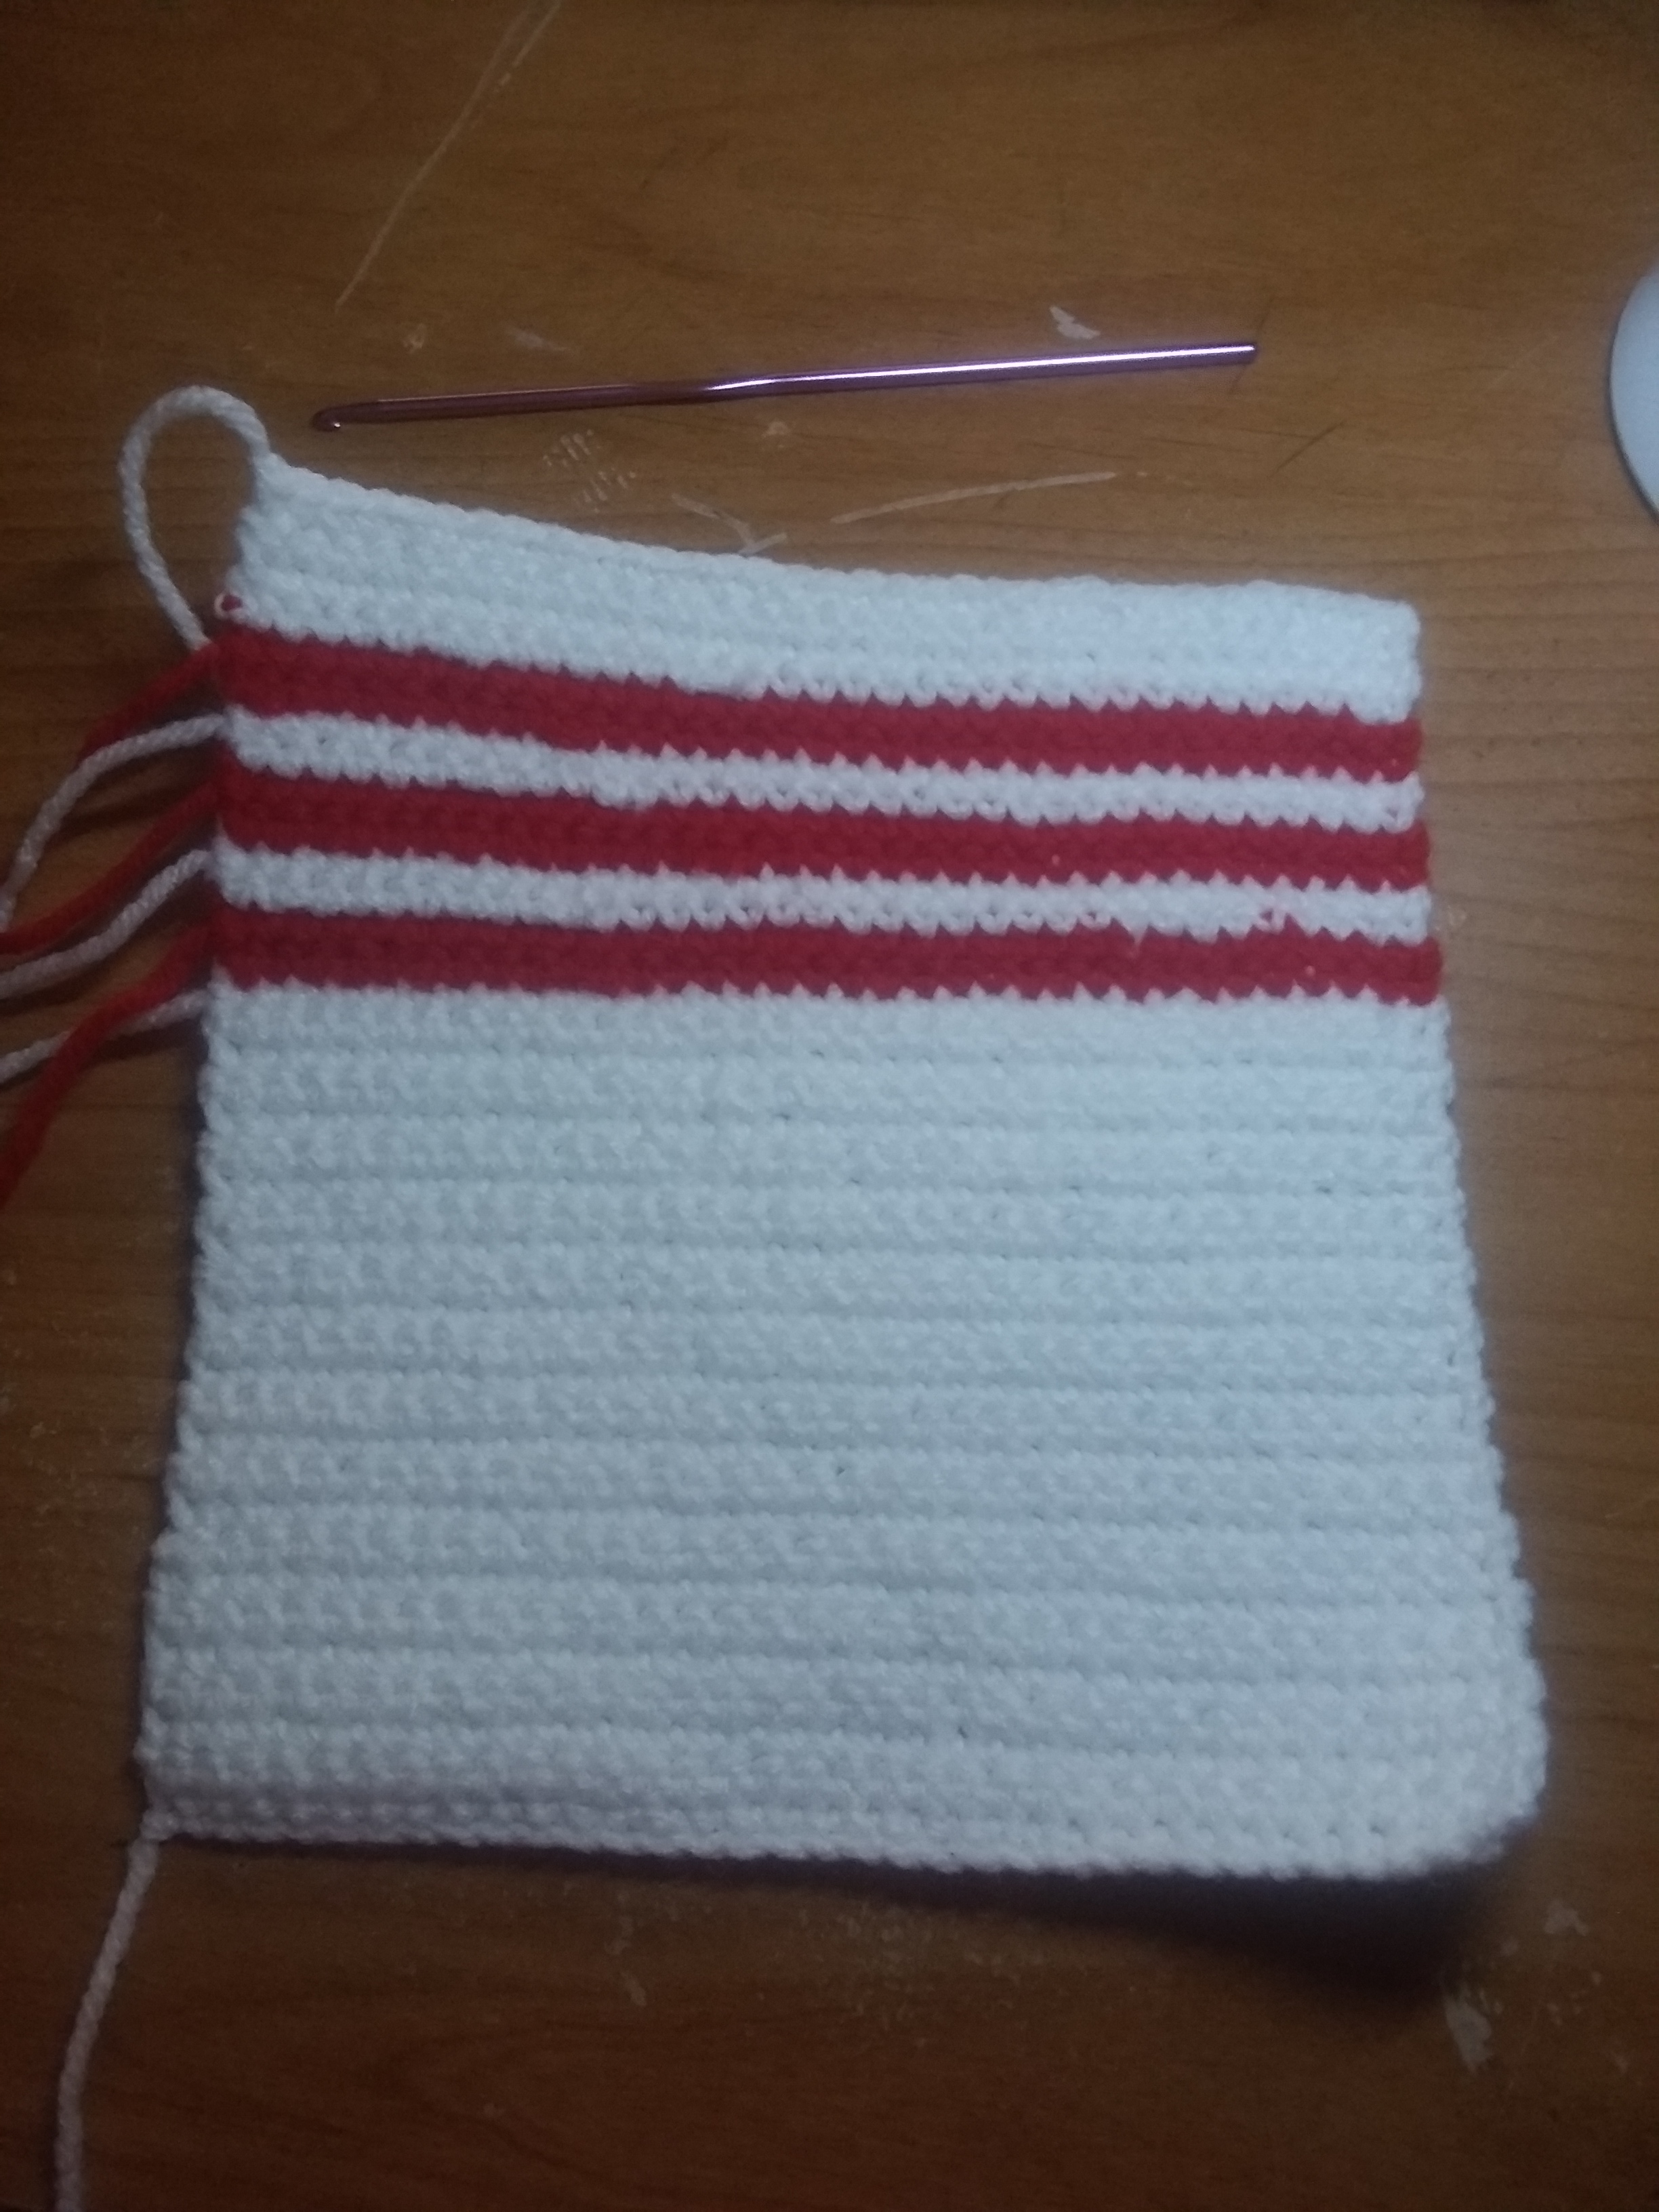
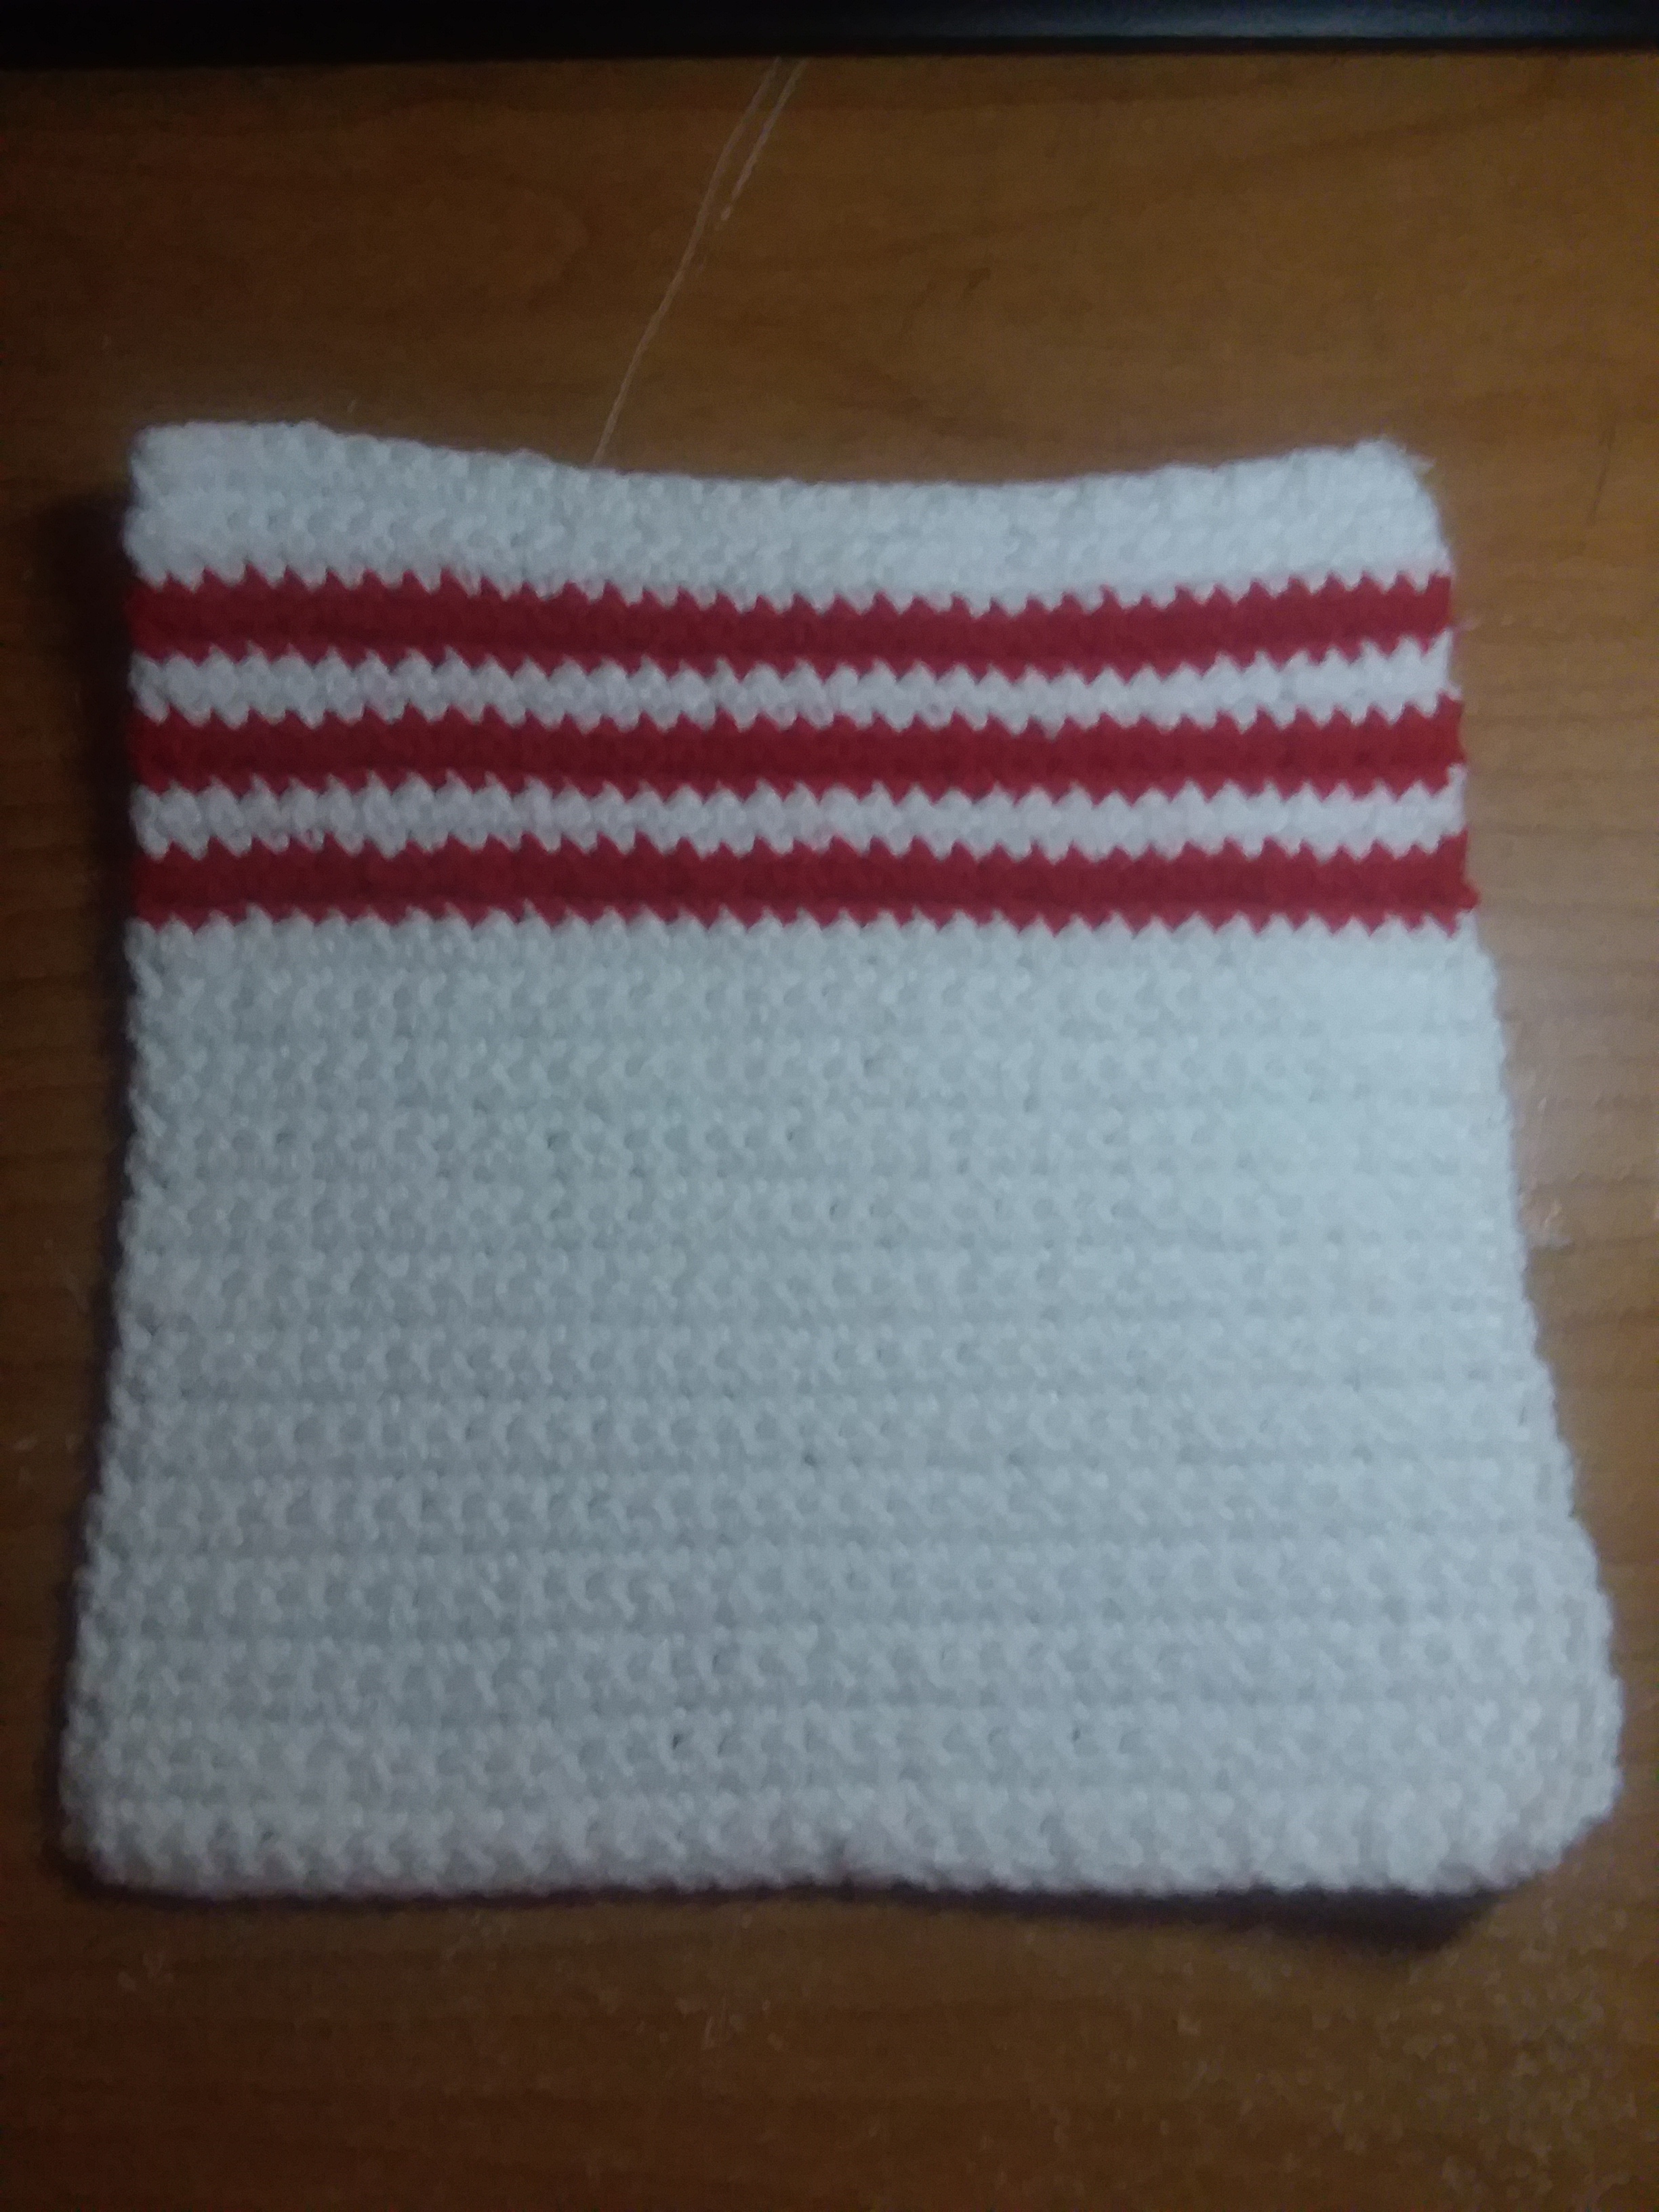
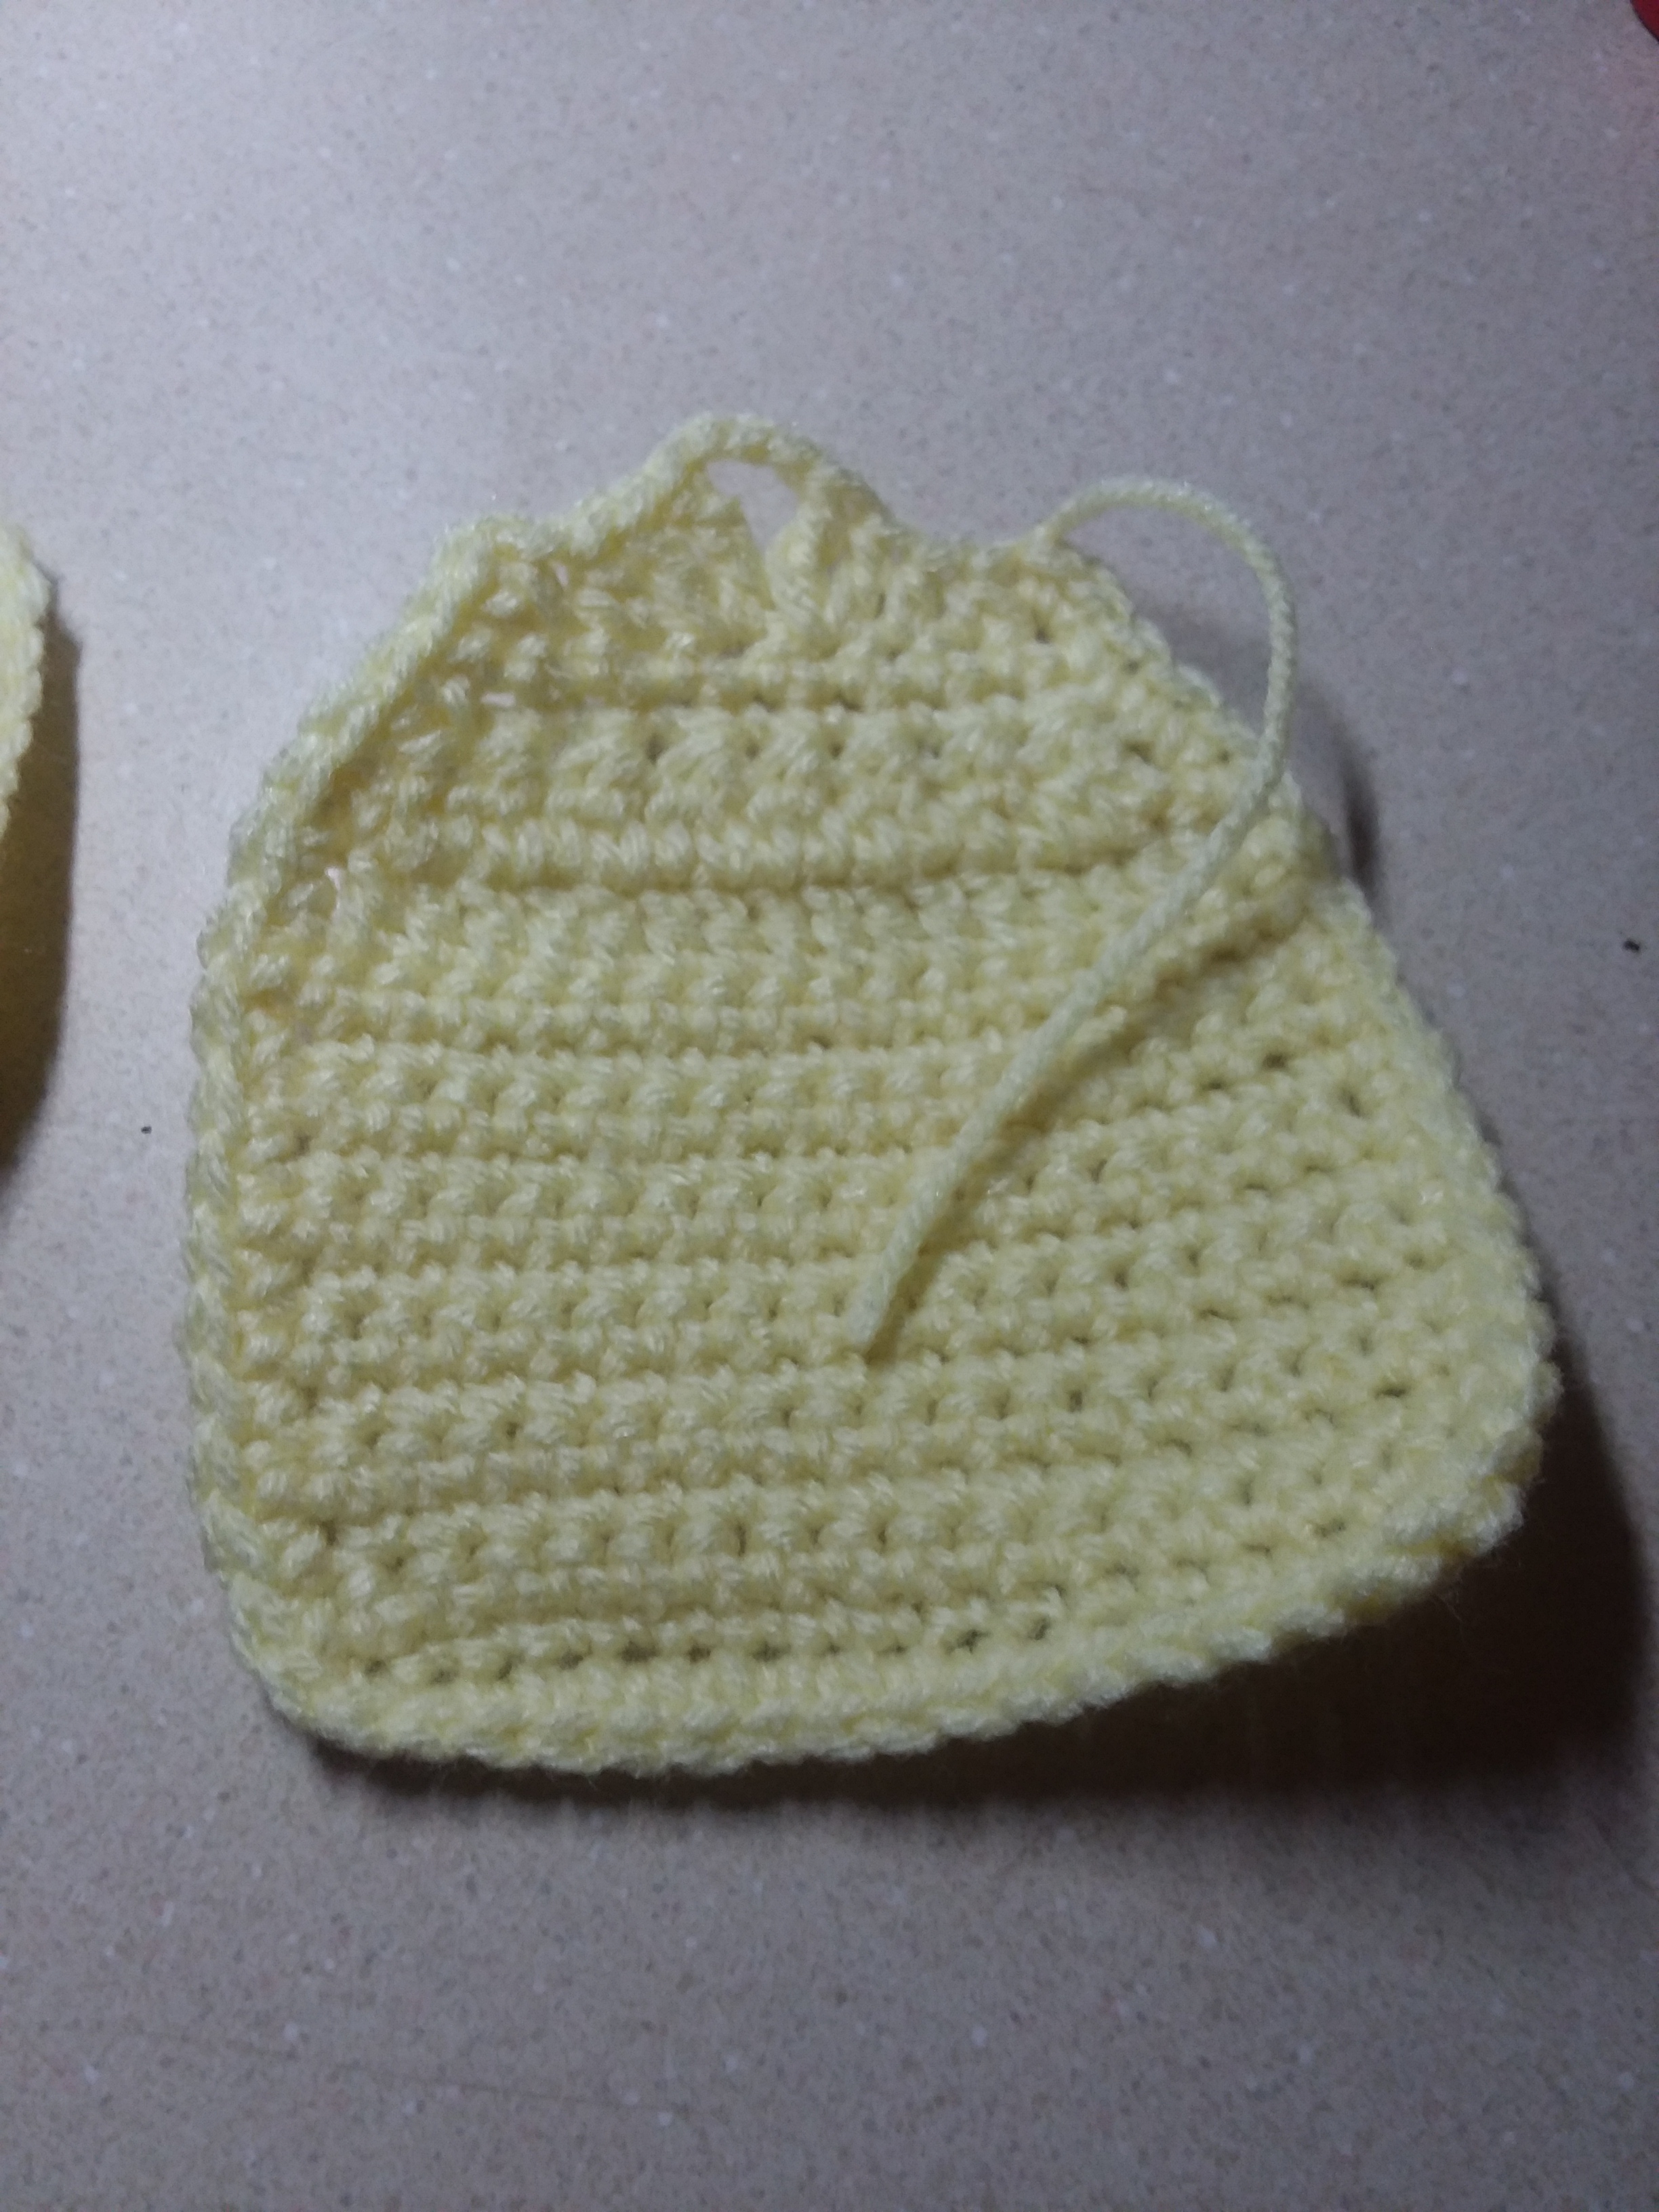
Base: By using the video from above, you are going to be making a square that is an 18 x 25. Instead of slip stitching, when decreasing the sides, make a single crochet. I find that it makes your project look more neat!
Once you have finished your 18 x 25 square C2C, DON’T fasten off, instead, chain on and single crochet around the entire square, make sure to have 3 single crochets in each corner.
Once you are done, fasten off and weave in any loose ends!
Now, here is the fun part! Grab some yarn and your sewing needle, you don’t need a lot of yarn, but enough to sew each of the sides.
What I did, for this part, I folded my square the hot dog fold, leaving at lease 5 squares, for the flap part of the bag. Then, I sewing my sides together on both sides of the bag.
Button Hole: At the top of your flap, single crochet in the first 9 stitches, chain 3, skip the next stitch and single crochet in the next stitch. Repeat this two more times.
Tip: If your button hold don’t look even or you want them to have more or less distances between them, you can always adjust them and change whether or not you want 3 buttons or 2 buttons instead.
Strap: So, this strap is a little different than what I’ve seen being used as a strap, but I wanted to try it out for myself!
When making this strap, chain how long you would like the strap to be, I didn’t really keep track of how long I chained for, but make sure that you chain 2 extra chains.
Then skip the first 2 chains from your hook and make 2 double crochet in the next chain stitch. (The chain 2 counts as a double crochet!) Double crochet into each chain stitch until you reach the last stitch.
When you reach the last stitch, make 6 double crochets in that same stitch.
Then continue to crochet on the other side of the double crochets, double crocheting into each opposite double crochet stitch until you reach the last stitch.
Make 3 more double crochets in that last stitch. Slip stitch at the top of the chain 2 and fasten off!
Tip: To make it easier for sewing this into the bag, leave a long tail, about 3 inches or so.
Attachment: To attach the strap to the base, sew on the outside of either sides of the bag.
Once your straps are attached, grab your buttons and sew them onto your bag as well.
Tip: Folding your flap down and seeing where the button holes will sit, helped me a lot when placing my buttons.
And once you attach your buttons, you are done! Weave in any loose ends!
There you have it! A simple fun hang bag to make! Let me know in the comments down below if this is something you would use for yourself?


 e crocheting until it reaches the length you want it to be. If you are making a gift card holder, keep in mind that cards are about 2 1/5 inches long.