
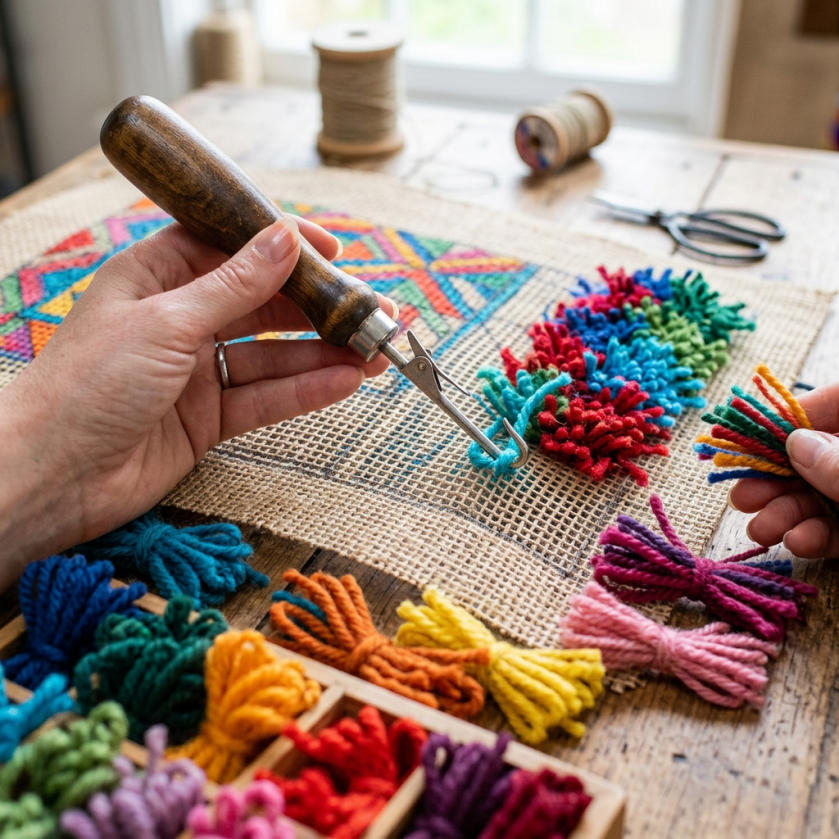
I mentioned that I have worked with a few latch hooks, but I never went in detail on what they really are. Latch Hooks are like rugs that are made up of yarn on a grid. There are many things you can with latch hooks. I personally, like making pillows, but they are a lot of hard work.

The picture above is what a latch hook looks before you start or add on anything. Also, that is the tool you use to ‘tie on’ the yarn. Now, if you are intersected in making one of these and you are just a beginner, I recommend buying a latch hook kit. It will come with everything you need: the grid, the cut up yarn, and the hook tool.

Not all kits are the same! The picture above shows what you would get in a kit, but be warned, not all kits have their colored yarn organized perfectly like this! Some grid might actually have the print of the picture already on the grid, to help guide you through the process.
Also, if you haven’t noticed, most of the latch hook grids have multiple blue squared on them, that helps with knowing where to start, it you aren’t lucky enough to have a kit with the picture printed on the grid. Most of the squares are 10×10, by counting them, but some grid might be different and be like a 10×9 or 9×10.

The process is very simple. I didn’t think so, at first, but it is very easy to do. The picture above with show you a little better than how I explain it.
- Take a piece of yarn, whatever color you need and wrap it around your hook, your latch hook tool.
- Take the hook, while holding on to the yarn that is wrapped around it, and insert into the grid, just the hook and make sure that the hooks open, as shown above.
- Next, take your end pieces of your yarn, remember, you still have it wrapped around you hook, and pull it into your hook, making sure that your latch hook tool flap, we will call it, doesn’t close. You have to make sure that stays open for this step!
- Then, take your latch hook and pull it through that square, where you want to place the yarn. The hook tool flap will close to keep the yarn in it’s place when you pull through the square.
- Last, but not least, tighten the knot and make sure it is on tight!
- Once that is done, you keep repeating until the project is done!
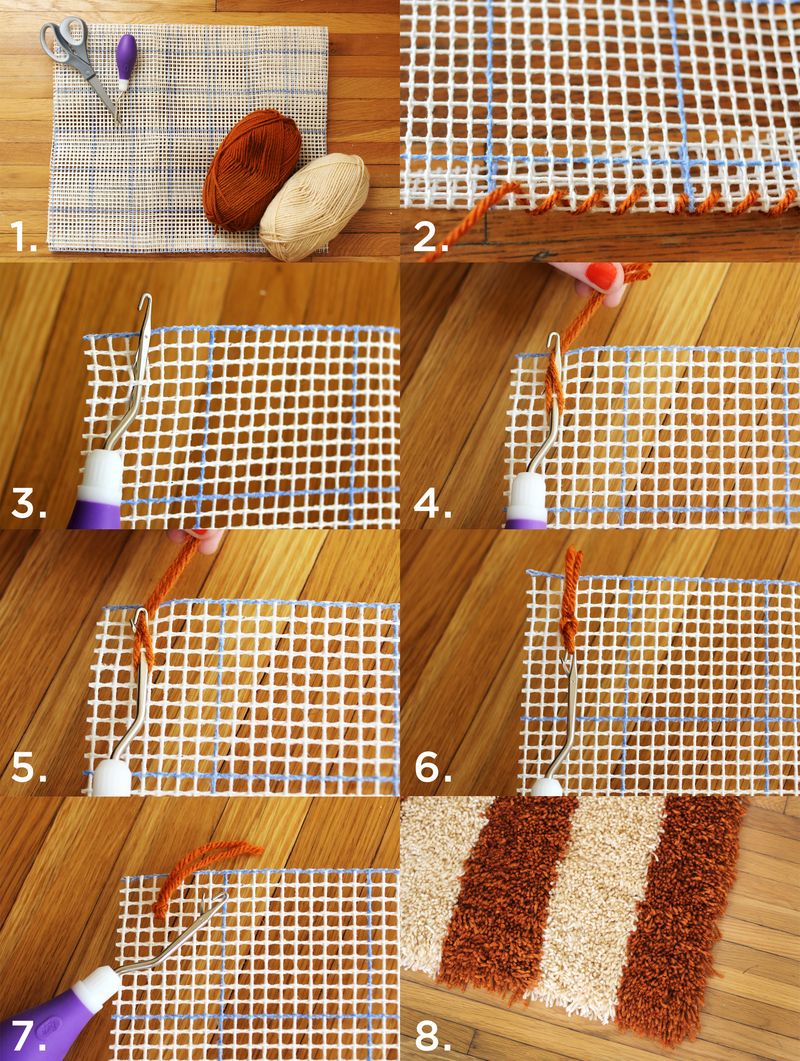
Sorry, if I didn’t explain it very well. This picture above does a better job, but I figured I would give it a shot and try.
When you finish your project, you will noticed that you have extra strands of yarn leftover. Some kits will add more than enough to finish, other’s might give you enough to just barely finish the project. If you are like me and keep everything, keep the extra strands, just in case you need them for another project, you never know.
If the kit didn’t give you enough yarn, there is another way to get some more. You can always go to a craft store, or look online, and find the color yarn and cut it yourself, but using the size of what the kit gave you. Or, some craft stores will have the yarn cut up already for you, so if you are making the latch hook for someone, they have it for you to grab and go.
Latch Hooks is great for all ages, plus, if you are just starting to get into crafts and such, this would be the way to start out. You can do so much with latch hooks, they don’t just have to be a rug. They can be pillows, stuff animals, wall hangings, etc. They even have blank grids that you can freestyle.
The only downfall with the latch hooks, is that it can take up a lot of your time, sometimes. It’s nothing that you can pick up and finish all in one sitting, maybe if you are quick and did it all in one night, or had a small one to work with. This type of project is a pick up and finish later type of project.
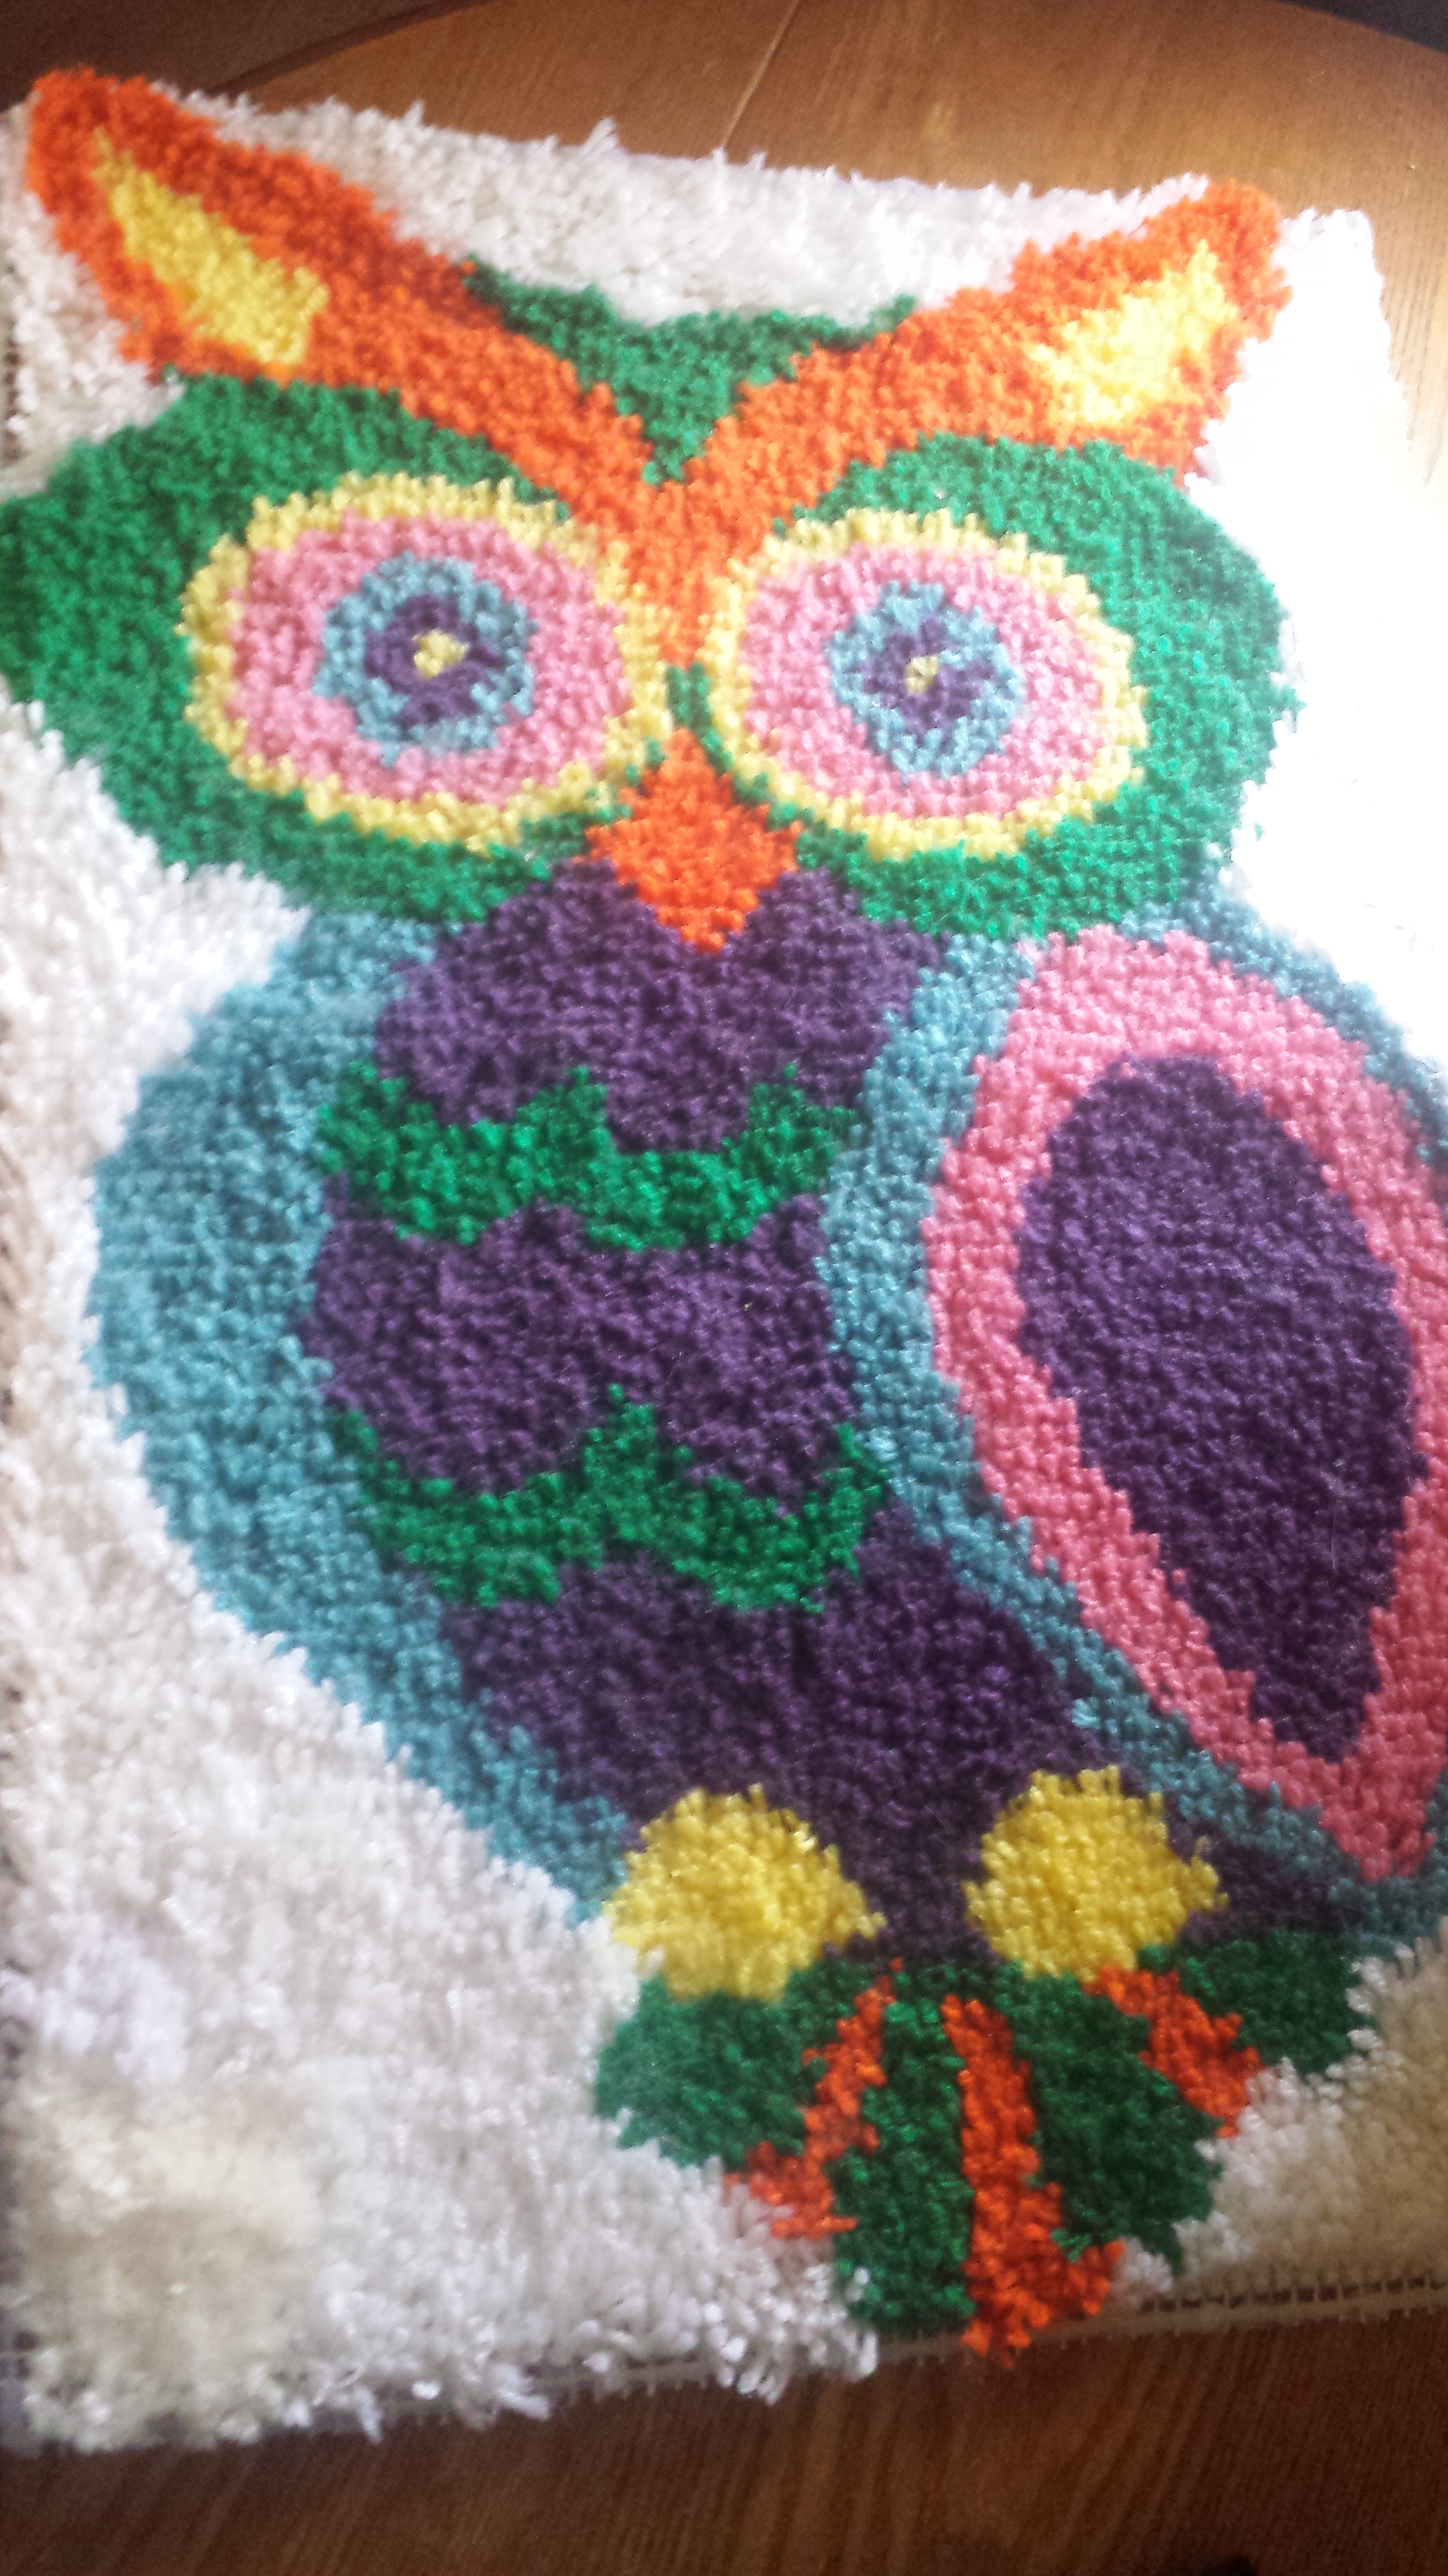
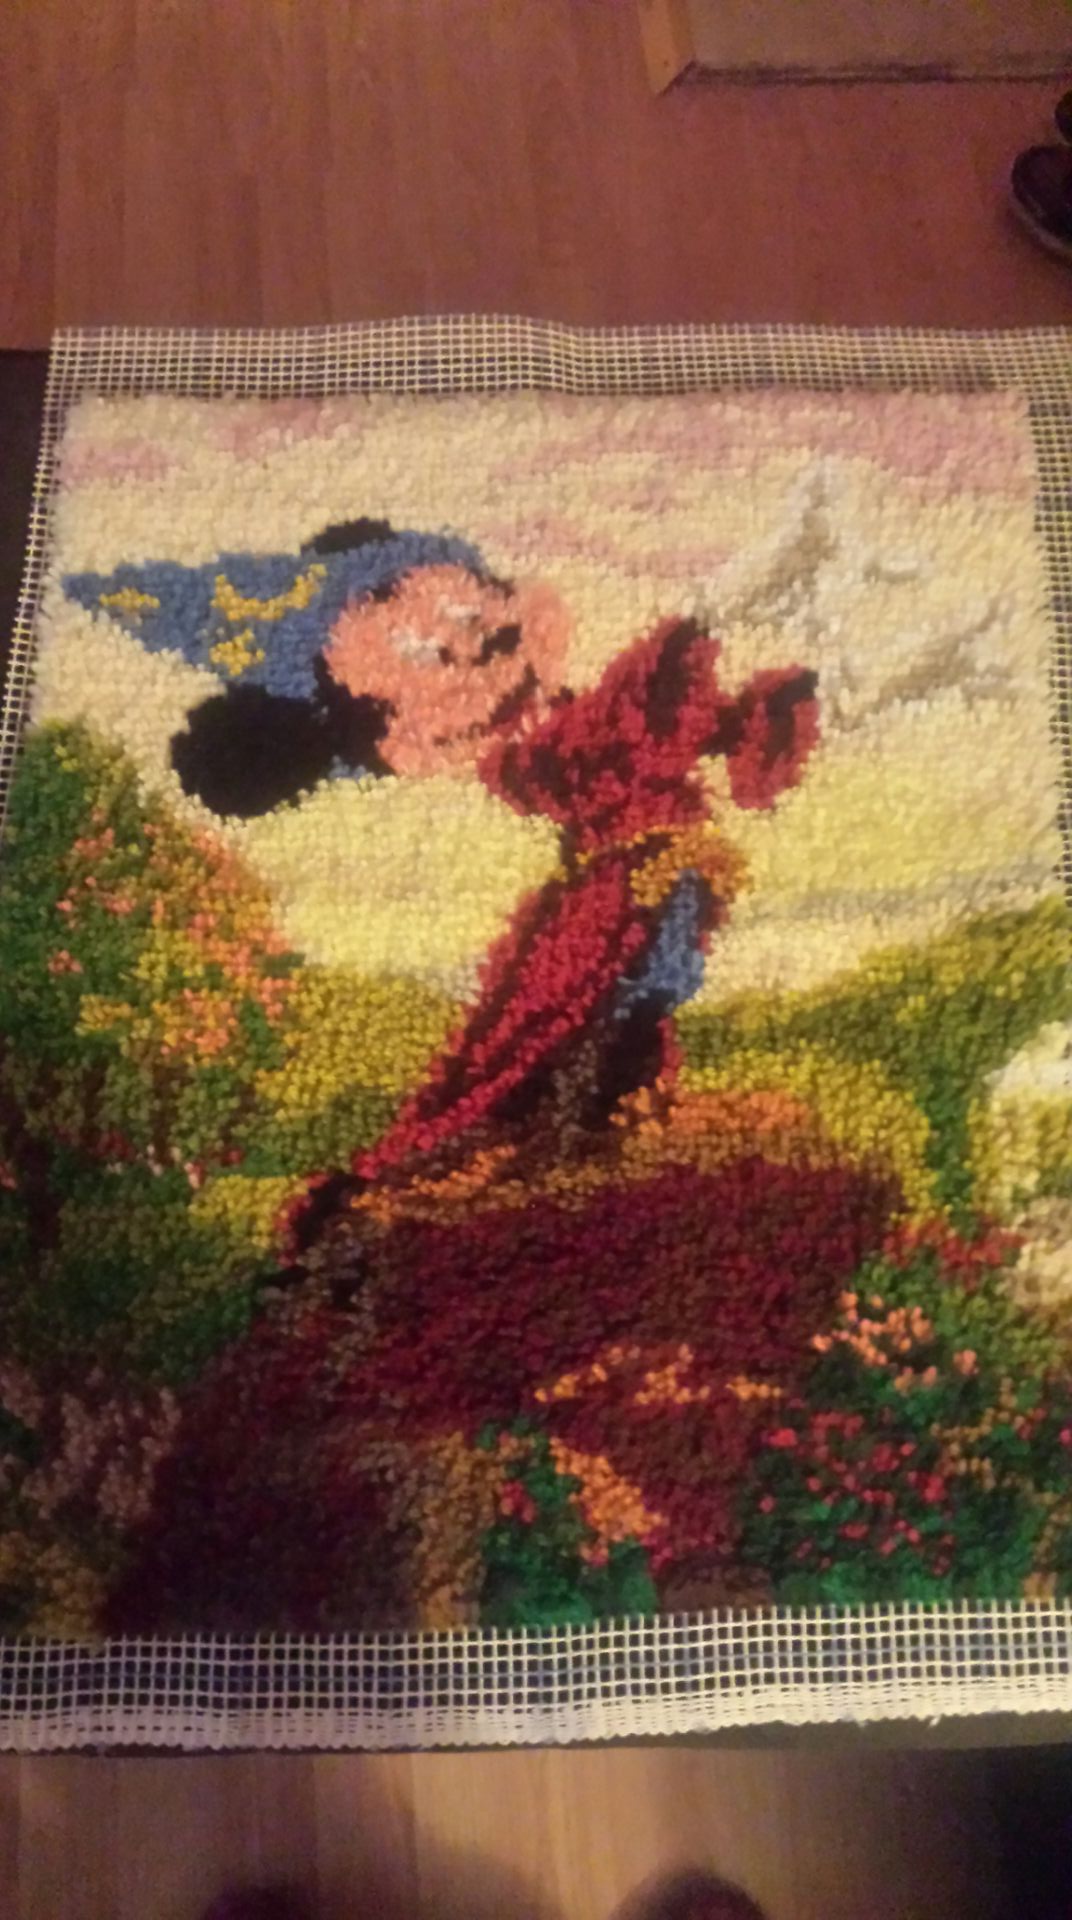
Anyway, I will had a few pictures below of the latch hooks that I have finished. So far, I have made two pillows and two pillow cases. None of which have been for me, but all the ones I have given away, have loved them. Not because I did a great job, but it was something that I made for them and those are the best kinds of gifts!


If you are very intersected in wanting to make one of these, check out your local craft store. You won’t have much luck at a Walmart or Kmart, but Amazon does have a very wide selection!
