Hey Dearies! Since I am working on a few projects, I figured I would talk to you about the many crochet hooks that you can come to choose from. Especially if you are a beginner, knowing what hooks to get can is very important!
As a beginner myself, I jumped right into buying a set of crochet hooks from Wish and went from there. However, since I got lucky and only paid 3 bucks for a mini set, I wish I would’ve known there was more than just one type of hooks.
Each type of hooks can have a different feel or how they are in general, but before we get into how they feel, let’s talk about the different kinds of hooks you can get:
- Aluminum Hooks
- Plastic Hooks
- Steel Hooks
- Wooden/Bamboo Hooks
- Japanese Hooks
I’m going to break each of these down just so you can get a picture of how they are like and if they are for you. The only ones that I don’t have in my possession, are the Japanese Hooks, but I will still explain and have a photo of them just so you know what they look like.
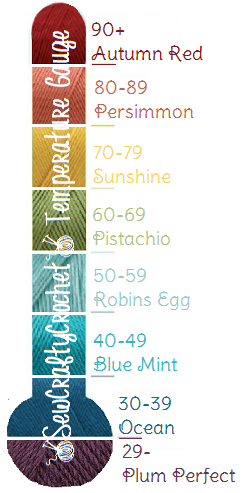
Also, I am going to put a chart of the different sizes of hooks you can get and how they are labeled, as well.

As you can see, there are 3 different types of labels for these hooks. USA, English, and Metric. The easiest one to go by is Metric, I found that it was easier to find hook sizes by using their actually metric size.
To me, using letters to determine which size hook, has been confusing and usually if a pattern says a hook size as a letter, I always end up looking up in my crochet books or search in Google, to get the metric size. Hence why my patterns, don’t have the hooks in letter sizes.
If you are a beginner, Metric is the way to go, but you can determine which one you feel most comfortable following. If you are wondering how small these hooks can be, they can get pretty small or really huge.
Now, let’s get down to talking about the actual hooks themselves.
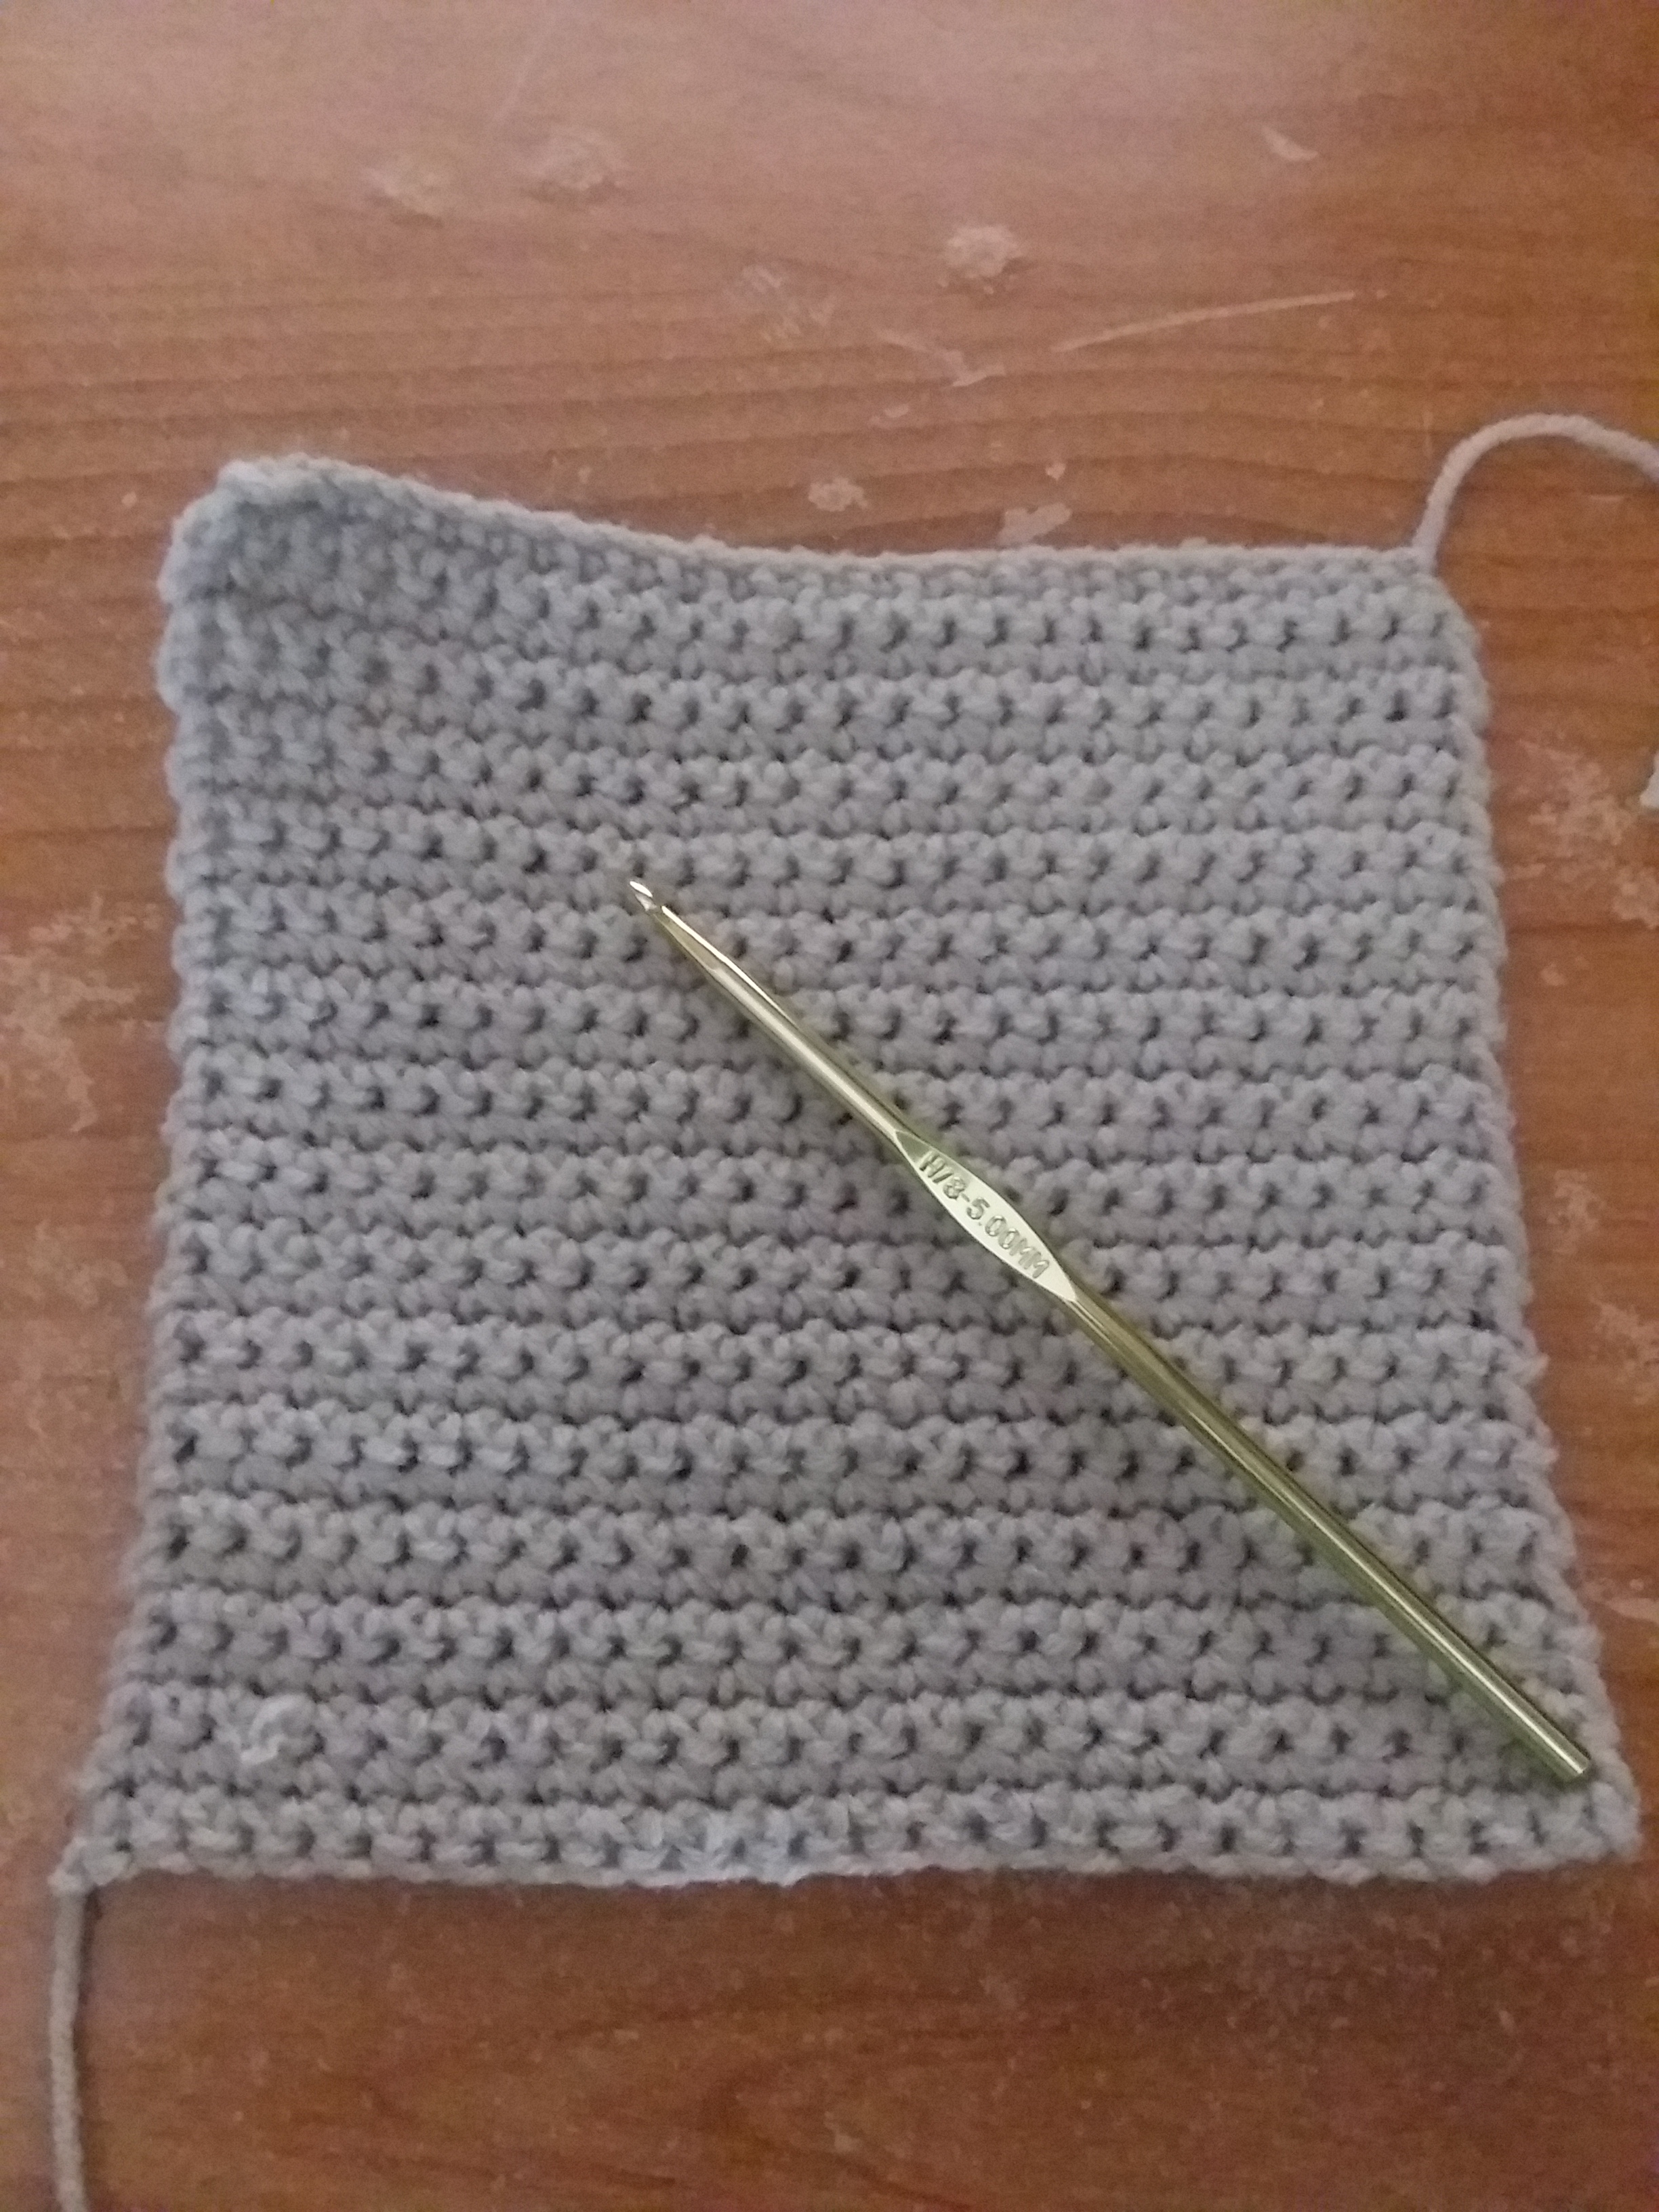
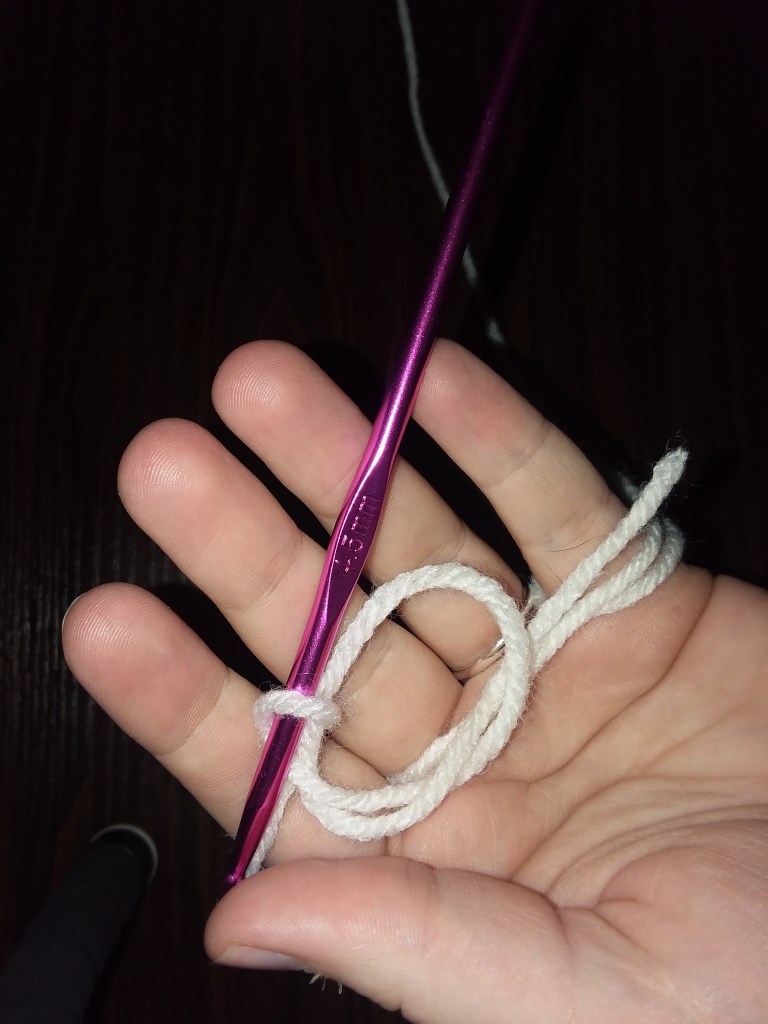
Aluminum Hooks
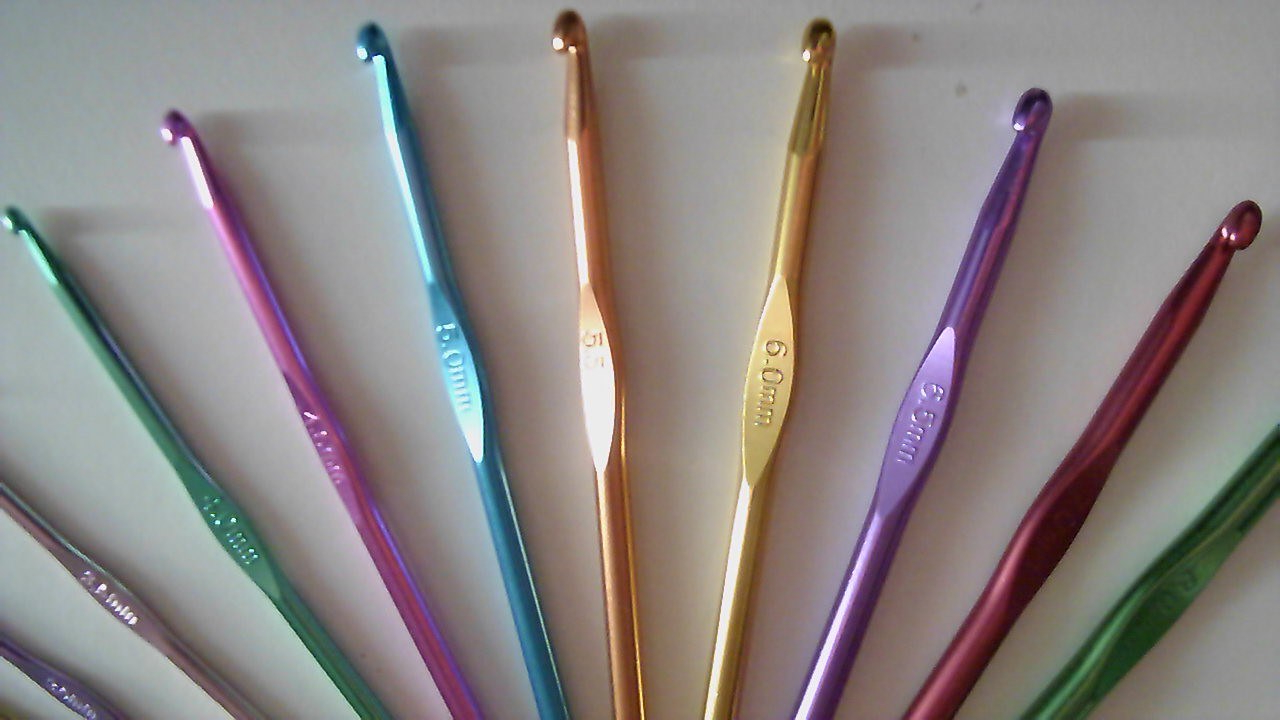
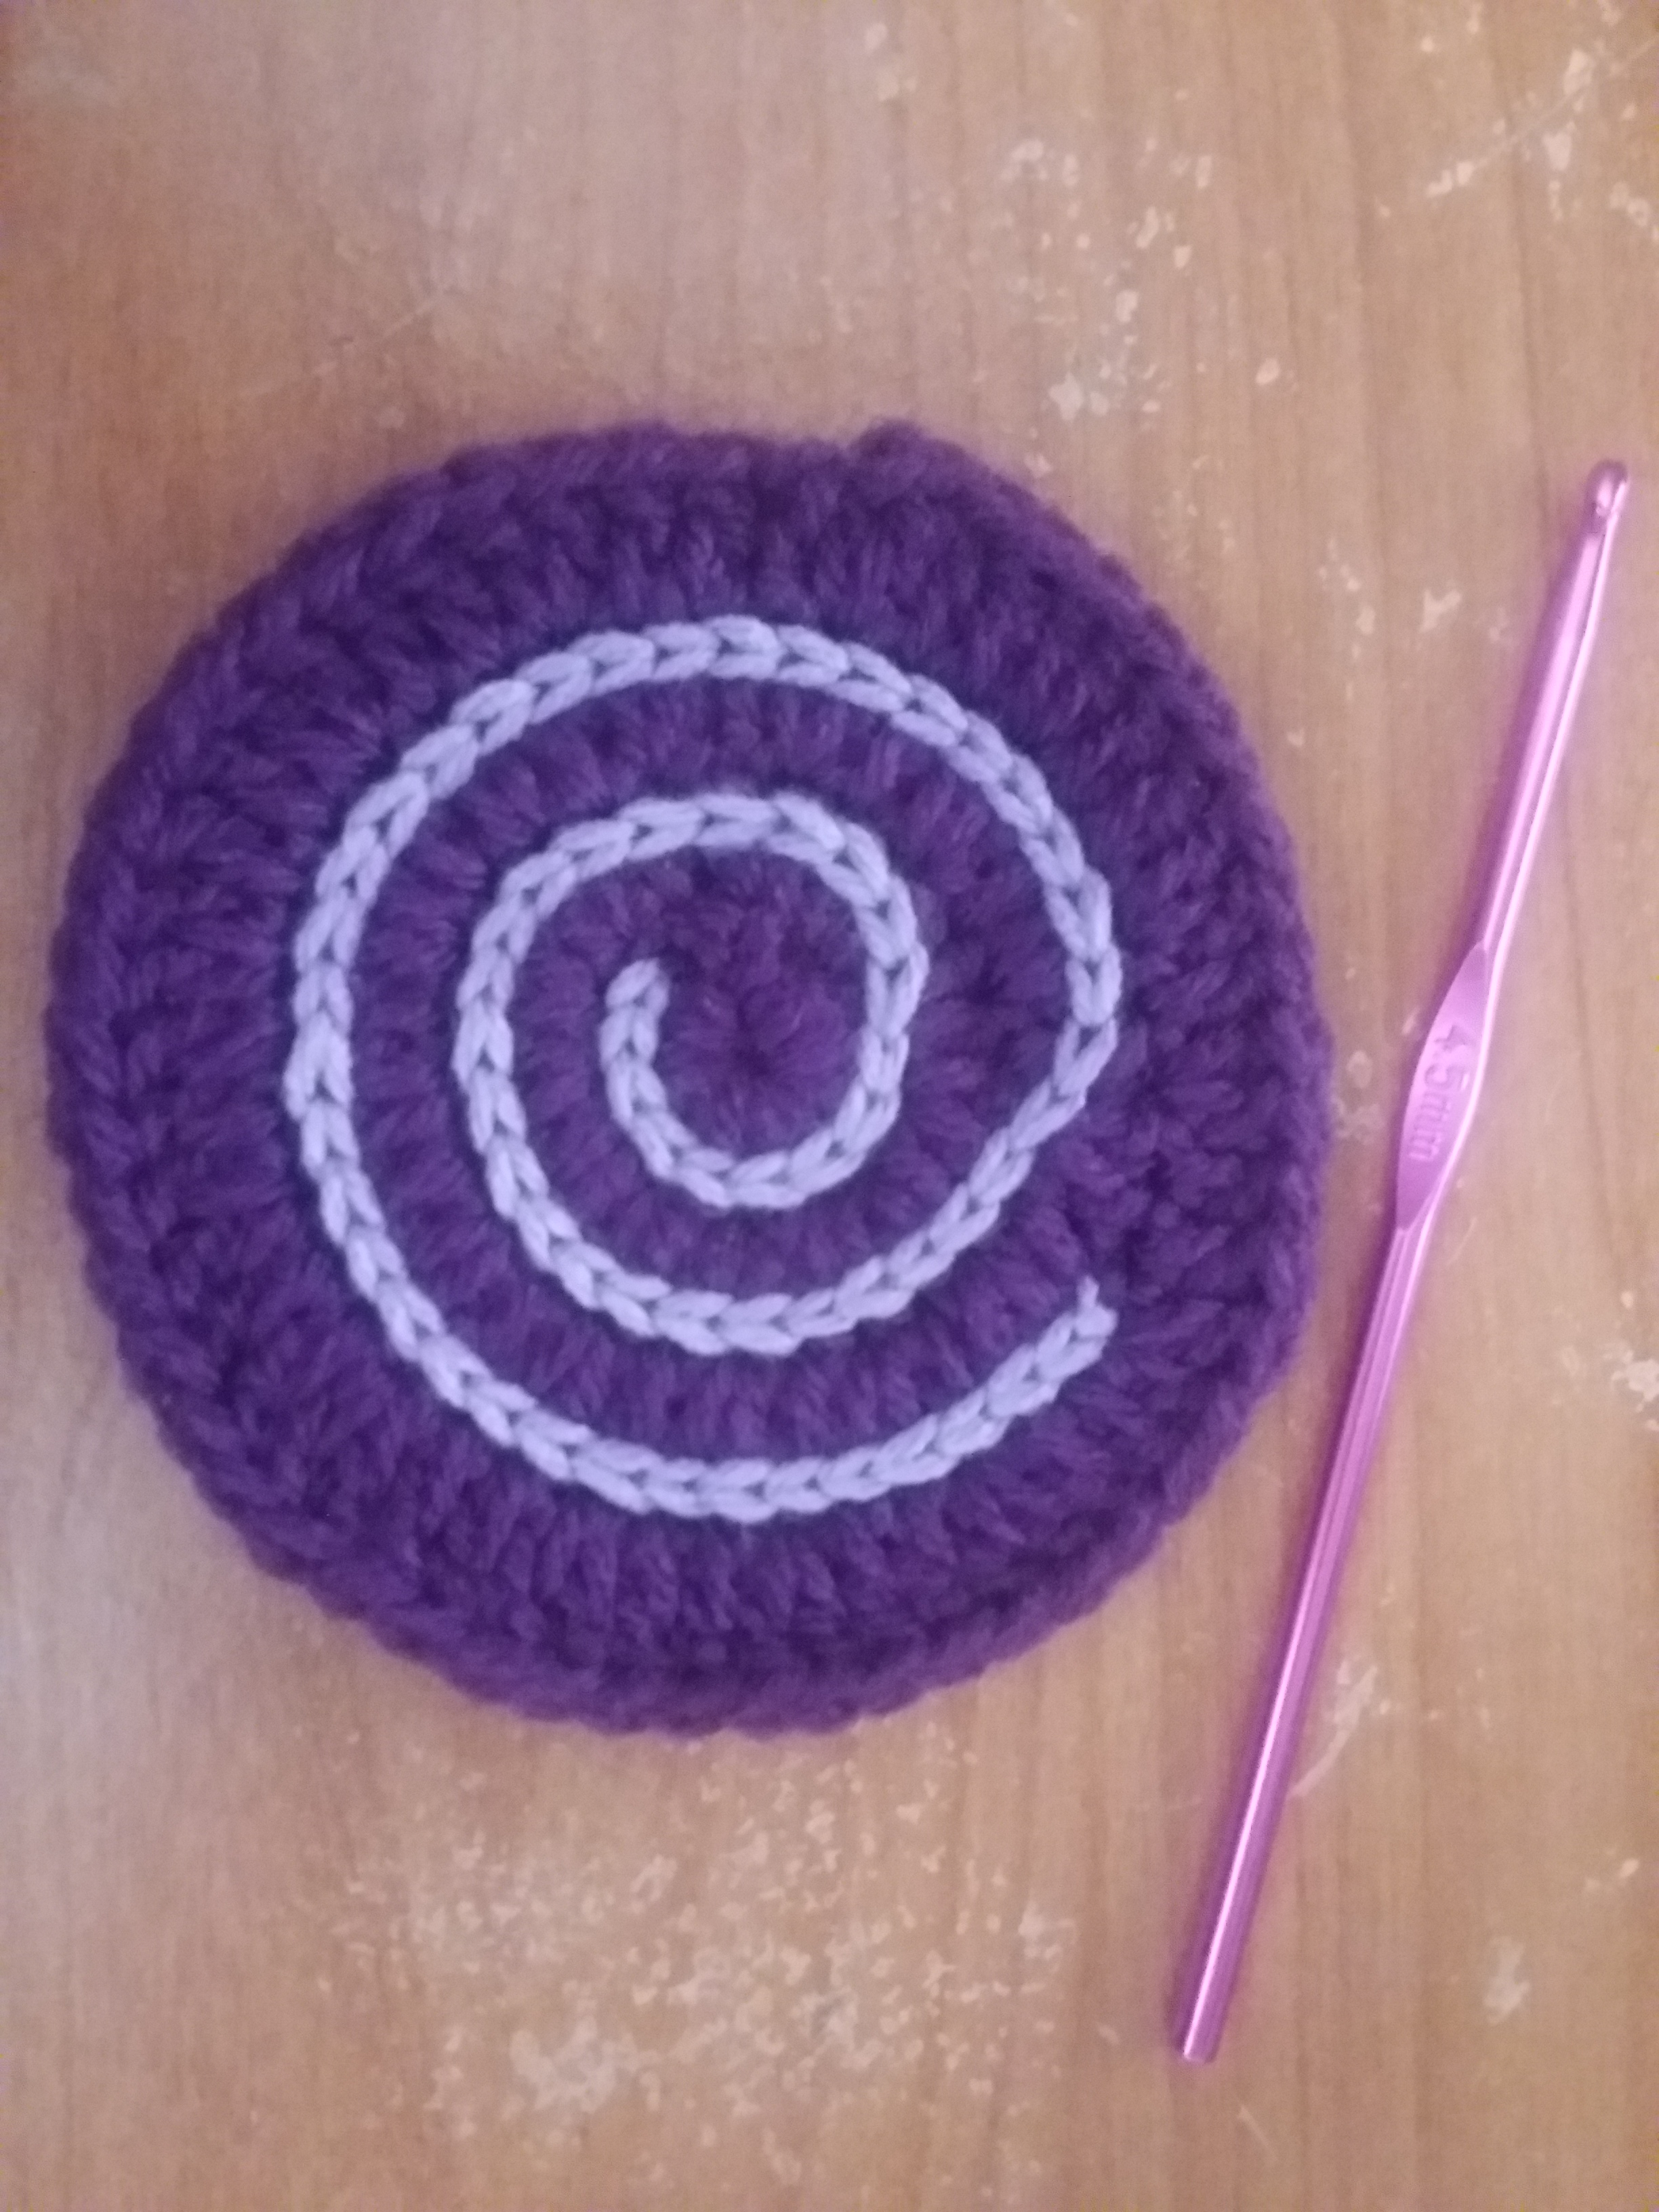
There are one of the most common hooks you can get. I prefer them/use them, for almost every project! These hooks were one of the first ones that I bought to get into crocheting. They can come in all different colors and can go as little as 0.60!
However, for the little hook sizes, you have to be VERY careful. I actually have a few of the tiny ones and let me tell you, they can bend very easily. I haven’t even used them once, but they bent trying to get them out of the packaging!
Lucky, I haven’t reached a project where I’m required to use them, yet.
Another thing to look out for is that they can’t get wet! When I mean by that is if you have sweaty palms or hands, they can tend to be more difficult to work. First time I used them, I was so excited and nervous that it made it difficult to want to work with them.
Although, you can get grips or even use tape to place around the handle of the hook, making it easier to grip and easier to handle your work better!
Overall, they are perfect for beginners! Plus, I love the different colors you can get them in. My family usually get me crocheting books, and some of them come with these hooks, so I have already started a collection with my metal hooks!
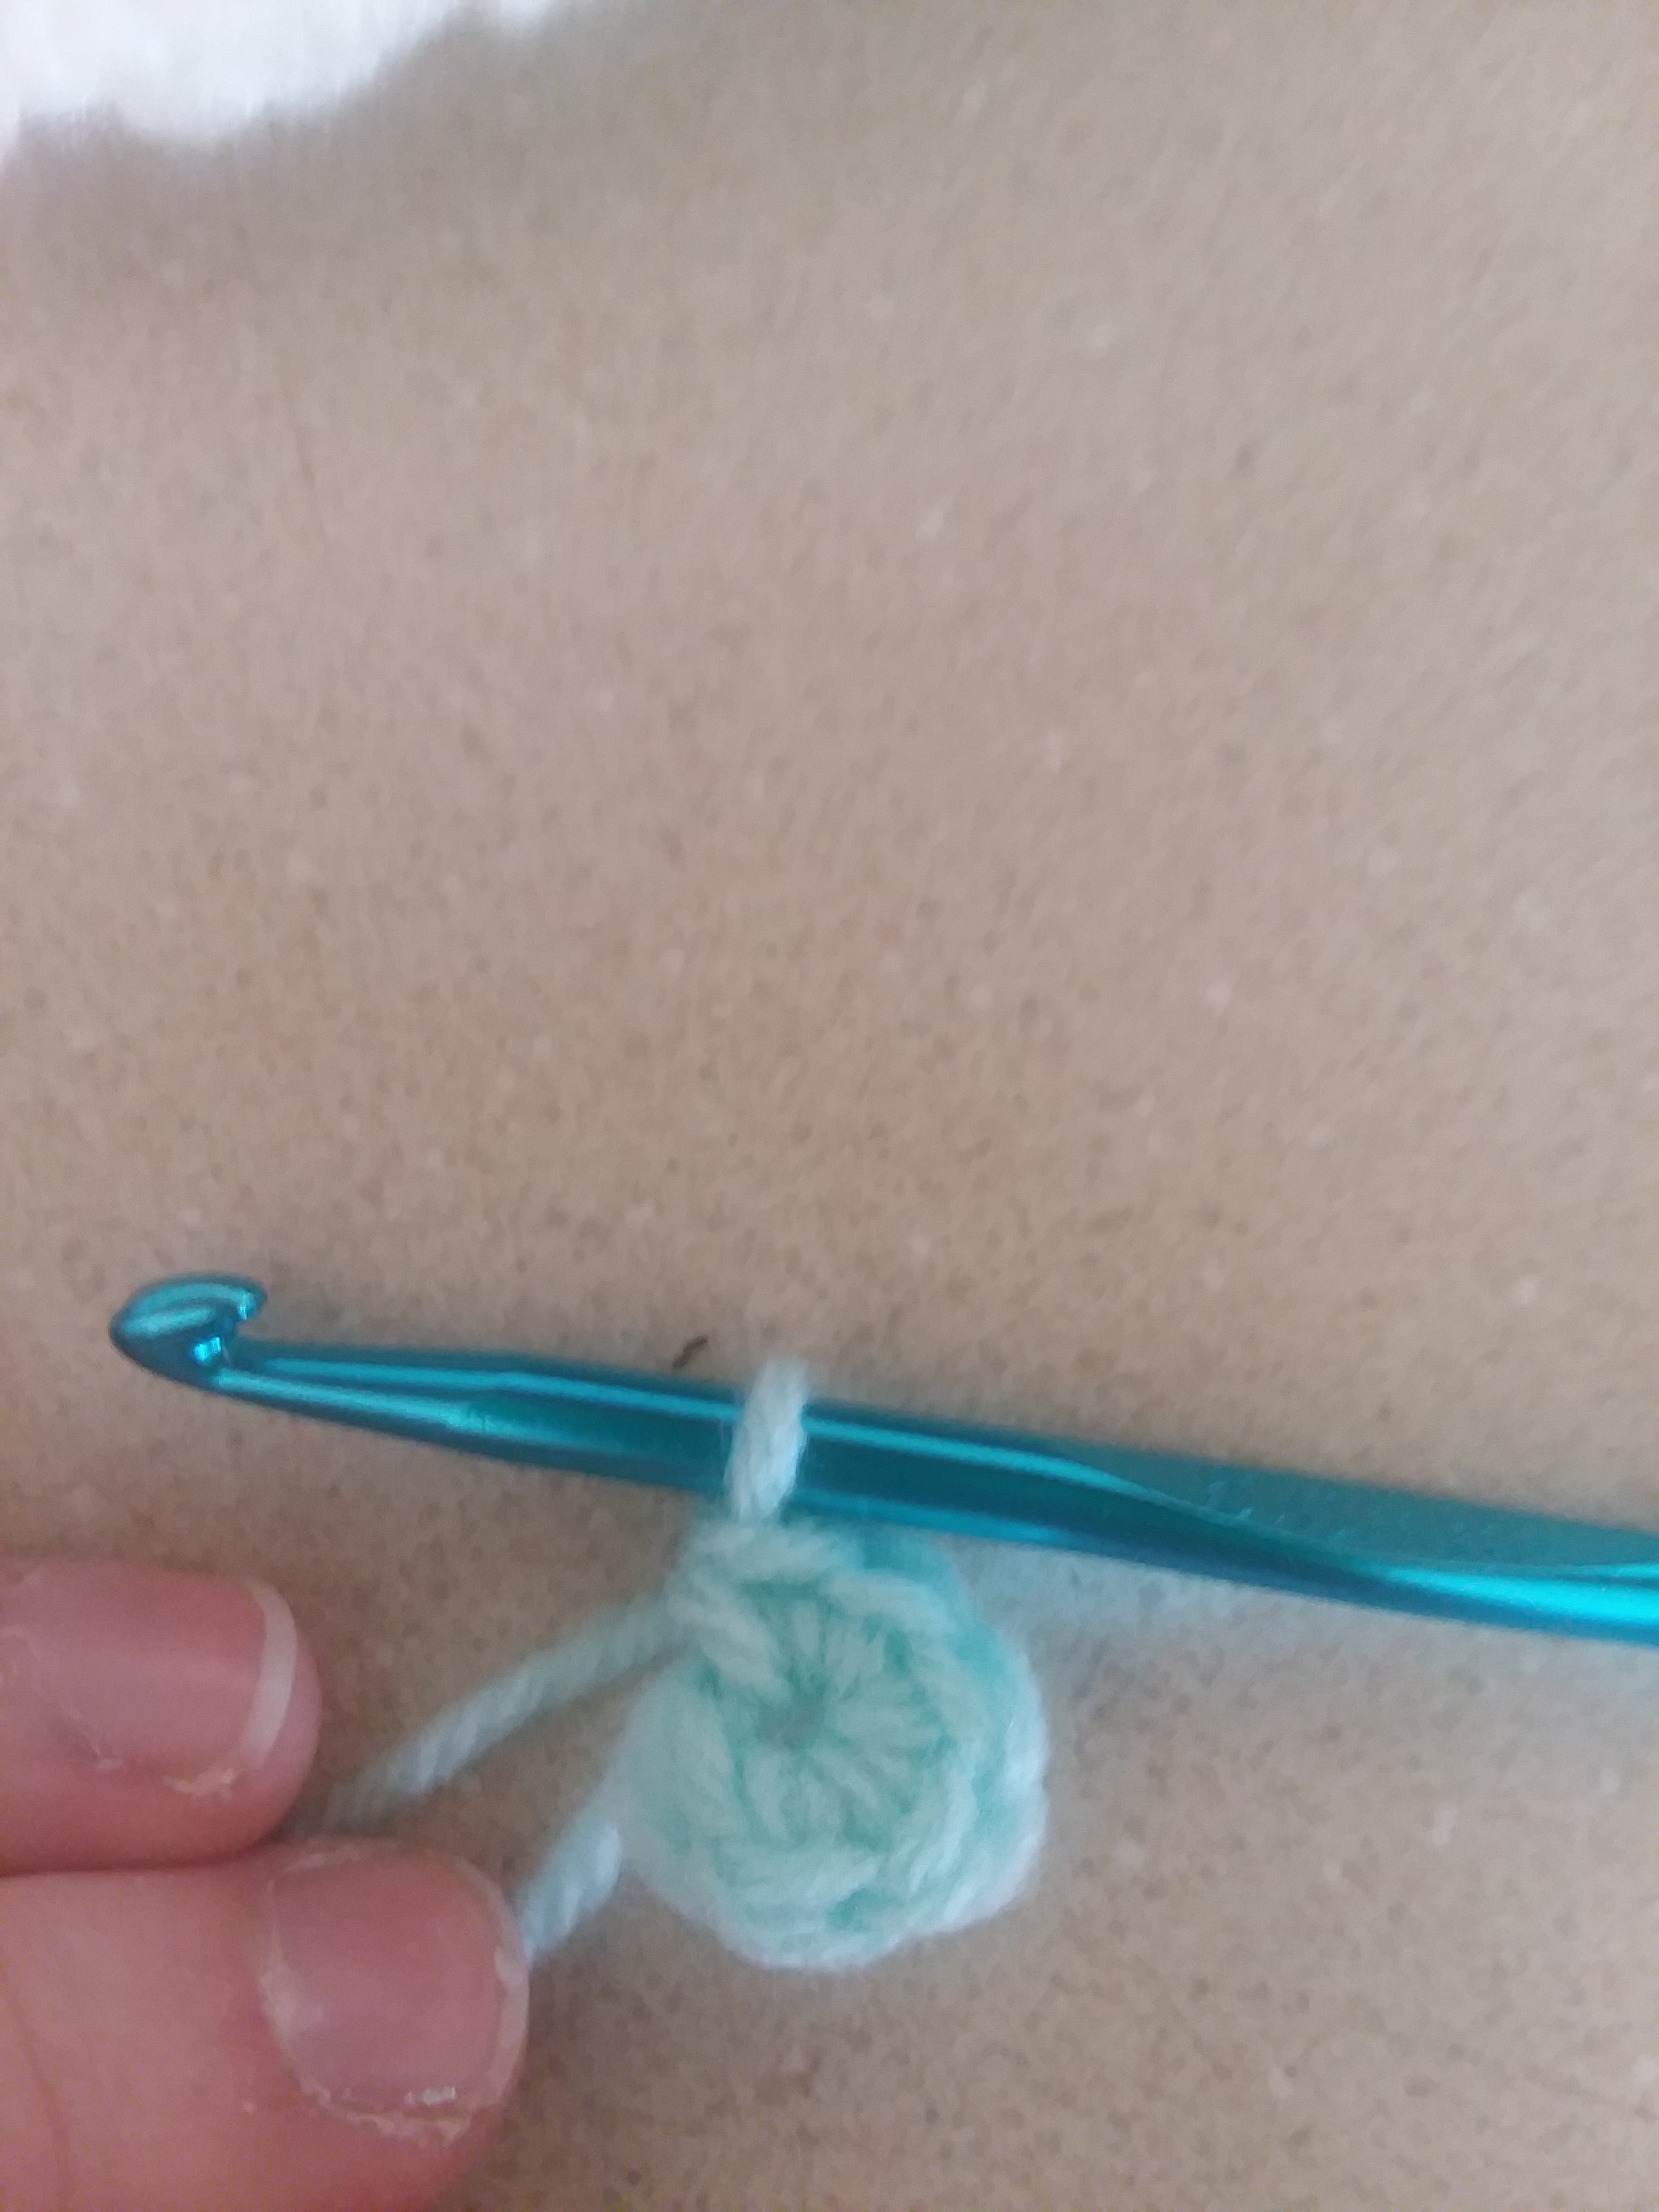
Plastic Hooks
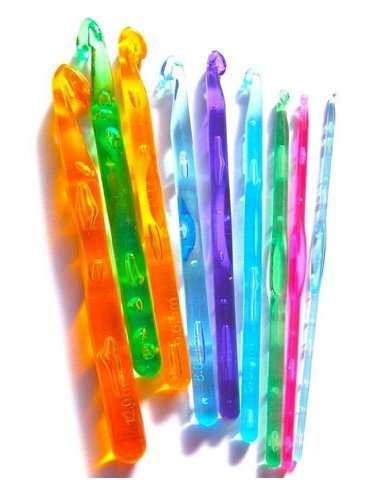
These next hooks are another fun-coloring type of crochet hook. Now, I want to let you all know that I haven’t had the pleasure to work with a plastic hook in a ‘normal’ size, meaning the only sizes I have are an 8.0-11.5.
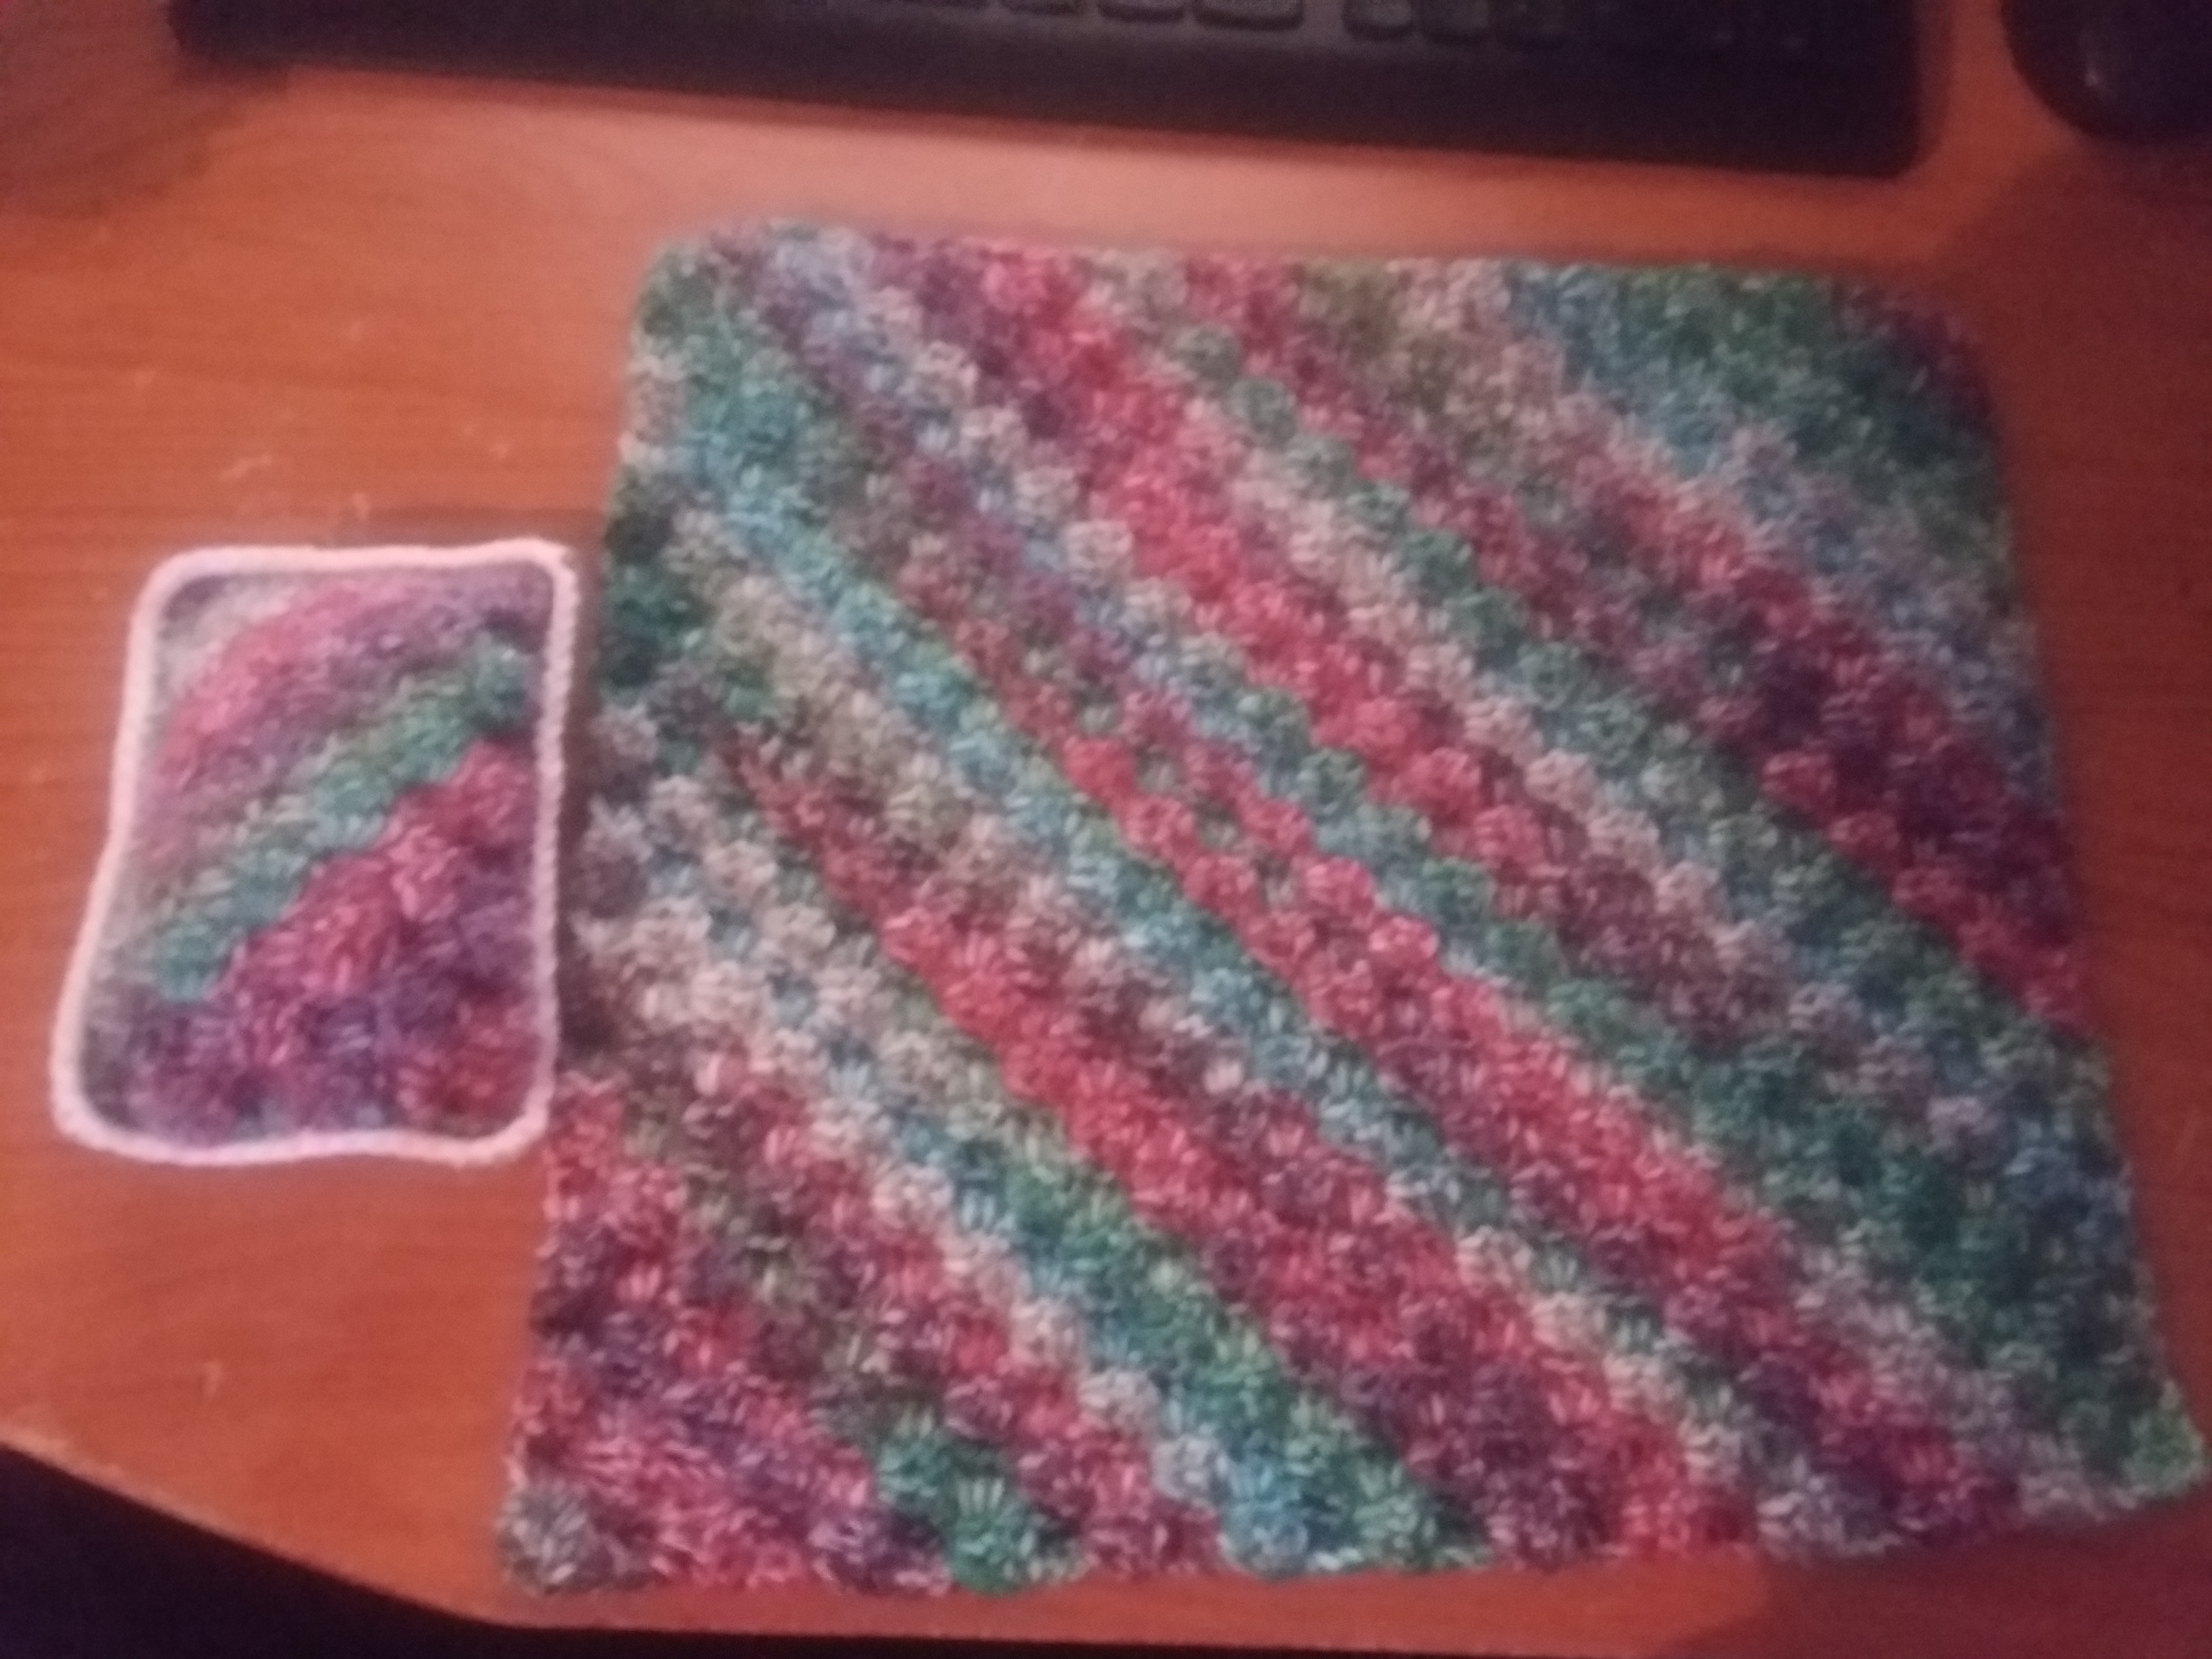
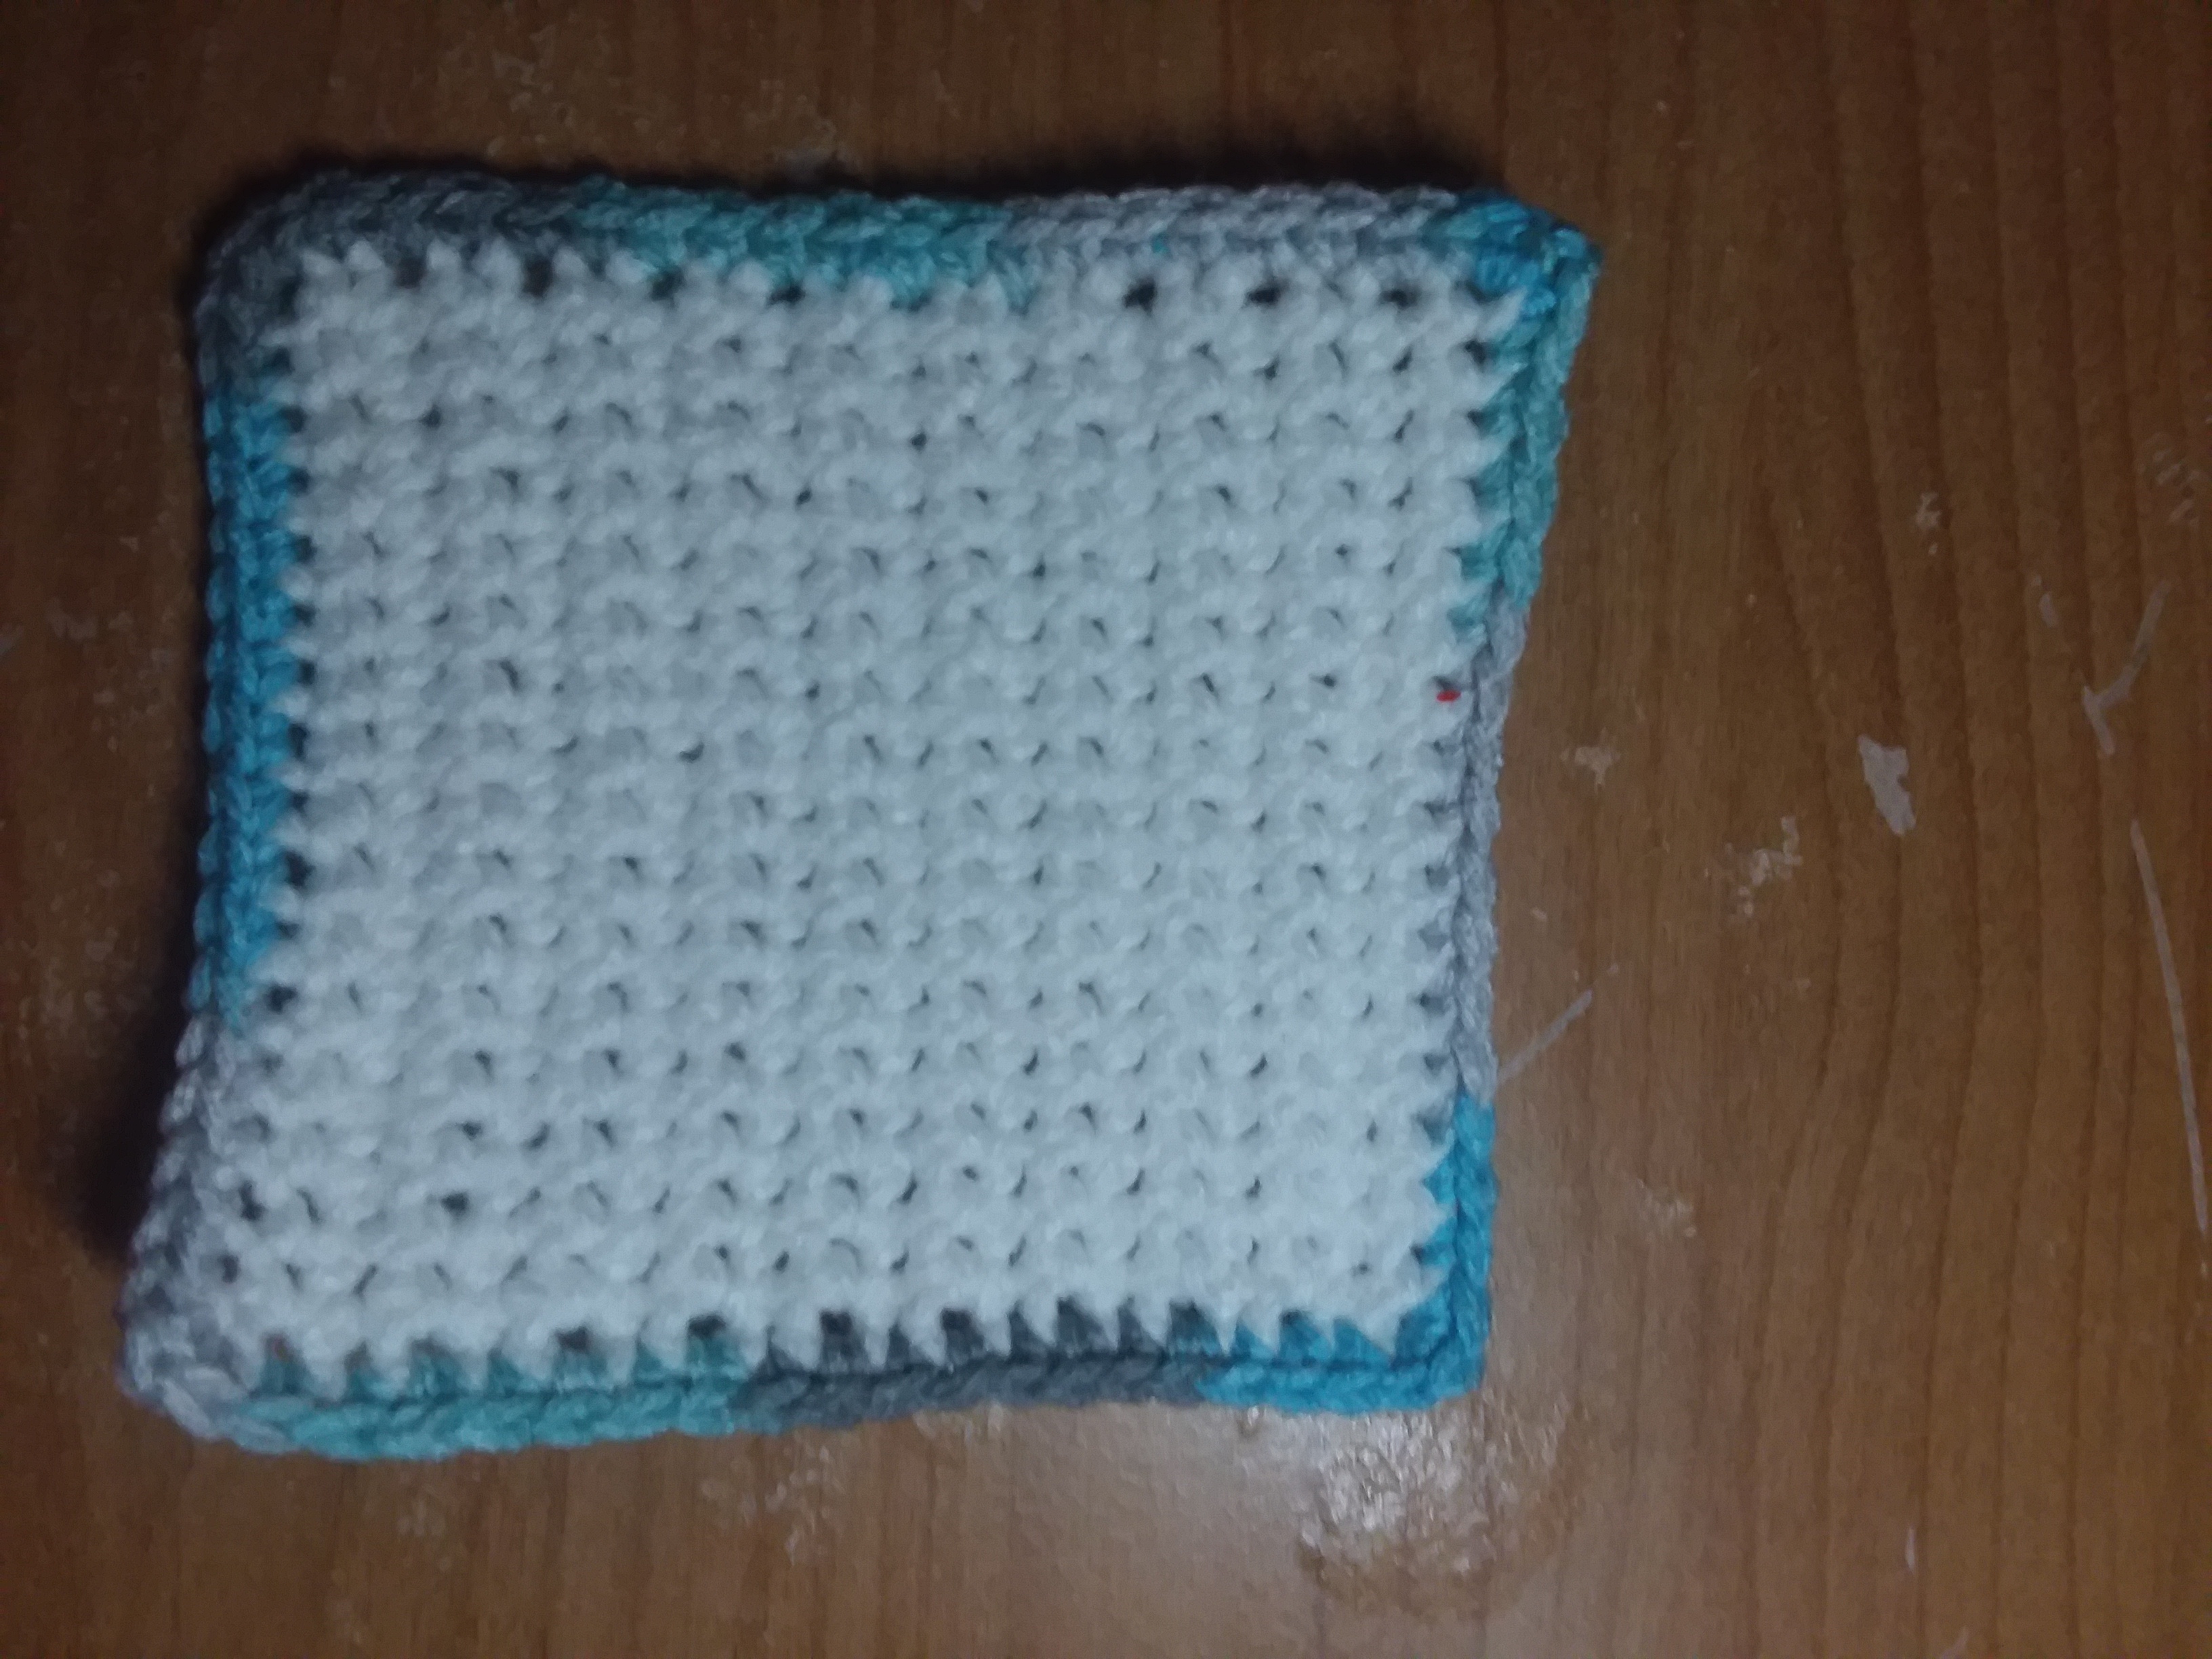
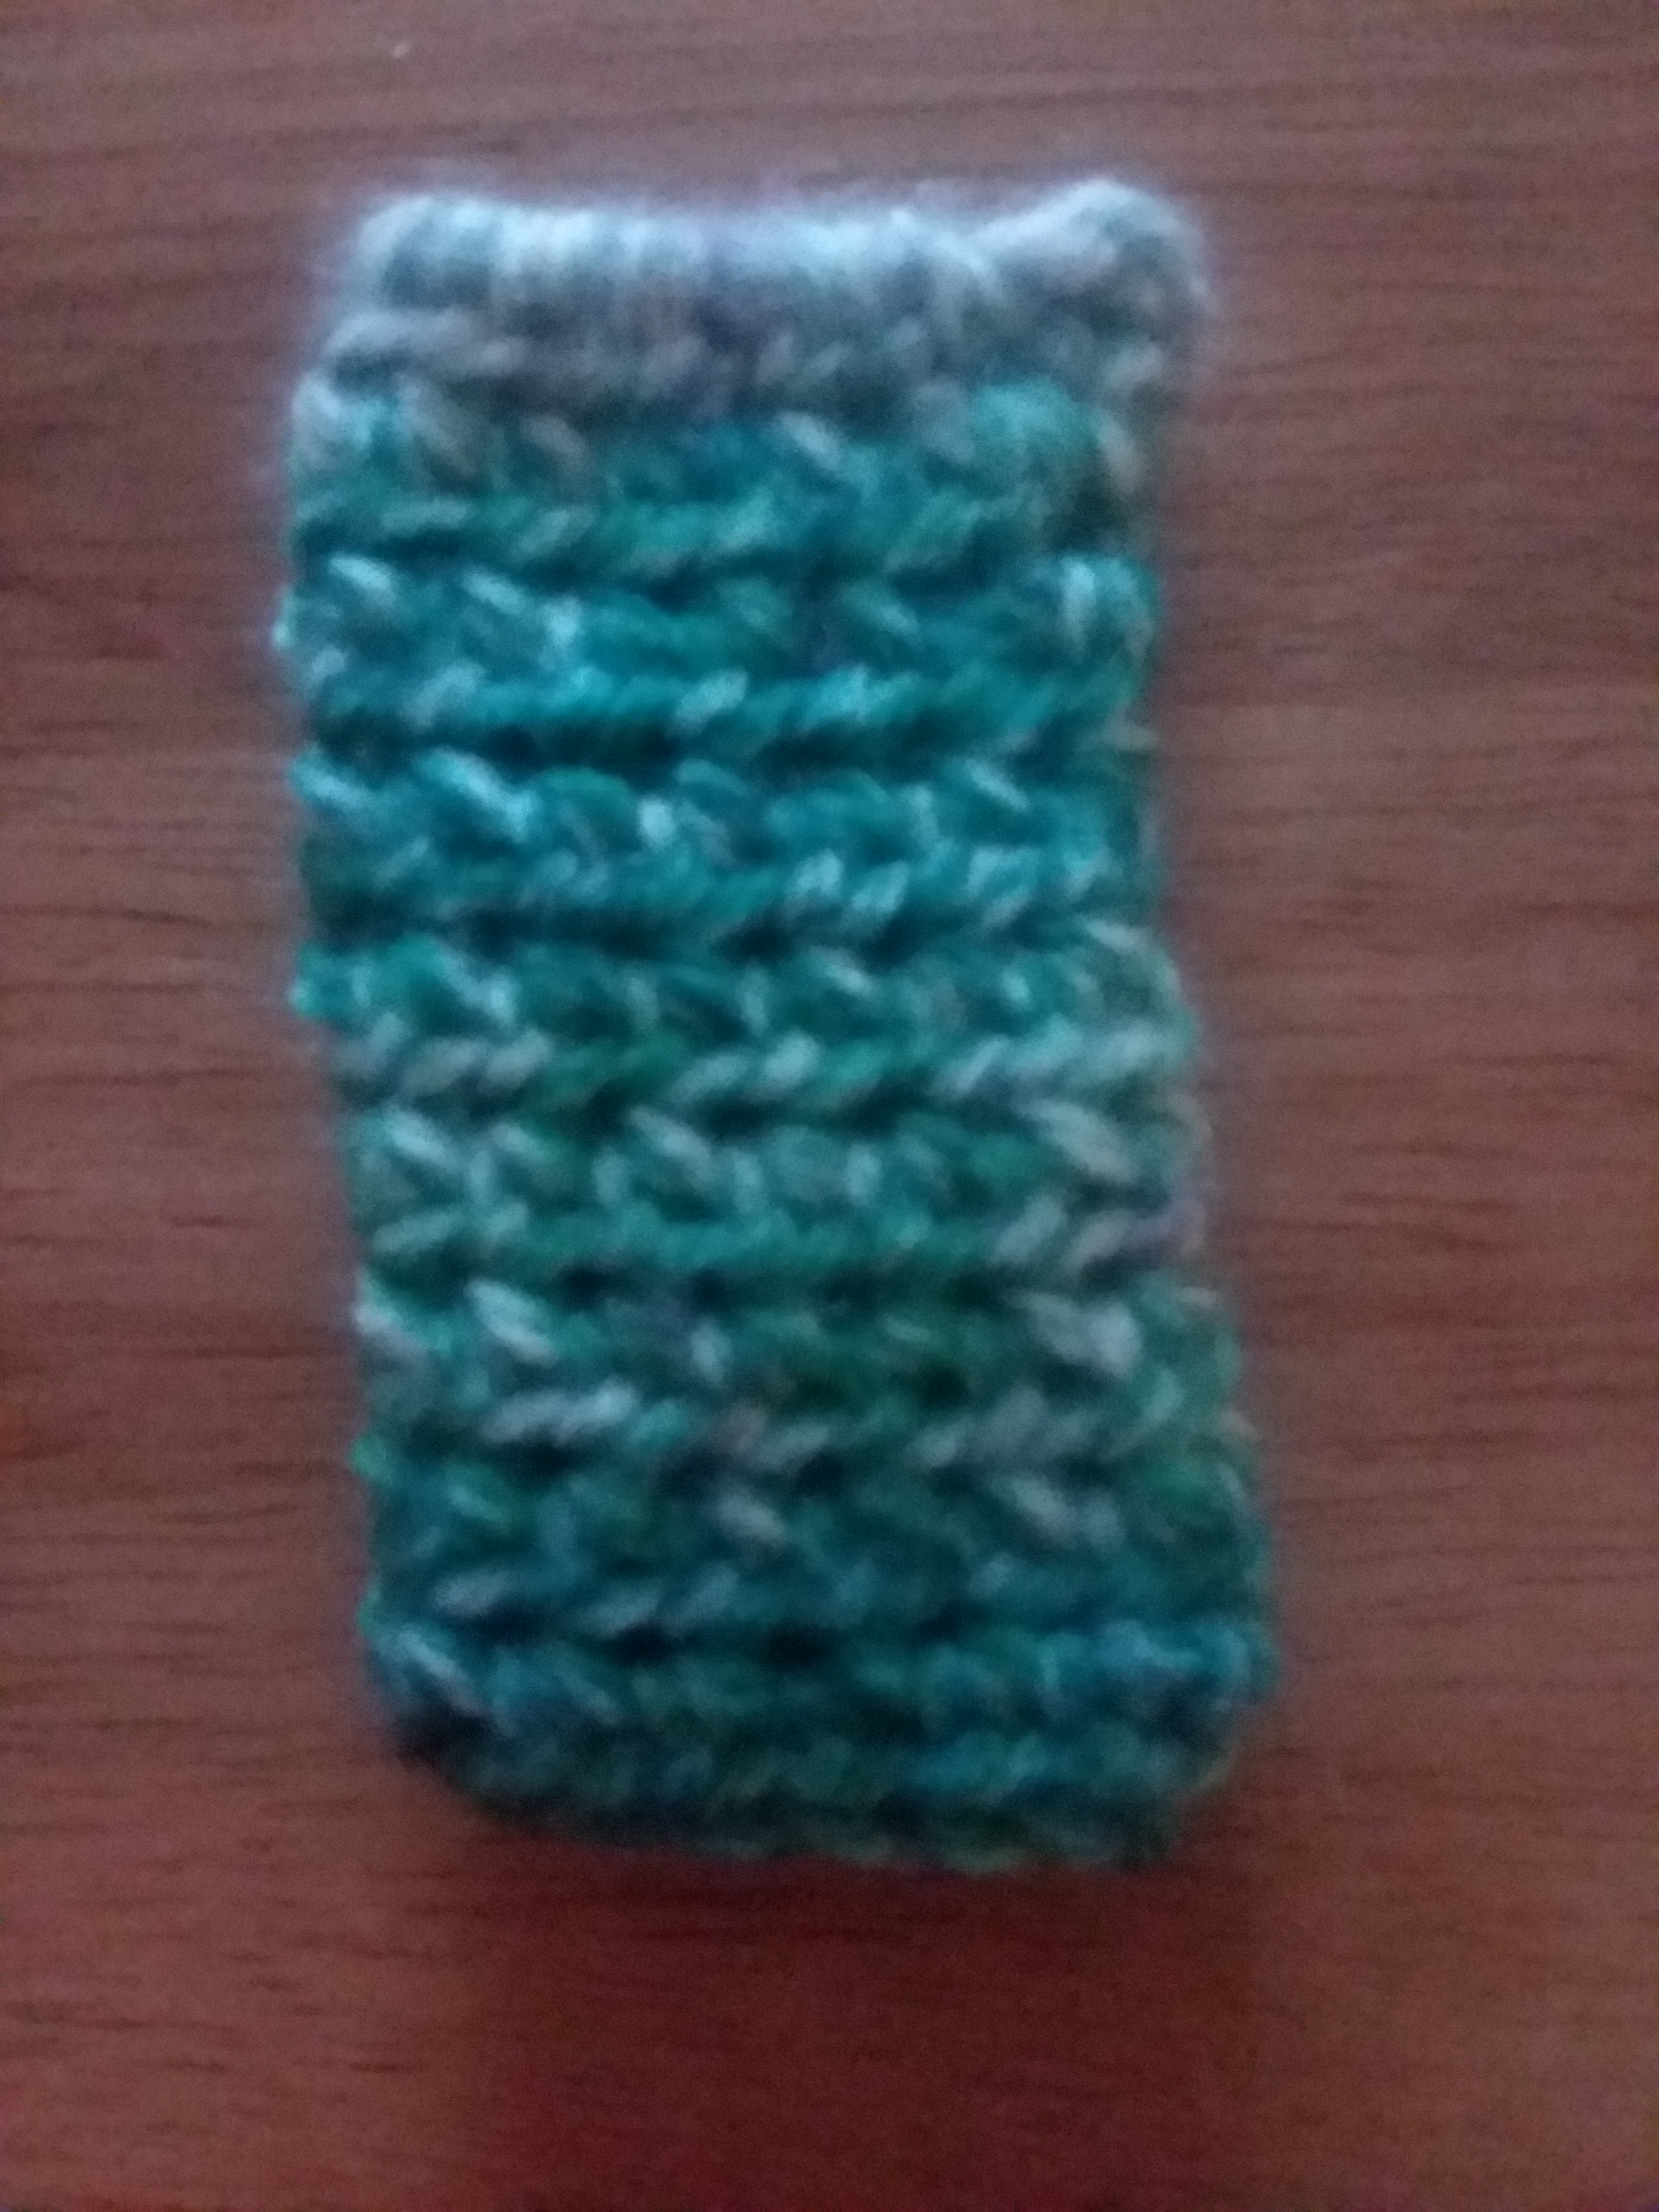
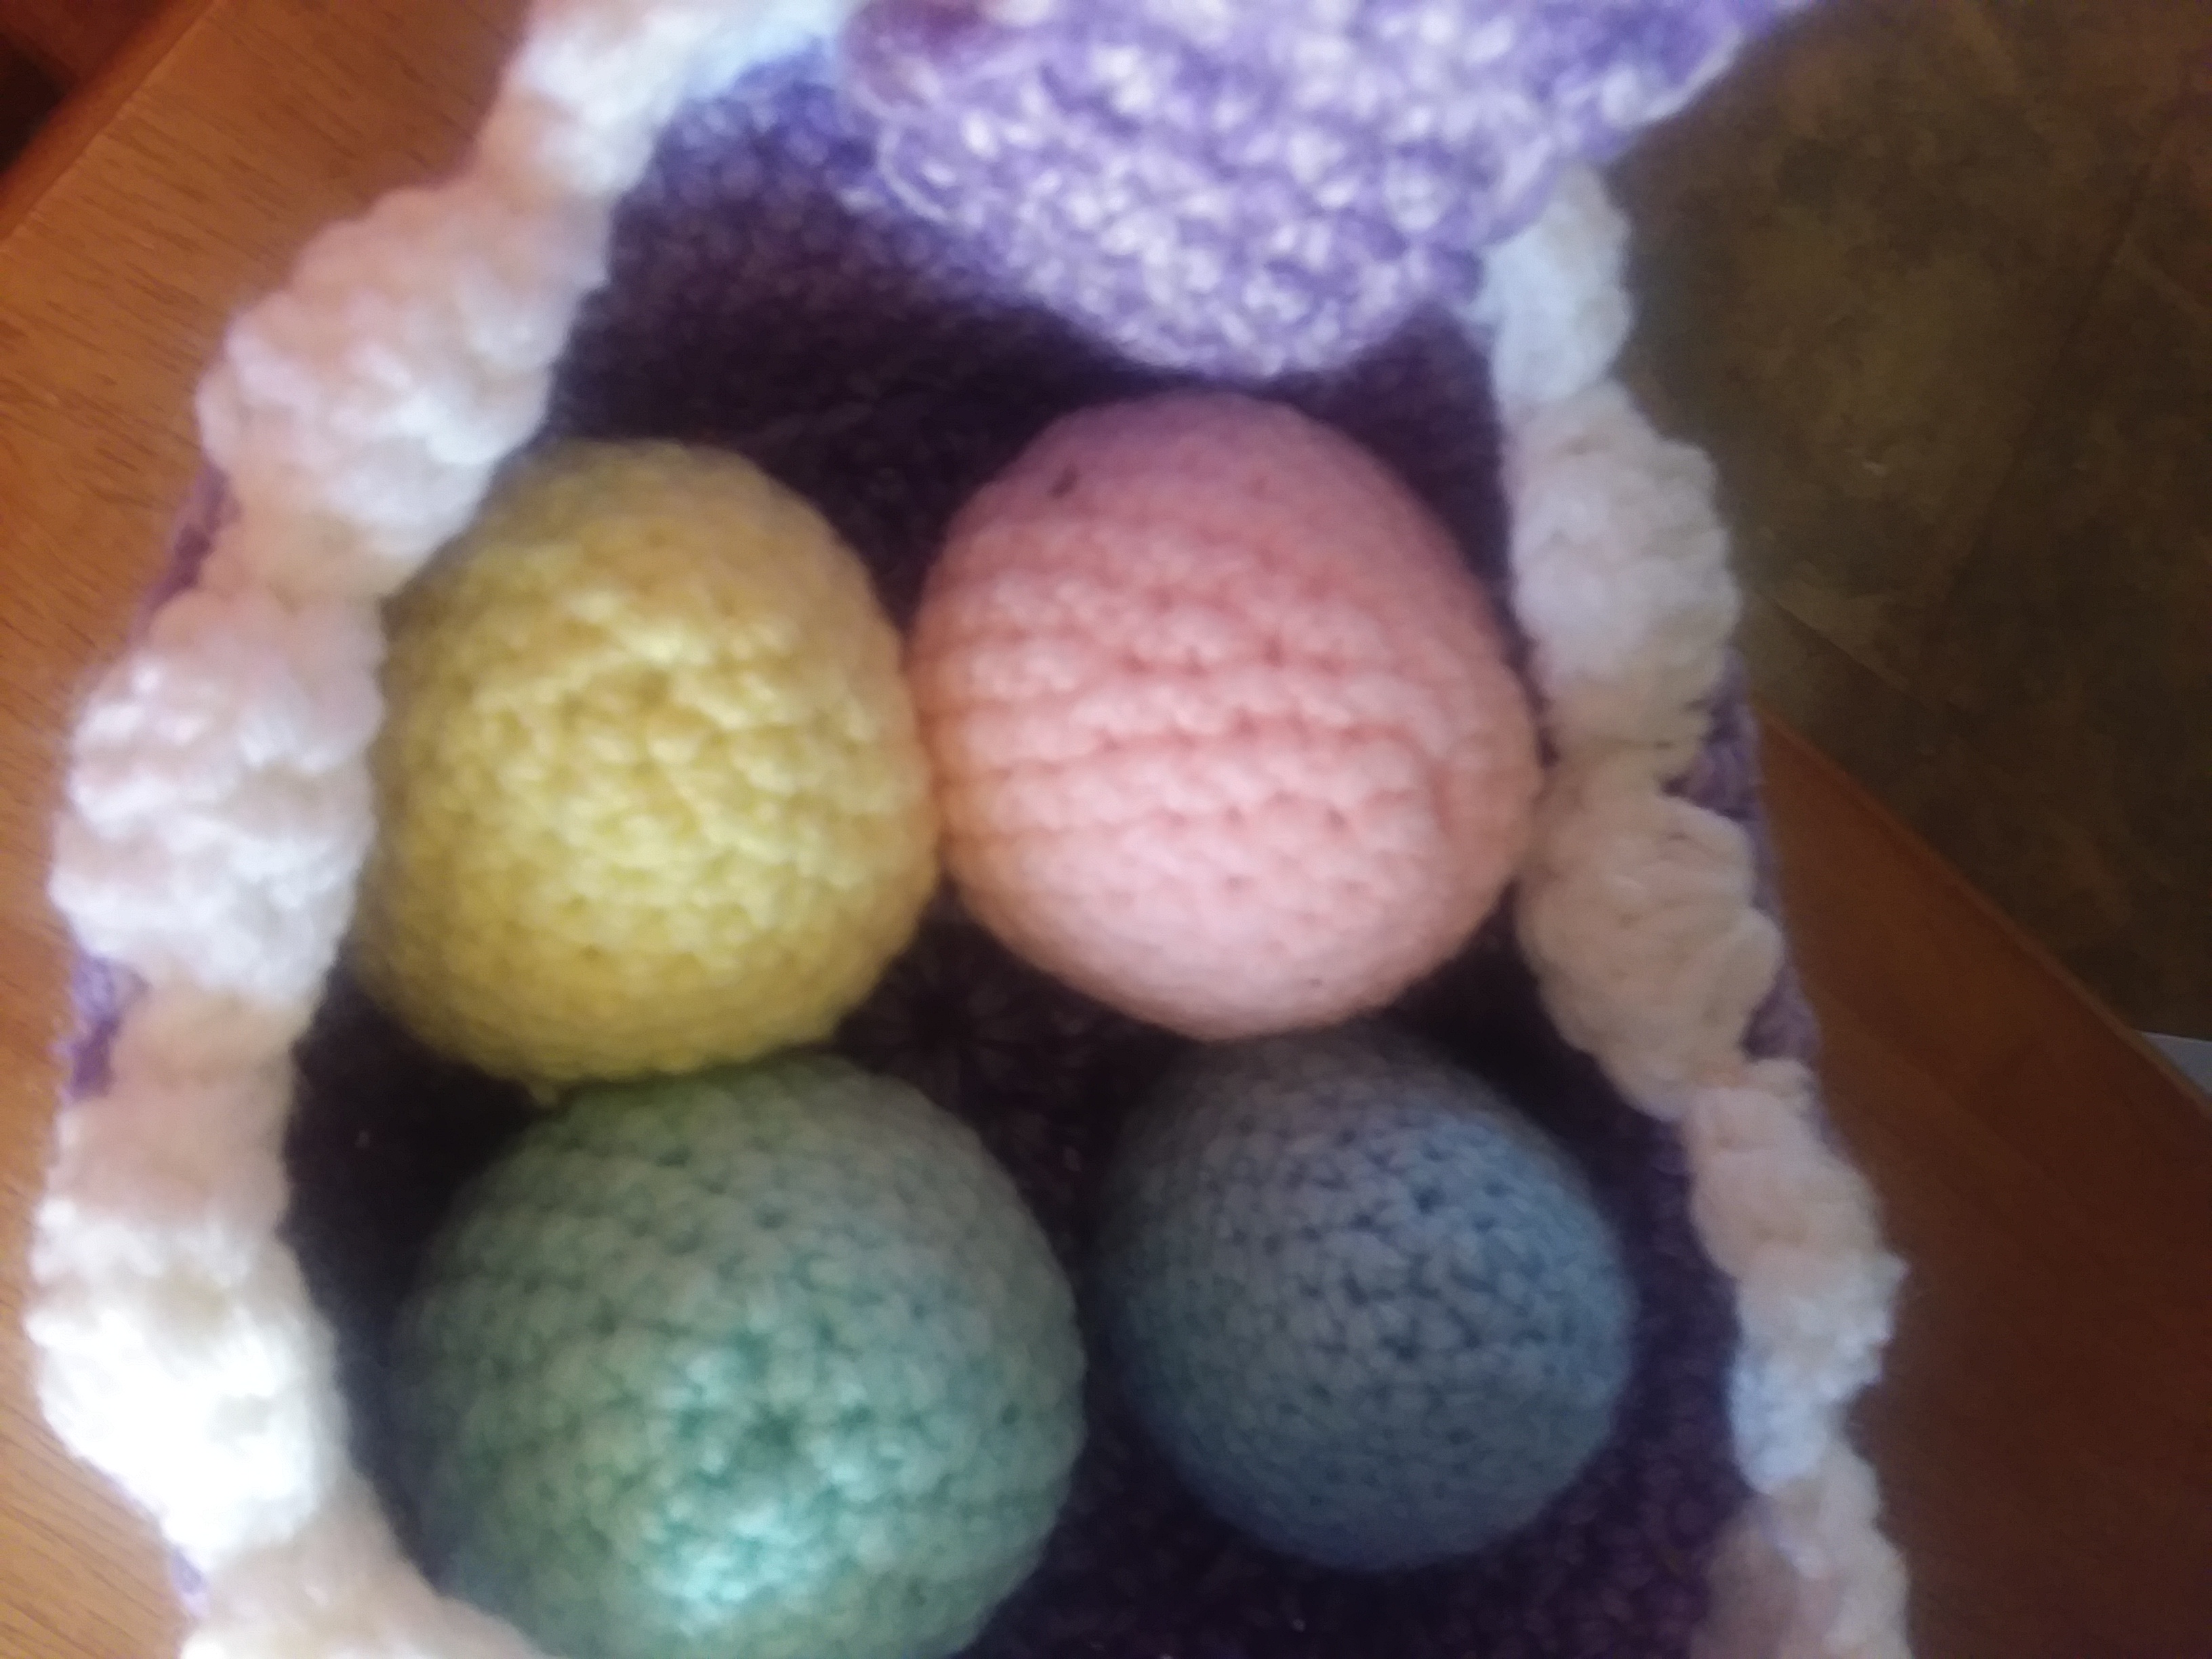
Have I worked with them? Yes, I actually used one of them to make a basket for my mini balls of yarn. I do plan on getting myself a plastic set, just so I can have them for an option, which a lot of crocheters tend to so that.
These hooks work pretty well, I don’t have any complains, although I have seen and heard from a few people, that they are very easy to break, which I figured they would because they are made up of plastic.
However, I haven’t had one break on me, ‘knock on wood’, but I can see the smaller ones breaking a lot quicker than the bigger ones.
Overall, I see more people use the bigger plastic hooks more than I do the smaller ones.
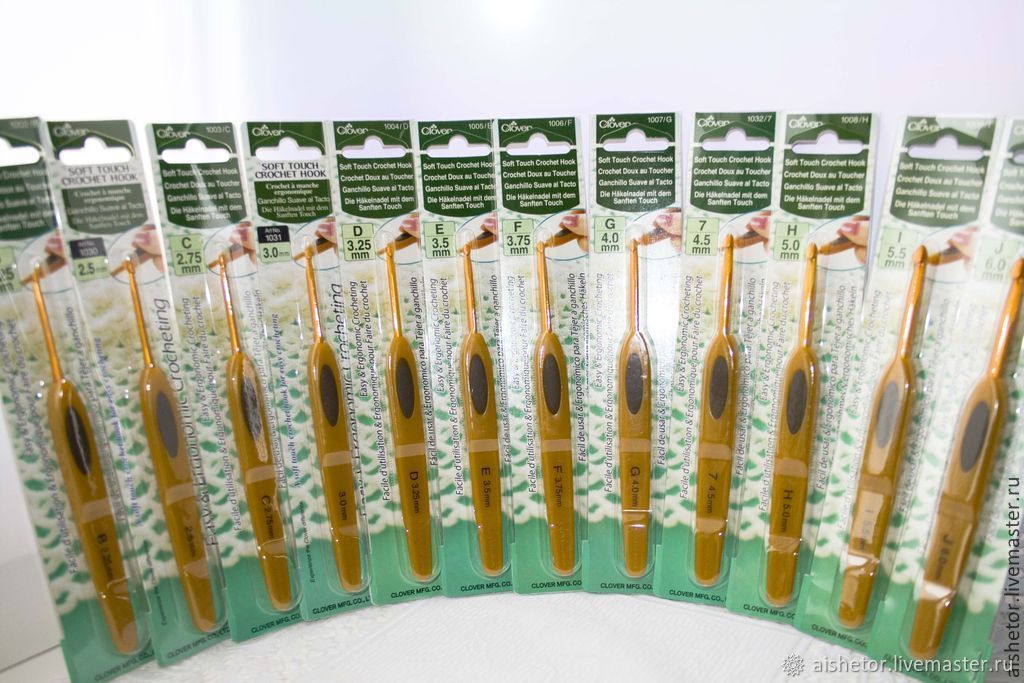
Steel Hooks

I know you are probably thinking, ‘What’s the difference between these and the aluminum ones?’. Well, there are a few differences, but let me explain why.
These hooks have a built-in handle, which is perfect for if you have sweaty hands, as I do from time to time. Not only that, having a handle makes it easier for you to grip the hook better, but it makes it easier to control smaller hooks.
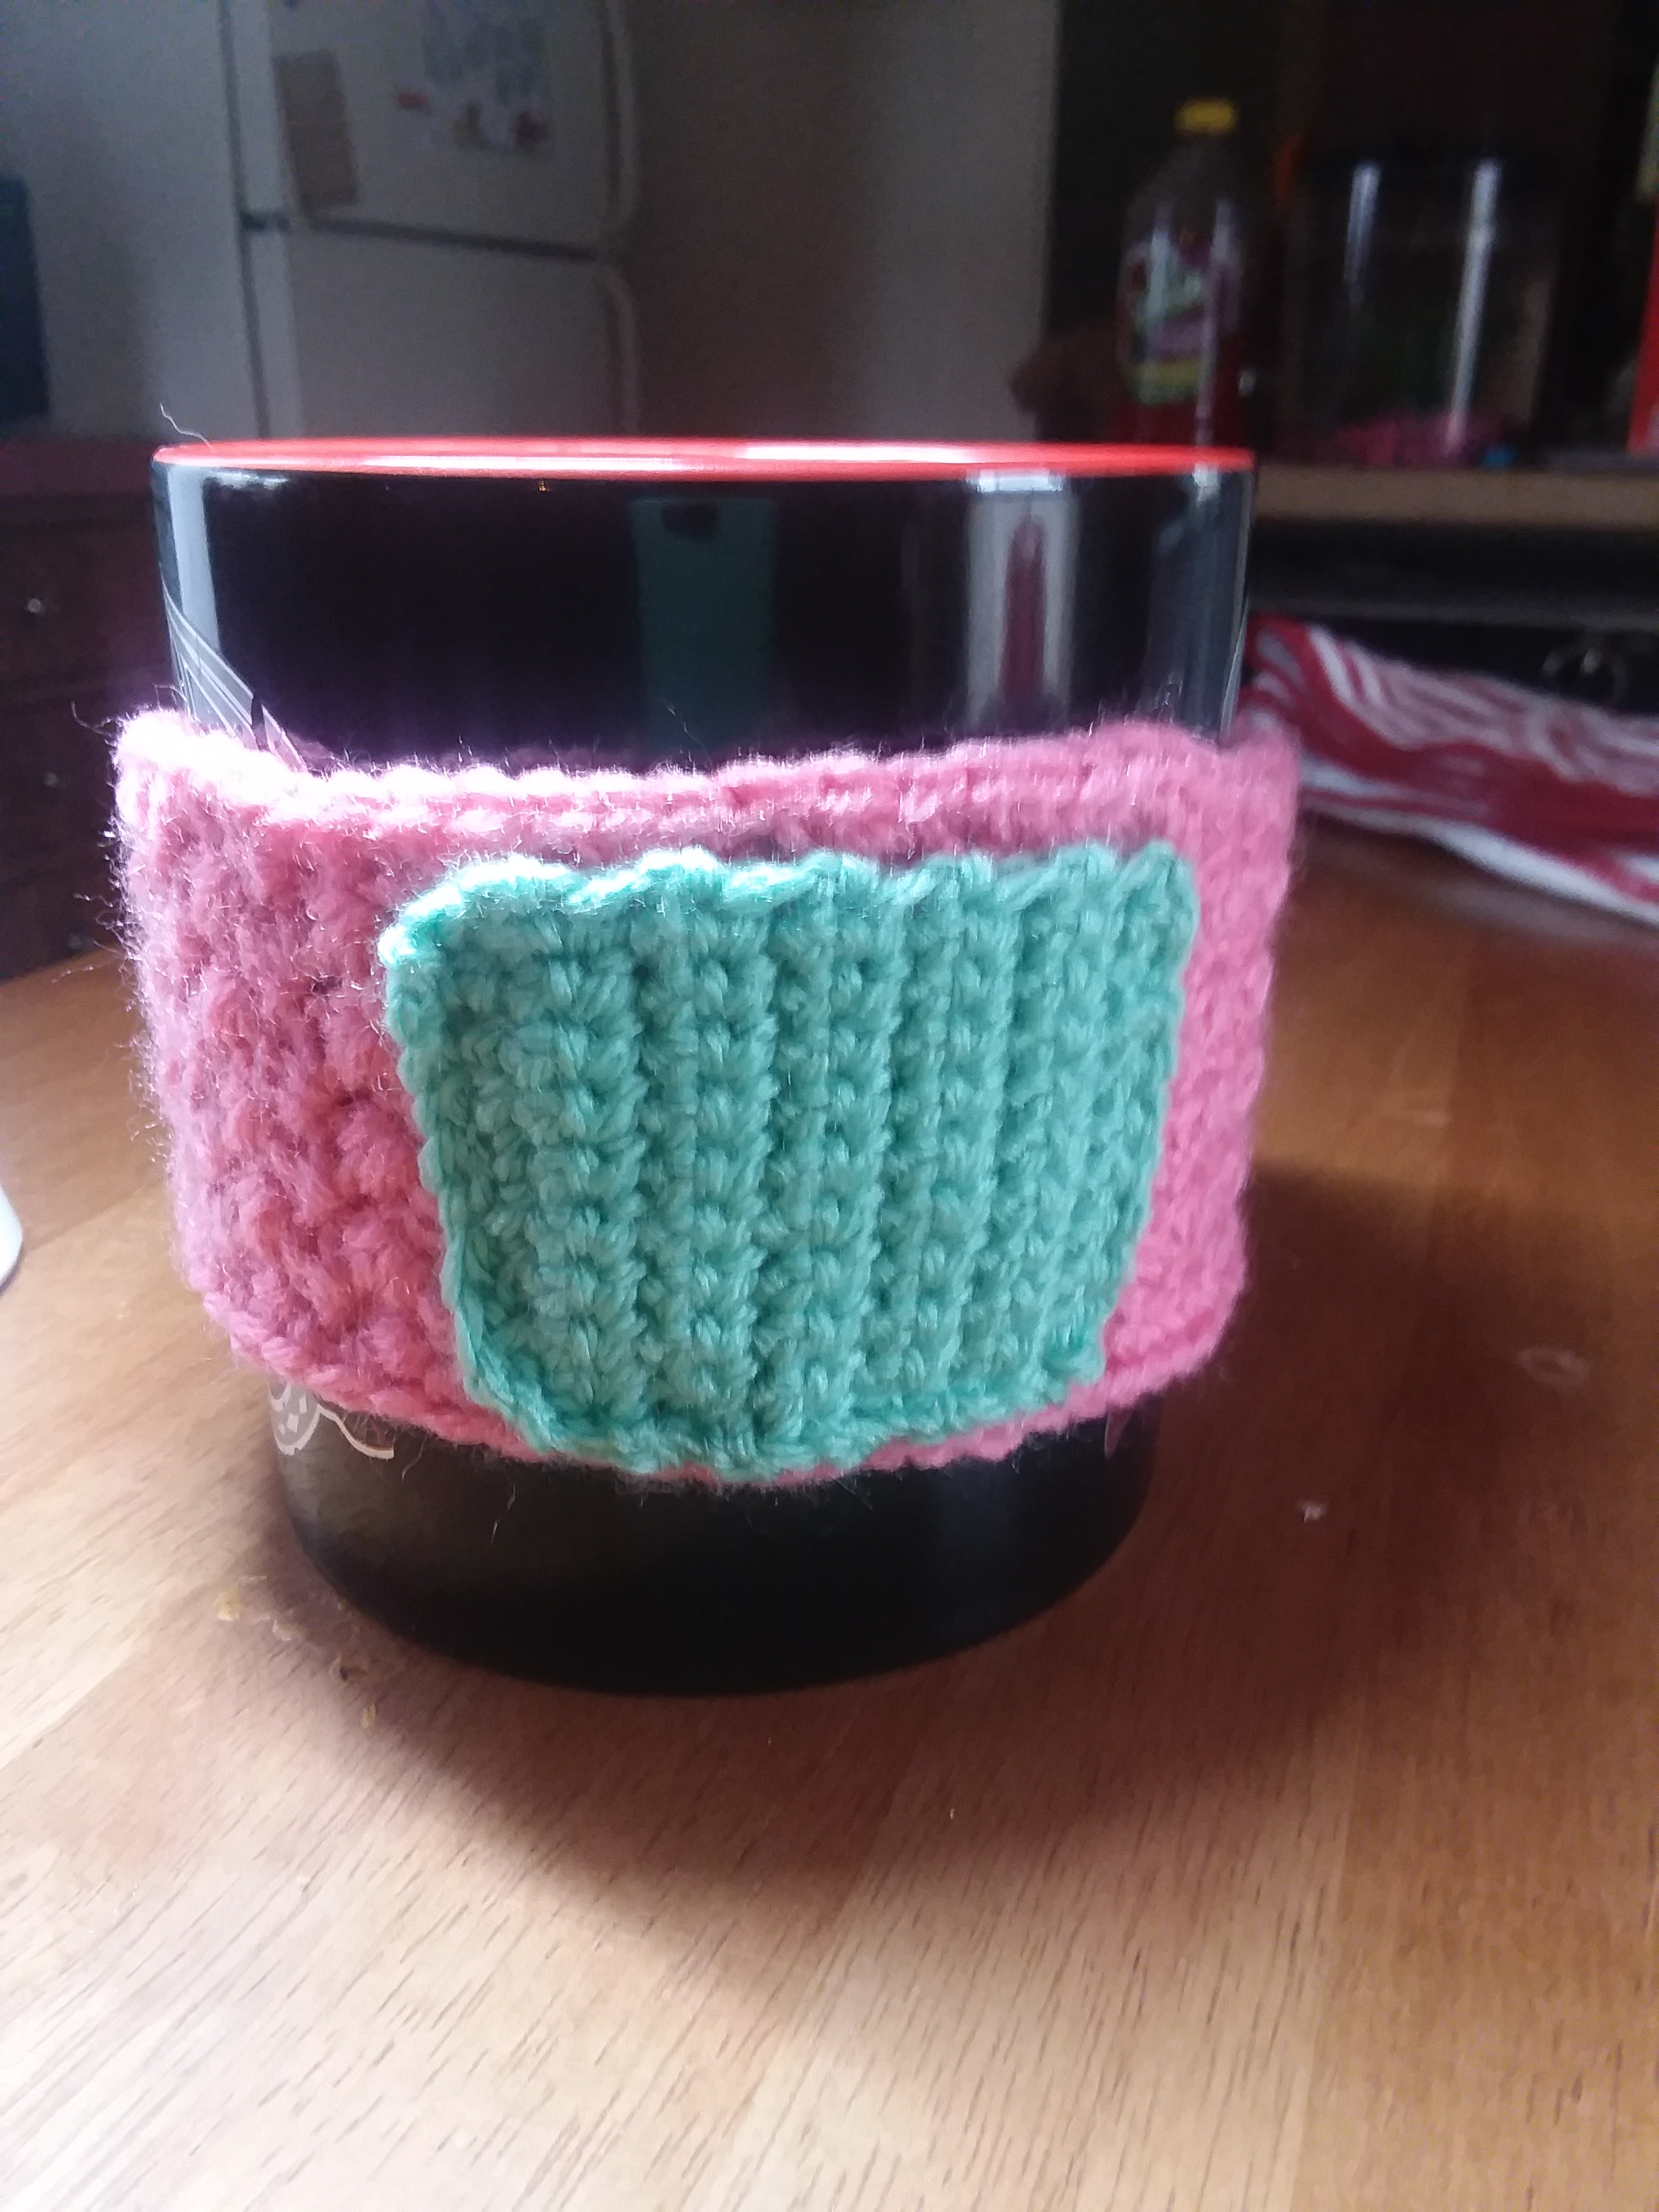
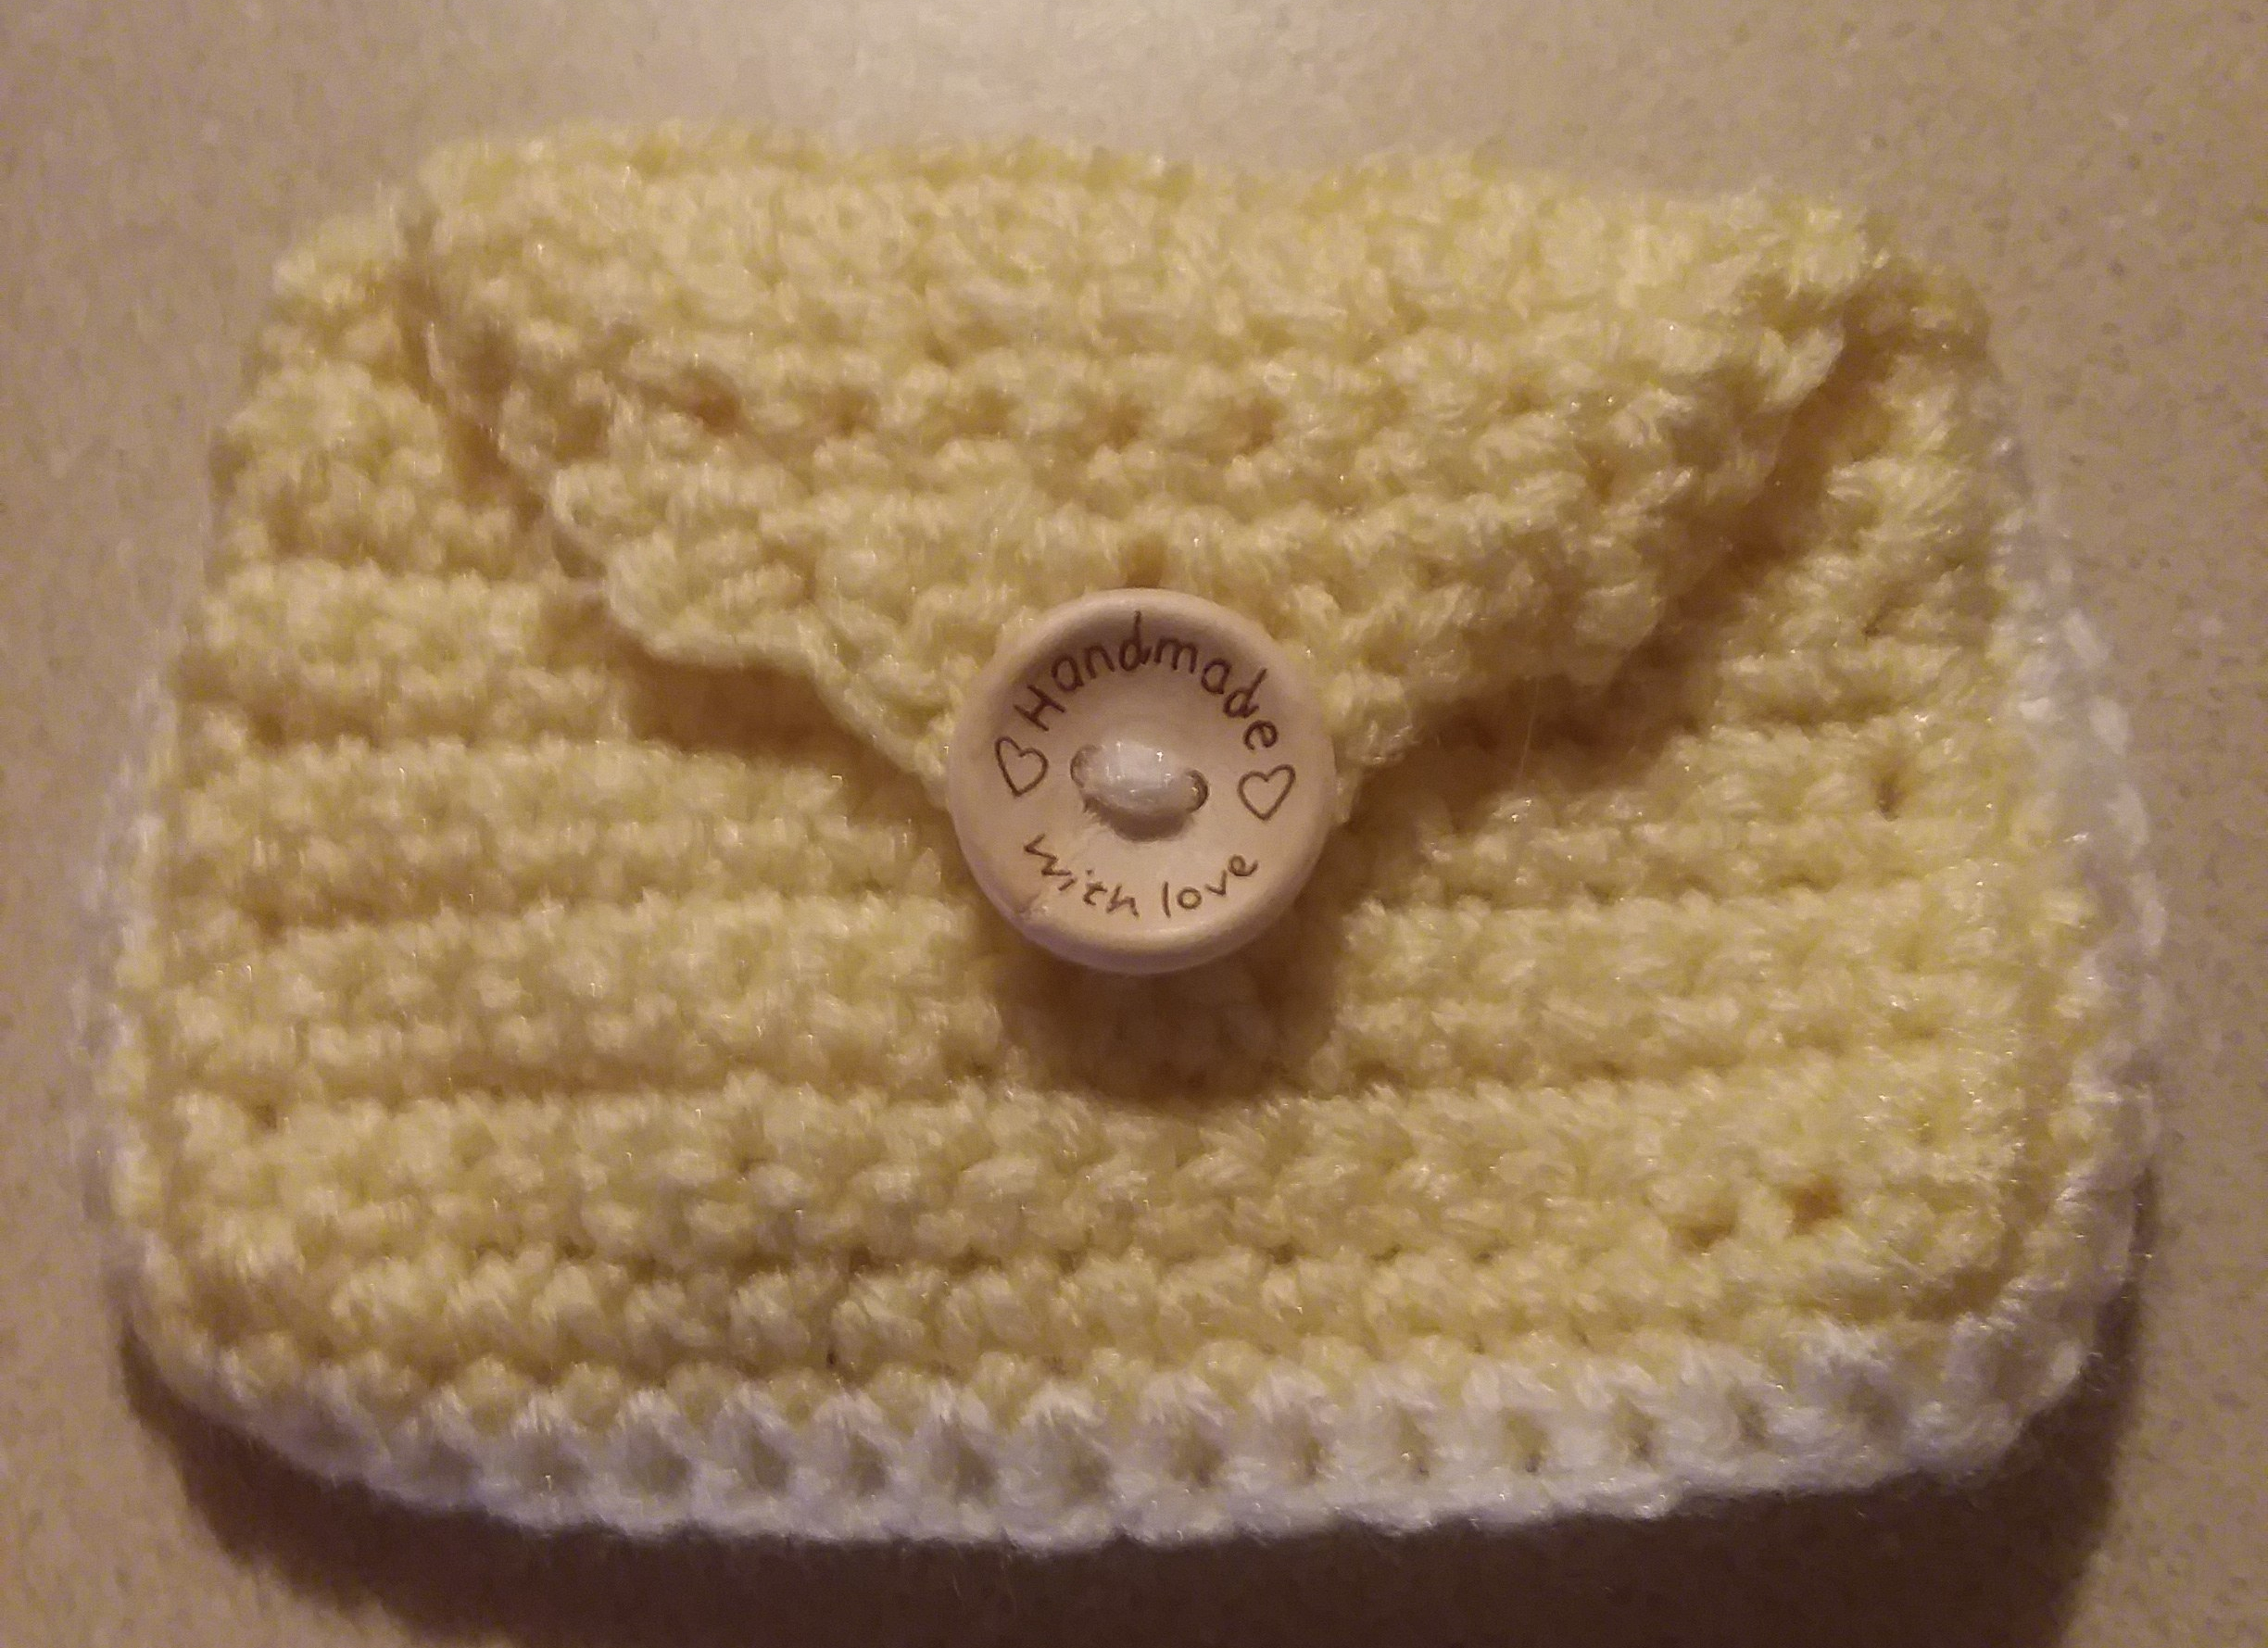
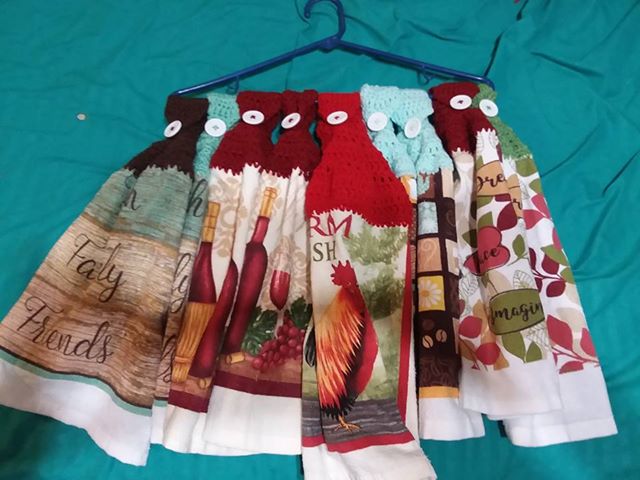
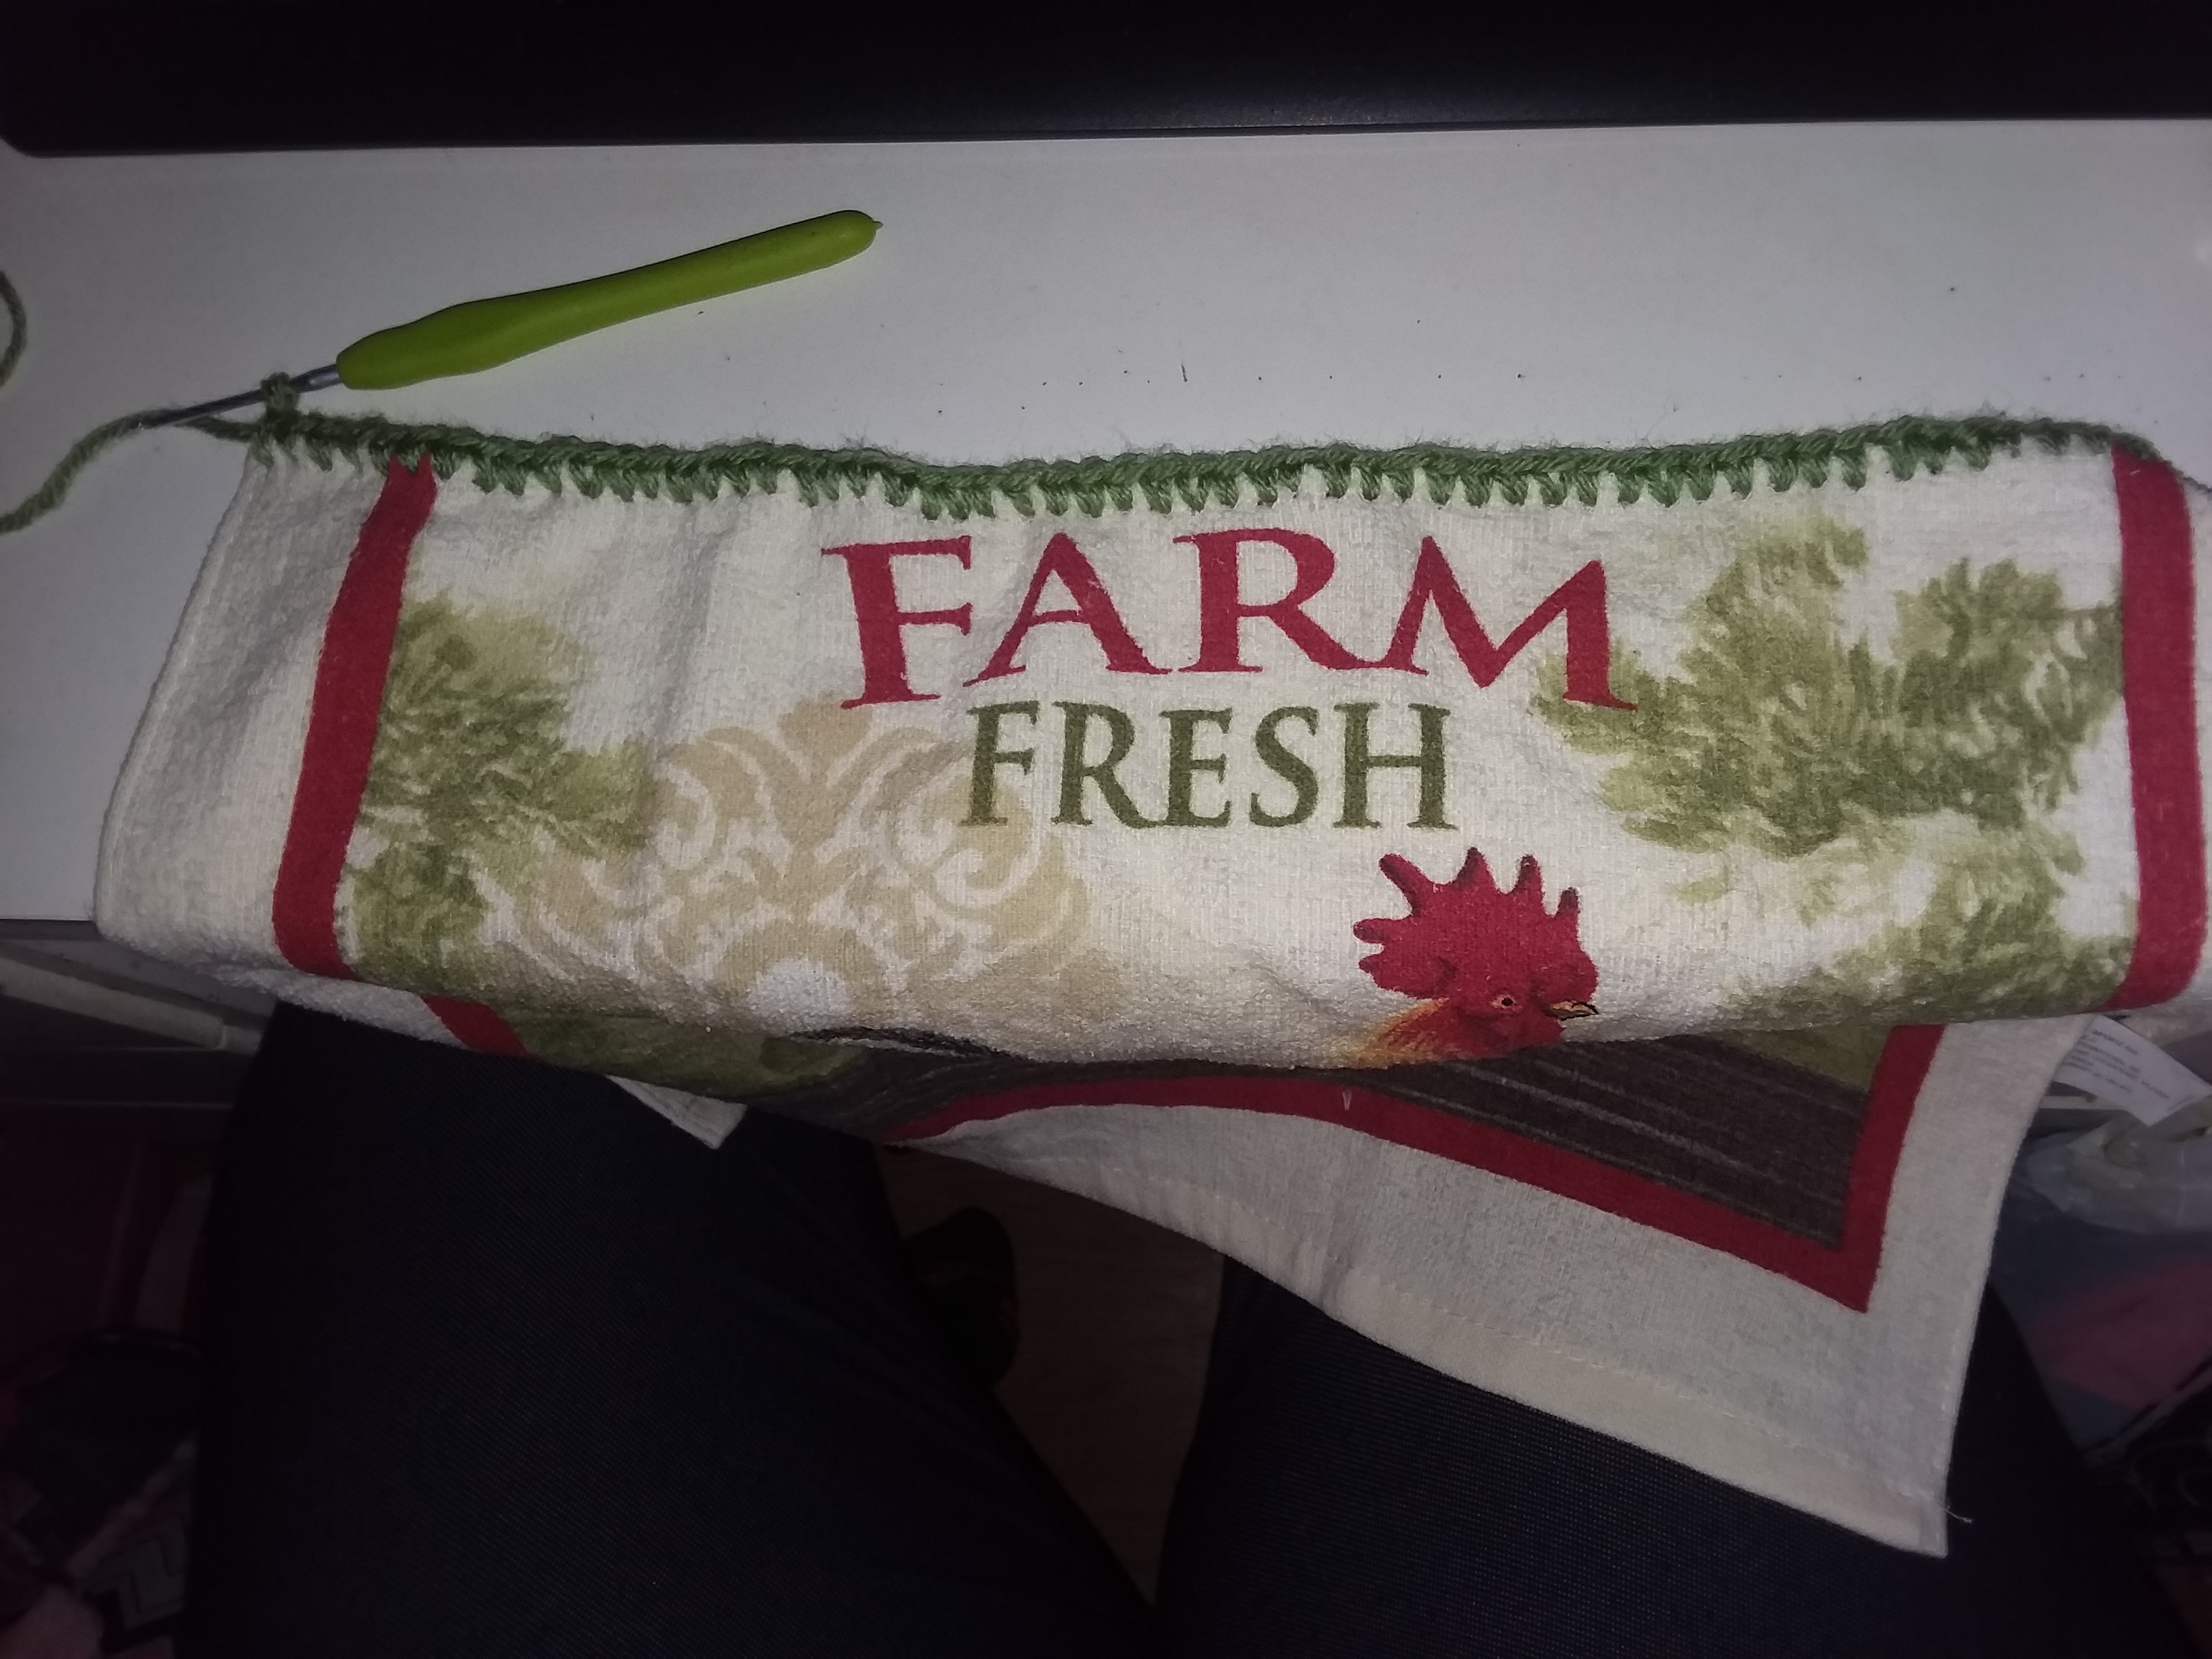
Yes, they do make them in smaller hooks. I actually bought myself a set, that also came with a storage bag, because I was looking for something to help me better grip my smaller hooks, especially, since I crochet a lot of towel toppers.
Although, these are one of my ‘go to’s’, the only problem I have with them is the grips. Now, the set that I bought, had rubber grips, but they were starting to slide off and it made it bothers me when they do that. Especially, when you are crocheting.
If you do want to get yourself a set of these hooks, go for the ones that are built onto the hook itself. If you do end up getting a rubber set, take some hot glue or craft glue, and glue the inside of the rubber piece, and slide your hook back on.
Overall, they do have some very cute grip holders and they can come in multiple colors. These are definitely a must, especially, if you are a beginner!
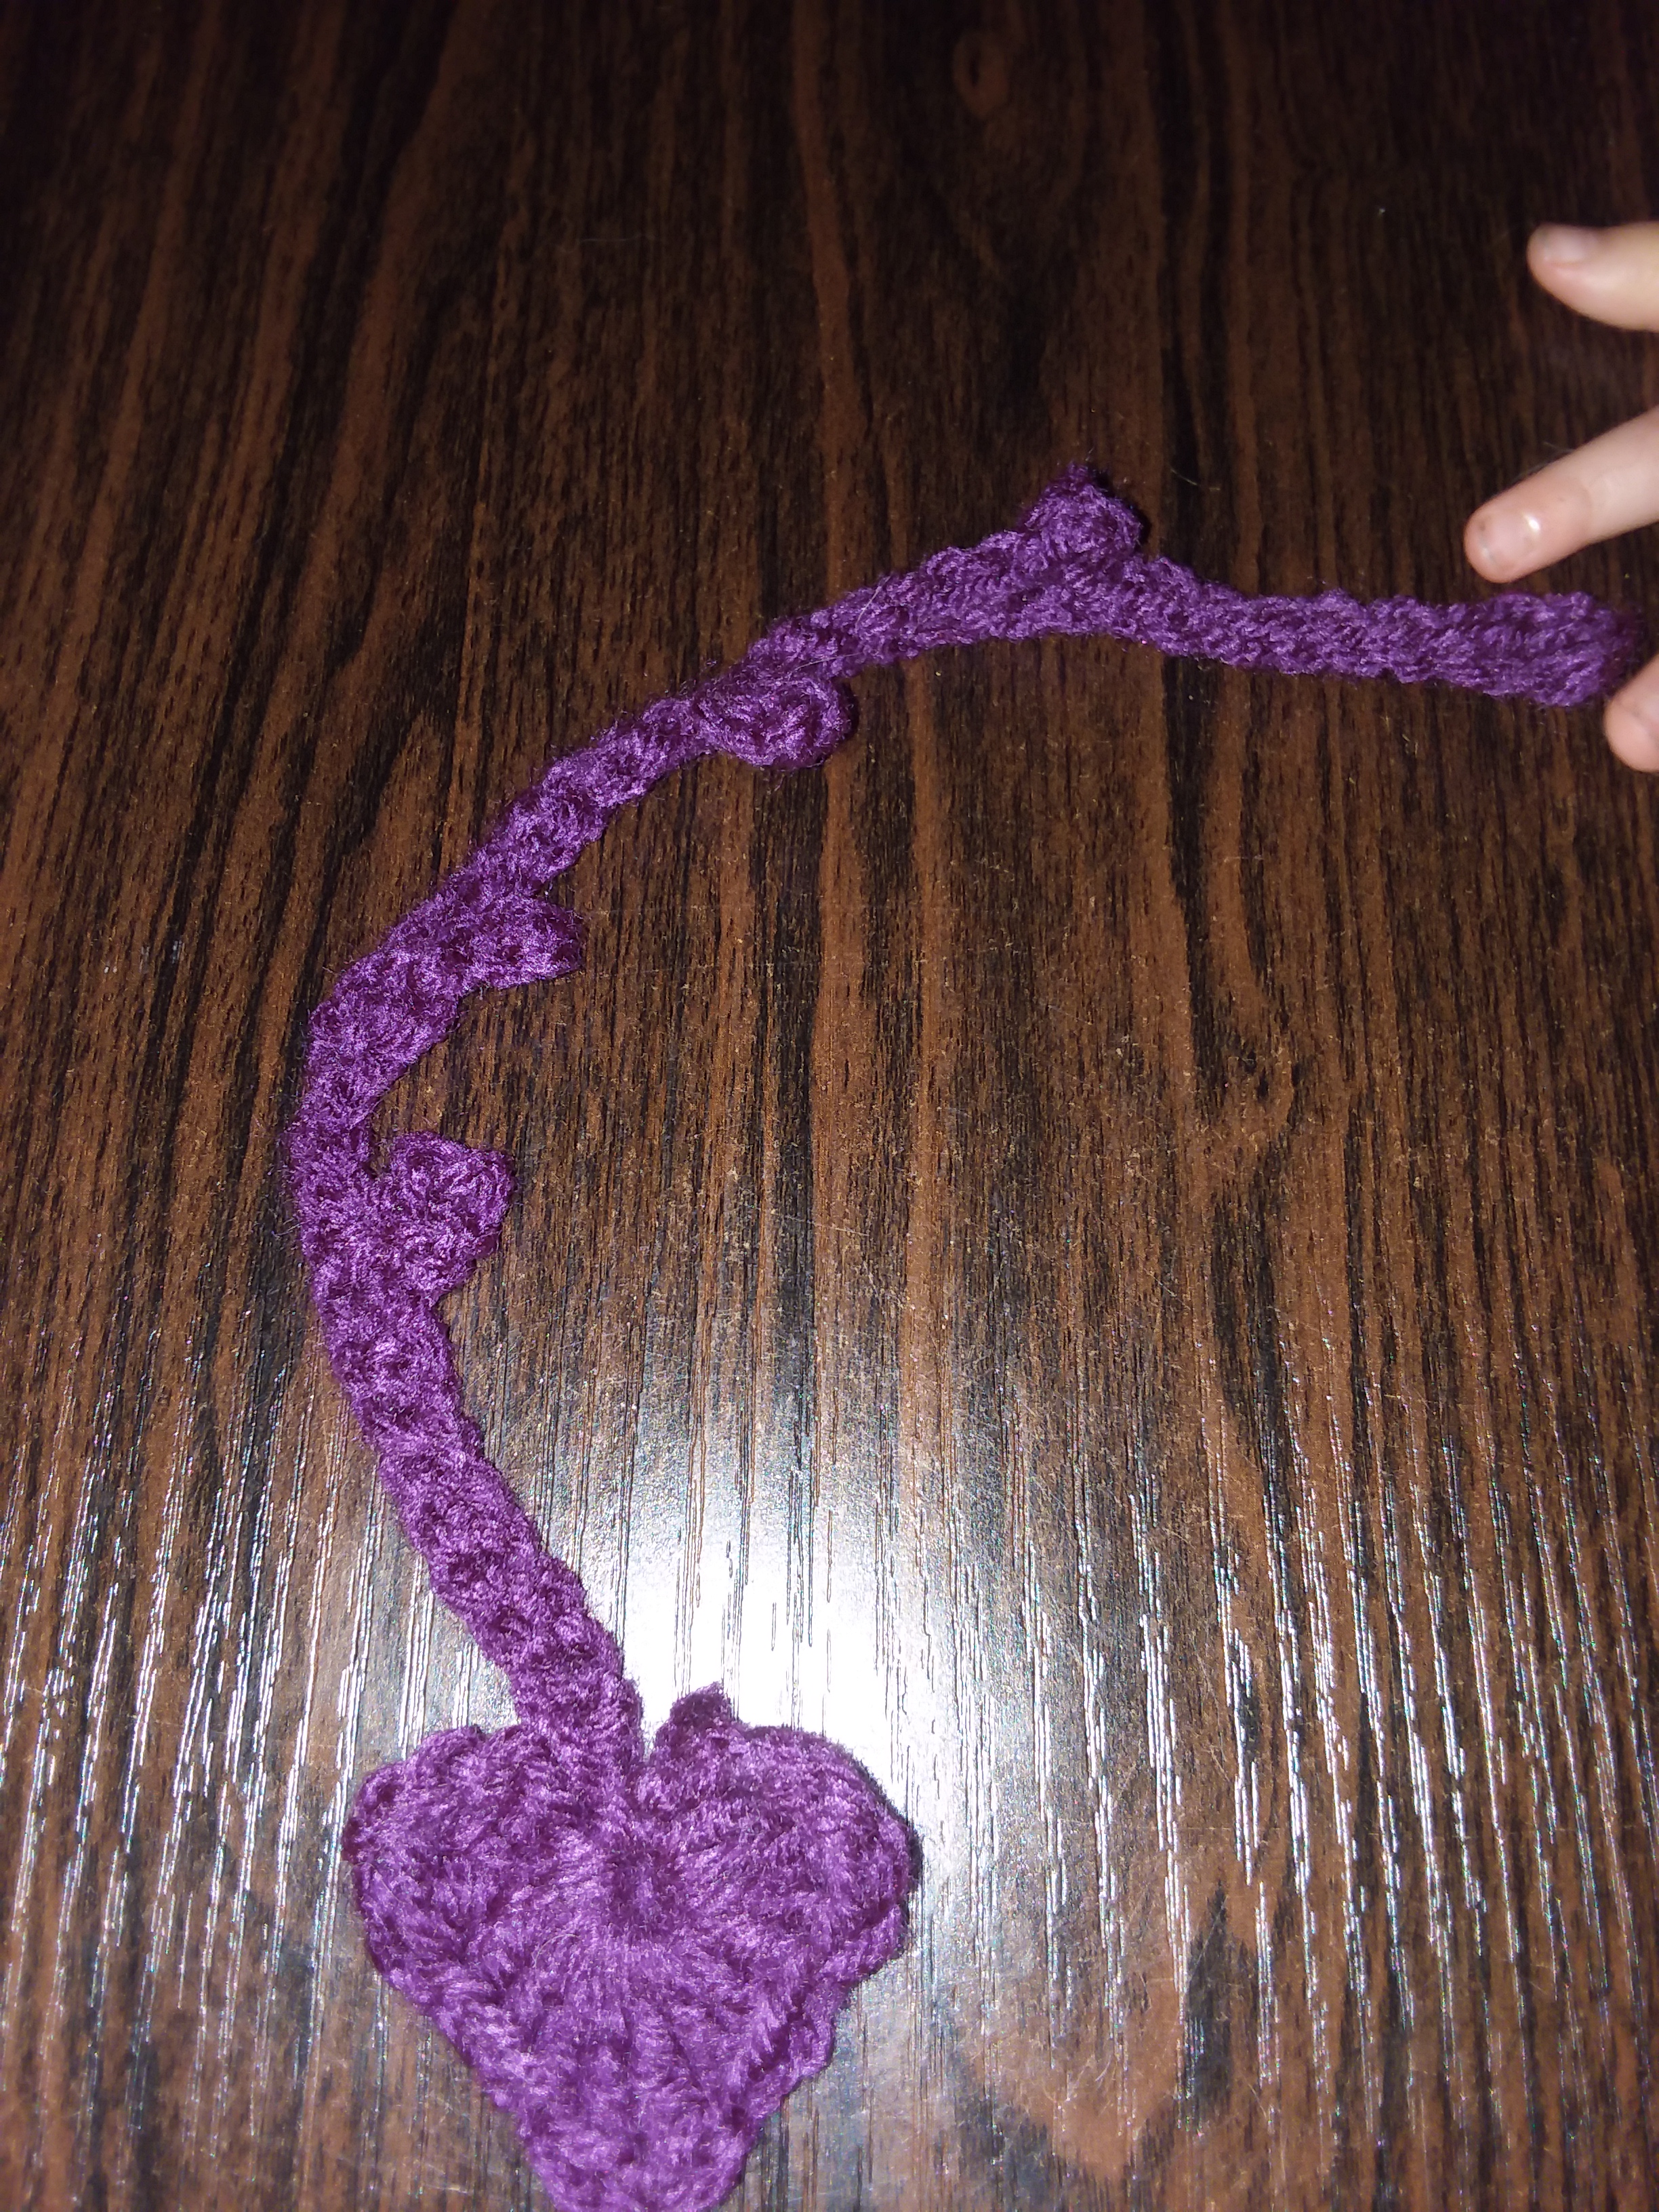
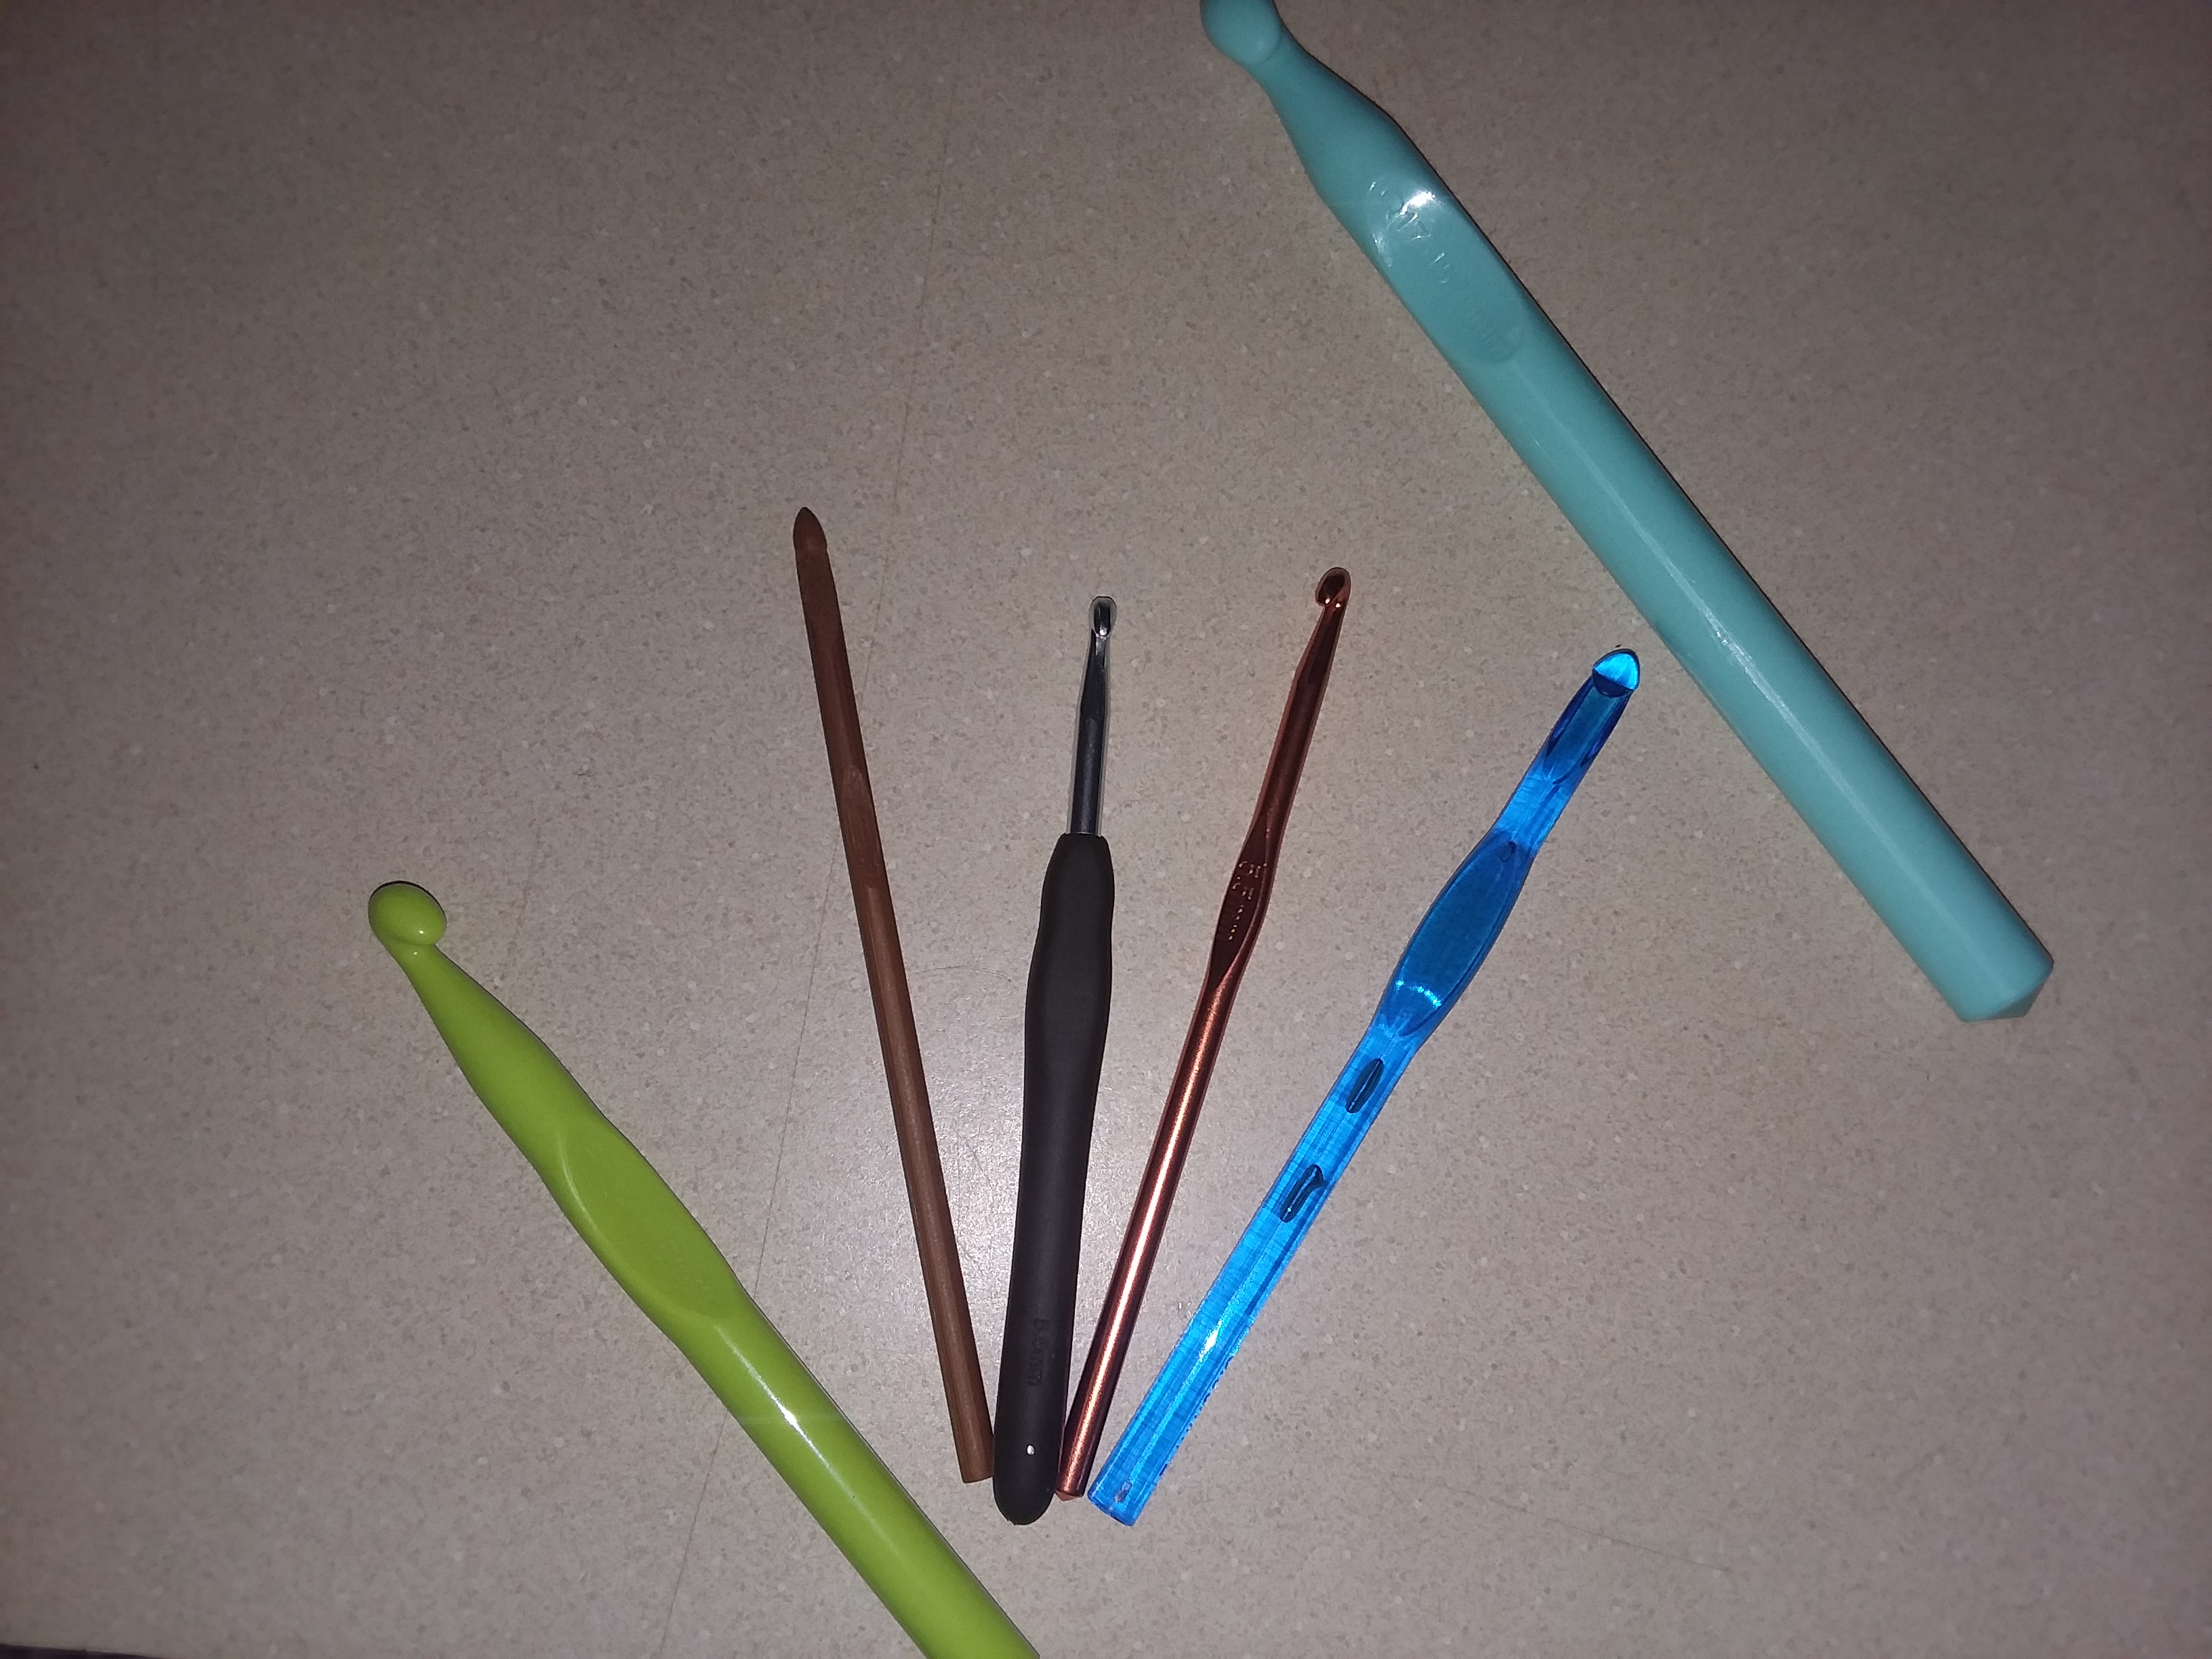
Wooden/Bamboo Hooks
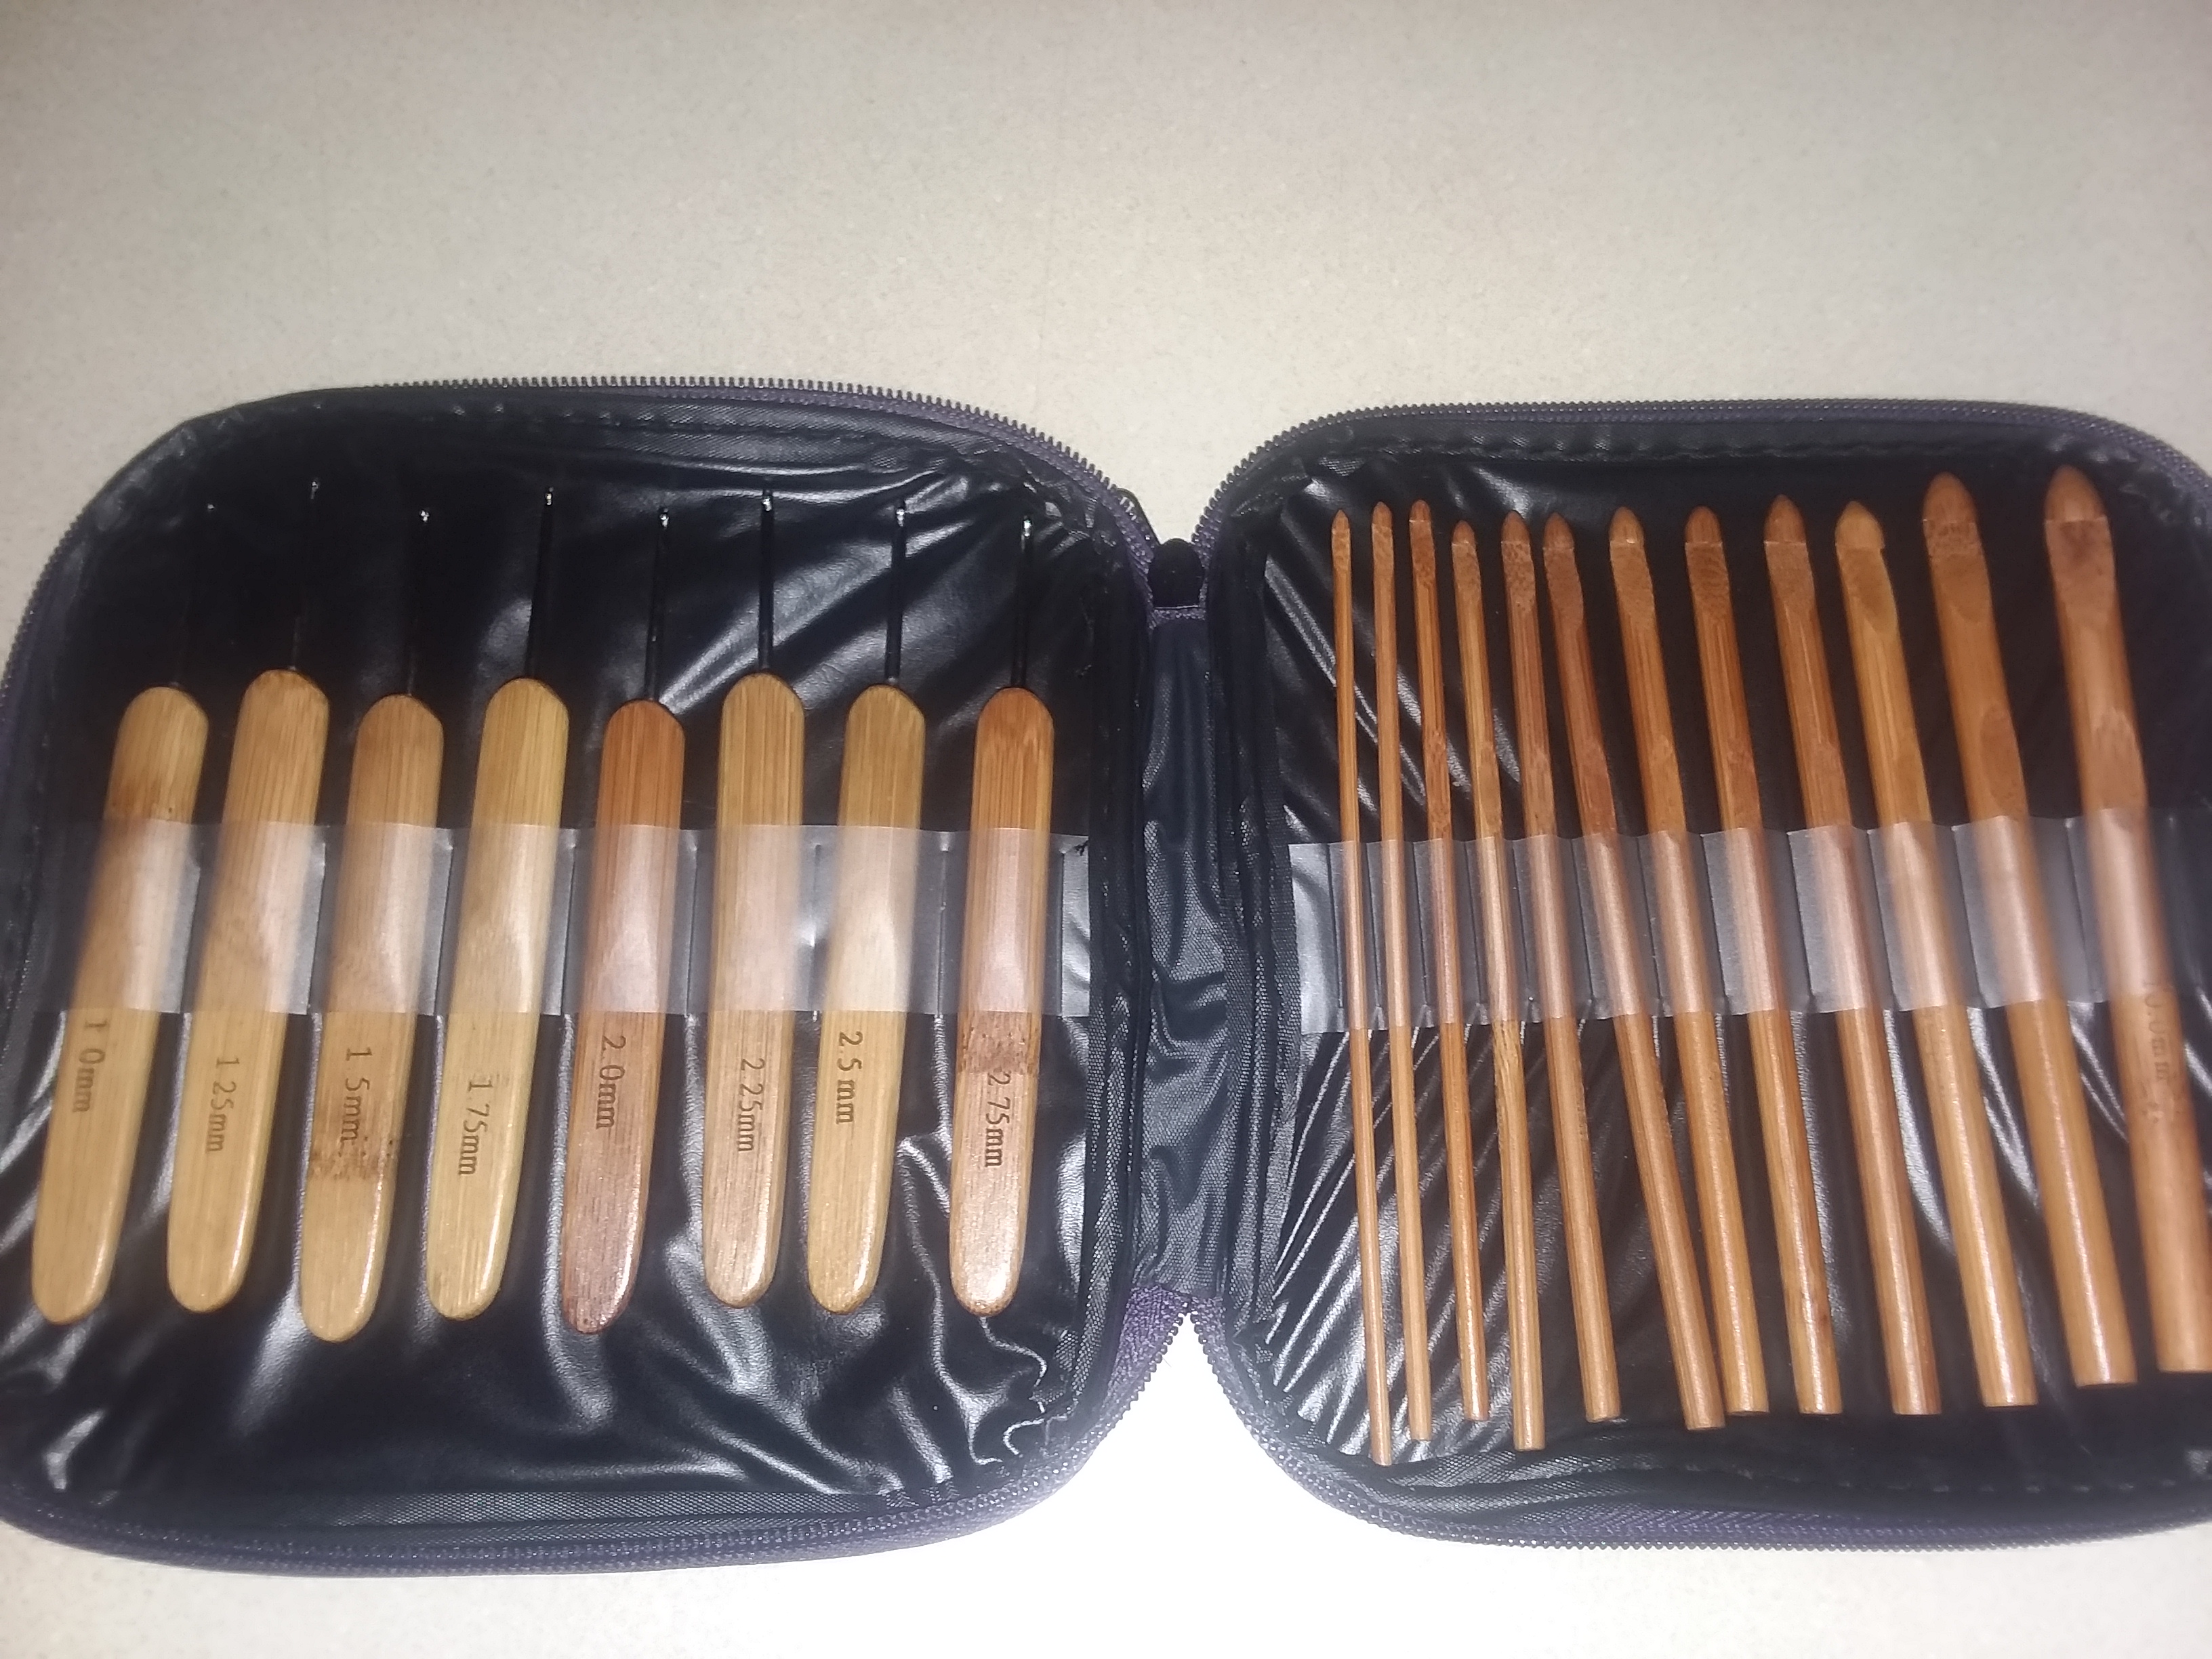
These hooks were the first thing that I really wanted, as soon as I got into crocheting! They were handmade and hand-carved, but I really just wanted them as an option and to grow my hook collection.
They are so smooth to the touch and have a point at the top of the hook, which makes going into stitches easier. The size of every hook is hand carved into the hook itself. These were so pretty I didn’t want to use them, but I did have some problems.
The ones I have, they felt weird to use, but when it comes to trying out different hooks, it can take a while to adjust, but it felt weird to use them. It’s not that I didn’t like them, I just the hook itself is very awkward.
I even put on a handle, which I didn’t want to do, but with the handle, it was a little easier.
The smallest size they go, in carving them with would, is a 3.0. Anything smaller is just a metal hook with a wooden grip, which I would like to note, the wooden grip is very strong and I haven’t had any problems with it.
Overall, I like to have a set, just to have it, but I have used them before. It does take some type to get used to, but you also need to be careful because since these are made up of wood/bamboo, they are very easy to break. Hence why they don’t go smaller with size!
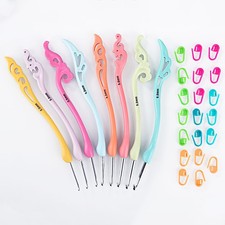
Japanese Hooks
Now, as I said in the beginning, I’ve never tried these, so I can’t really give a good detailed explanation whether they are good or bad. I do see quite of bit of other crocheters that do use them.
What I have read, from my crocheting books, these hooks are perfect for people who have small hands and it helps with arthritis. From the looks of these hooks, they do look very comfortable.
Overall, you have to try them to get the feel from them. I do plan on getting a set in the near future.
In order to find out what hook works for you, try them all out! Of course, you don’t have to buy the entire set of them, you can always get just one of each and see how they are for you!
I like to have options, especially when crocheting. Have a set of each different hook can give me more options to choose from, no matter what size hook I need!
Leave a comment down below letting me know what kind of hook you prefer to use! I’d love to know!
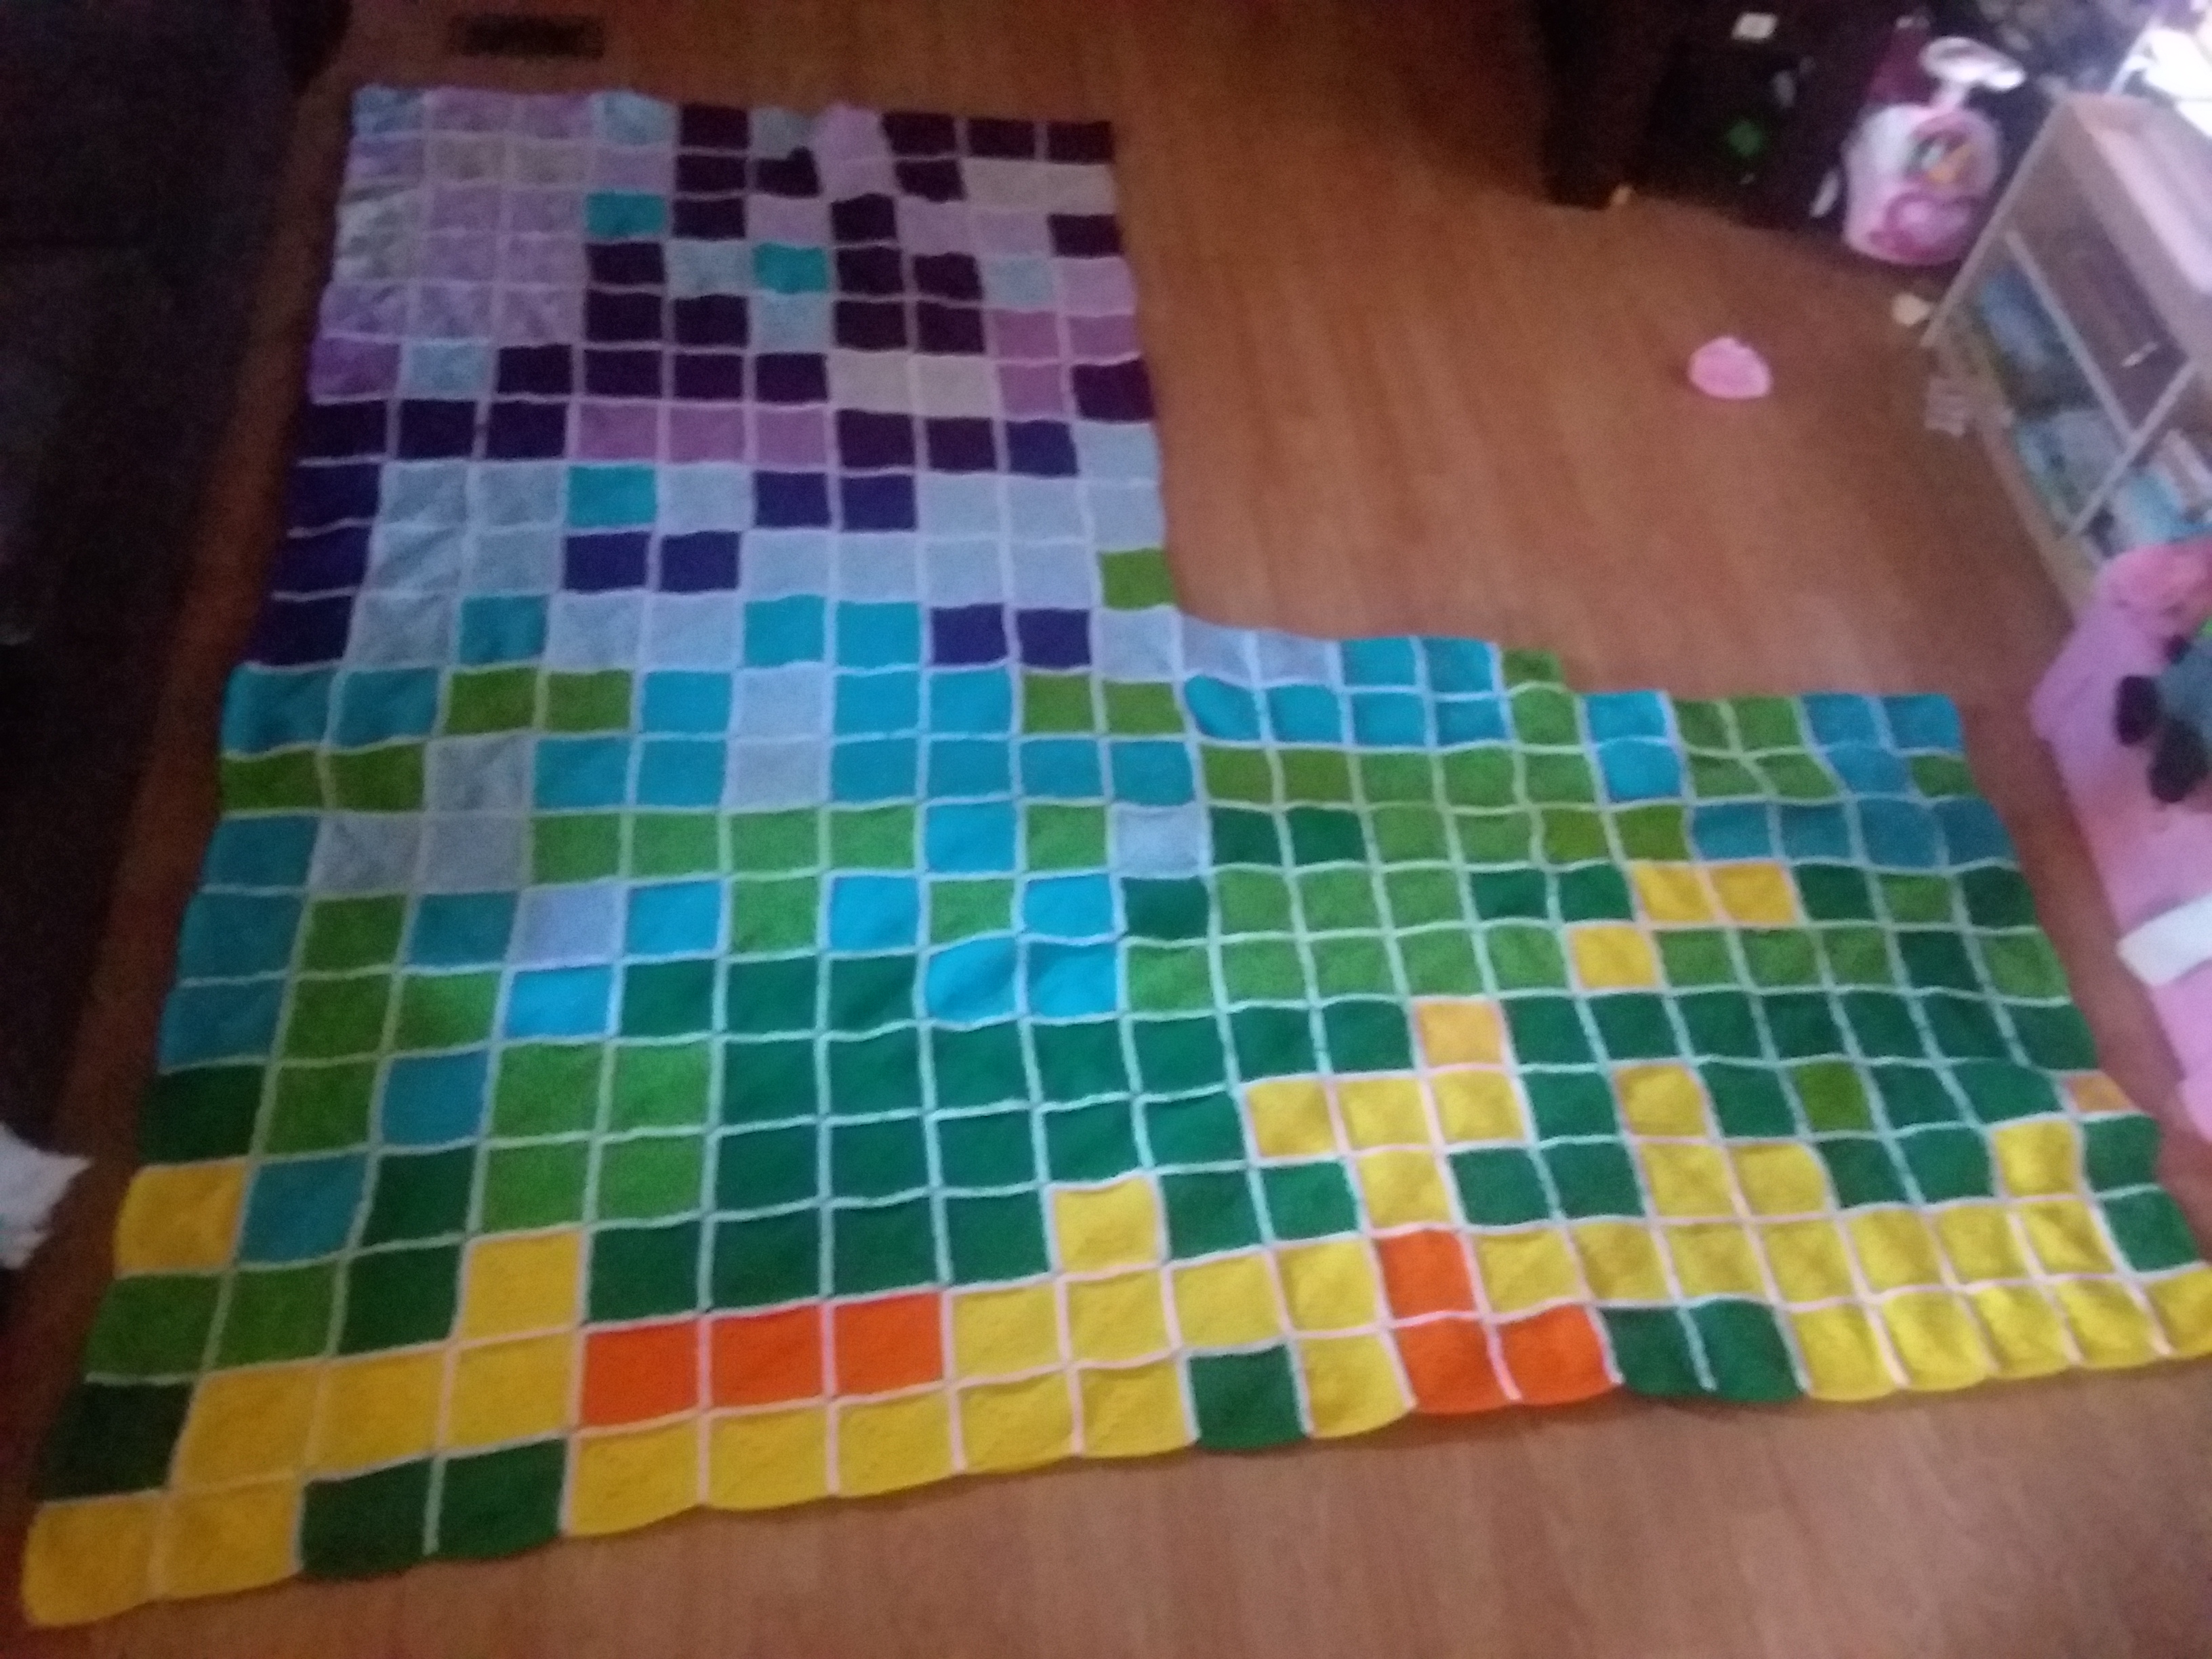
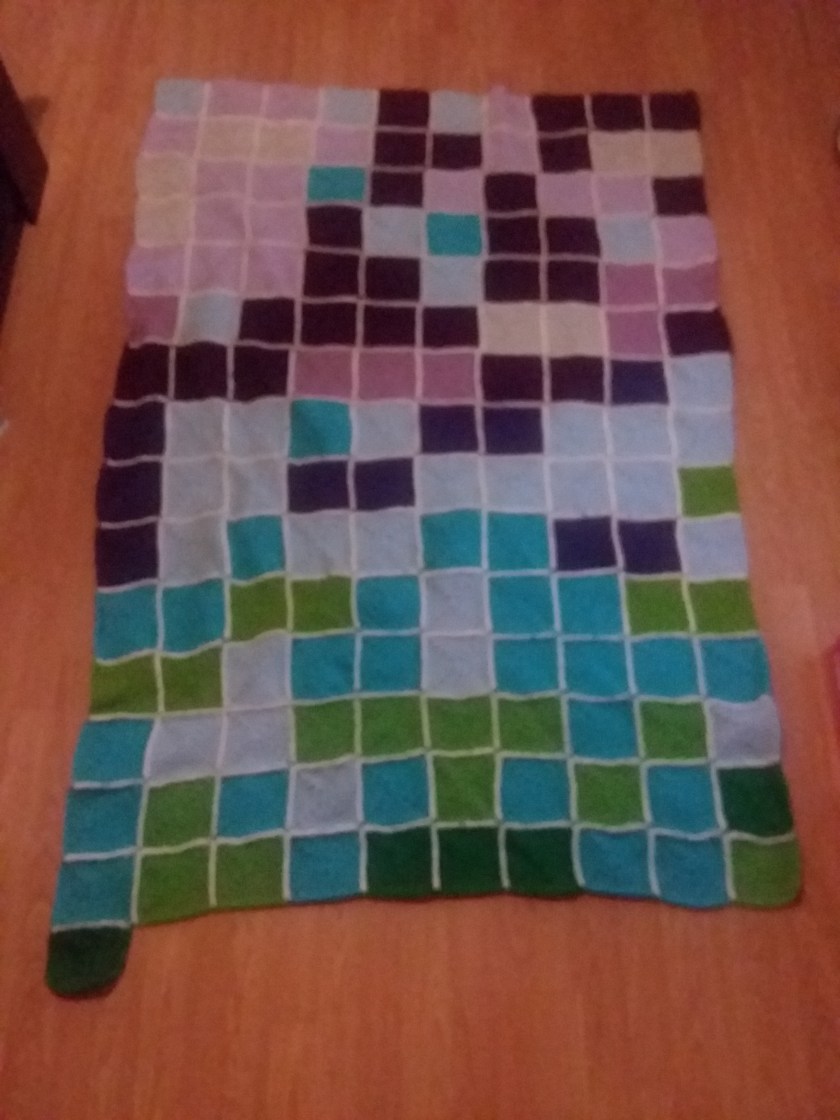
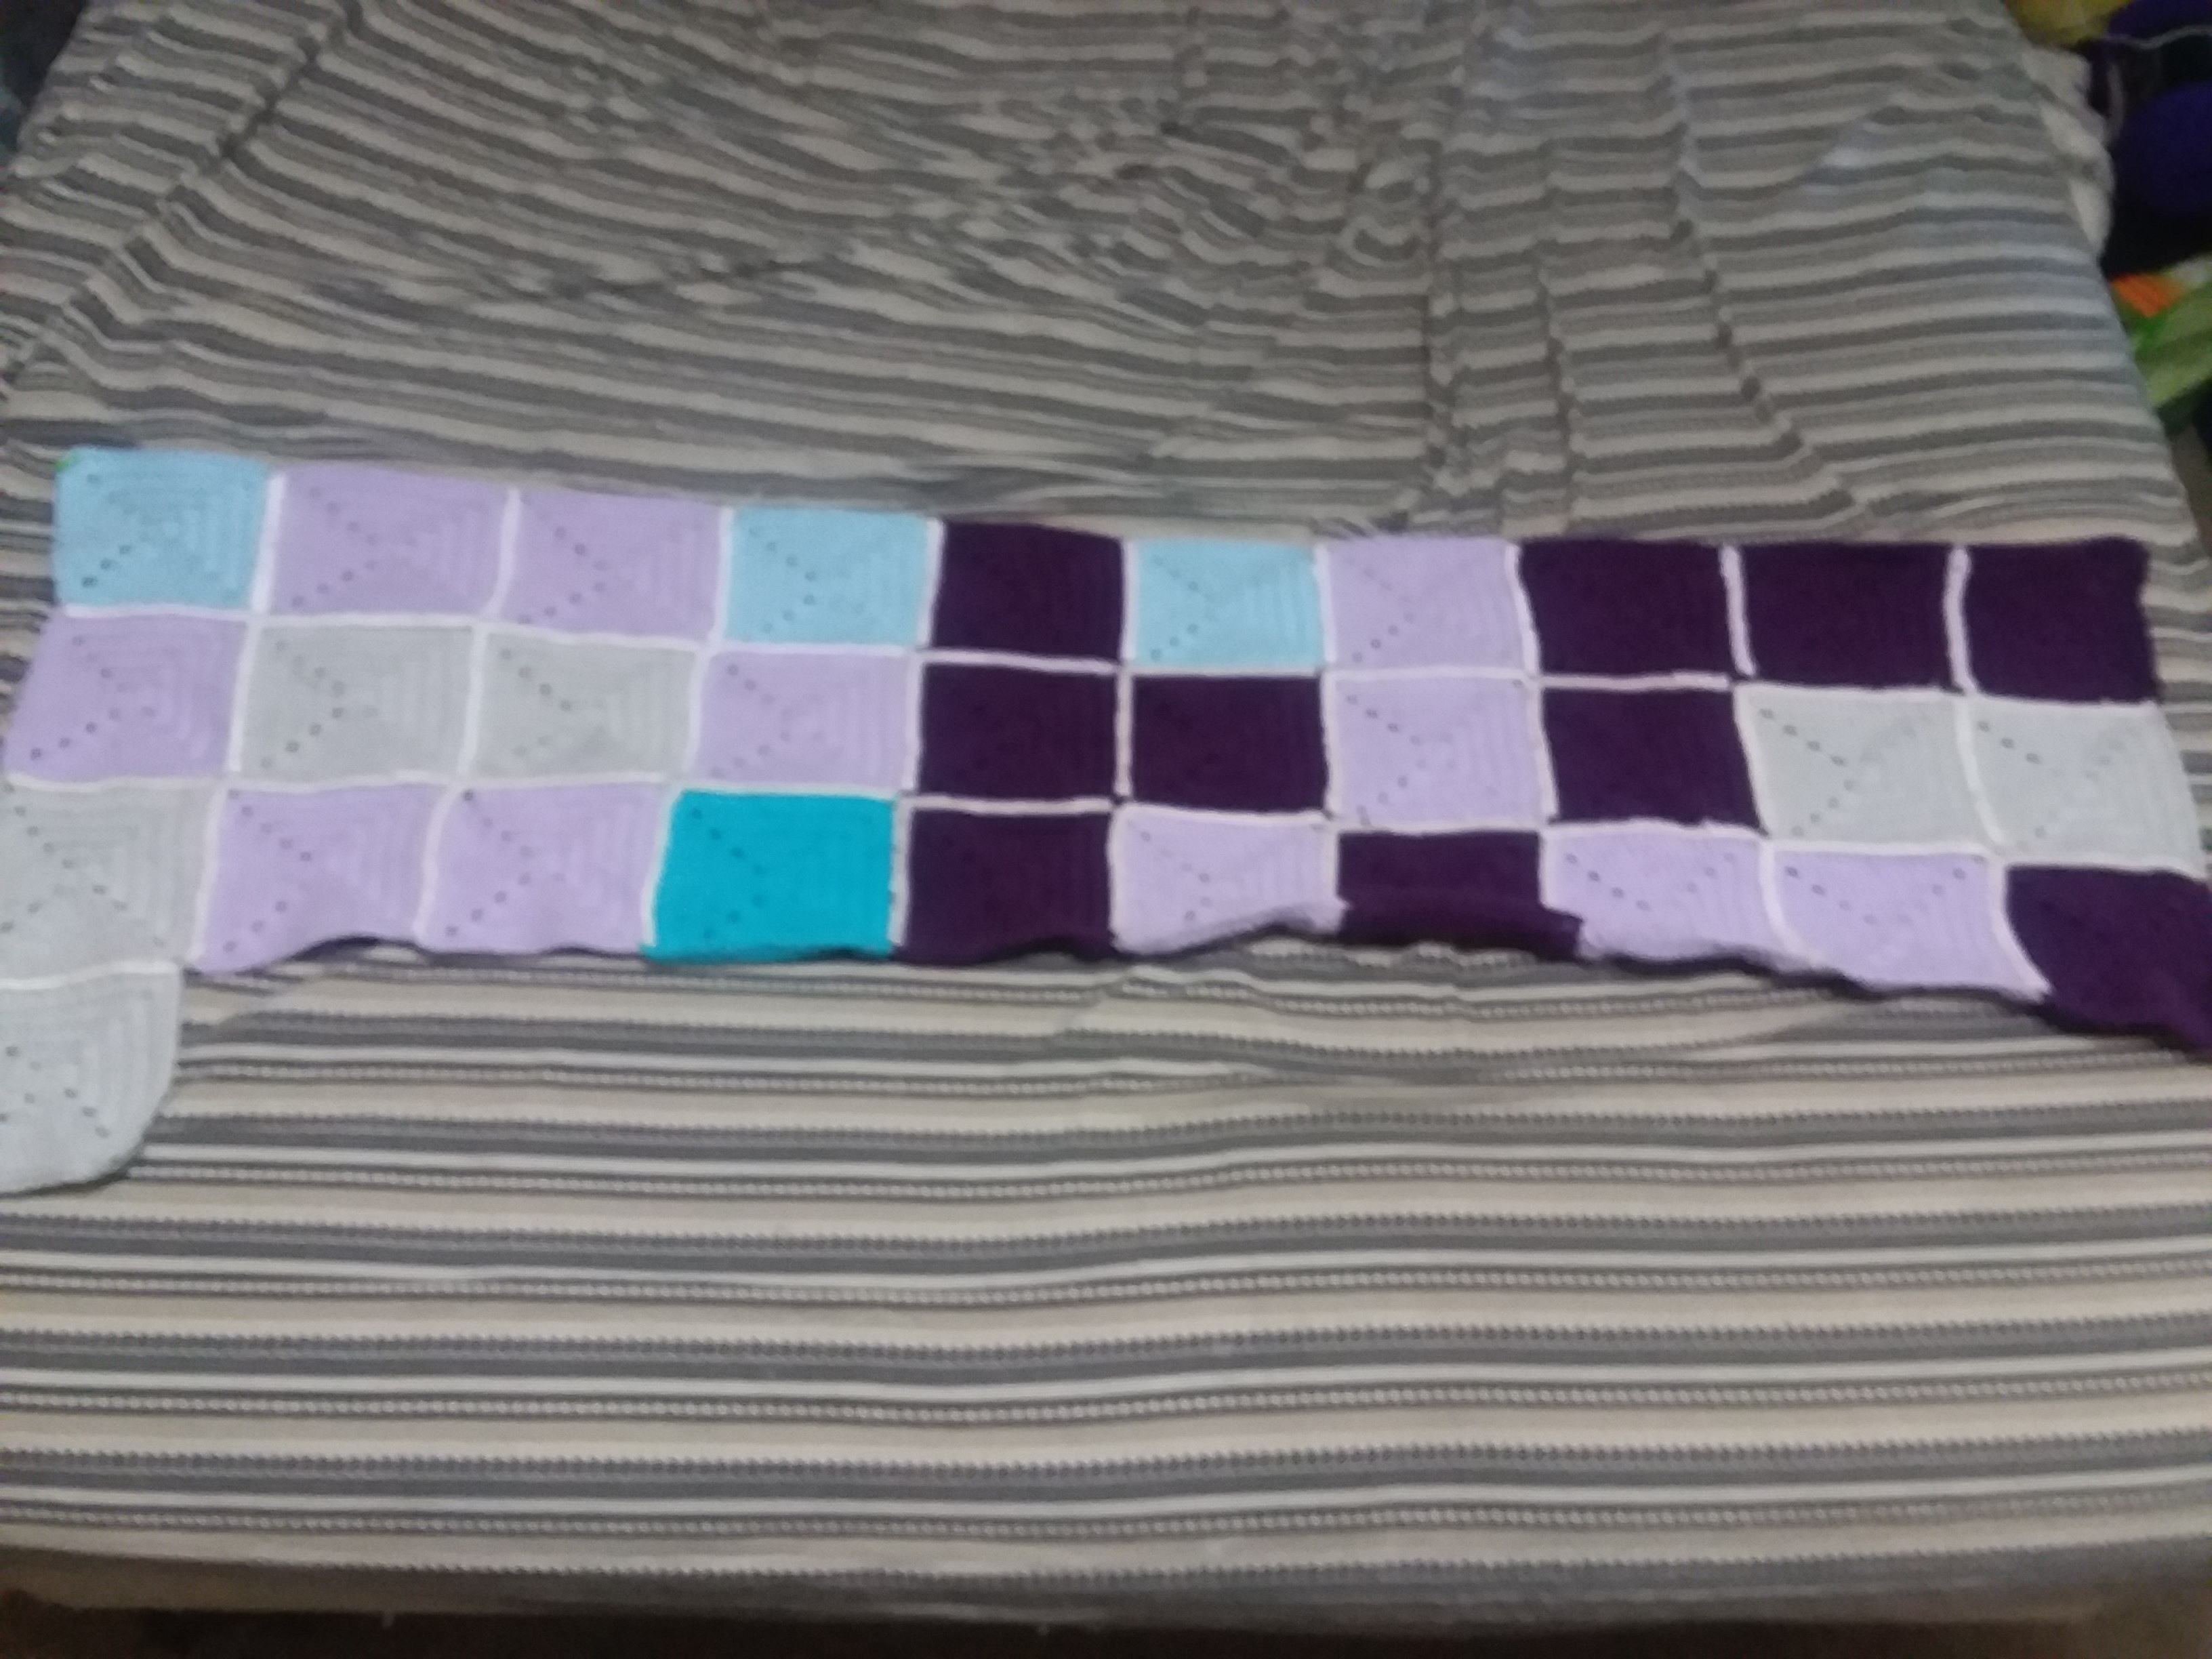
Don’t forget to follow my Facebook page, I update my temperature blanket daily on there, go live crocheting, and even have free giveaways! Link is down below!
https://www.facebook.com/katiesblog96971617/


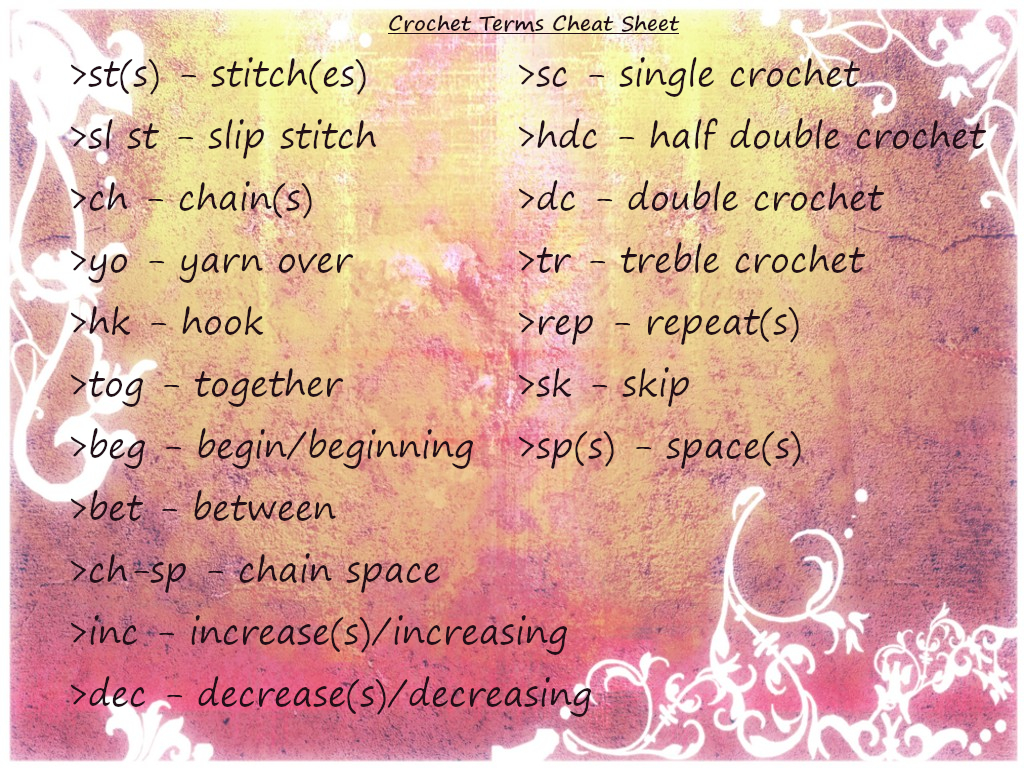
 that is commonly used in most, if not all patterns, especially for beginners.