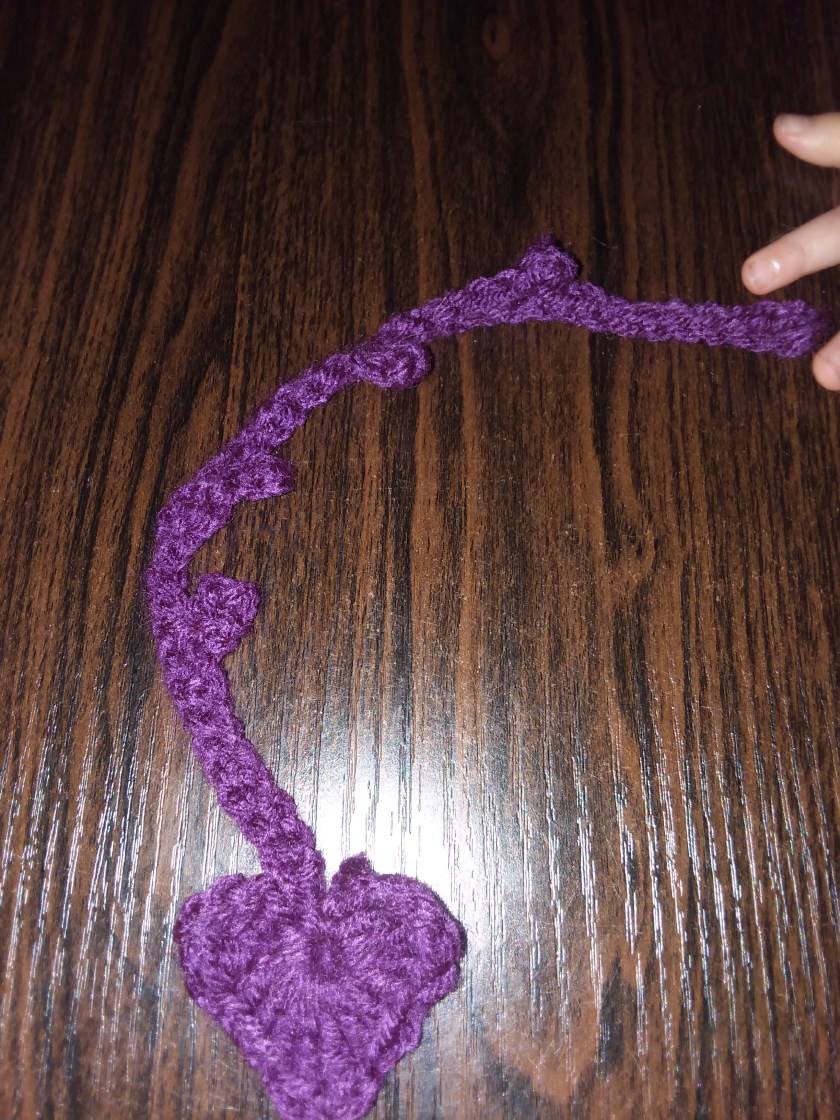
Today, I’m going to try to teach you guys how to make these simple towel toppers. My great-grandmother has been making these for years and we always had a few of these hanging around the house. To this day, she still makes them, but not as much as she used to.
I am basing this pattern off of what I have seen on YouTube, other free patterns that they have on the internet, and going by one of her towels. I have NOT perfected this pattern. My great-grandmother never really wrote down her pattern or anything like that, she is one of those ‘make it as you go’ type of crocheters.
I will make a better blog post on the towel topper, but for now, I’m gonna show you how I managed to make my first one.
So, first thing first, lets list off the supplies you will need for this project:
- Kitchen Towel
- Any type of towel you can use, but use one with more of a thickness, it makes it easier to work with, in my opinion.
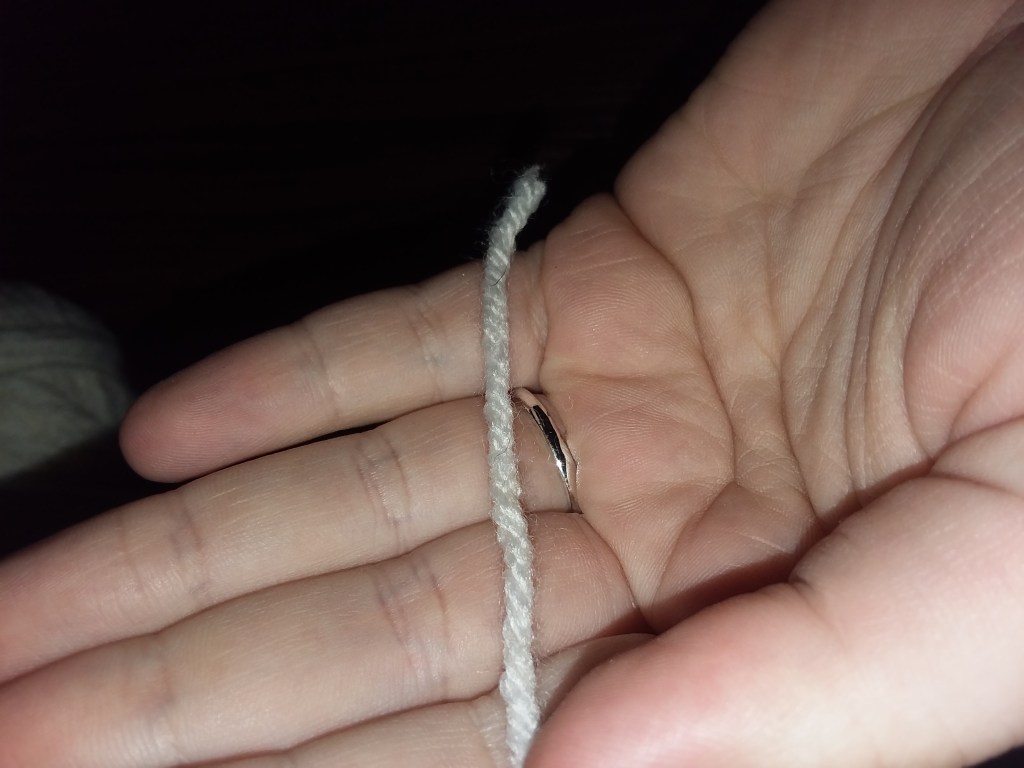
- Medium or Size 4 Yarn
- Chose a color that would match with your towel design, if it has any. Try not to chose black, it is harder to work with, same with darker colors.
- Button
- I chose to get a pack of white big (not giant) buttons. White matches with mostly anything, and for this being my first towel, I figured it would be easier to work with. You can chose whatever color buttons that you think would fit for your towel, as long as they aren’t the small buttons.
- Sewing Needle
- Normal sewing needle, nothing really special. It can help with poking holes through the towel.
- Crochet hooks: 2.25mm and a 4.5mm
- These are the hooks I used, I might change the sizes, but the reason why you need two is the smaller one will be for bring the yarn through the towel itself, while the other one will be for the actual crochet part of the towel.
Now that you know what you need, let’s begin!
Step 1: Take the towel, you have chosen to use and fold it in half, hamburger fold, if that makes it easier to visualize. Cut the towel in half.
The reason for this is that if you have a long kitchen towel with the same design, on each side, you’ll be able to make two different towels.

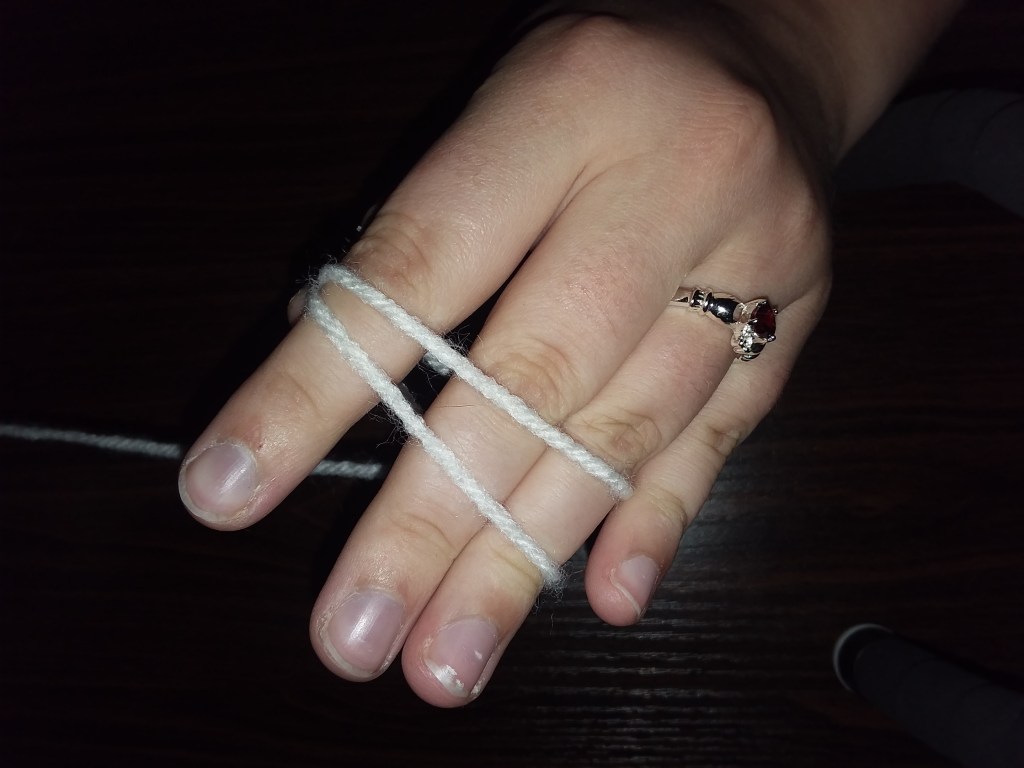
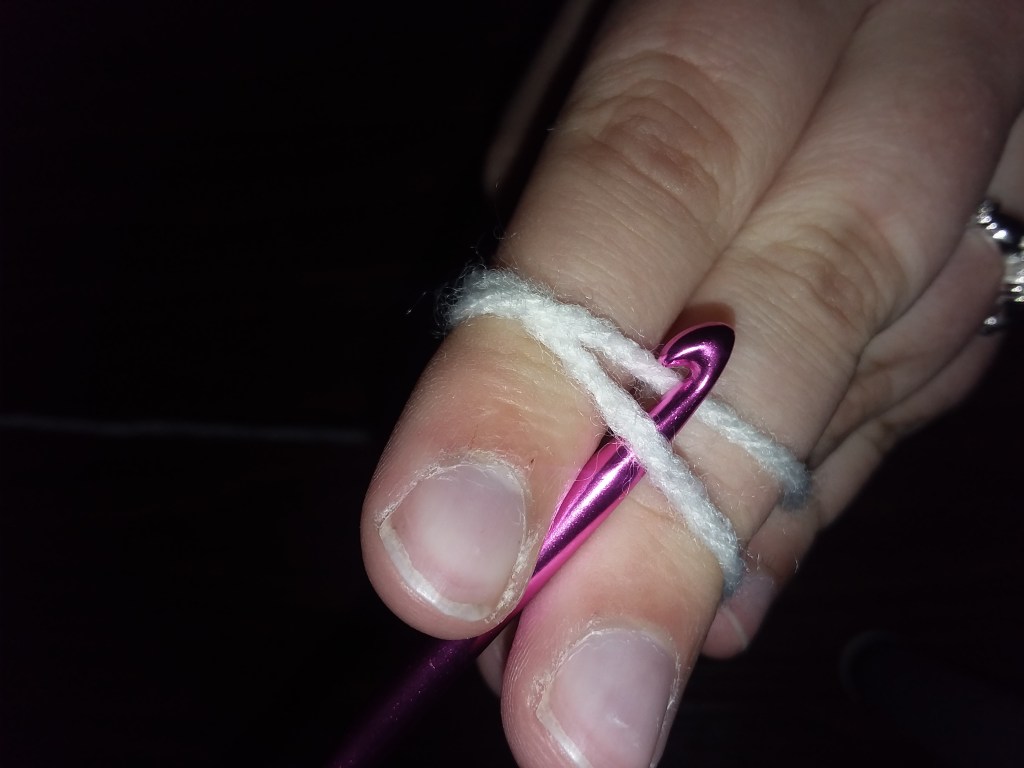
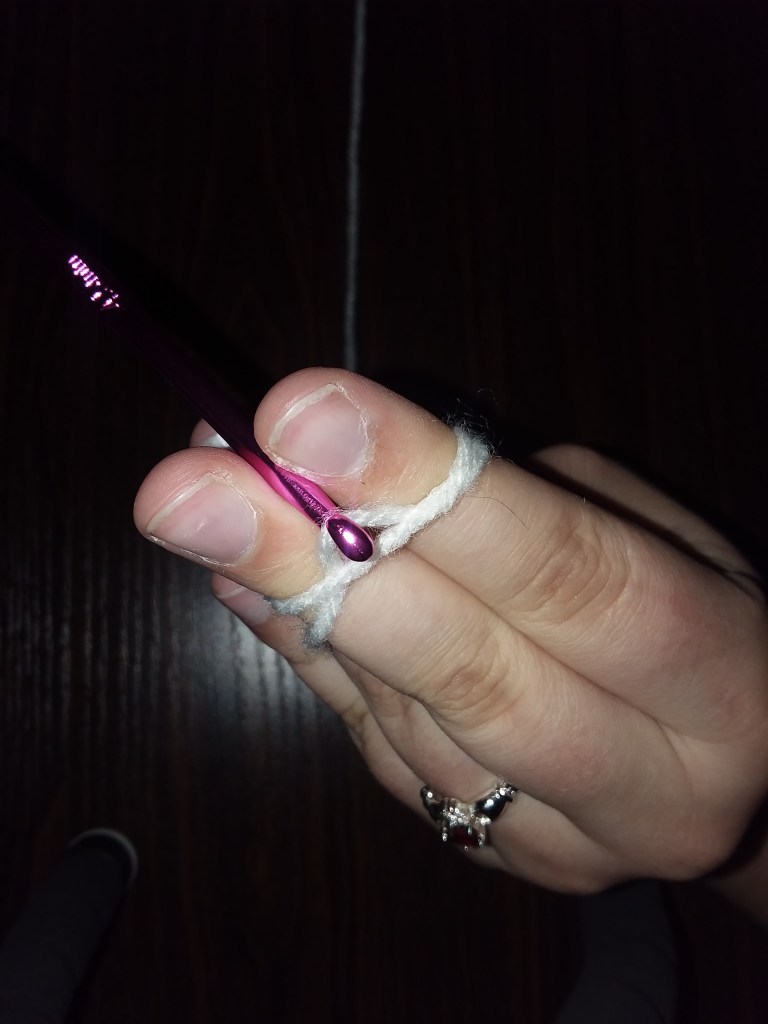
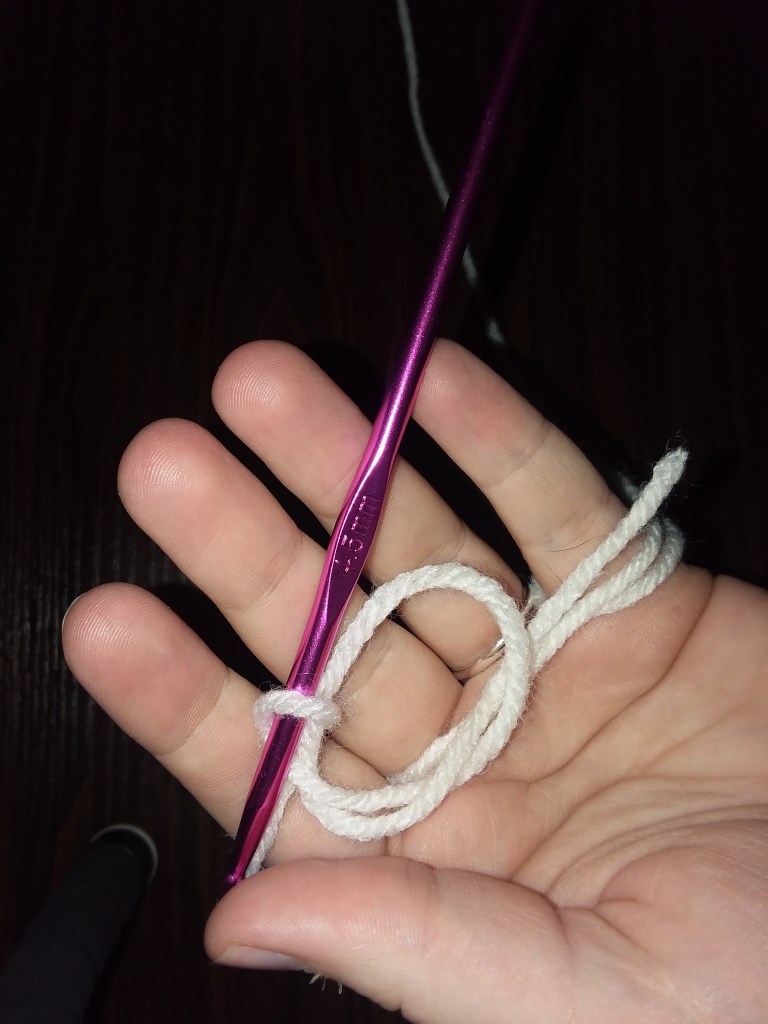
Step 2: This next step is going to be a little tricky. You can use the sewing needle to help poke holes in the top of the towel, I found that easier than taking the small crochet hook (2.25mm) and poking it through.
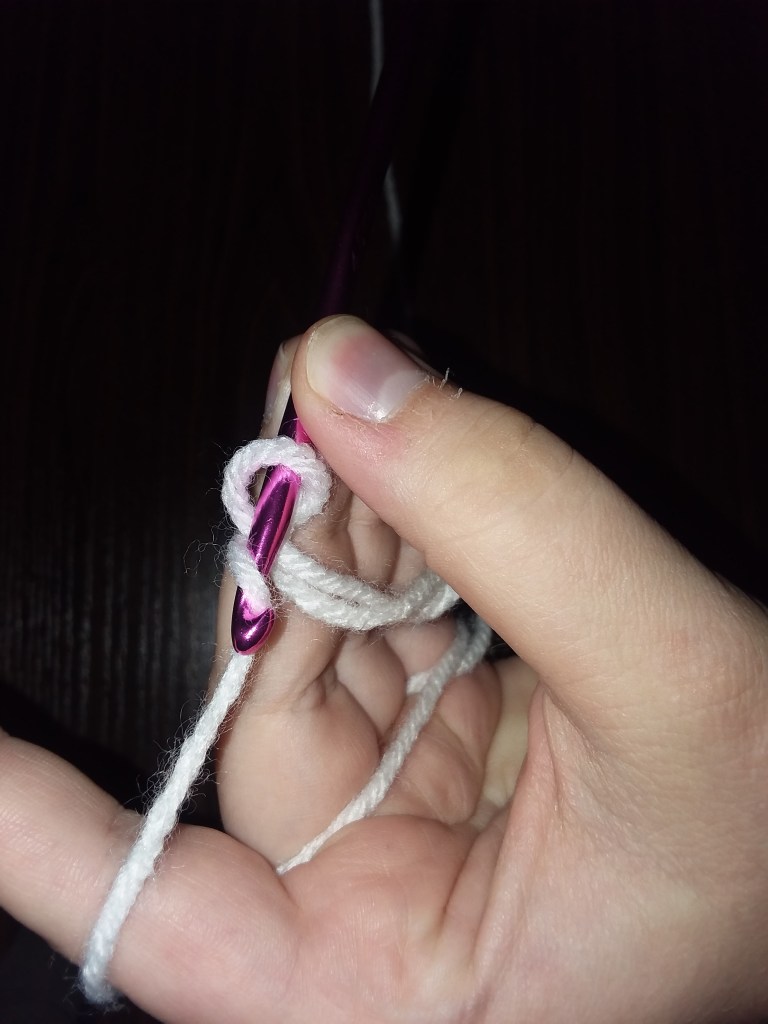
Once you poke your crochet hook through and pull through you yarn. Then, you are going to yarn over and pull through both loops, basically doing a slip stitch.
You repeat this step until you reach the other side of the towel.
*Remember to try not make your holes too close or too far apart. A few of the videos that I watched recommend being a quarter of an inch away from the top of the towel and from your last stitch, or hole you made. It doesn’t have to be exact, but whatever works for you.*
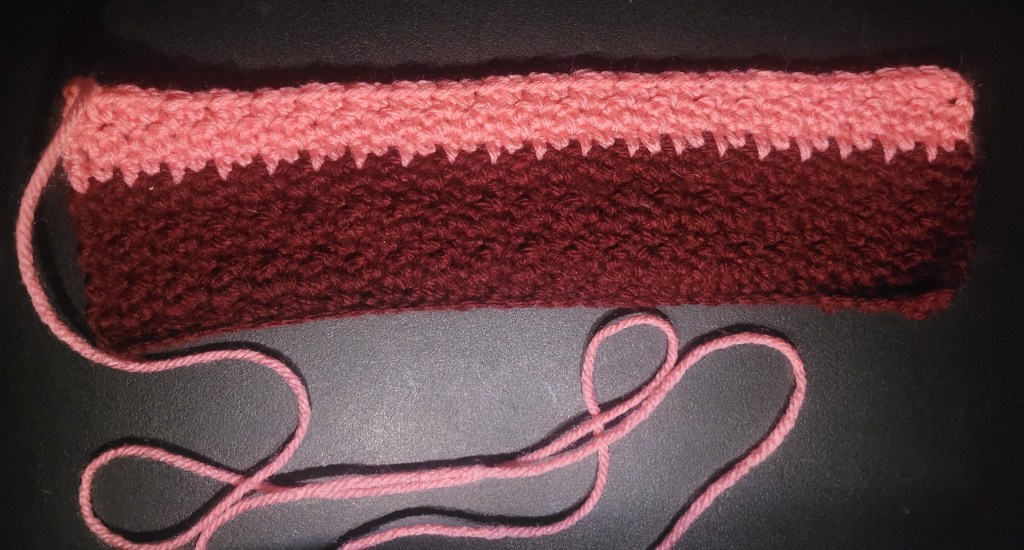
Step 3: Turn your work over. Now, we are going to switch our crochet hook, switch to the 4.5mm. Chain 1.
We are going to double crochet in between each of the stitches of the towel. You are going to keep doing that until you reach the other side of the towel.
*How to double crochet*
For this project, you are going to yarn over, go through or in between the stitches and then yarn over again, go through the first two loops, yarn over and go through the last two loops.

Step 4: You are going to repeat Step 3, for this next row. Instead of going in between the stitches, you are going to go in between each double crochet that we made in the first row of double crochets.
Once you reach to the other side, turn your work over and chain 1.
Step 5: For this next row, we are going to still double crochet, but we are going to skip every other one. For your first double crochet, you are going to double crochet in the first spot, but skip the one next to it.
You keep going until you reach the other side. Make sure to turn your working and chain 1.
Step 6: Repeat Step 5, making sure to skip every other one. Once you reach to the other end of the towel, turn your work and chain 1.
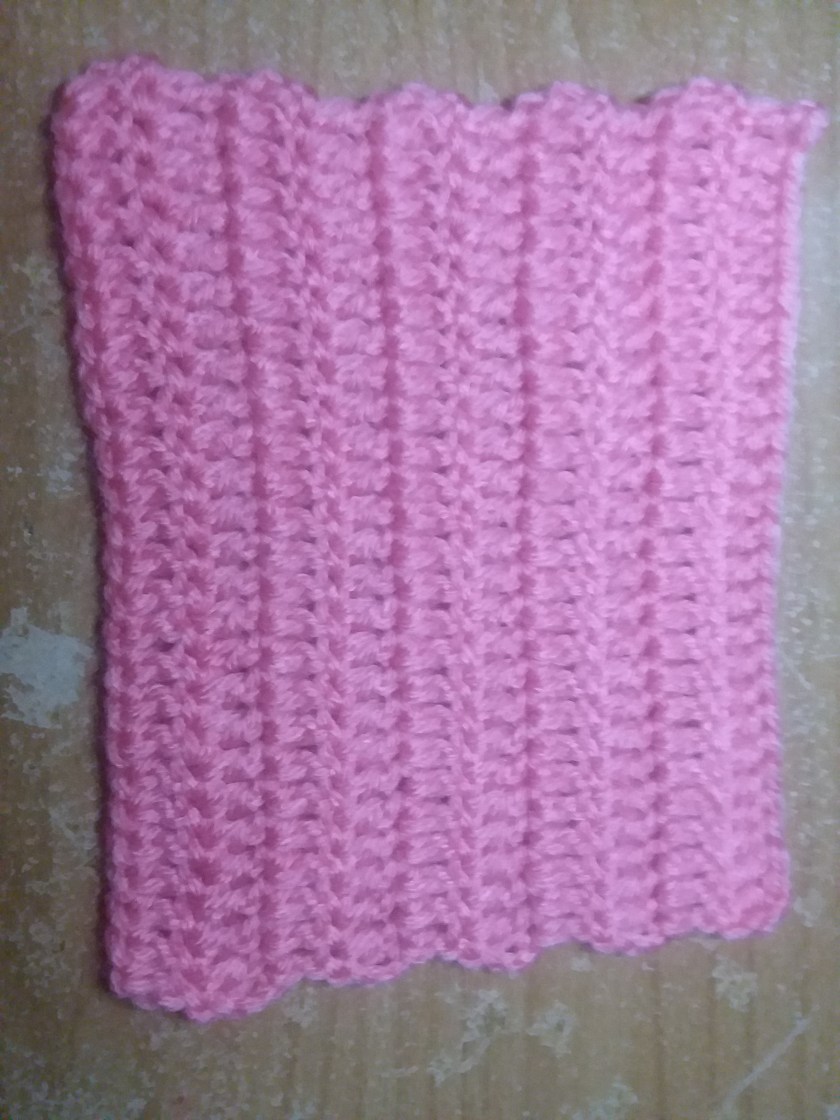
Step 7: As you can see, the towel topper is now starting to become smaller, which is what we want it to do. Now, we are going to repeat Step 3, making sure we double crochet into each one. When you get to the other side, turn your work and chain 1.
Step 8: Repeat Step 3. Turn work over and chain 1.
You are going to repeat Step 3, and making sure you turn your work when done that row and chaining 1. For the next 5 rows.
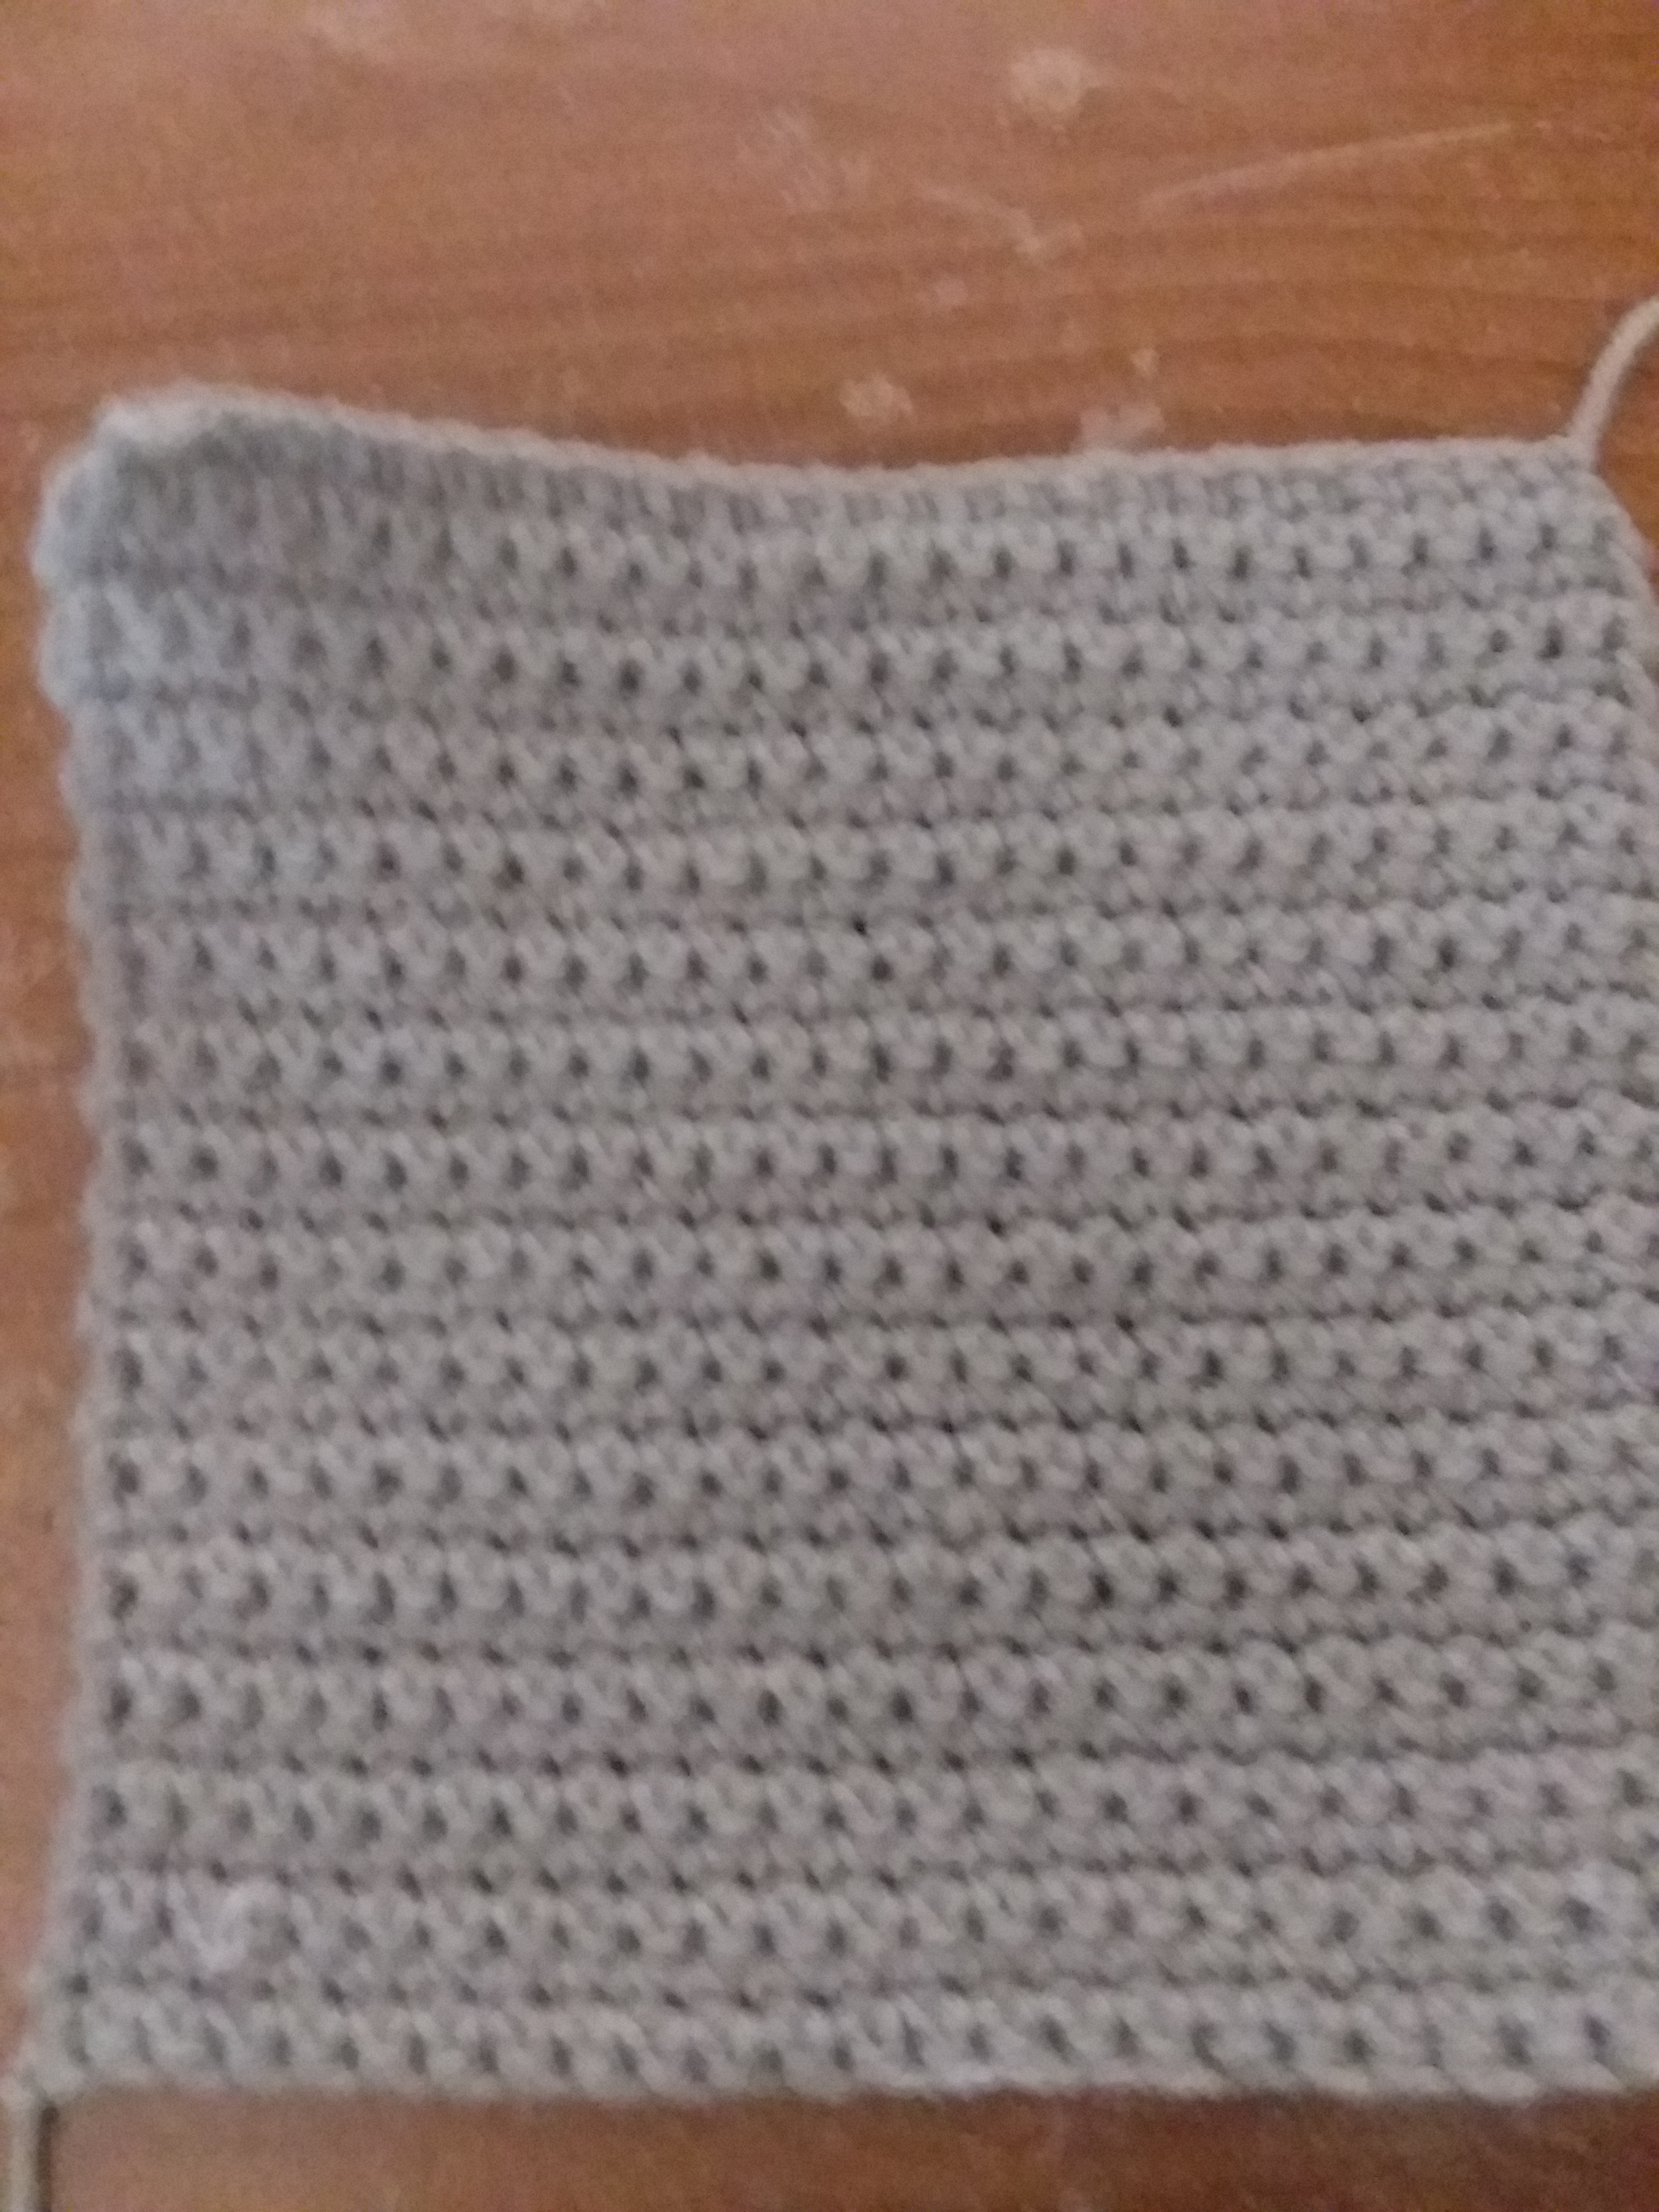
Step 9: Once you are done double crocheting those last 5 rows, it is now time to finish off the project and make the opening for the button to go through.
Now, everyone does this differently, but I am going to do it differently from what my great-grandmother does.
After you turned your work and chained one, you are going to do 2 double crochets. Chain 2. Skip the next 2 stitches. Then do 3 double crochets.
Step 10: This is the last row we are going to crochet. So, make sure you turn your work and chain 1. We are basically going to double crochet, for the last row.
When you get to the open space, you are going to double crochet twice in that opening.
We you get to the end, bind off by cutting the yarn you were working on and pull your crochet out, don’t remove the crochet hook from the loop, pull it up, so that the yarn is bind off.
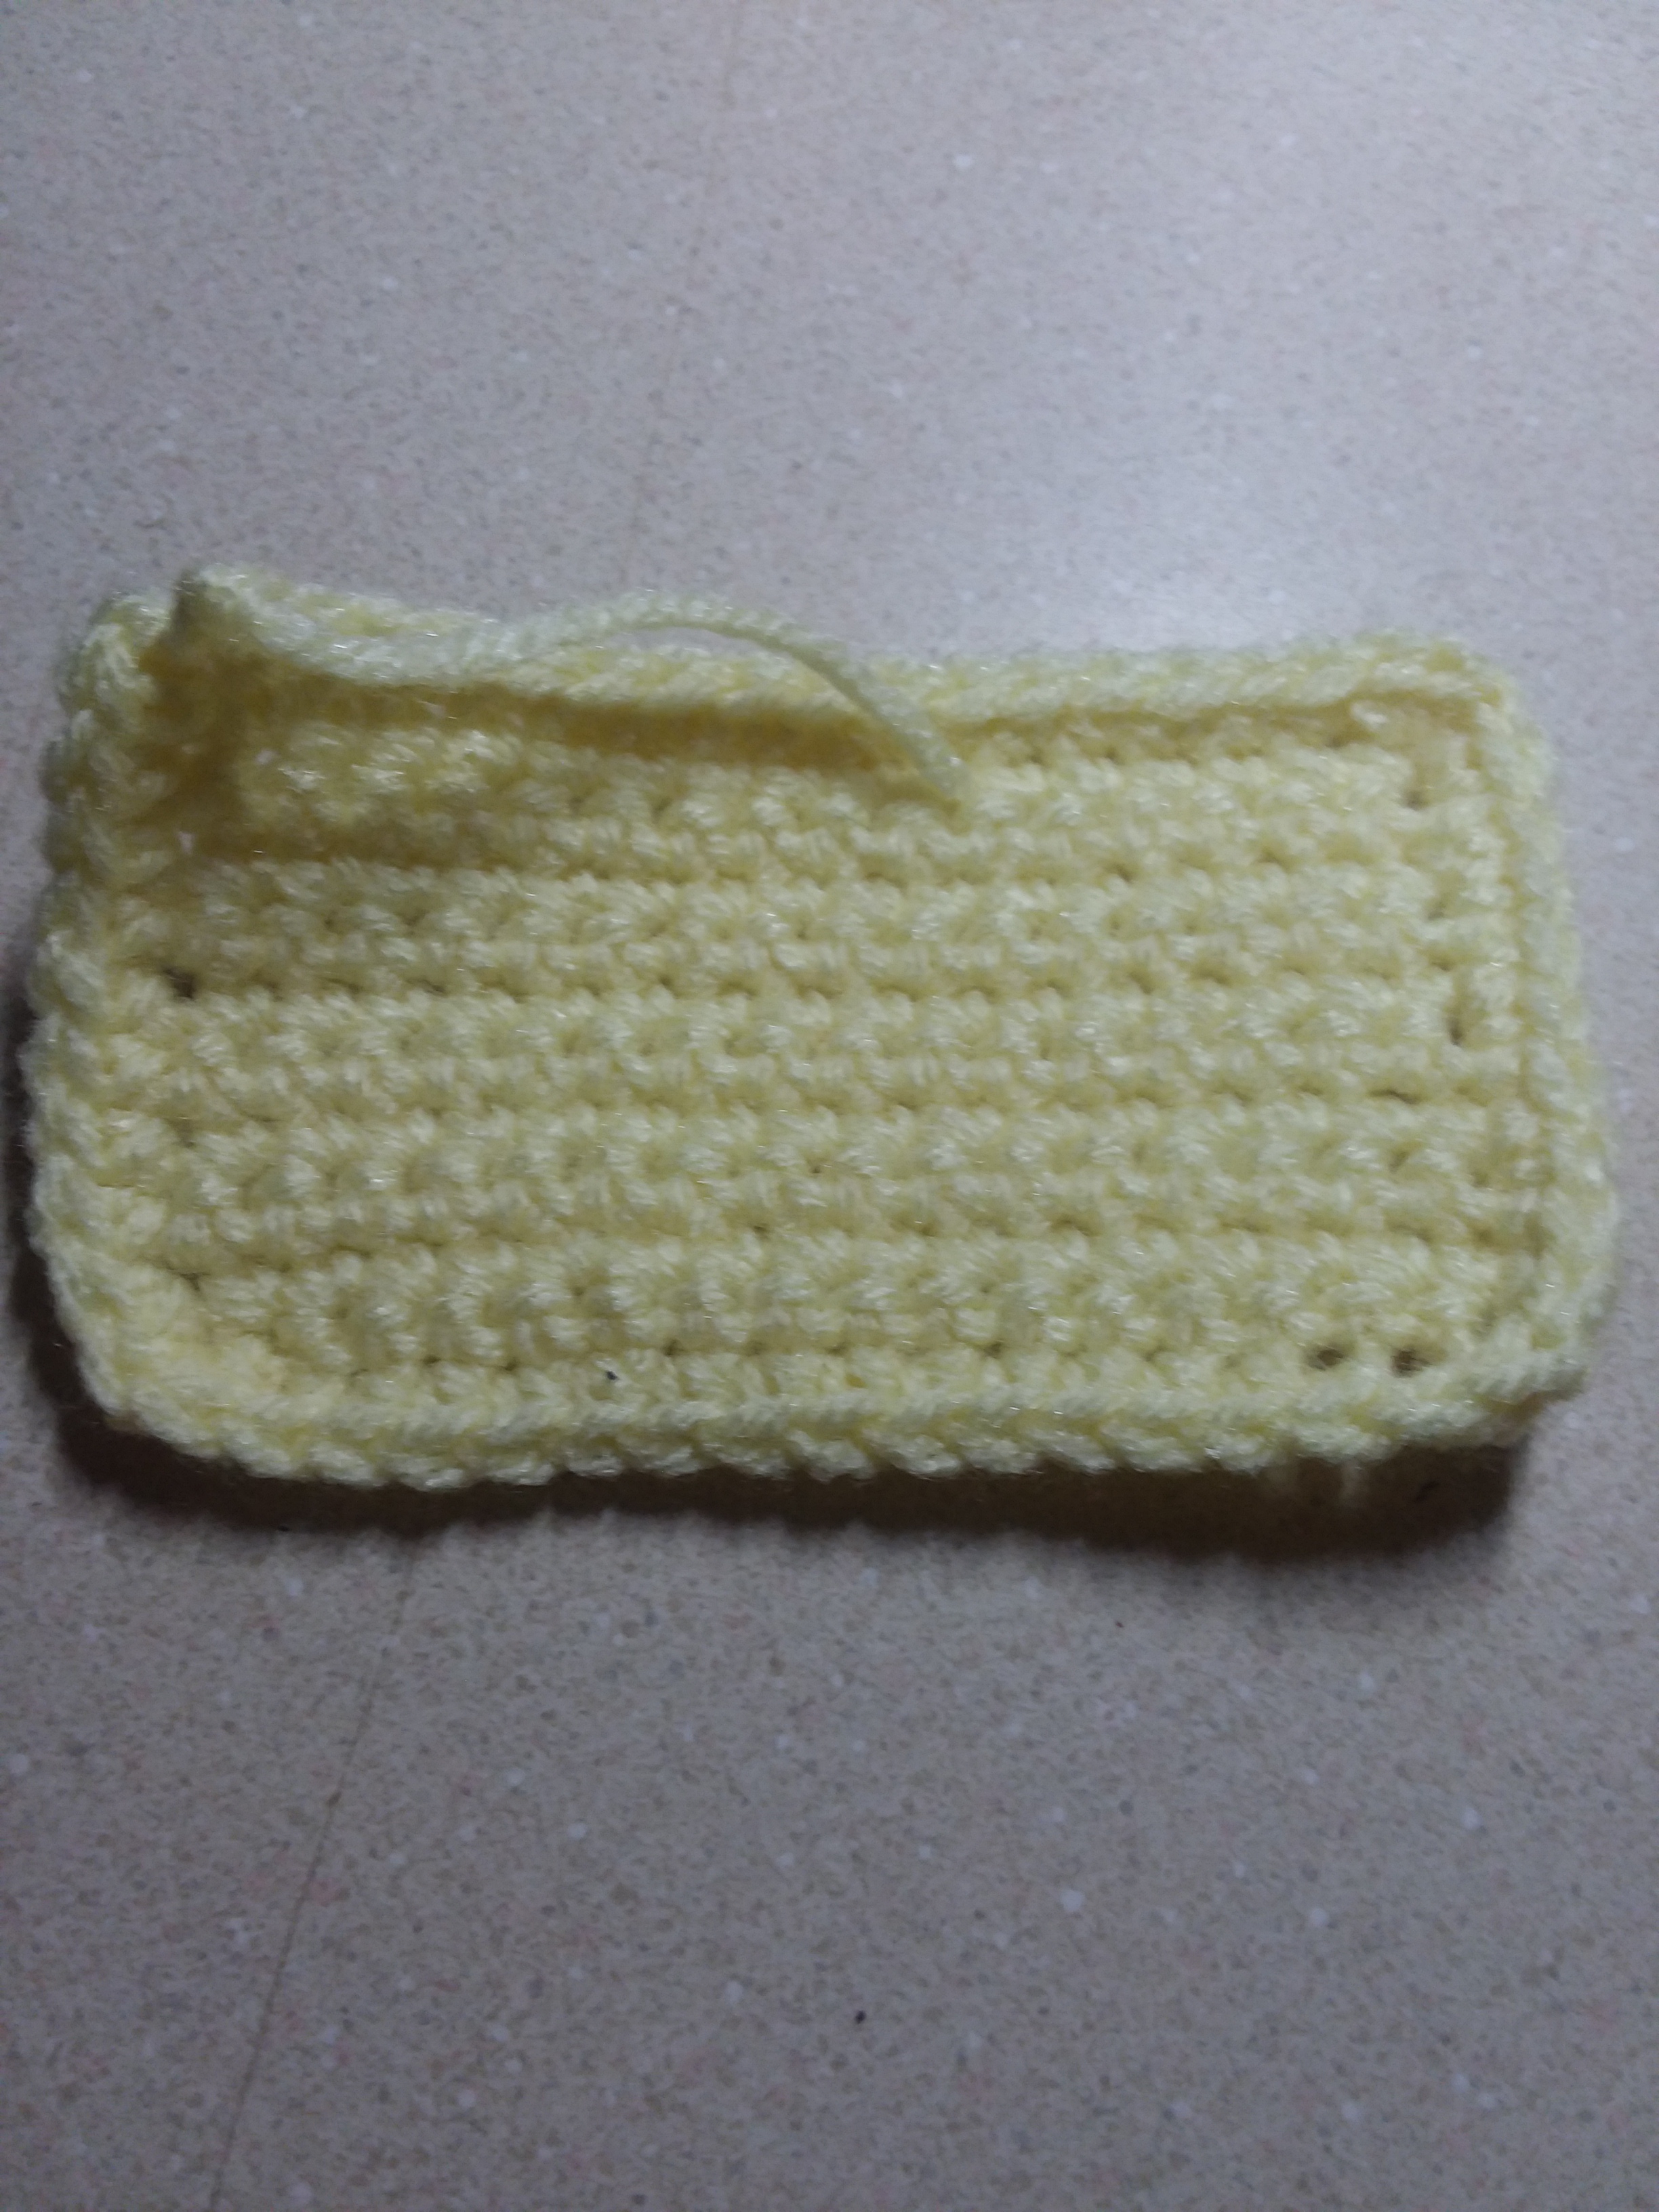
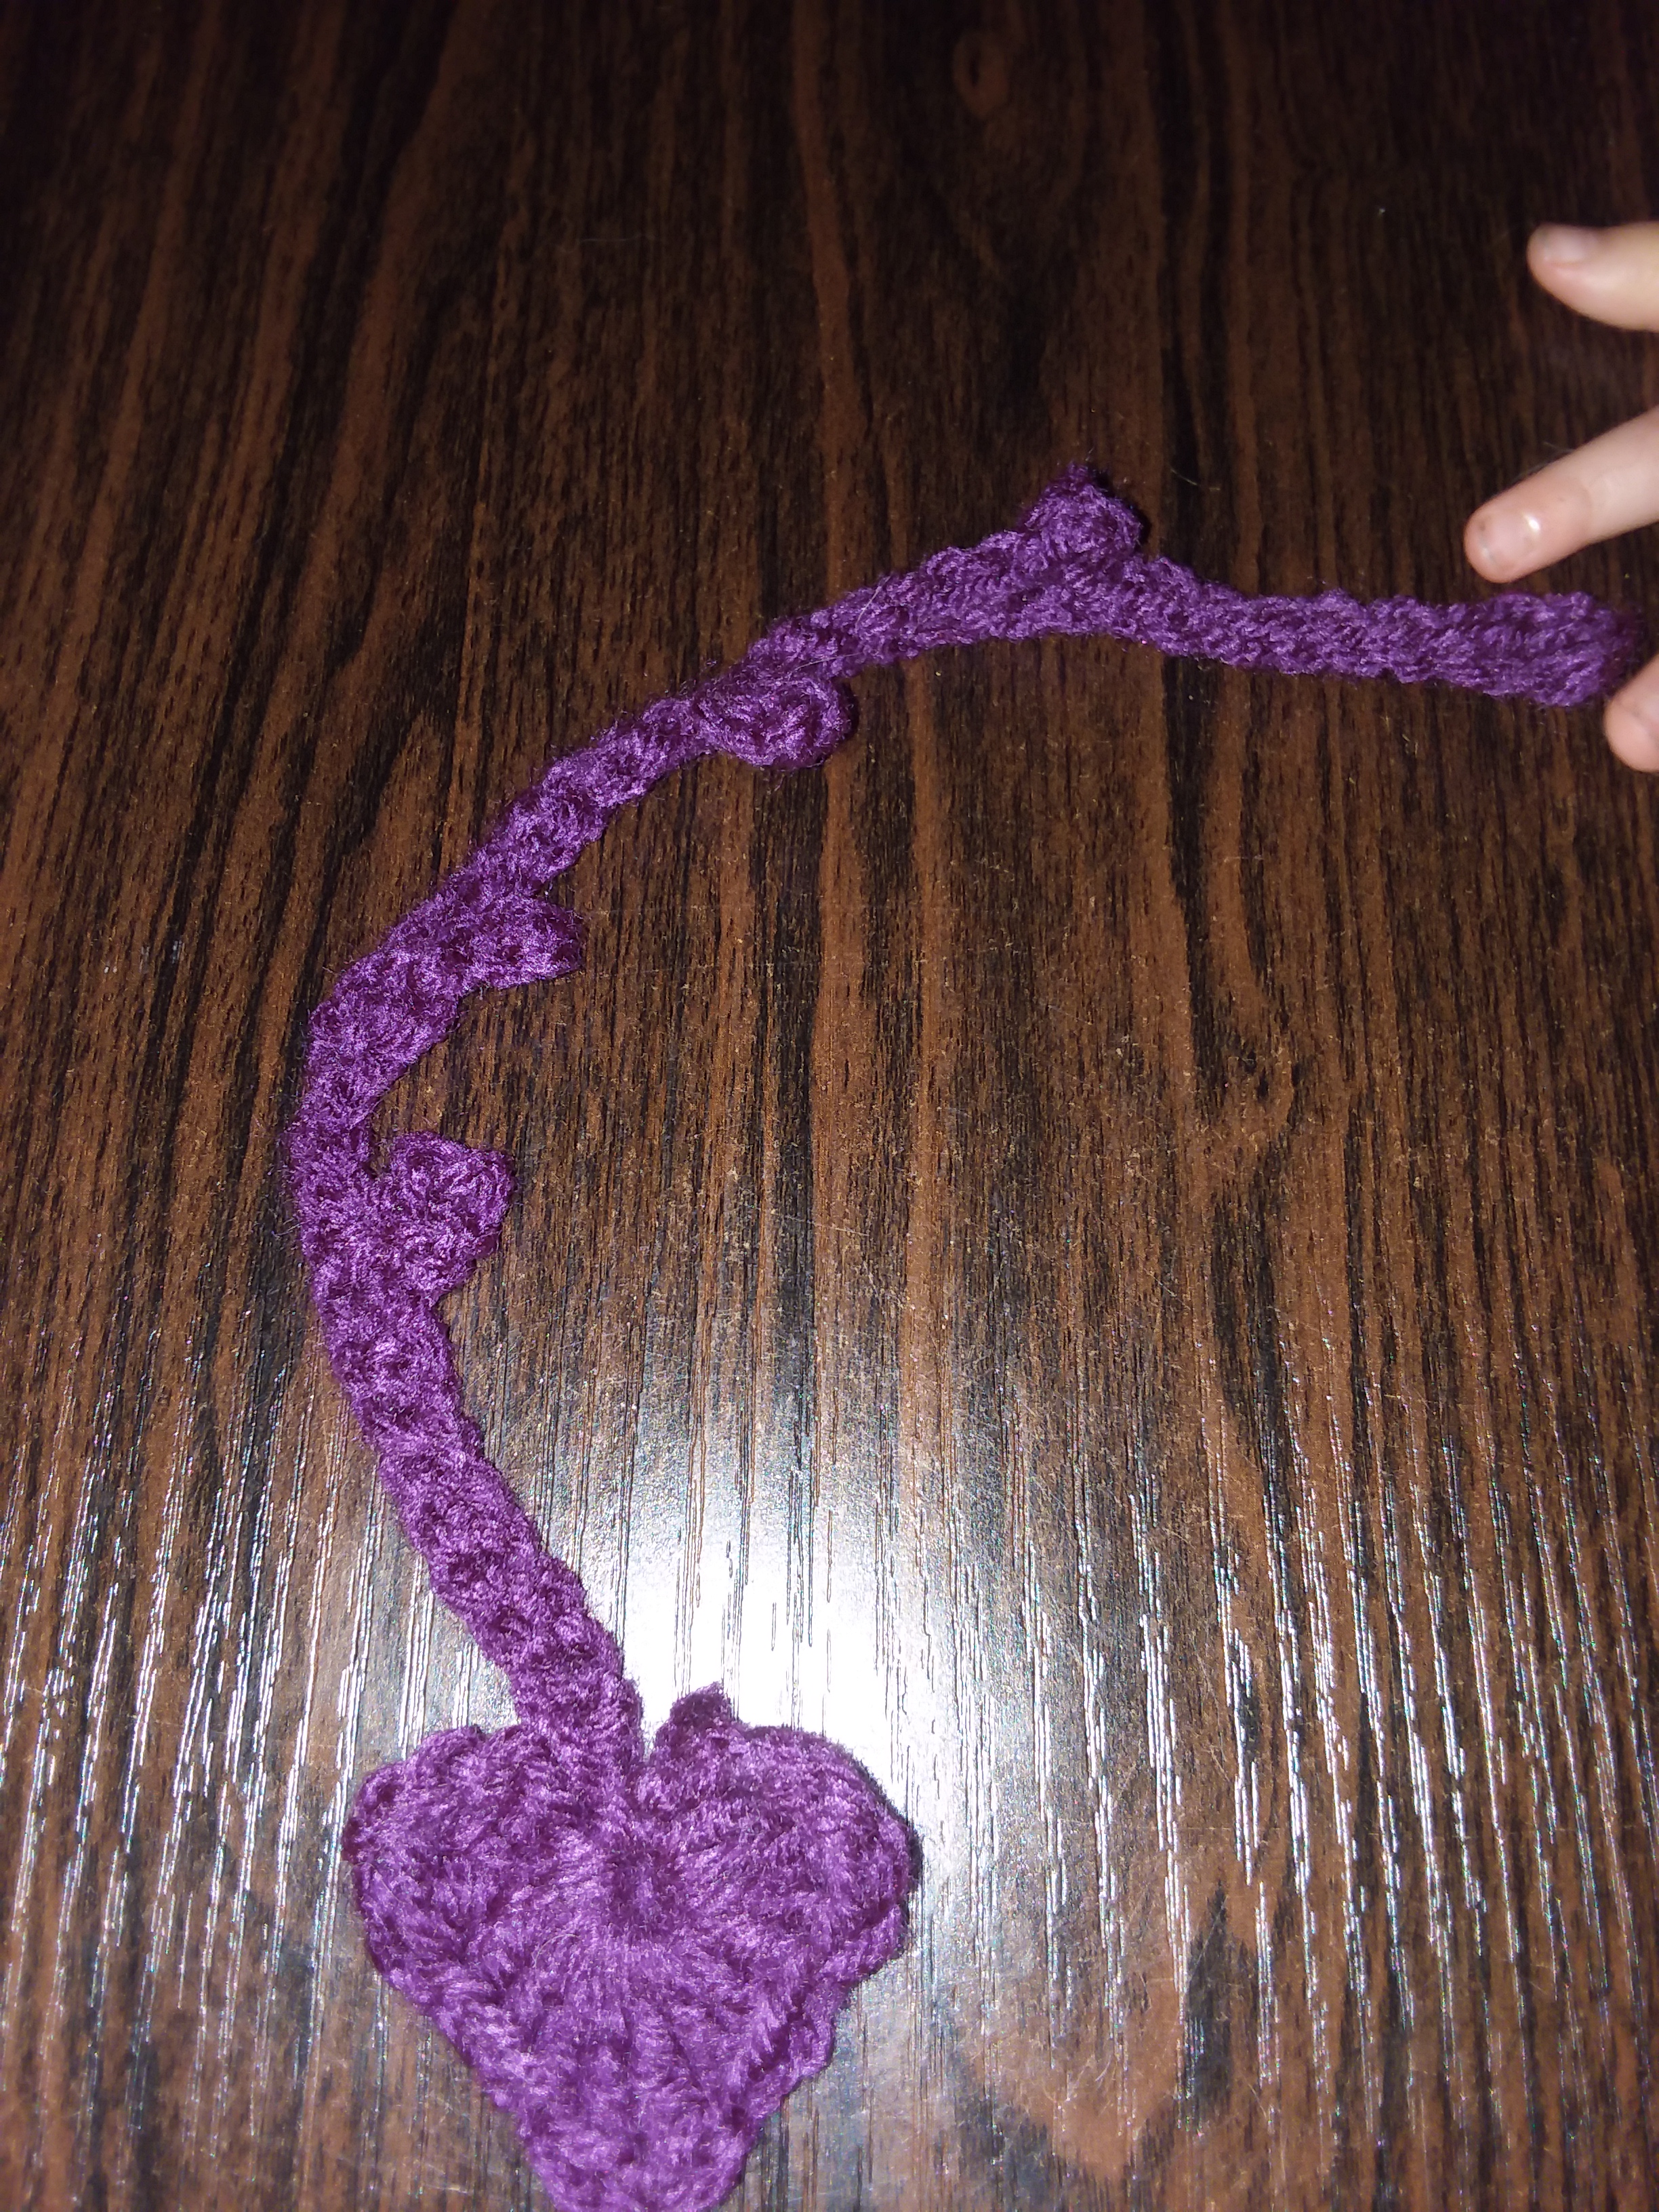
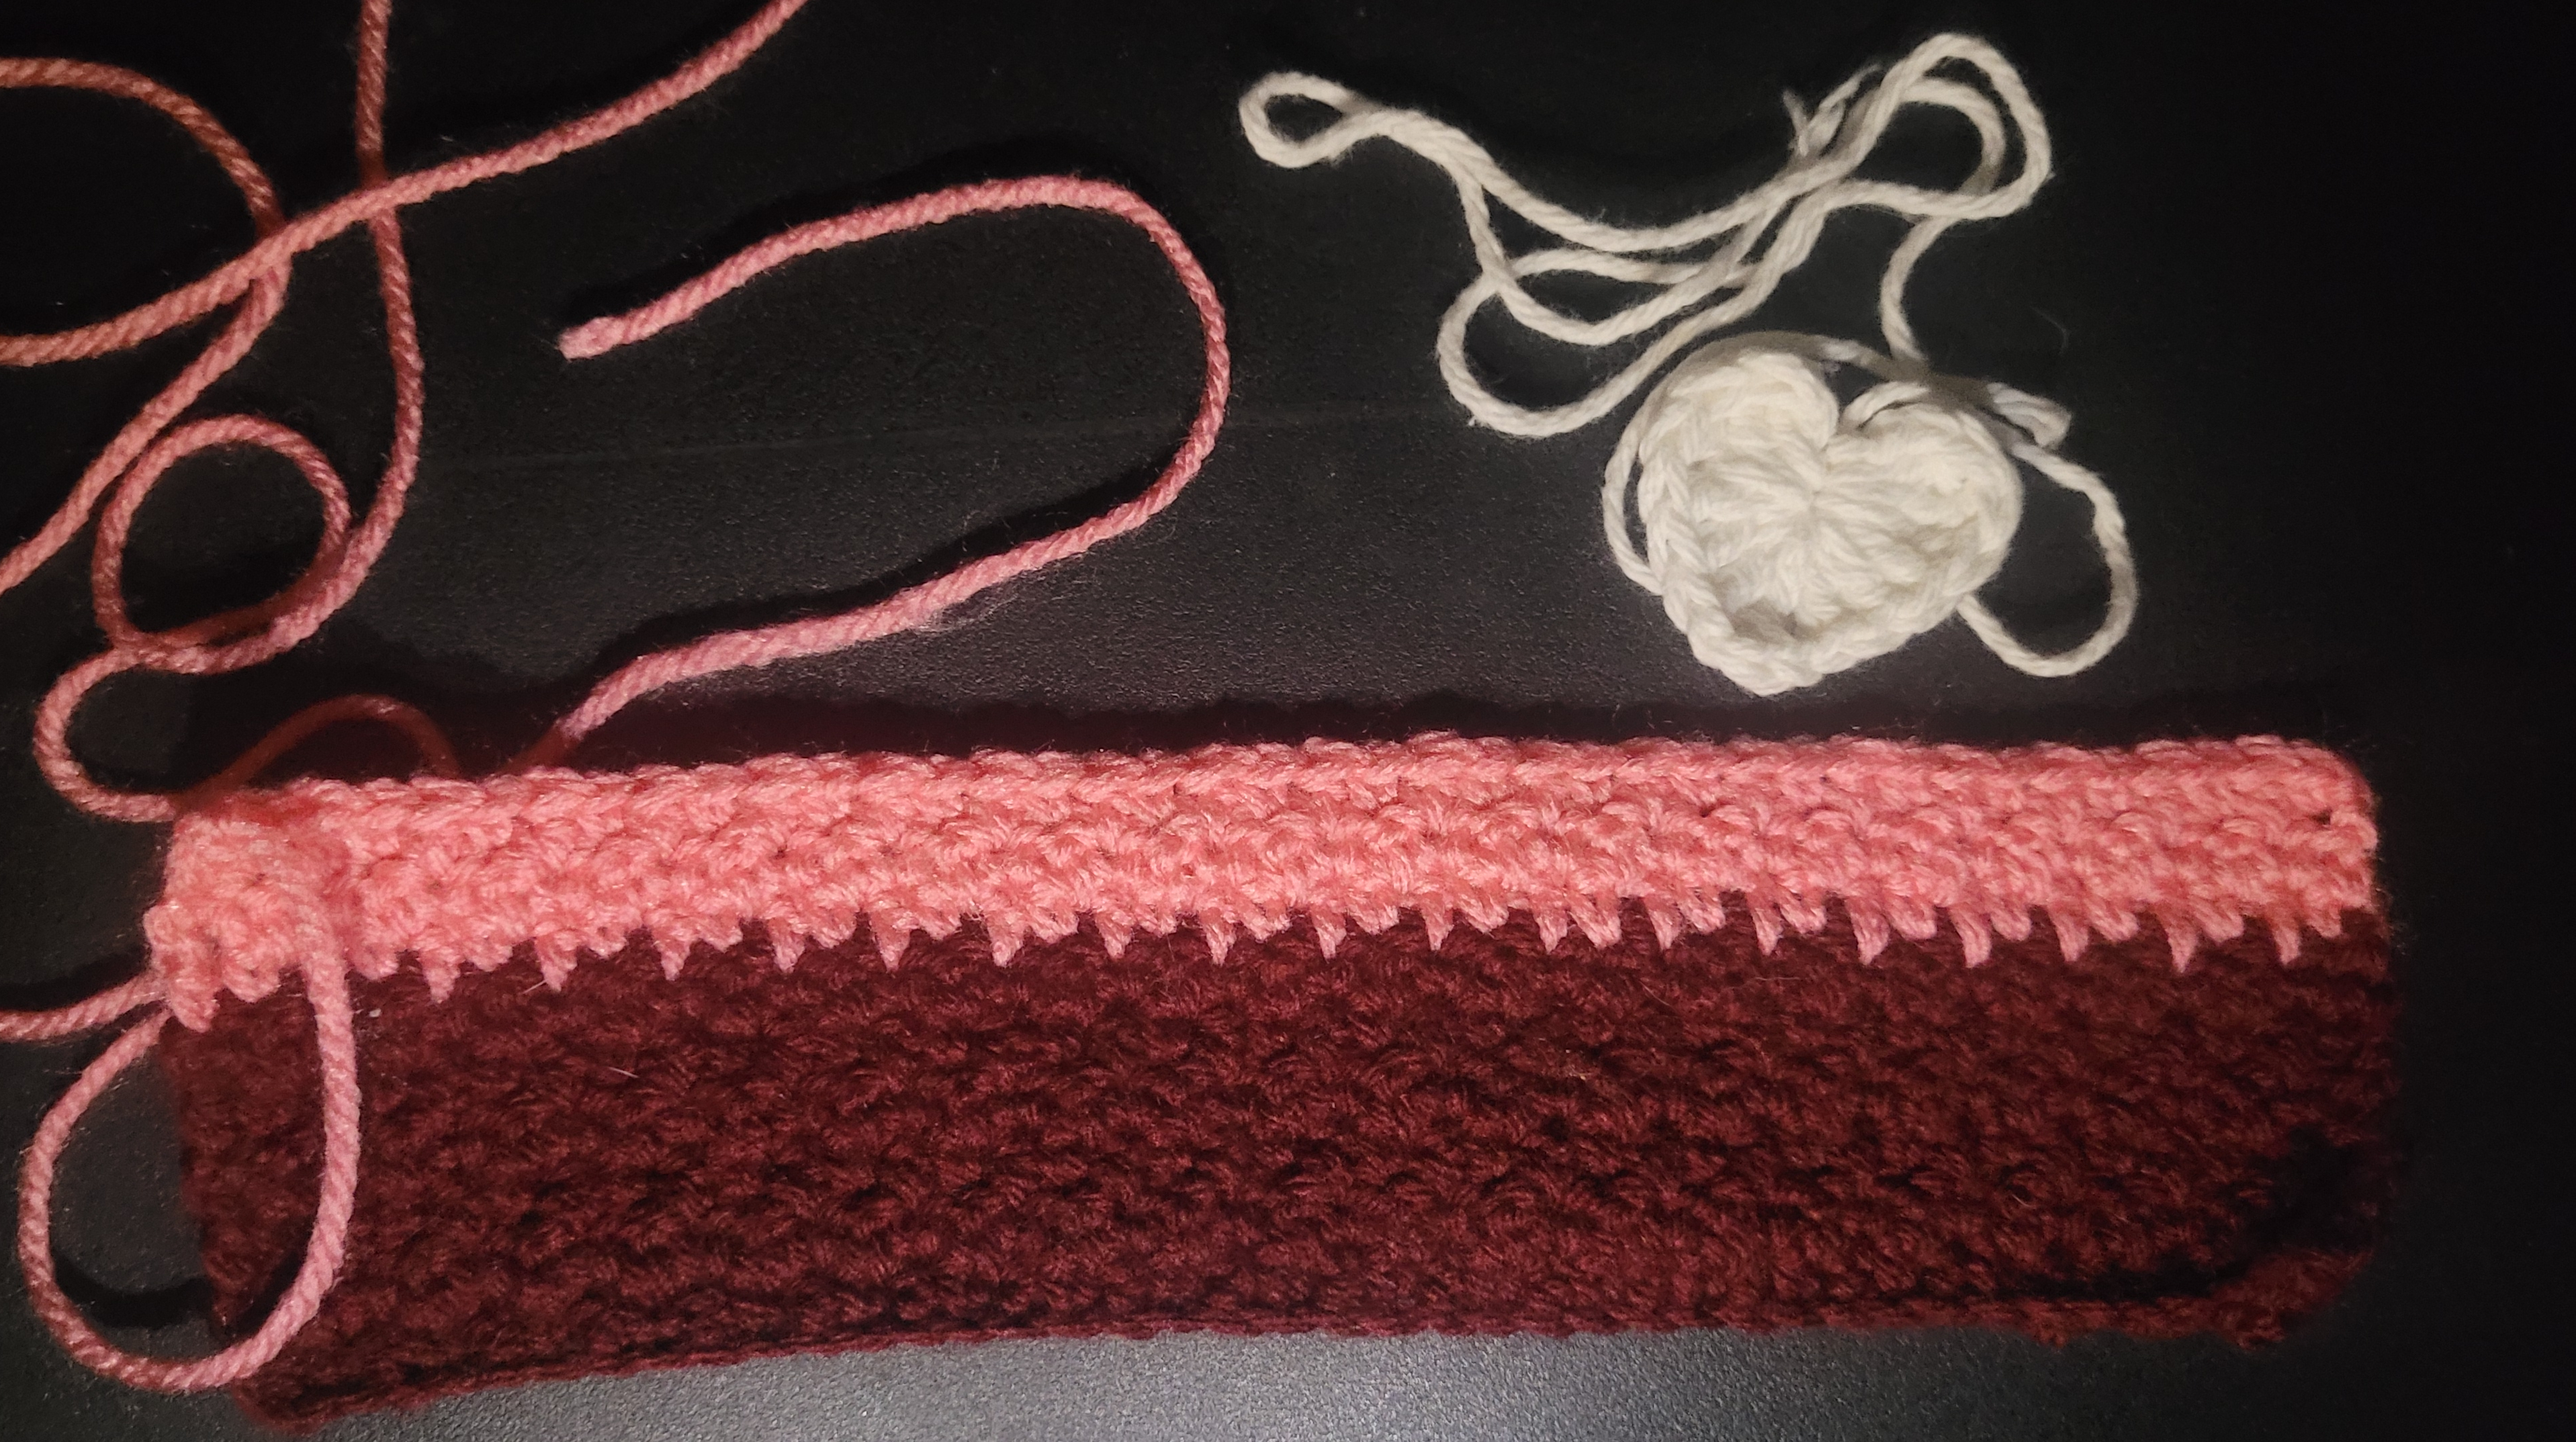
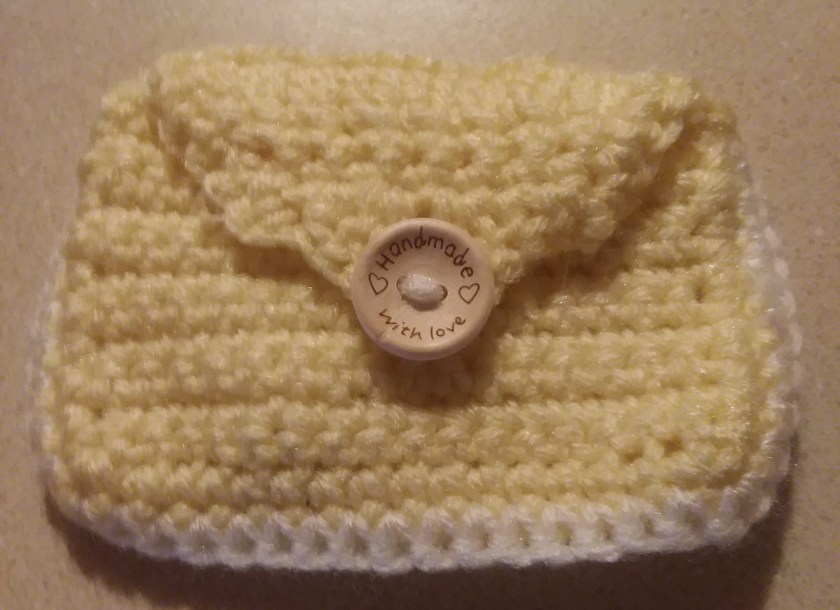
Step 11: The last step is simple, all you have to do is sew the button into the middle of the project, just like shown in the picture above. Then it is complete!
Like I said in the beginning, I will have a better post, when I have mastered a pattern and will update you guys on it. These towels have been a gift for any event or celebration. I love having these because you can hook in on your stove handle, especially if you have one made for the theme for your kitchen.
If you are intersected in learning how to do this, I will be going LIVE on my Facebook page, tonight! Like my Facebook page, because I do post all my blog posts on their, as well as my twitter. Click the link below:
https://facebook.com/katiesblog96971617/


 that is commonly used in most, if not all patterns, especially for beginners.
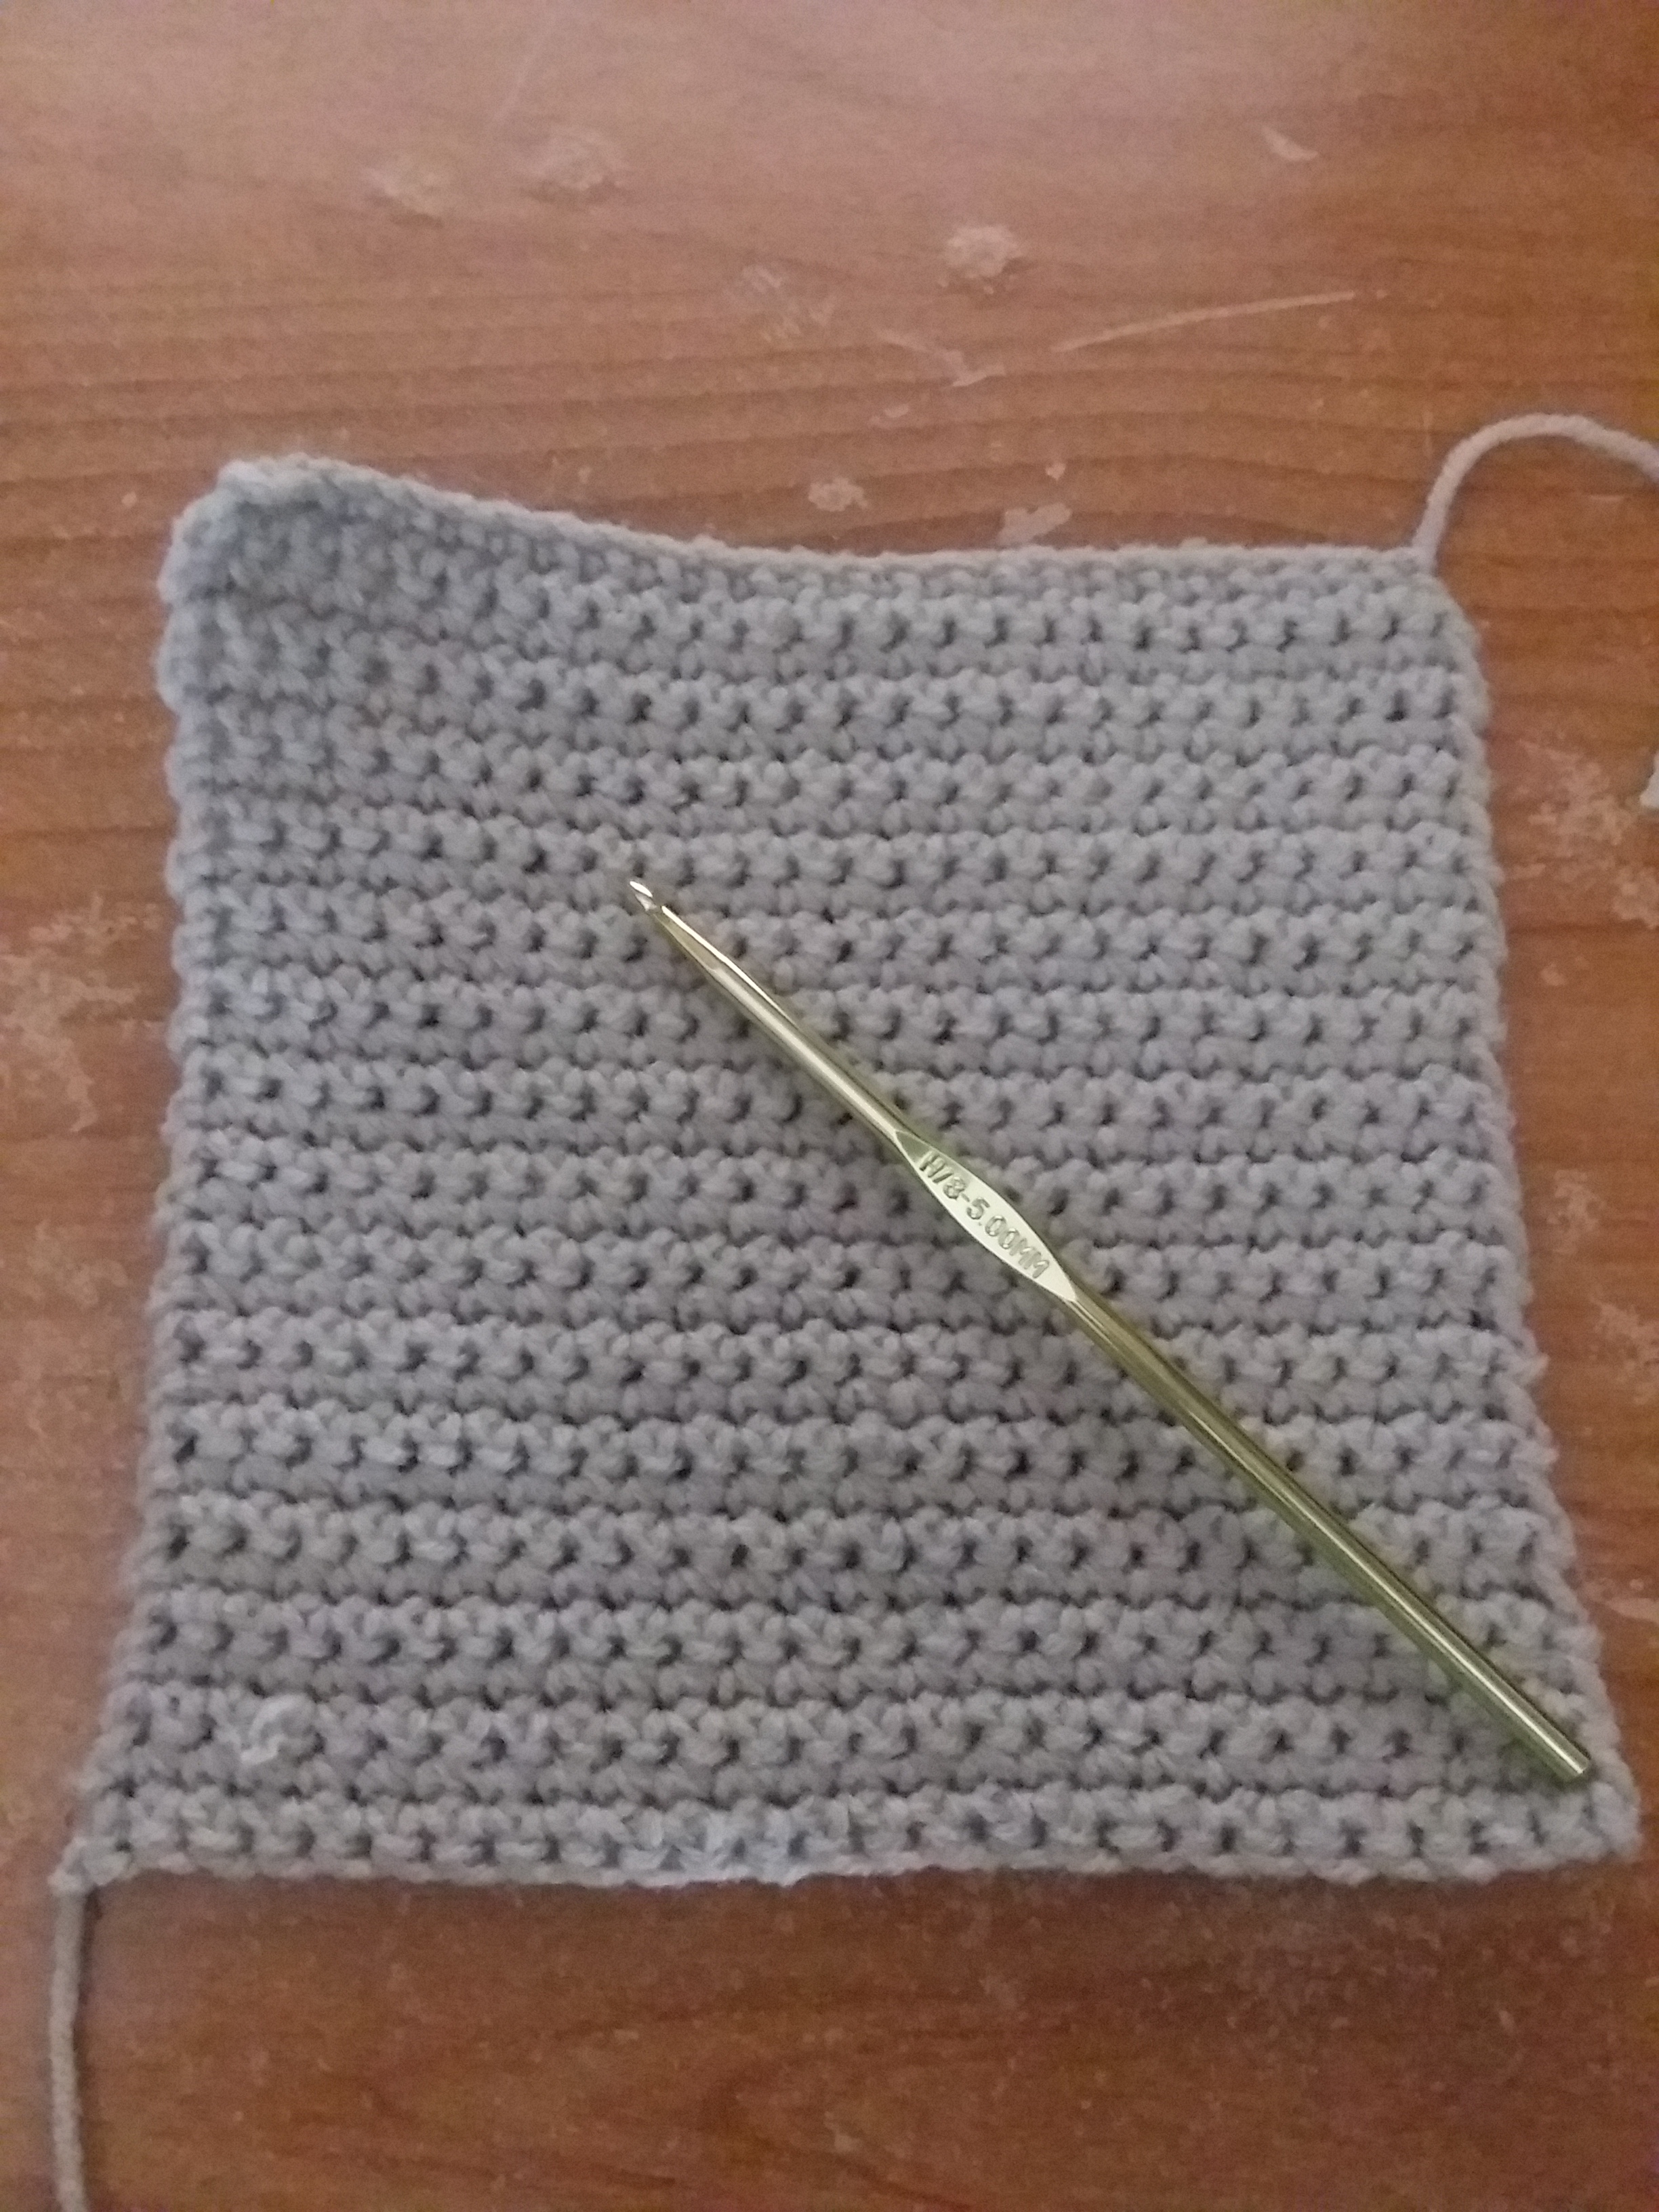


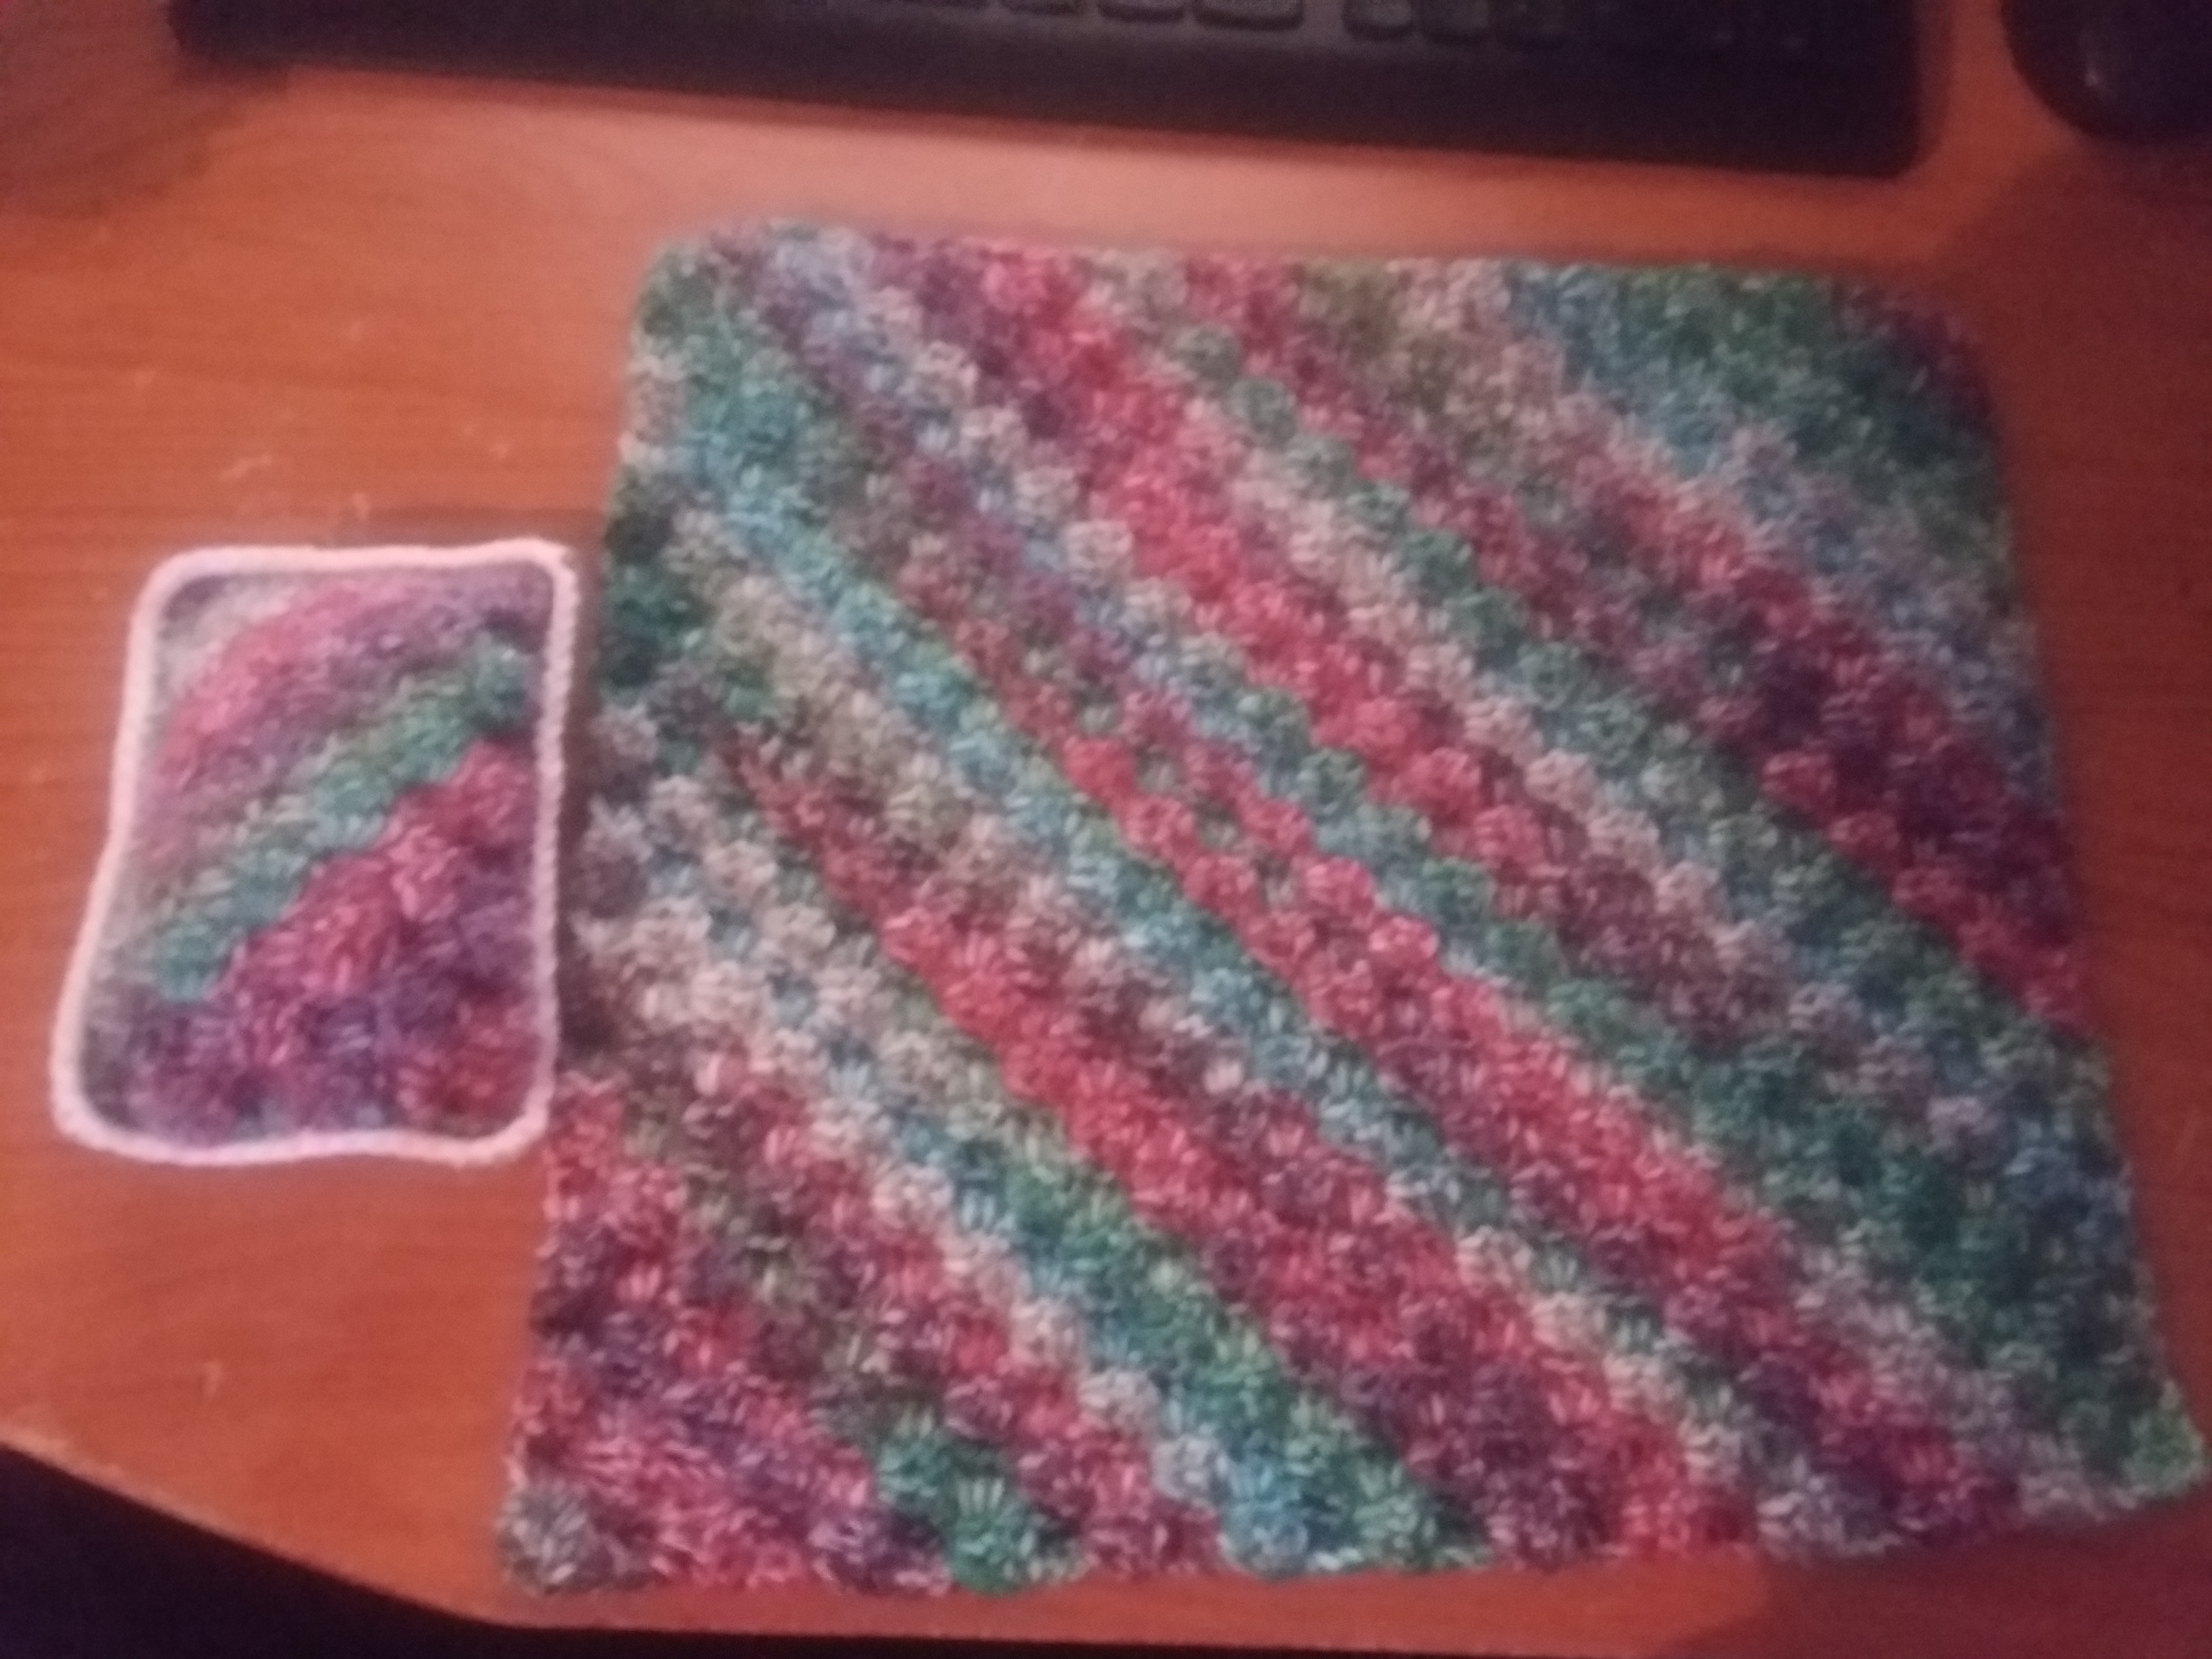


 ripping it, I decided to just rip it and got granny square small instead. Which is why I suggest to really pay attention when it comes to C2C and learn as much as you can!


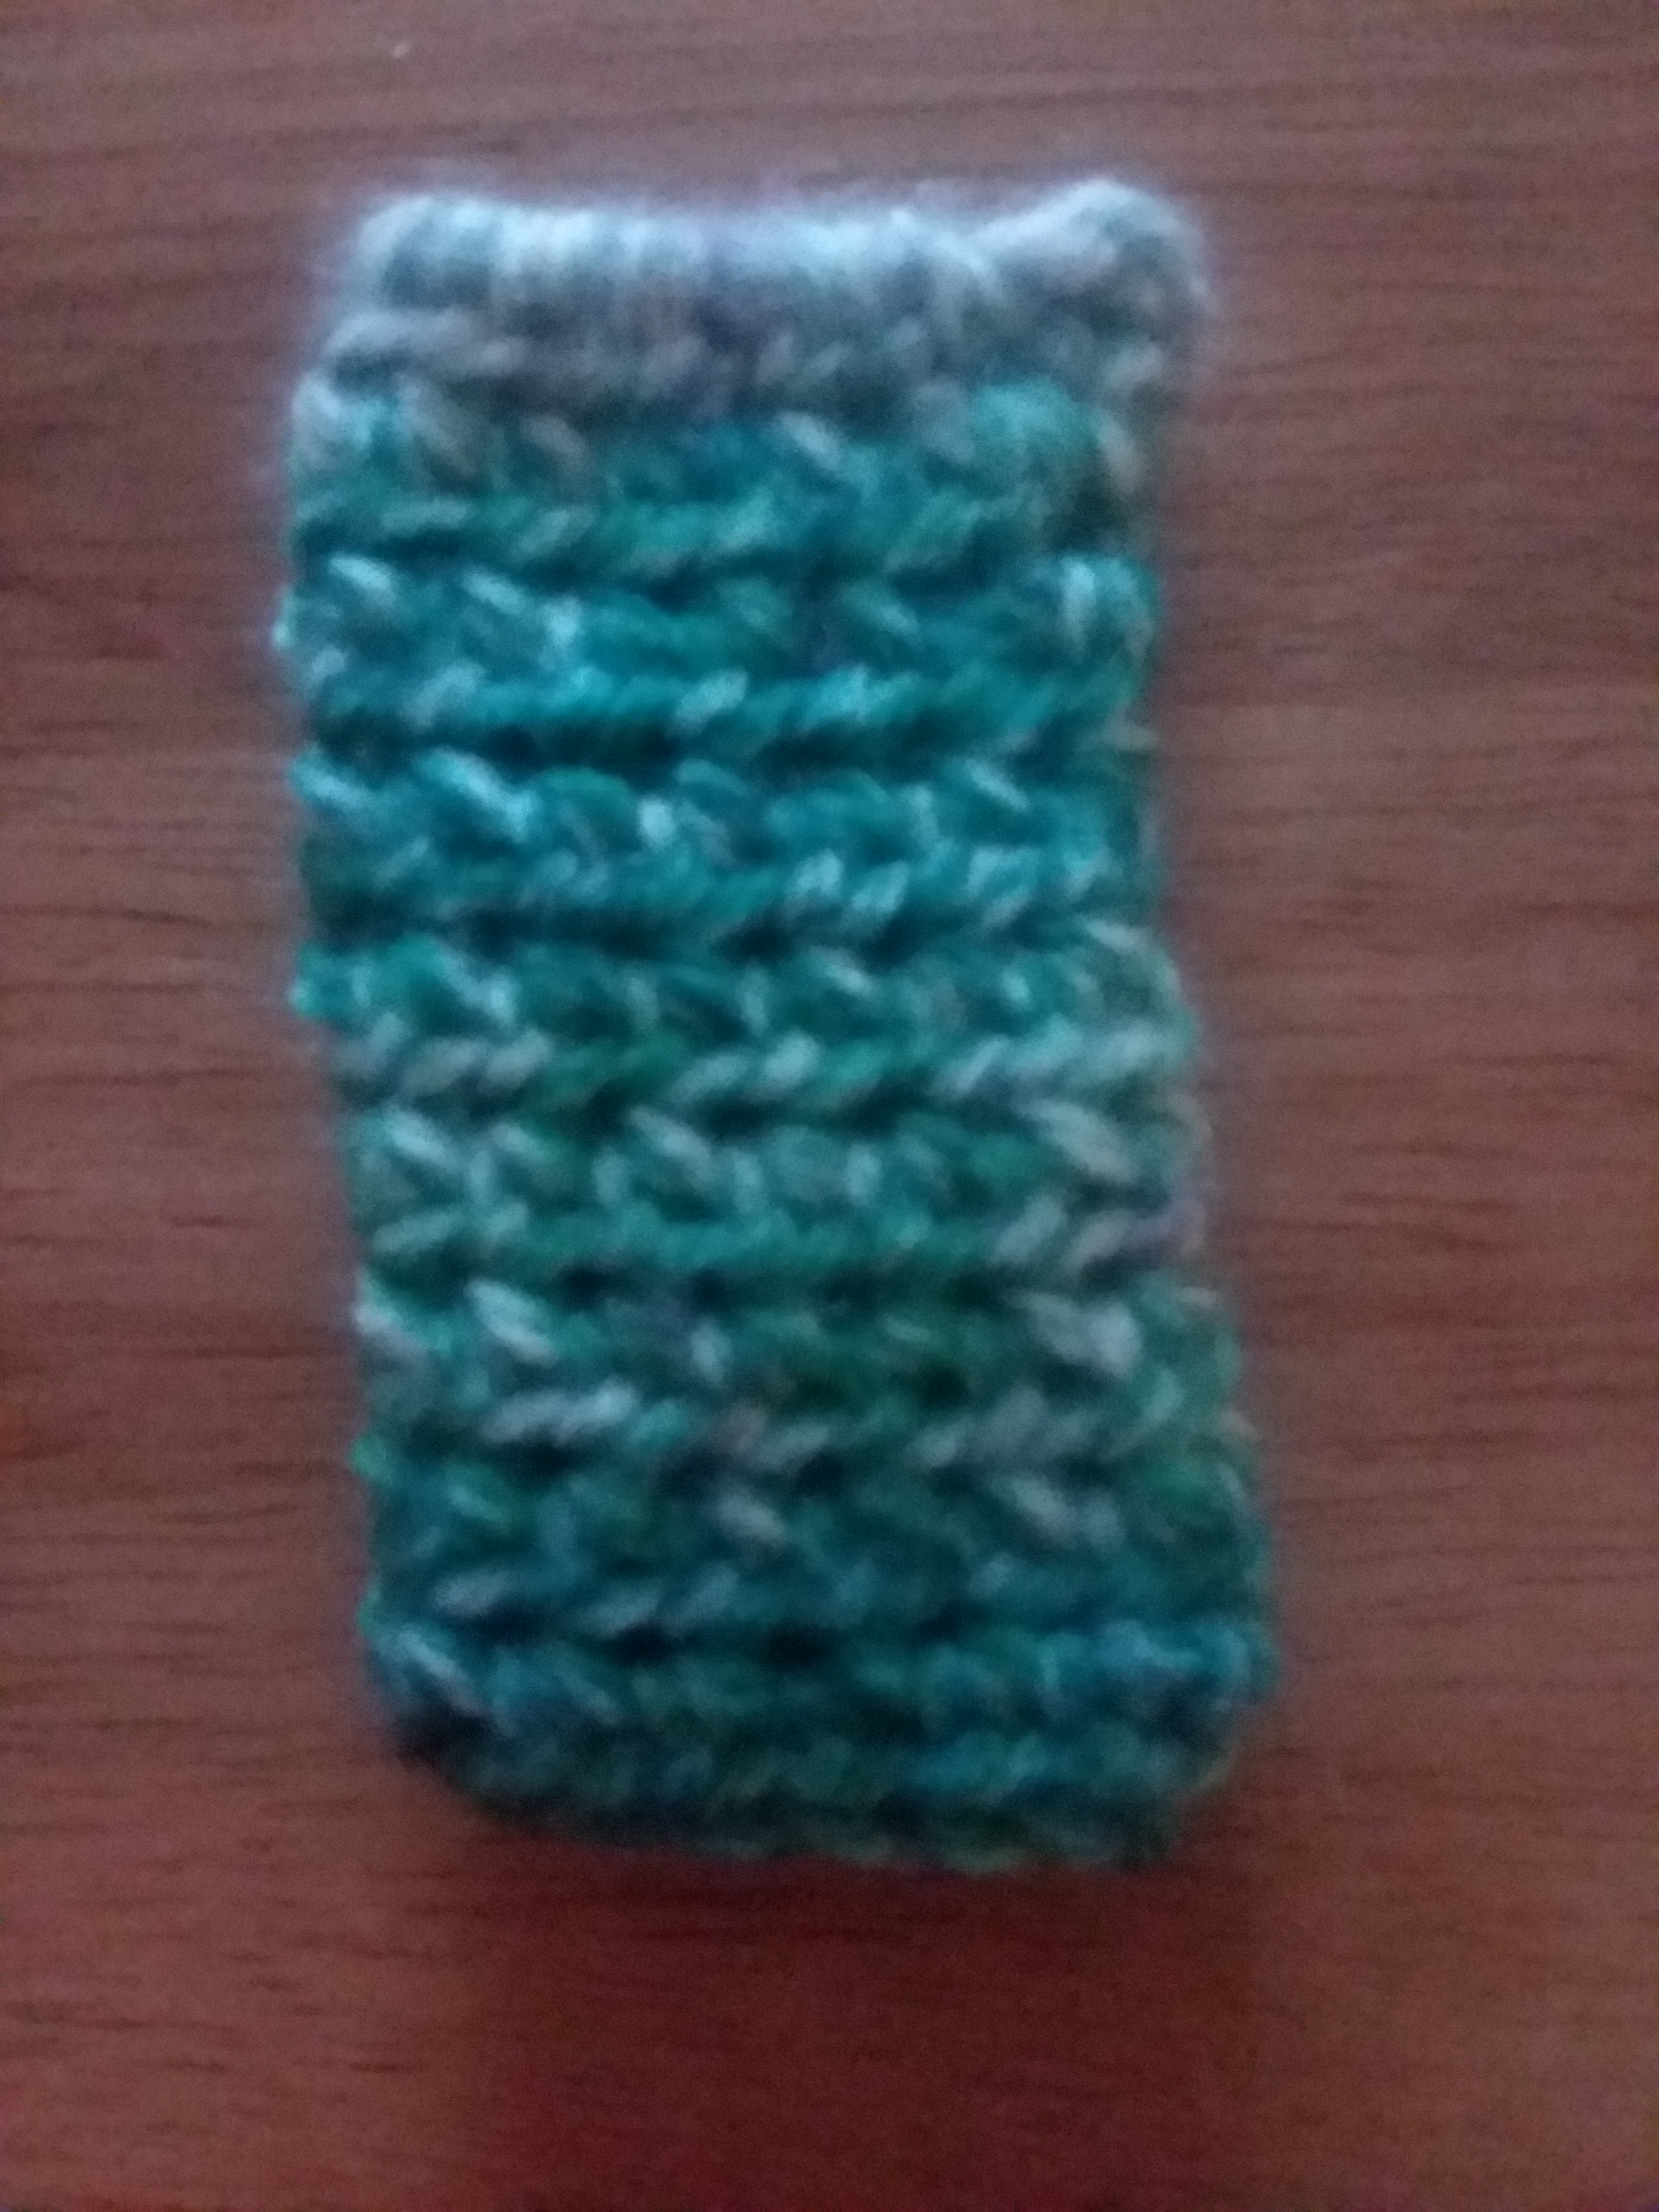
 e crocheting until it reaches the length you want it to be. If you are making a gift card holder, keep in mind that cards are about 2 1/5 inches long.