Good morning dearies! Today is it snowing, in Maine, and I wanted to tell you about a pattern that I have found, on Pinterest, the other day, that is actually perfect for today, because of the cold weather we got going on.
As you all know, if you don’t already like my Facebook page, I show two different patterns and which ever one wins, I go live, showing you how to make them! This week, it was the coin purse vs. the mug cozy. So, I guess you can already think what won, by the title of this blog post!
Here is the link for the pattern itself:
https://www.thestitchinmommy.com/2014/09/give-sugar-coffee-cozy.html
I want to shout out to the Stitchin Mommy for making this pattern available for us today! I’ll be making her pattern later tonight on my Facebook Page, when I go live!
You all know that I just love making mug cozies, they are perfect for the cold or chilly weather and they prevent you from burning your hand, when you are craving that hot cup of coffee, tea, or hot coco.
This pattern just showed up, out of no where, but I’m glad it did! I have always wonder if someone had came up with pockets for their mug cozy. This pattern is simple and very easy to make, perfect for holiday gifts, but since the holidays are over, I will be making one of these for myself, or for someone in the family.
Best part of this pattern, is that you get to try out different colors, or mix and match the colors for the pocket and the mug base.
The only downfall of this pattern, is that it isn’t for all mug types. This ‘mug cozy’ is technology a ‘coffee cup cozy’. So, chances are, this won’t find on your favorite coffee mug at home.
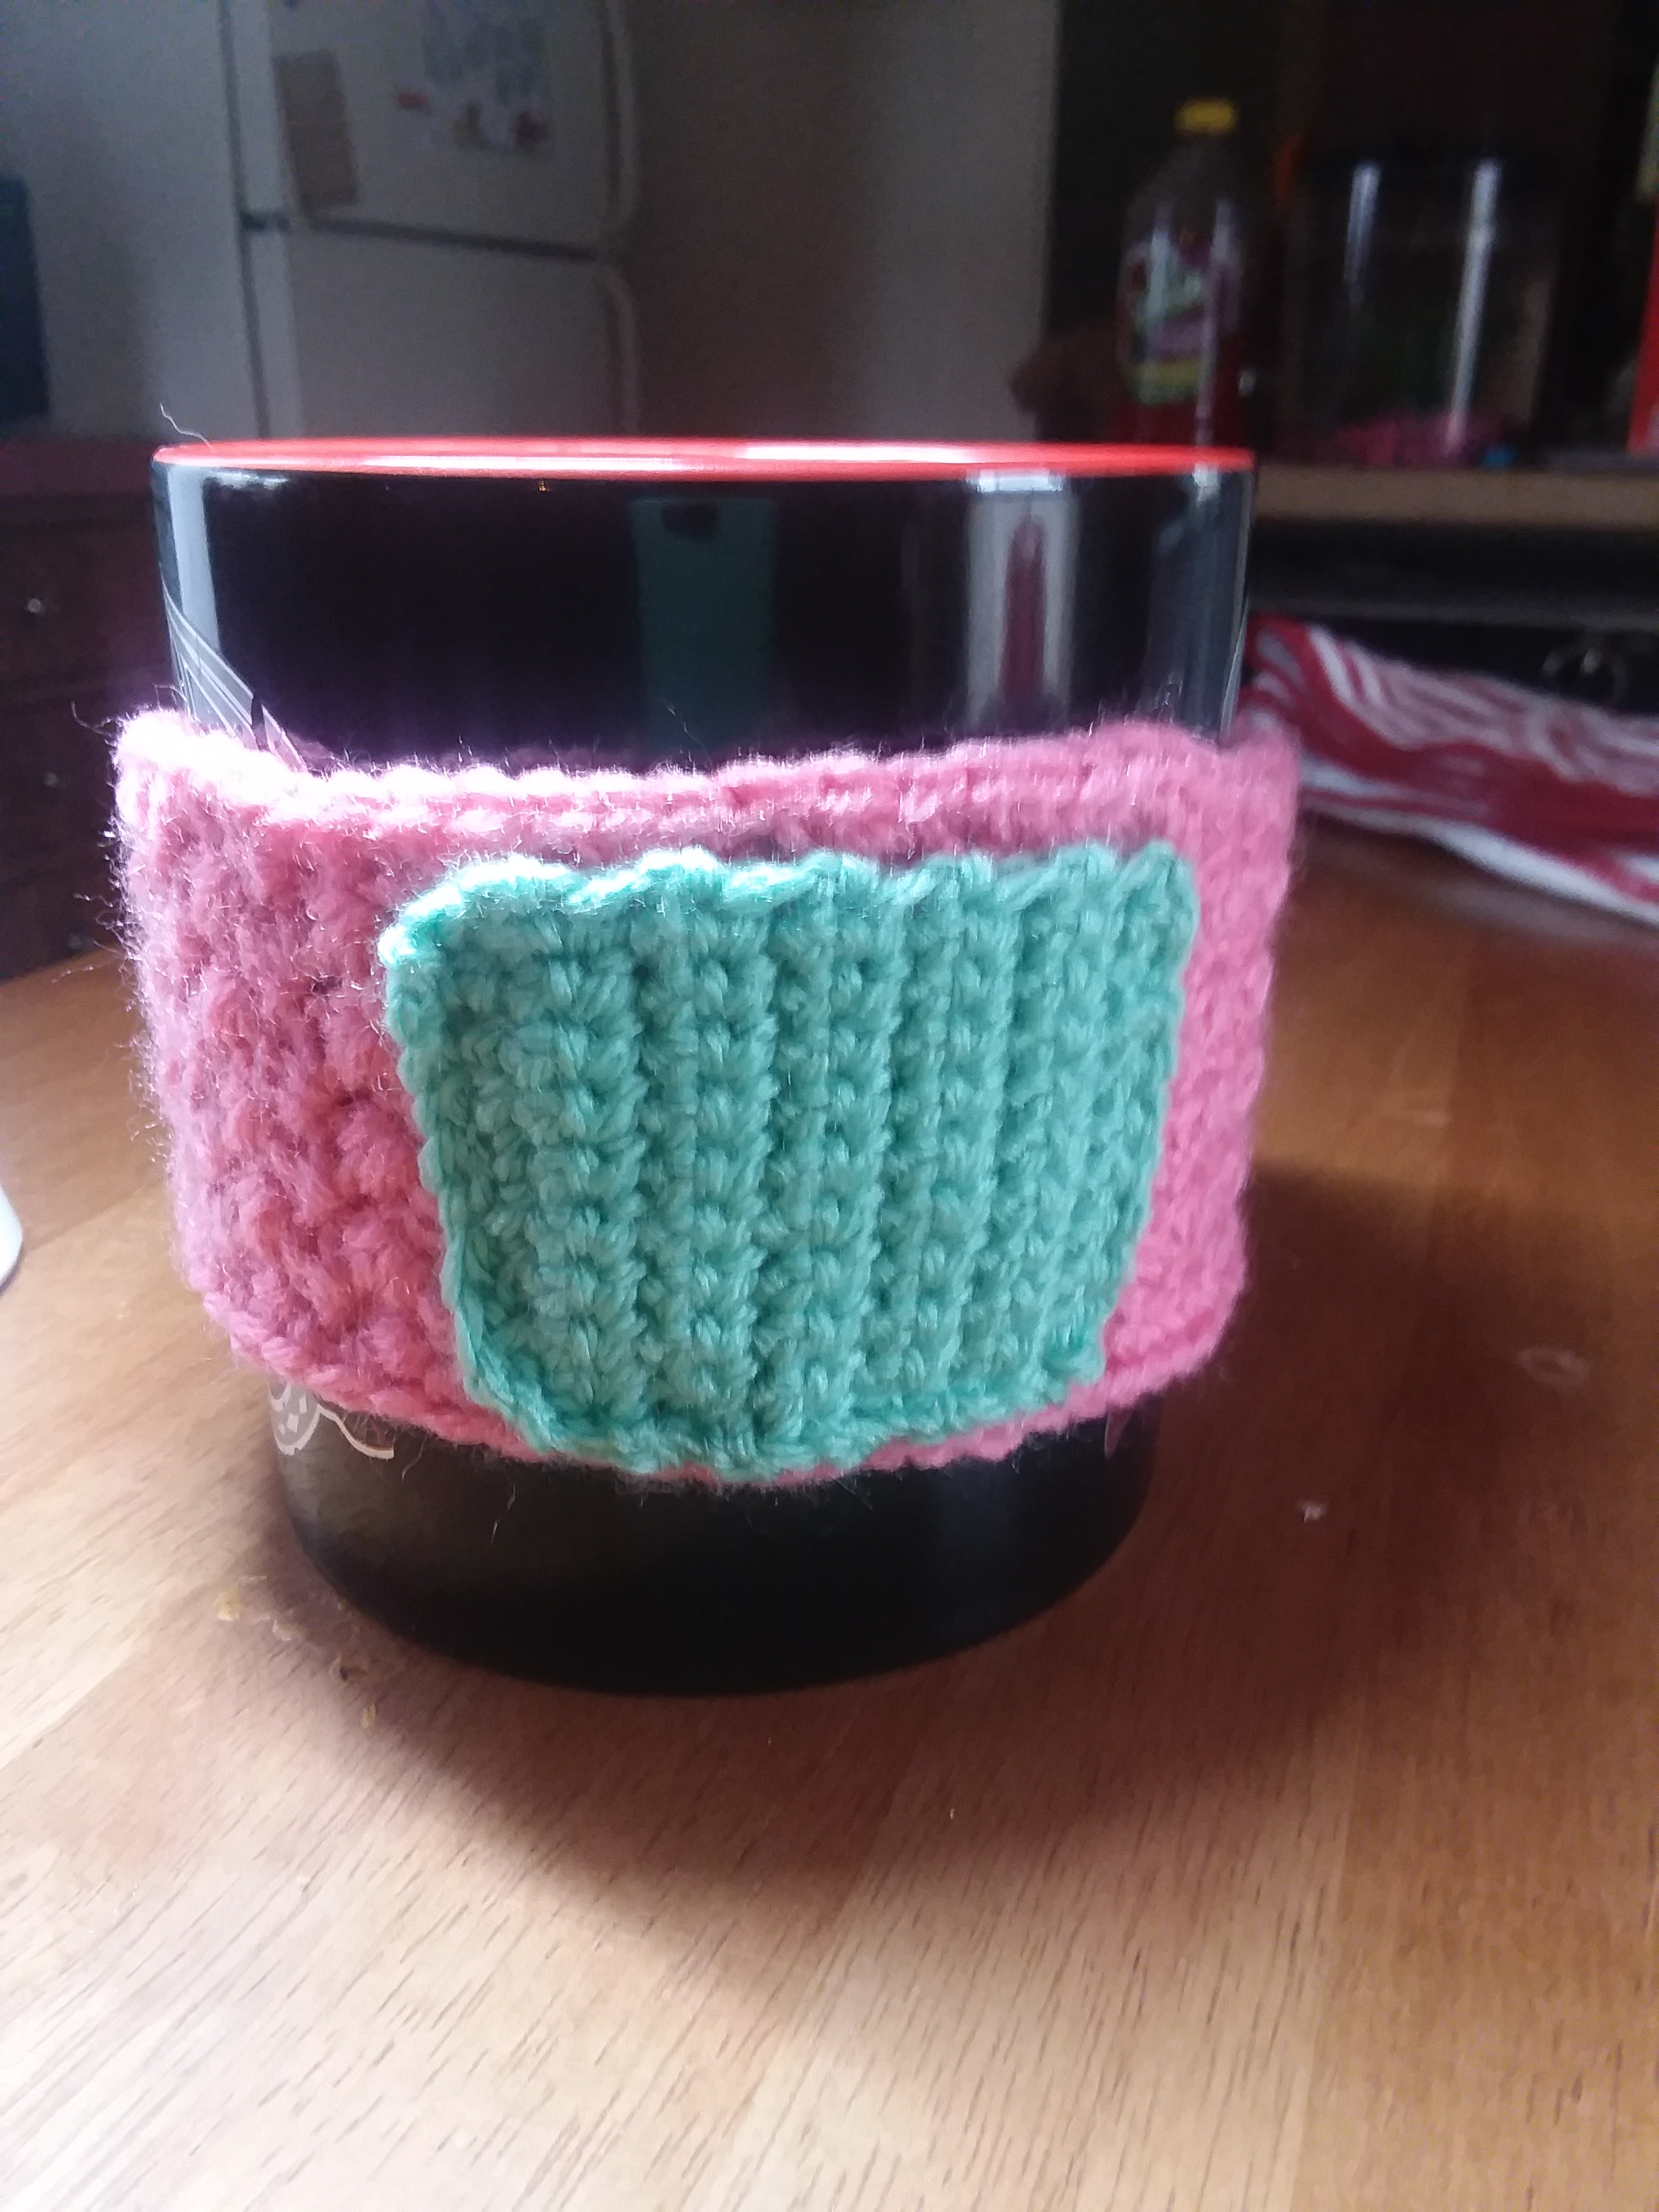
HOWEVER! I have came up with another pattern idea, that is based off a simple mug cozy, and all I did was add the pocket on the side! Which is what this pattern is really for.
If you just started to follow me, I made a mug cozy pattern way back when I first started to blog (which wasn’t that long ago). I will be basing it off of that pattern, but making it bigger and adding a pocket.
Things you will need:
- Medium Size Yarn
- If you want to feel creative, like myself, grab another color and mix it up!
- I’m using the I Love This Yarn brand for this project.
- 4.5 mm hook
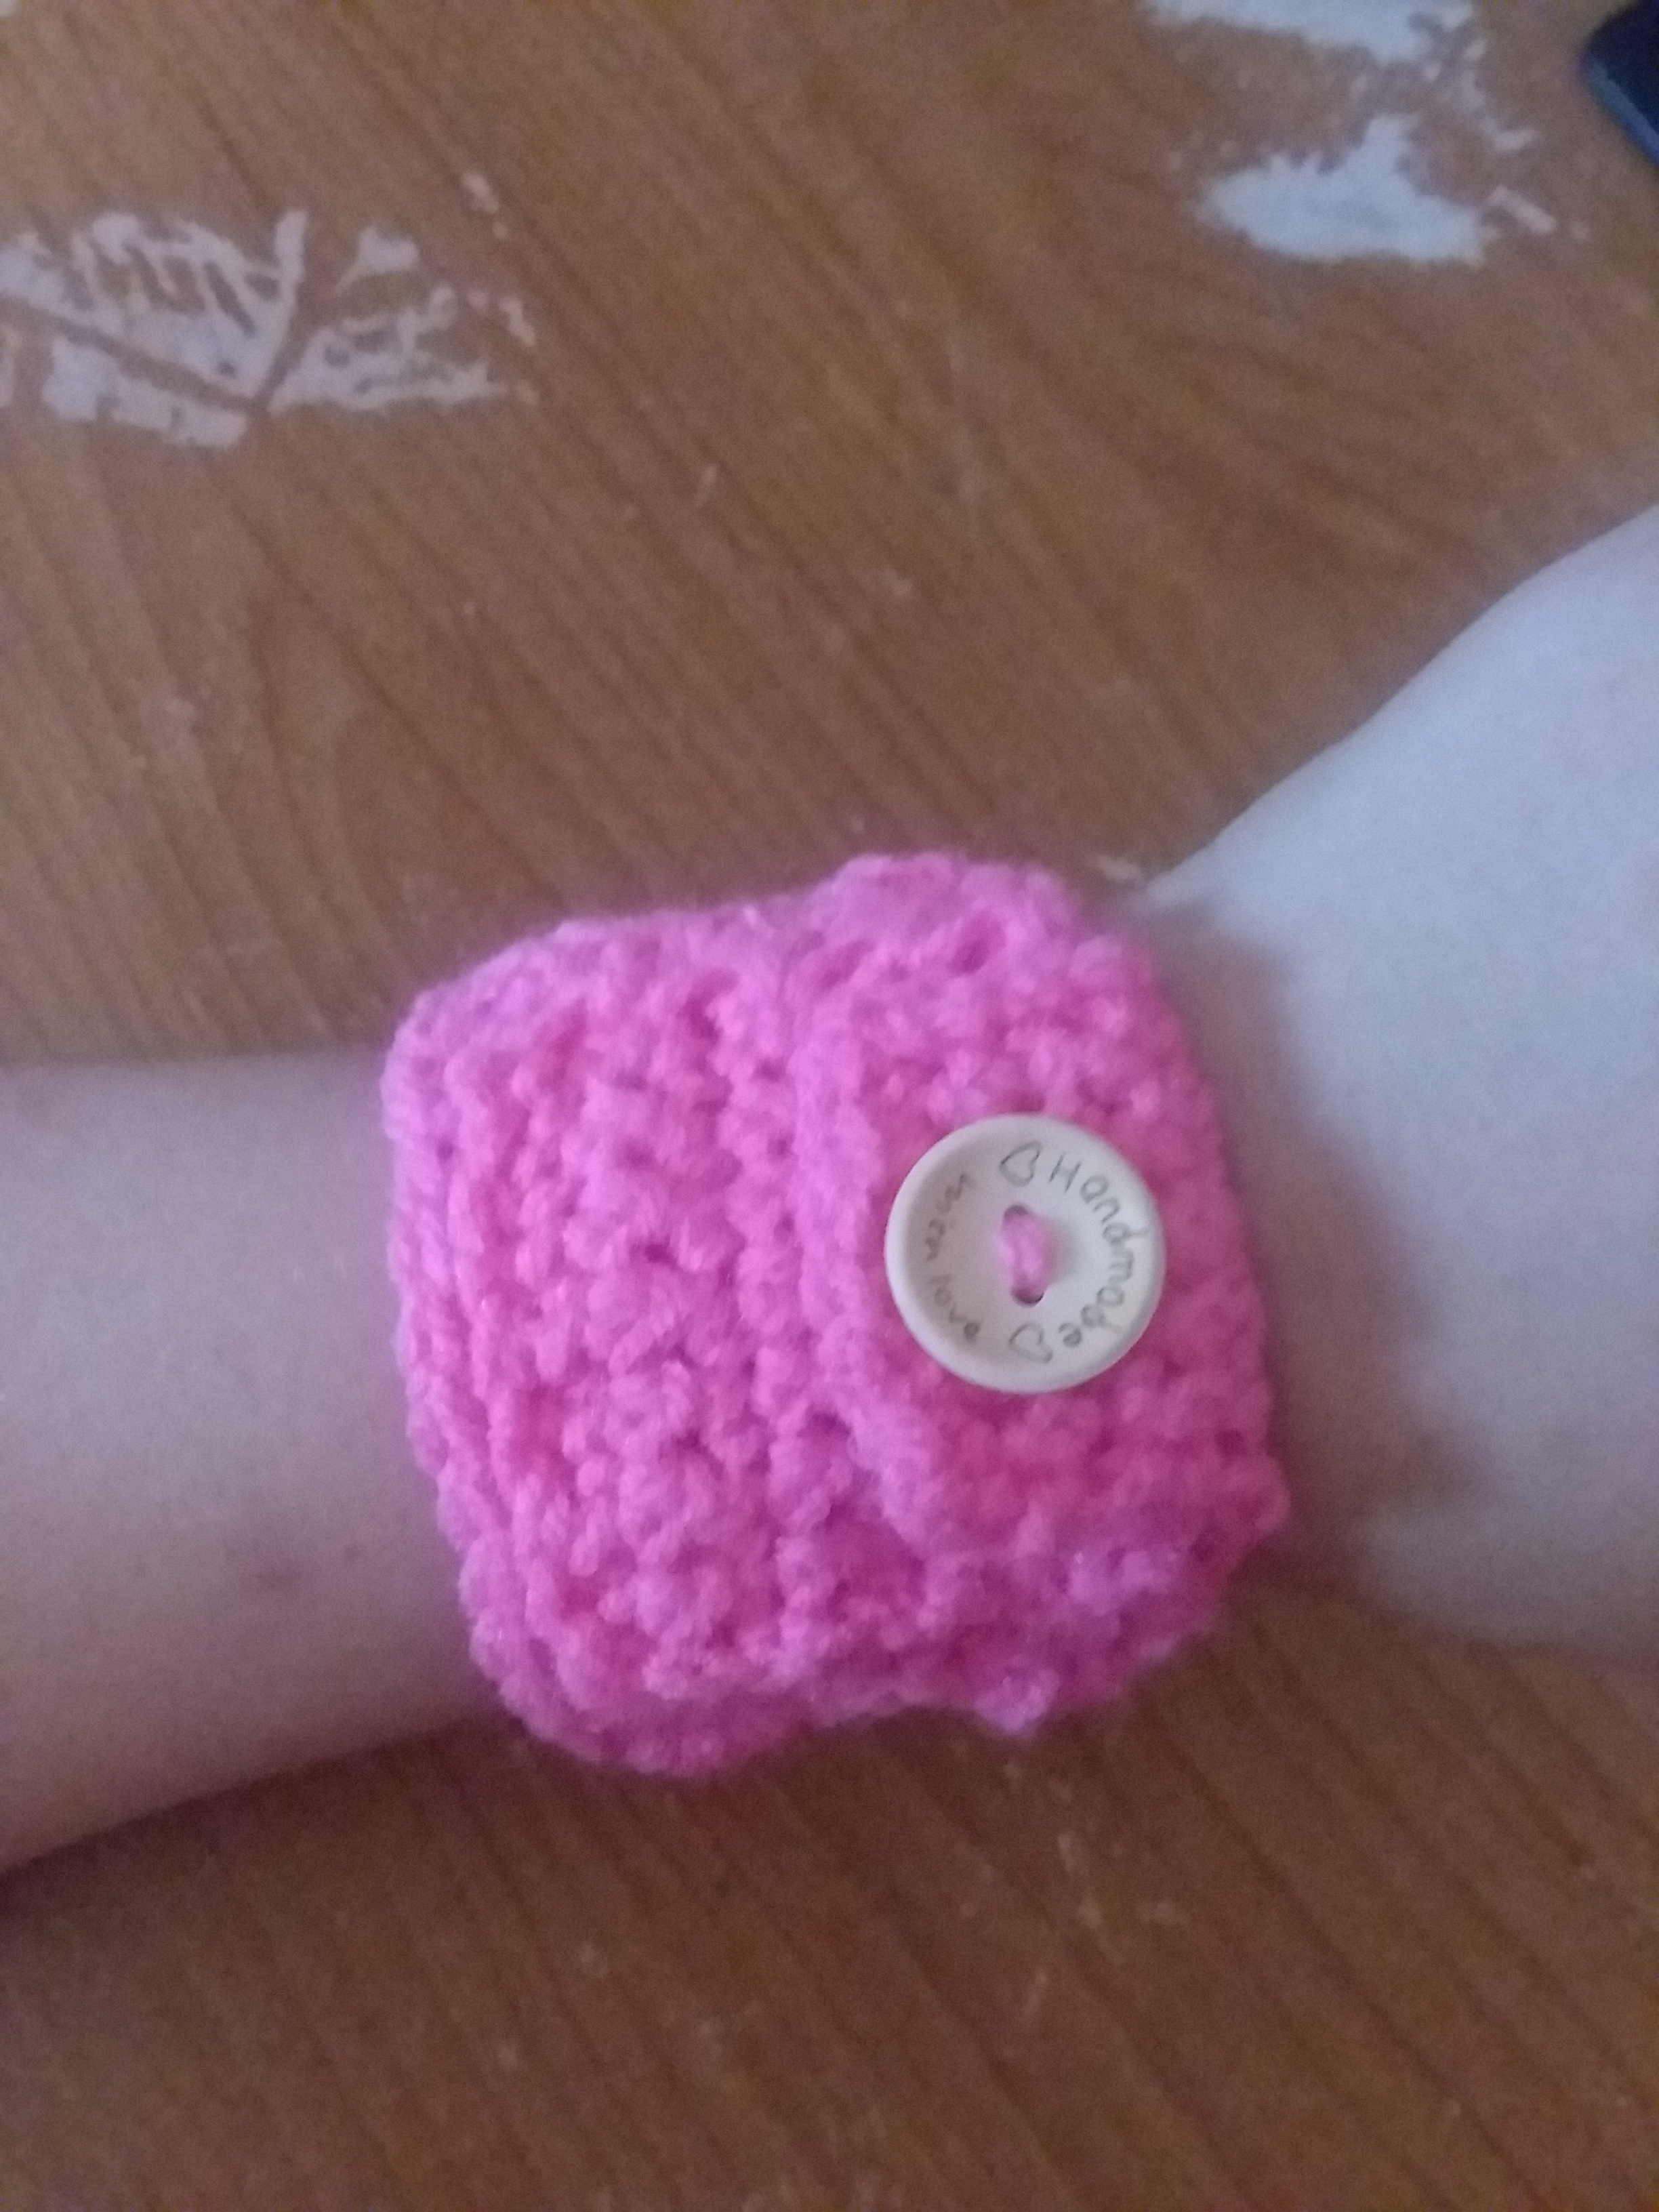
- A button
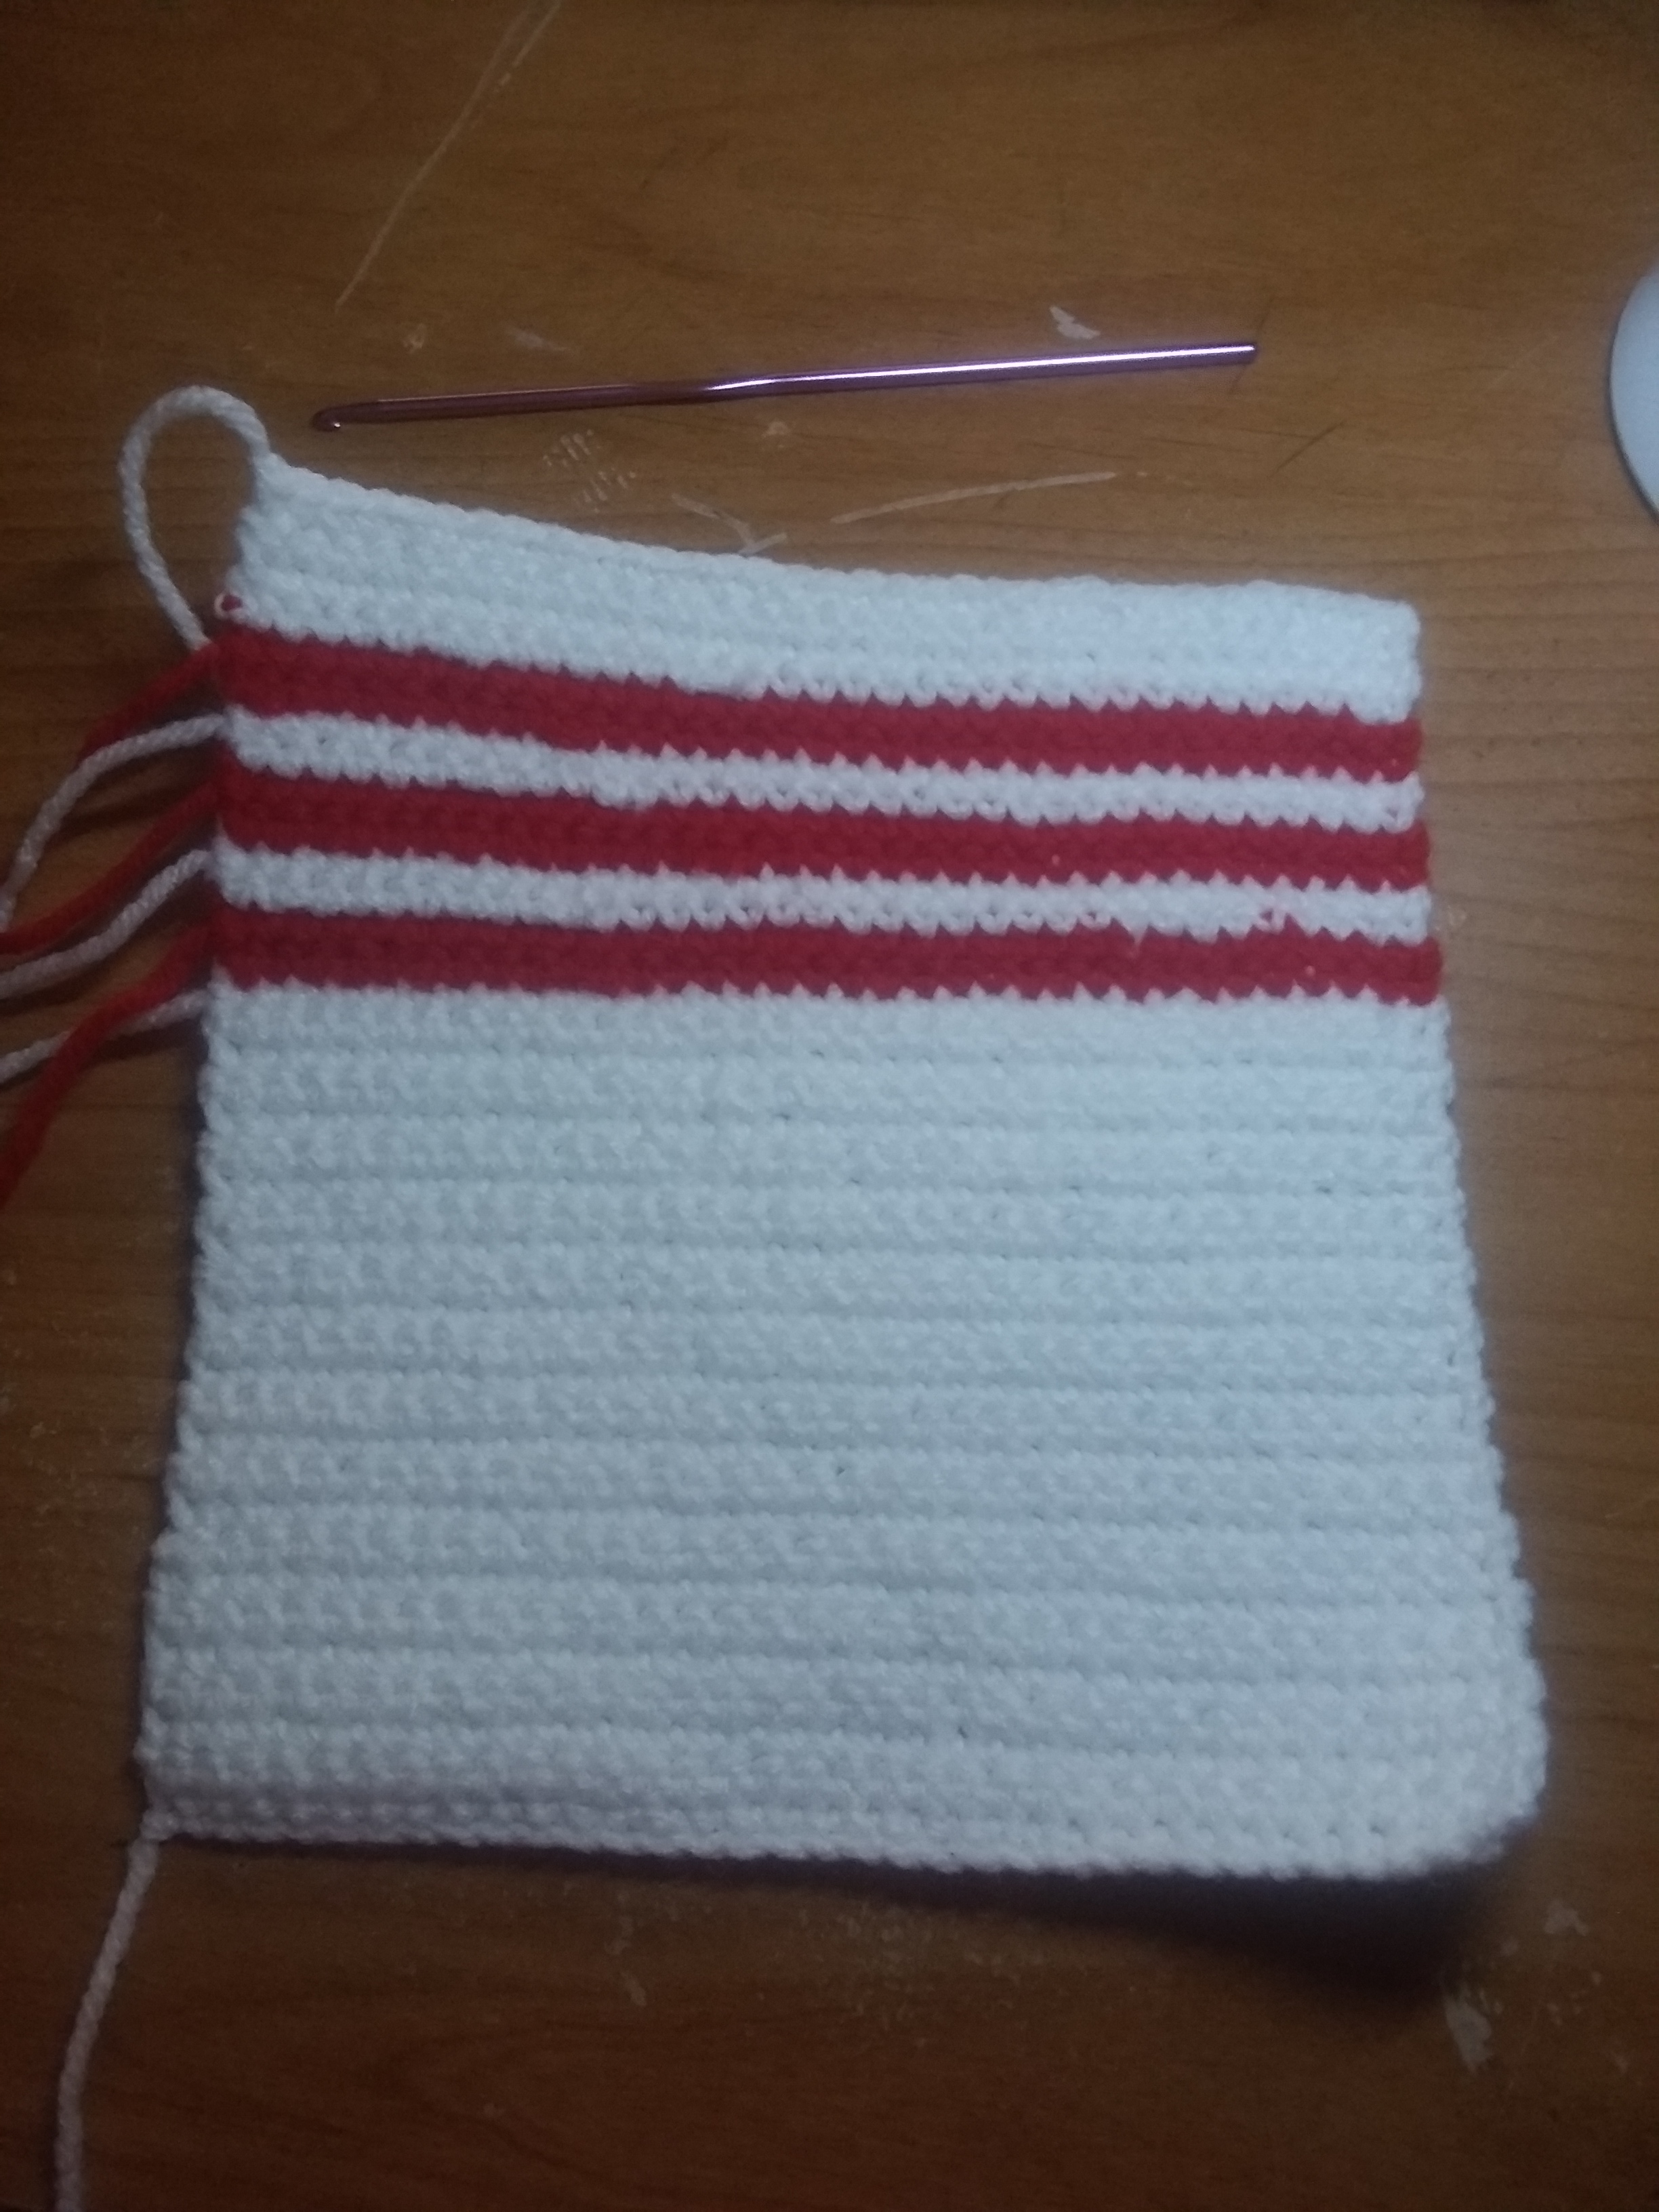
- Yarn needle
- As always! Got to make sure to sew in your loose ends!
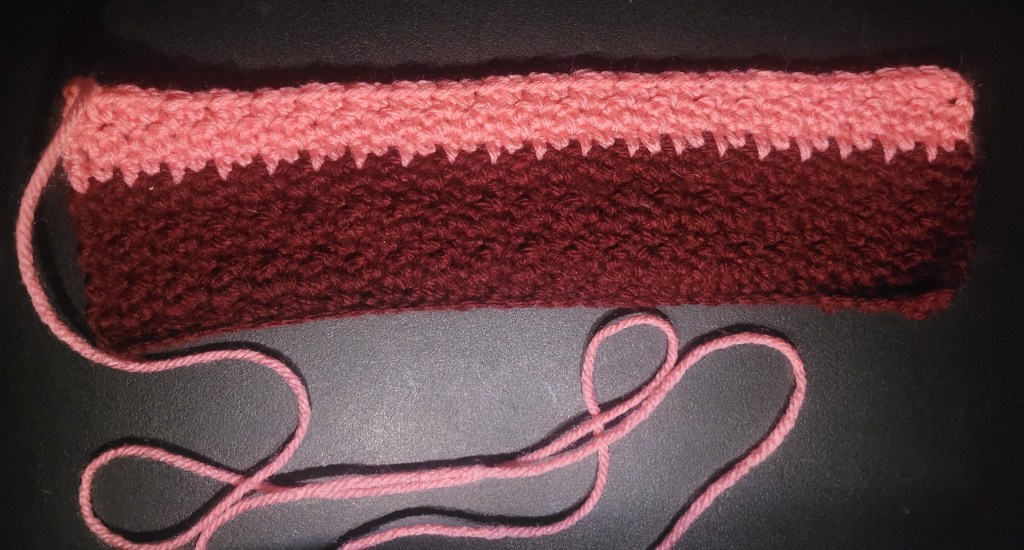
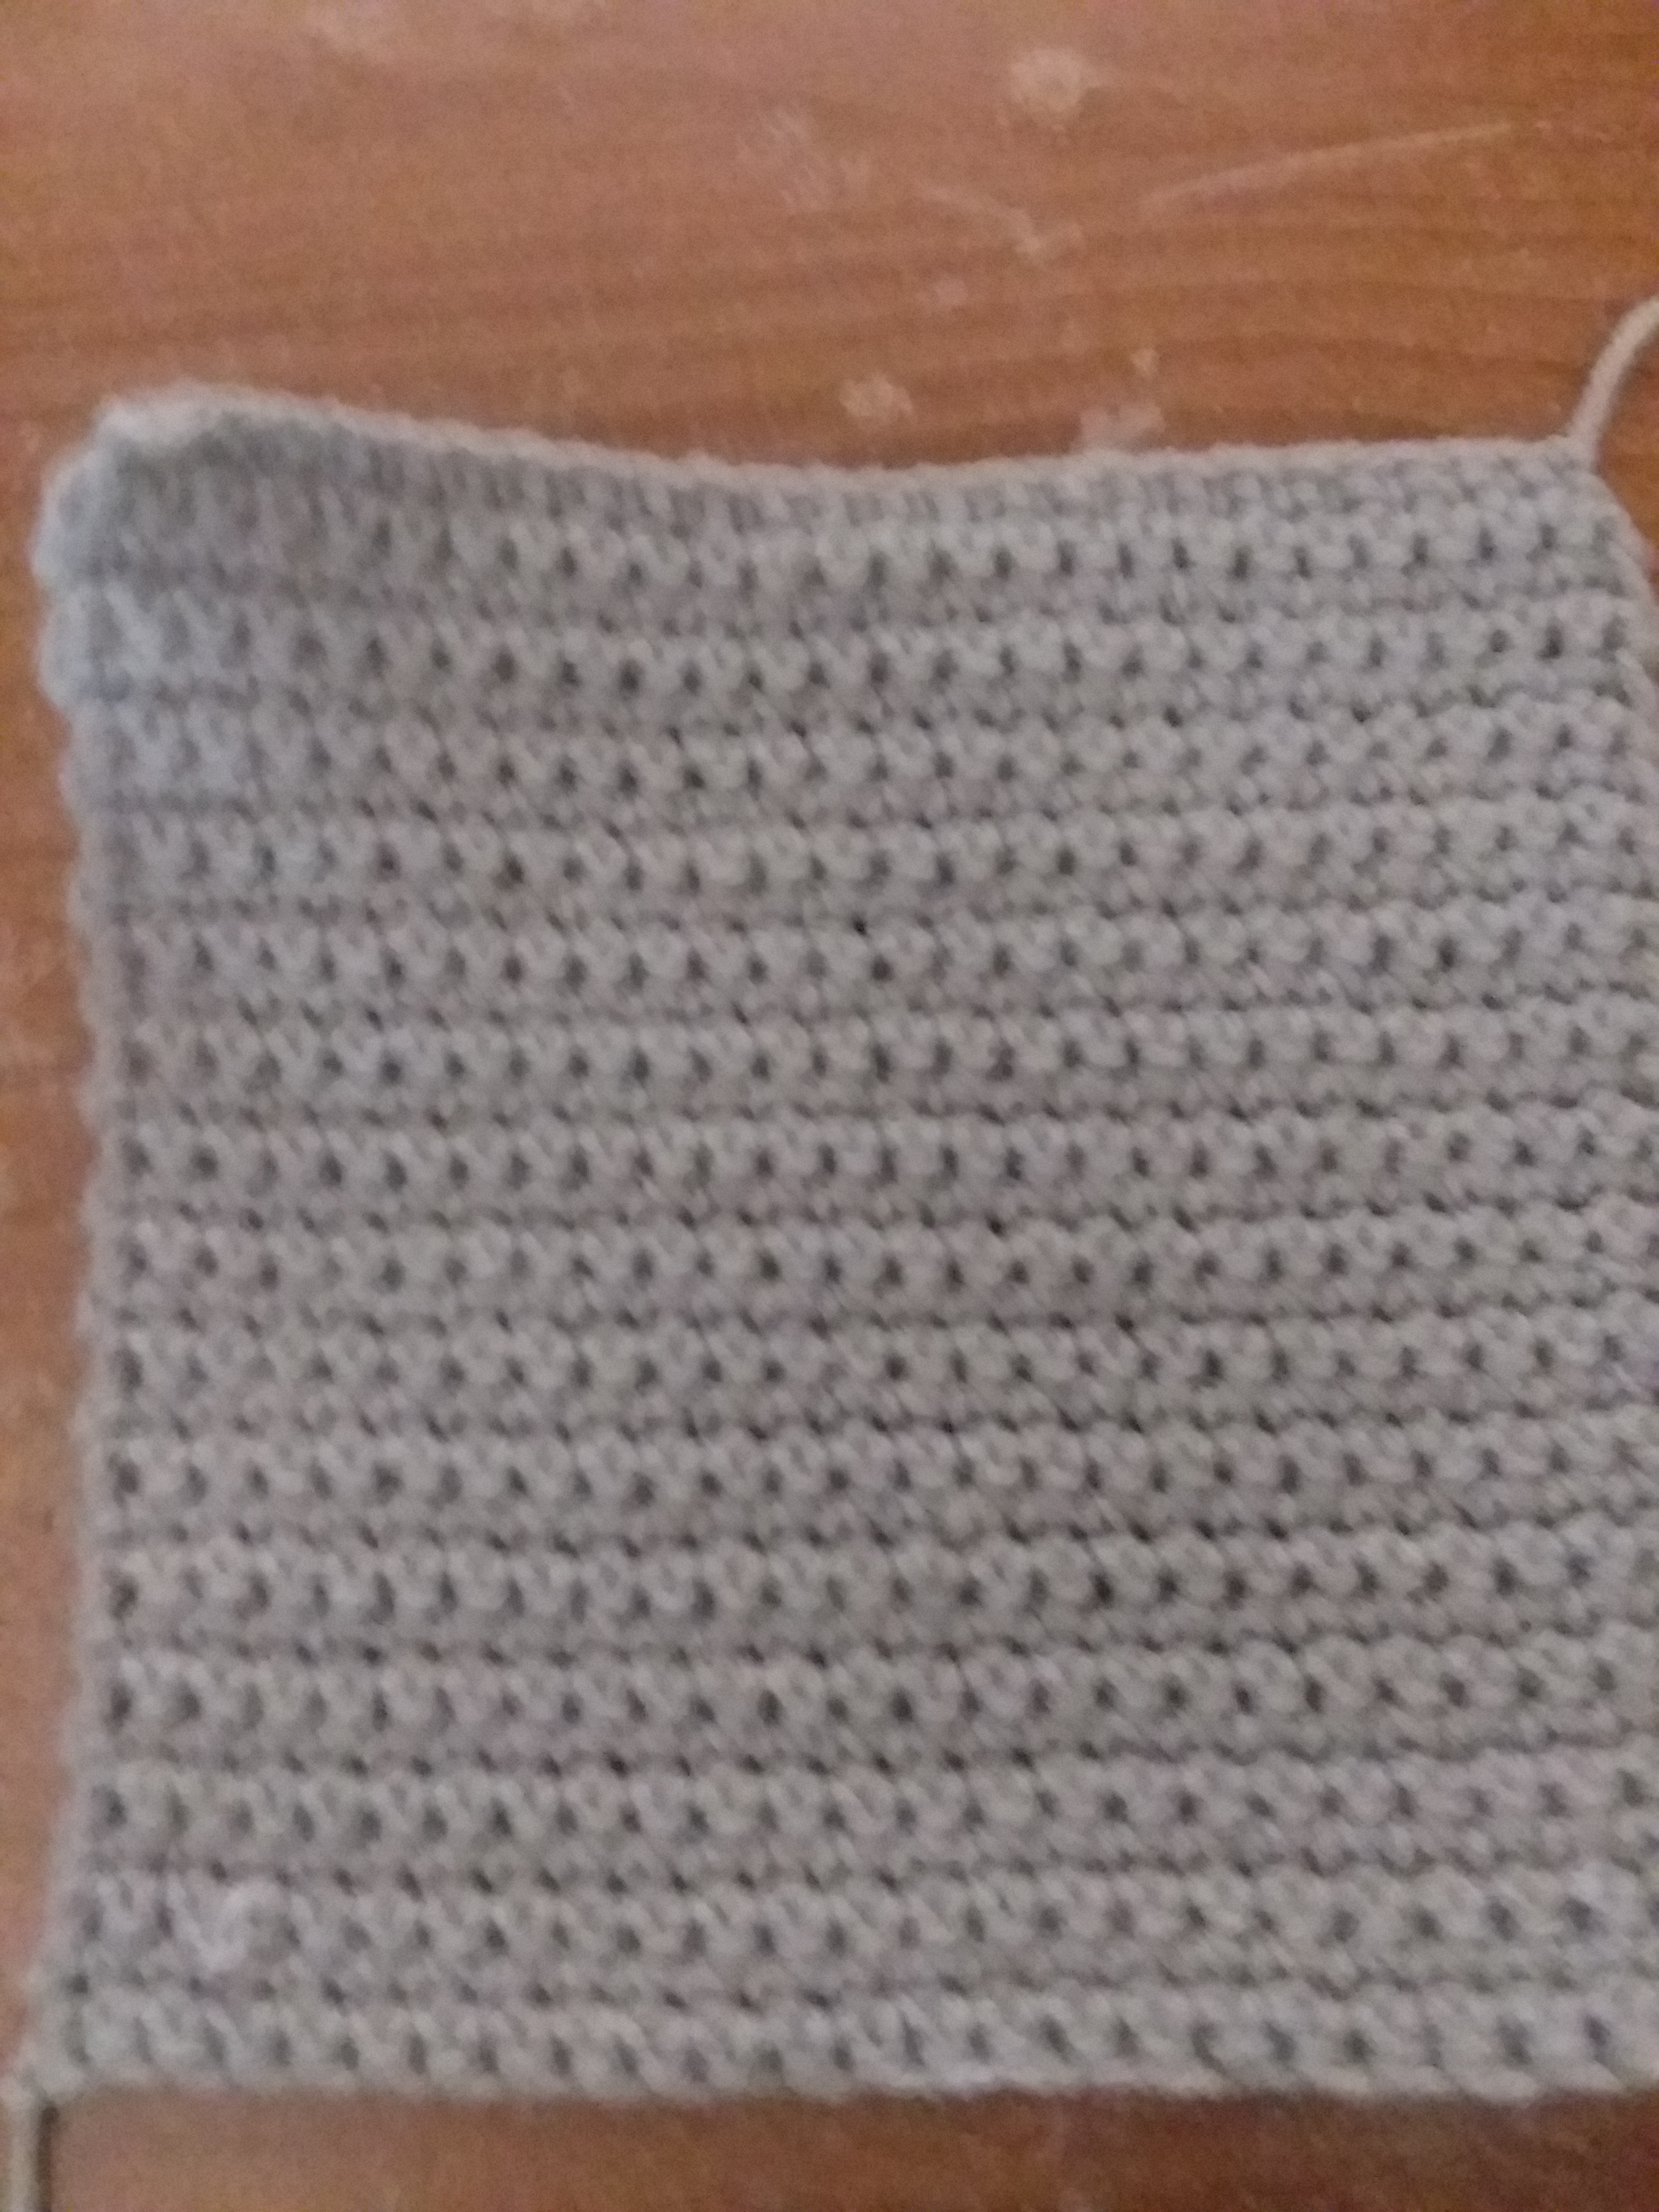
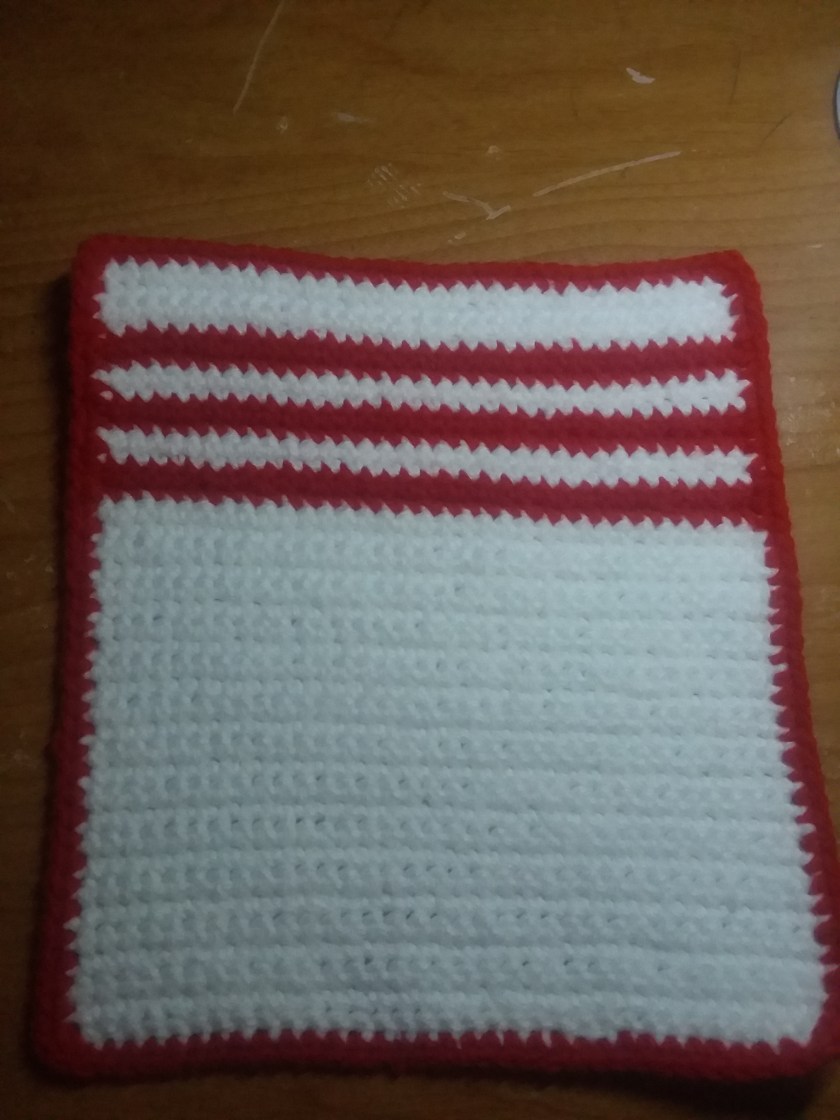
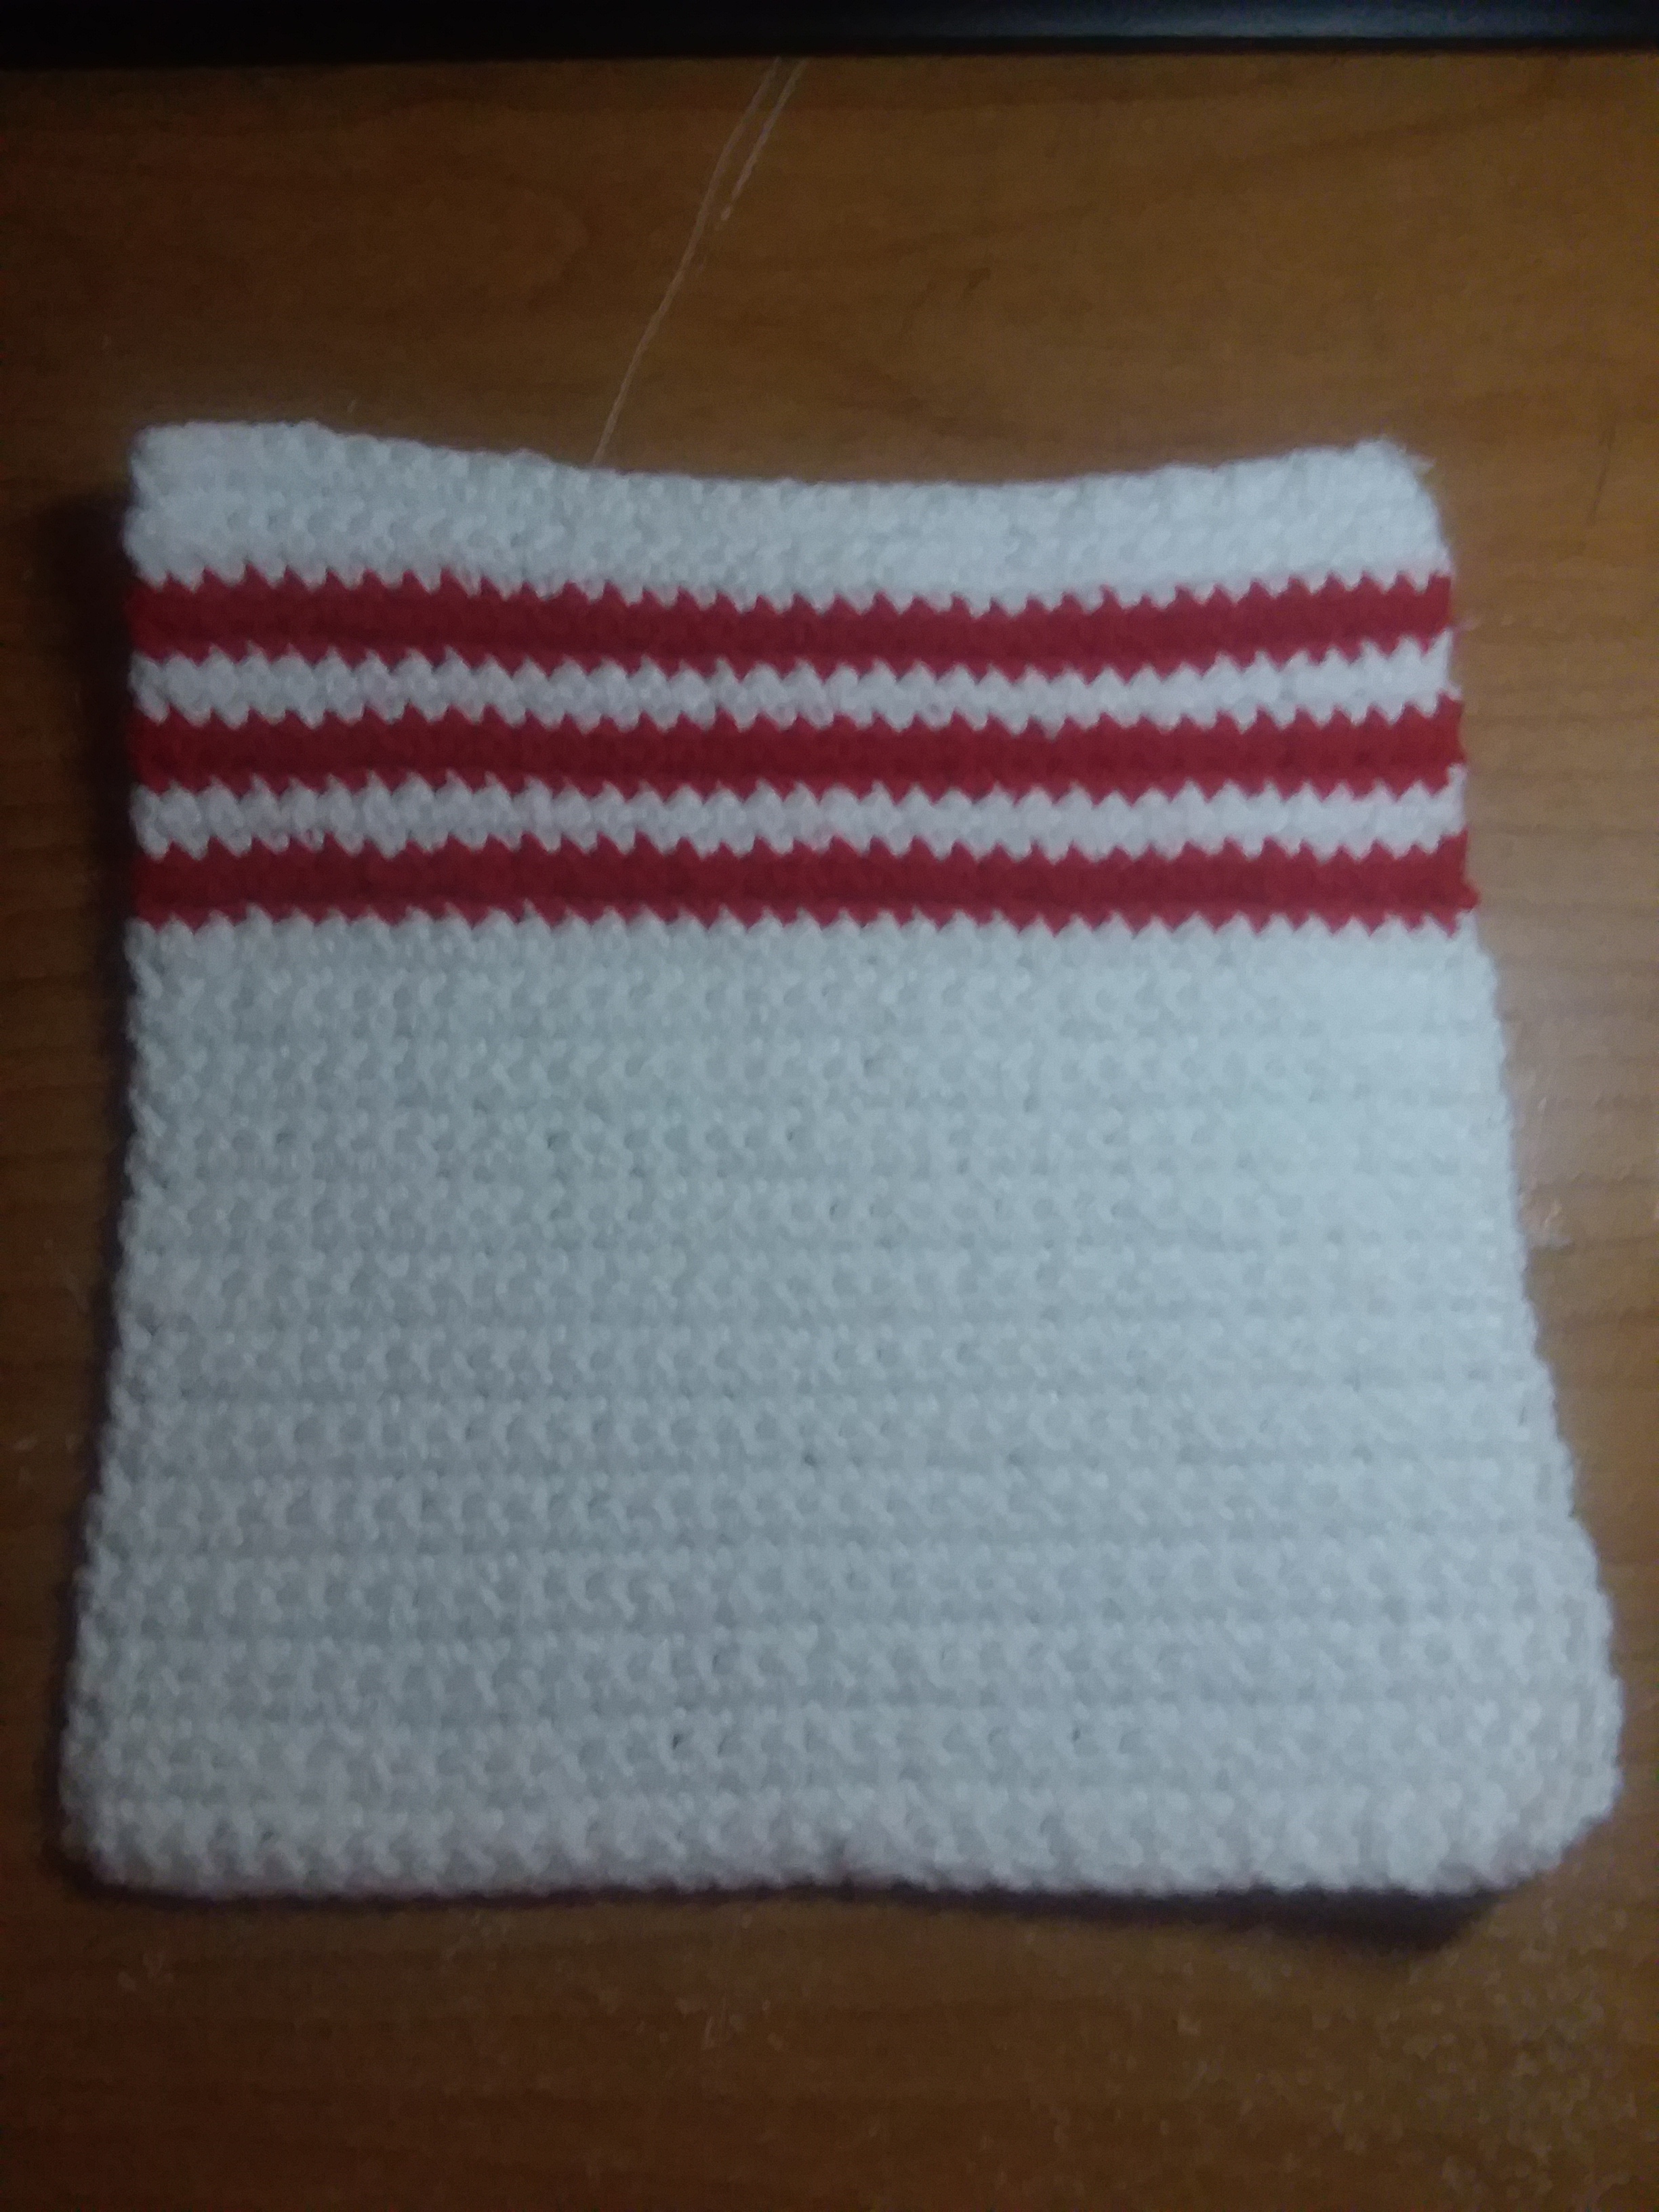
Mug Cozy Base

Chain 10.
Row 1: Find the second chain from your hook (Not counting the chain that is already on your hook). Make a single crochet and a double crochet, in that same chain.
Skip the next chain and in the next chain, make a single crochet and a double crochet. Repeat til you reach the end of the row. Chain 1 and turn.
Row 2: Skip the next stitch. Make a single crochet and a double crochet in the next stitch. Repeat until you reach the end of the row. Chain 1 and turn.
Repeat Row 2, until you reach about 8 inches. If you wish to make it longer, you make do so. Also, keep in mind that the next step, we are making the buttonhole.
I would measure your mug first, and debating on adding more or less rows. Not all mugs are the same! You also don’t want your mug cozy to be too loose, otherwise it will fall off, and you don’t want it too tight either!
Don’t be afraid to ‘frog it’. Rippit, rippit!
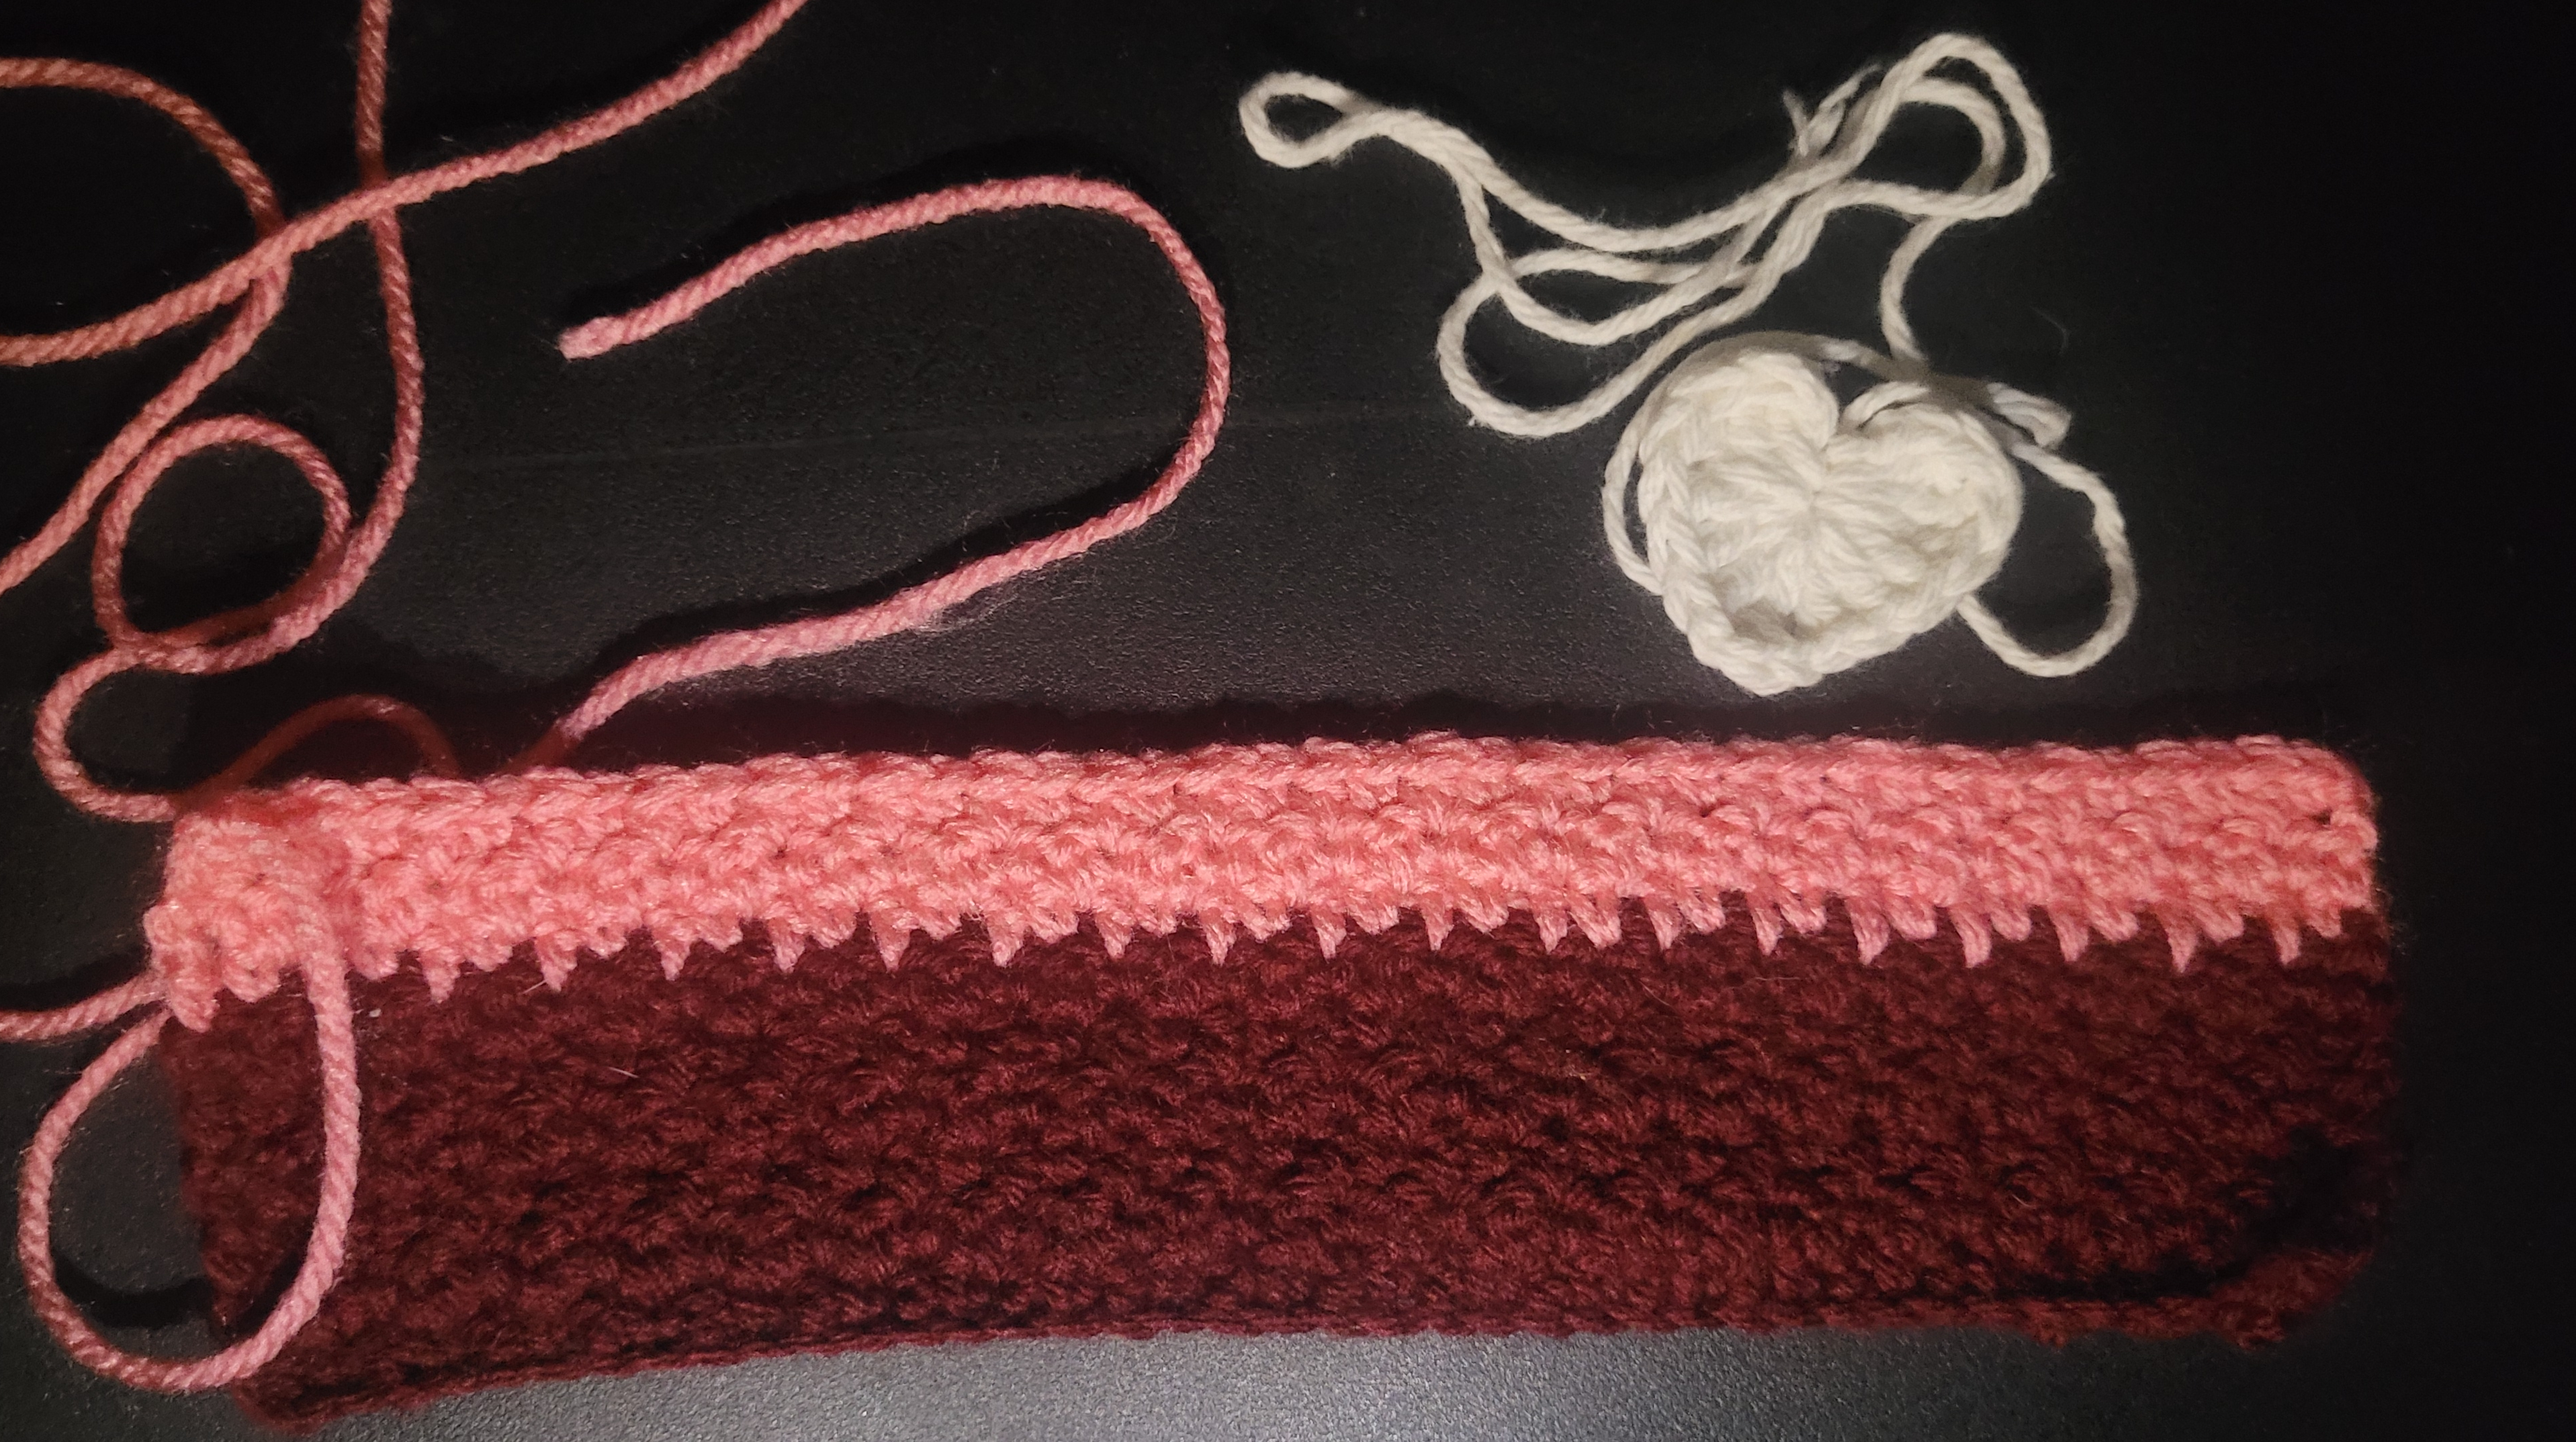
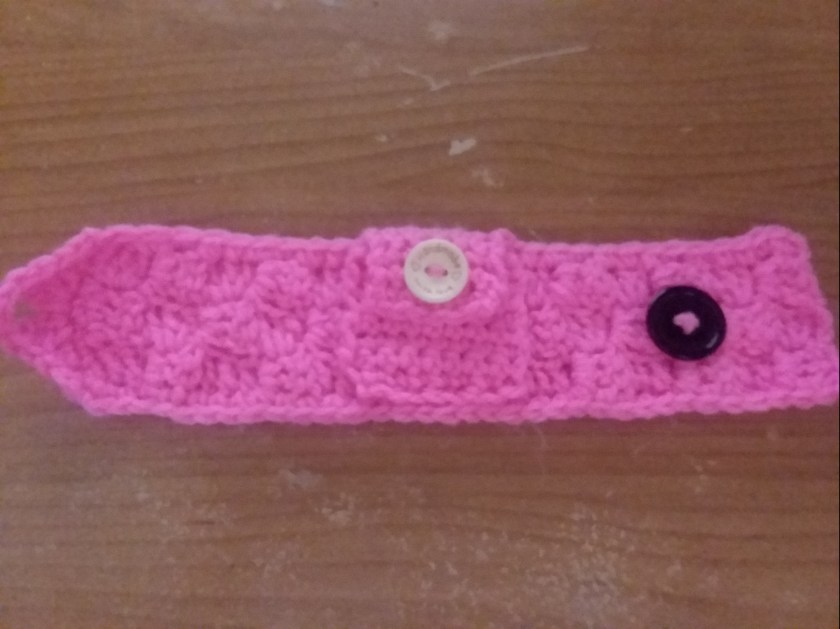
Buttonhole
Next Row: In the first two stitches, single crochet together (sc2tog). Single crochet across, until you reach the last two stitches, single crochet together (sc2tog) in those last two stitches. Chain 1 and turn.
Next Row: Half double crochet into each stitch, making sure that you still have 8 stitches. Keep going for another 2 inches, starting where you started your half double crochets. (This is for bases that have the 8 inches crocheted. If you made it bigger, see the * for more info.)
*Depending on how long you made your mug cozy base, measure it, if your mug cozy base is over lapping itself, then you don’t need to keep crochet for another two inches. These will vary for different mugs. Make sure to measure it around your cup, before crocheting!*
Next Row: Now, we are going to make the actual buttonhole. If you haven’t chained one from the last step, do so now and turn your work.
In the first 2 stitches, make a single crochet together (sc2tog). In the next stitch, make a half double crochet. In the next stitch, make a double crochet and a treble crochet, in that same stitch. Chain 3. In the next stitch, make a treble crochet and a double crochet, in that same stitch. In the next stitch, make a half double crochet. In the last 2 stitches, single crochet together (sc2tog).
You can fasten off, or single crochet all around the mug cozy. This is something you don’t have to do, but if you are like me and like stuff to look neat and even, this is something you would want to do!
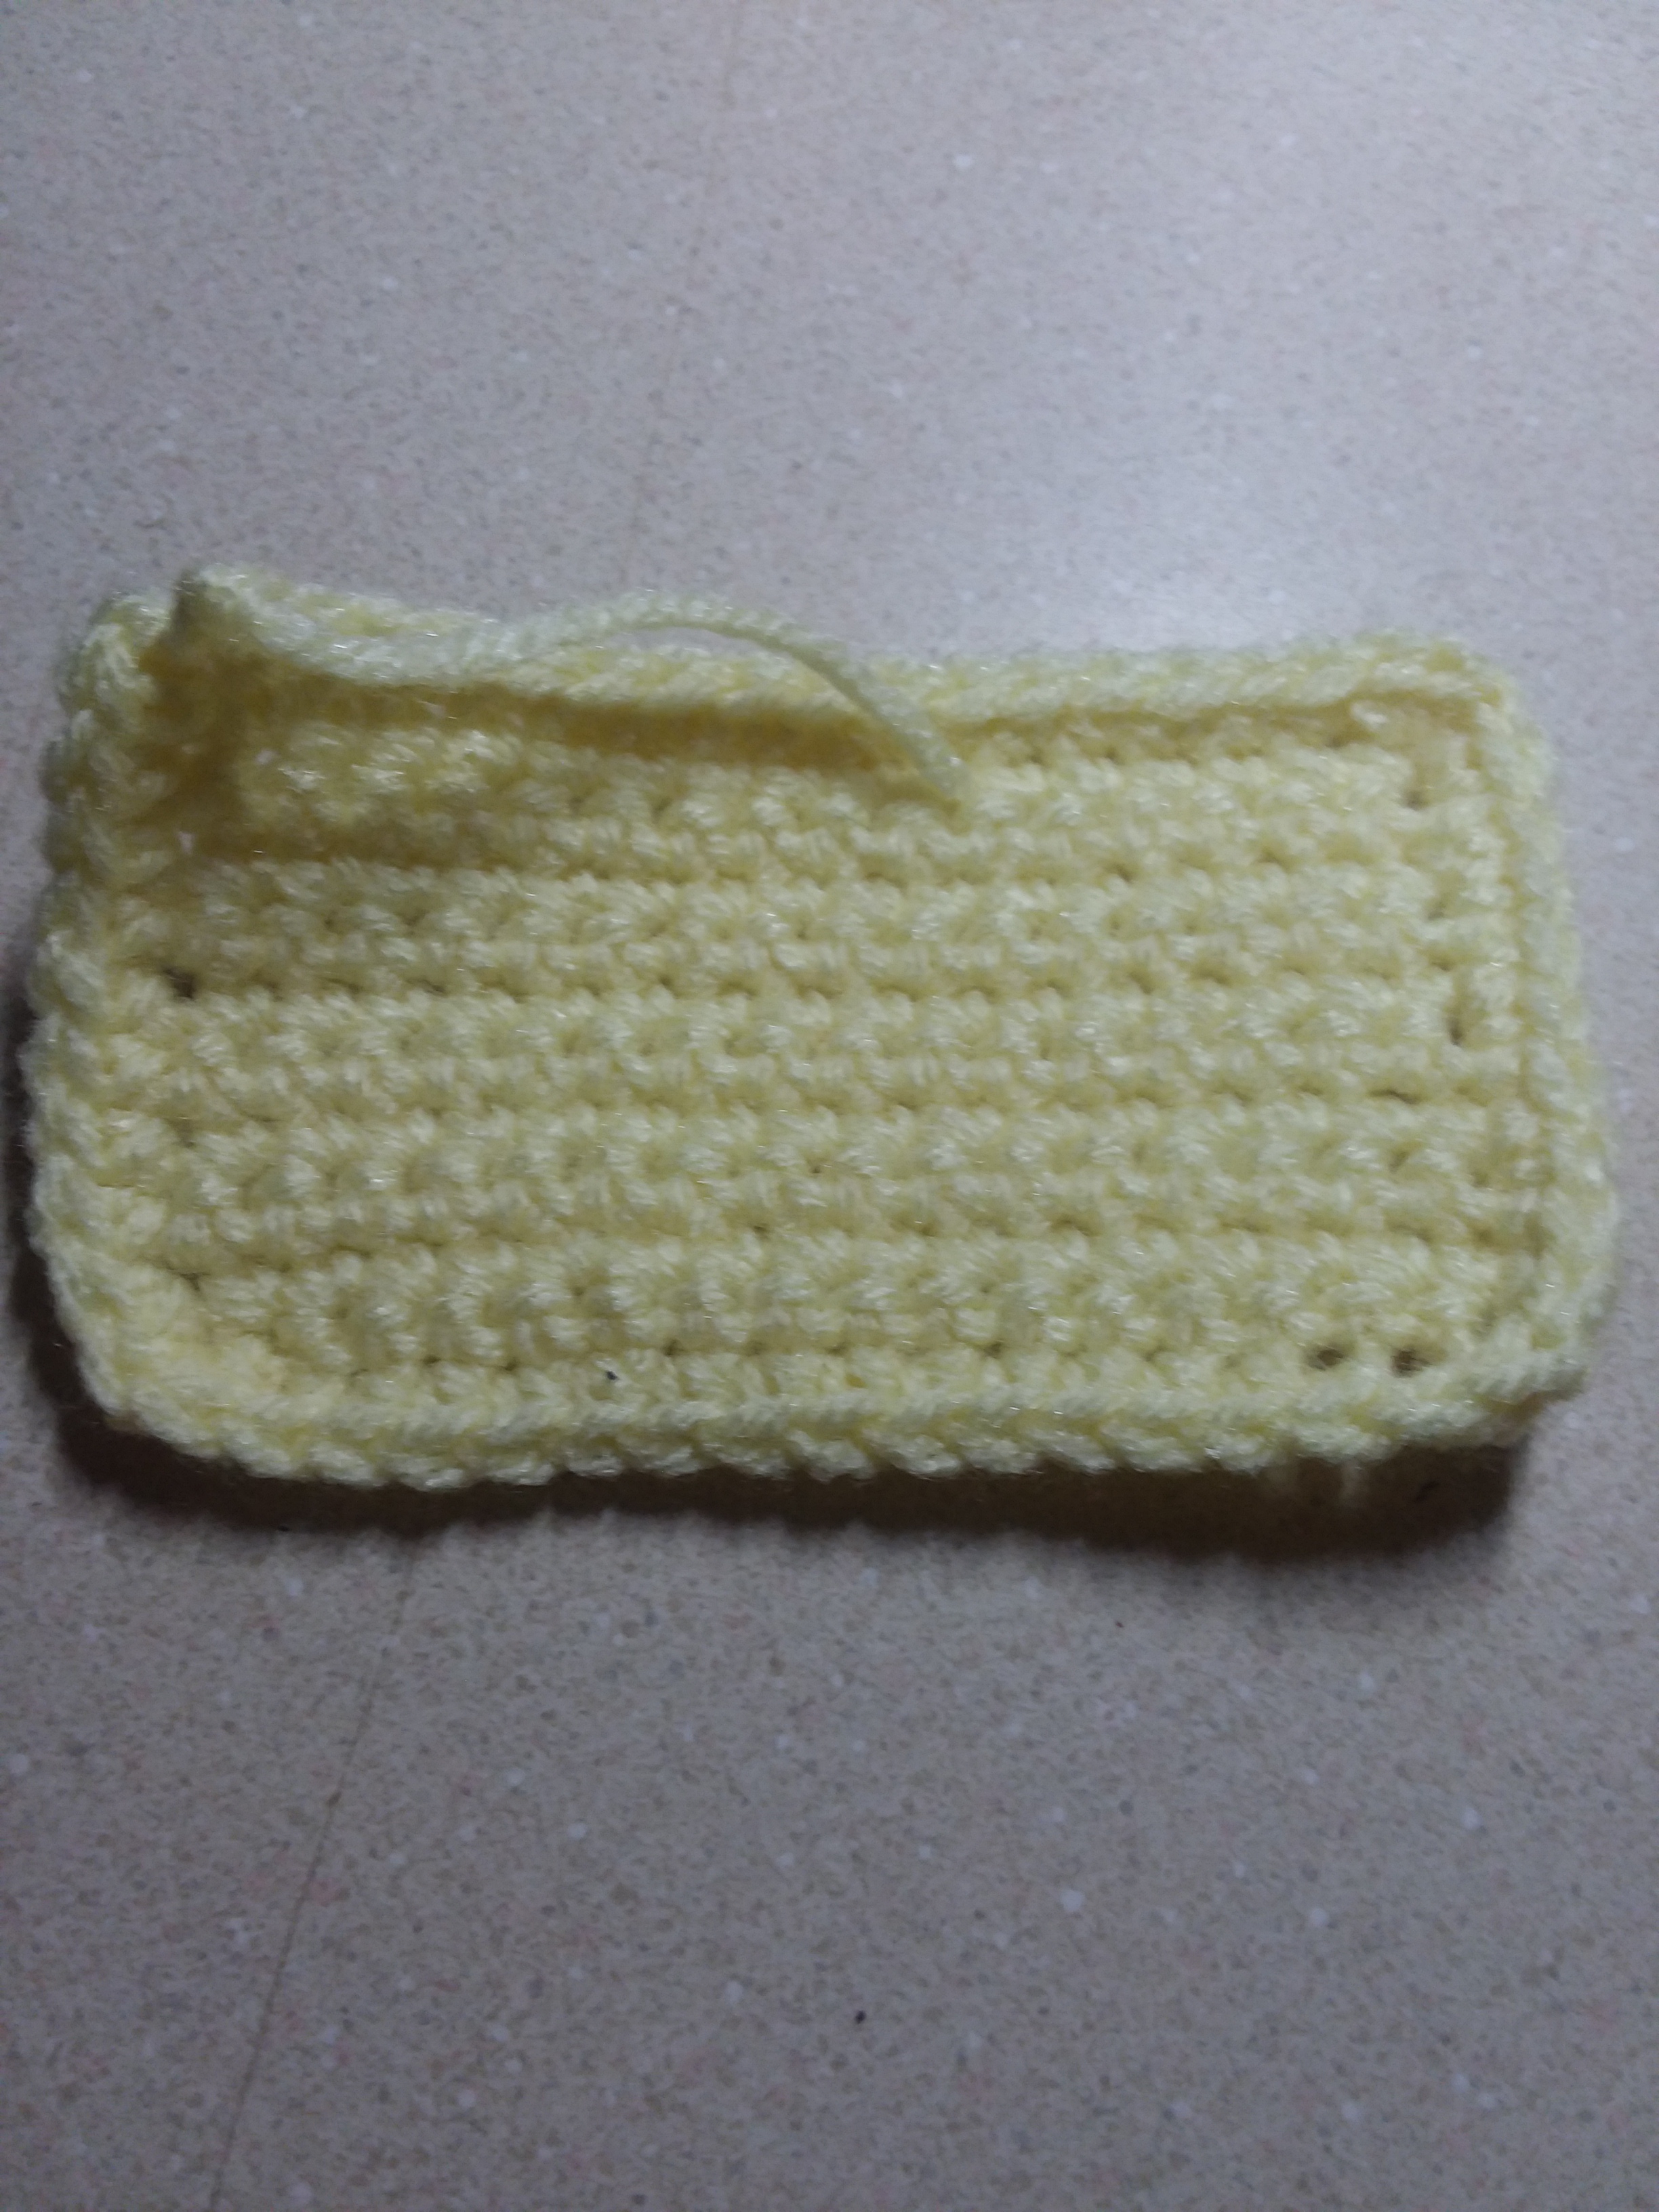
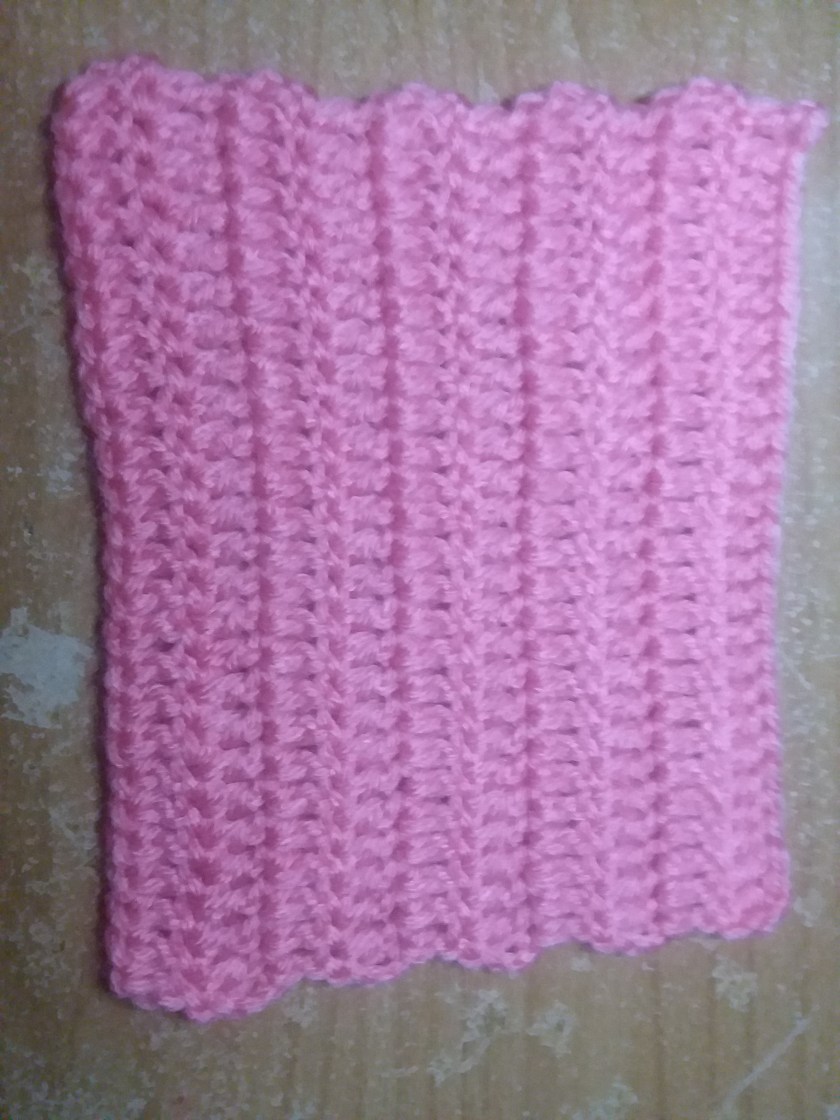
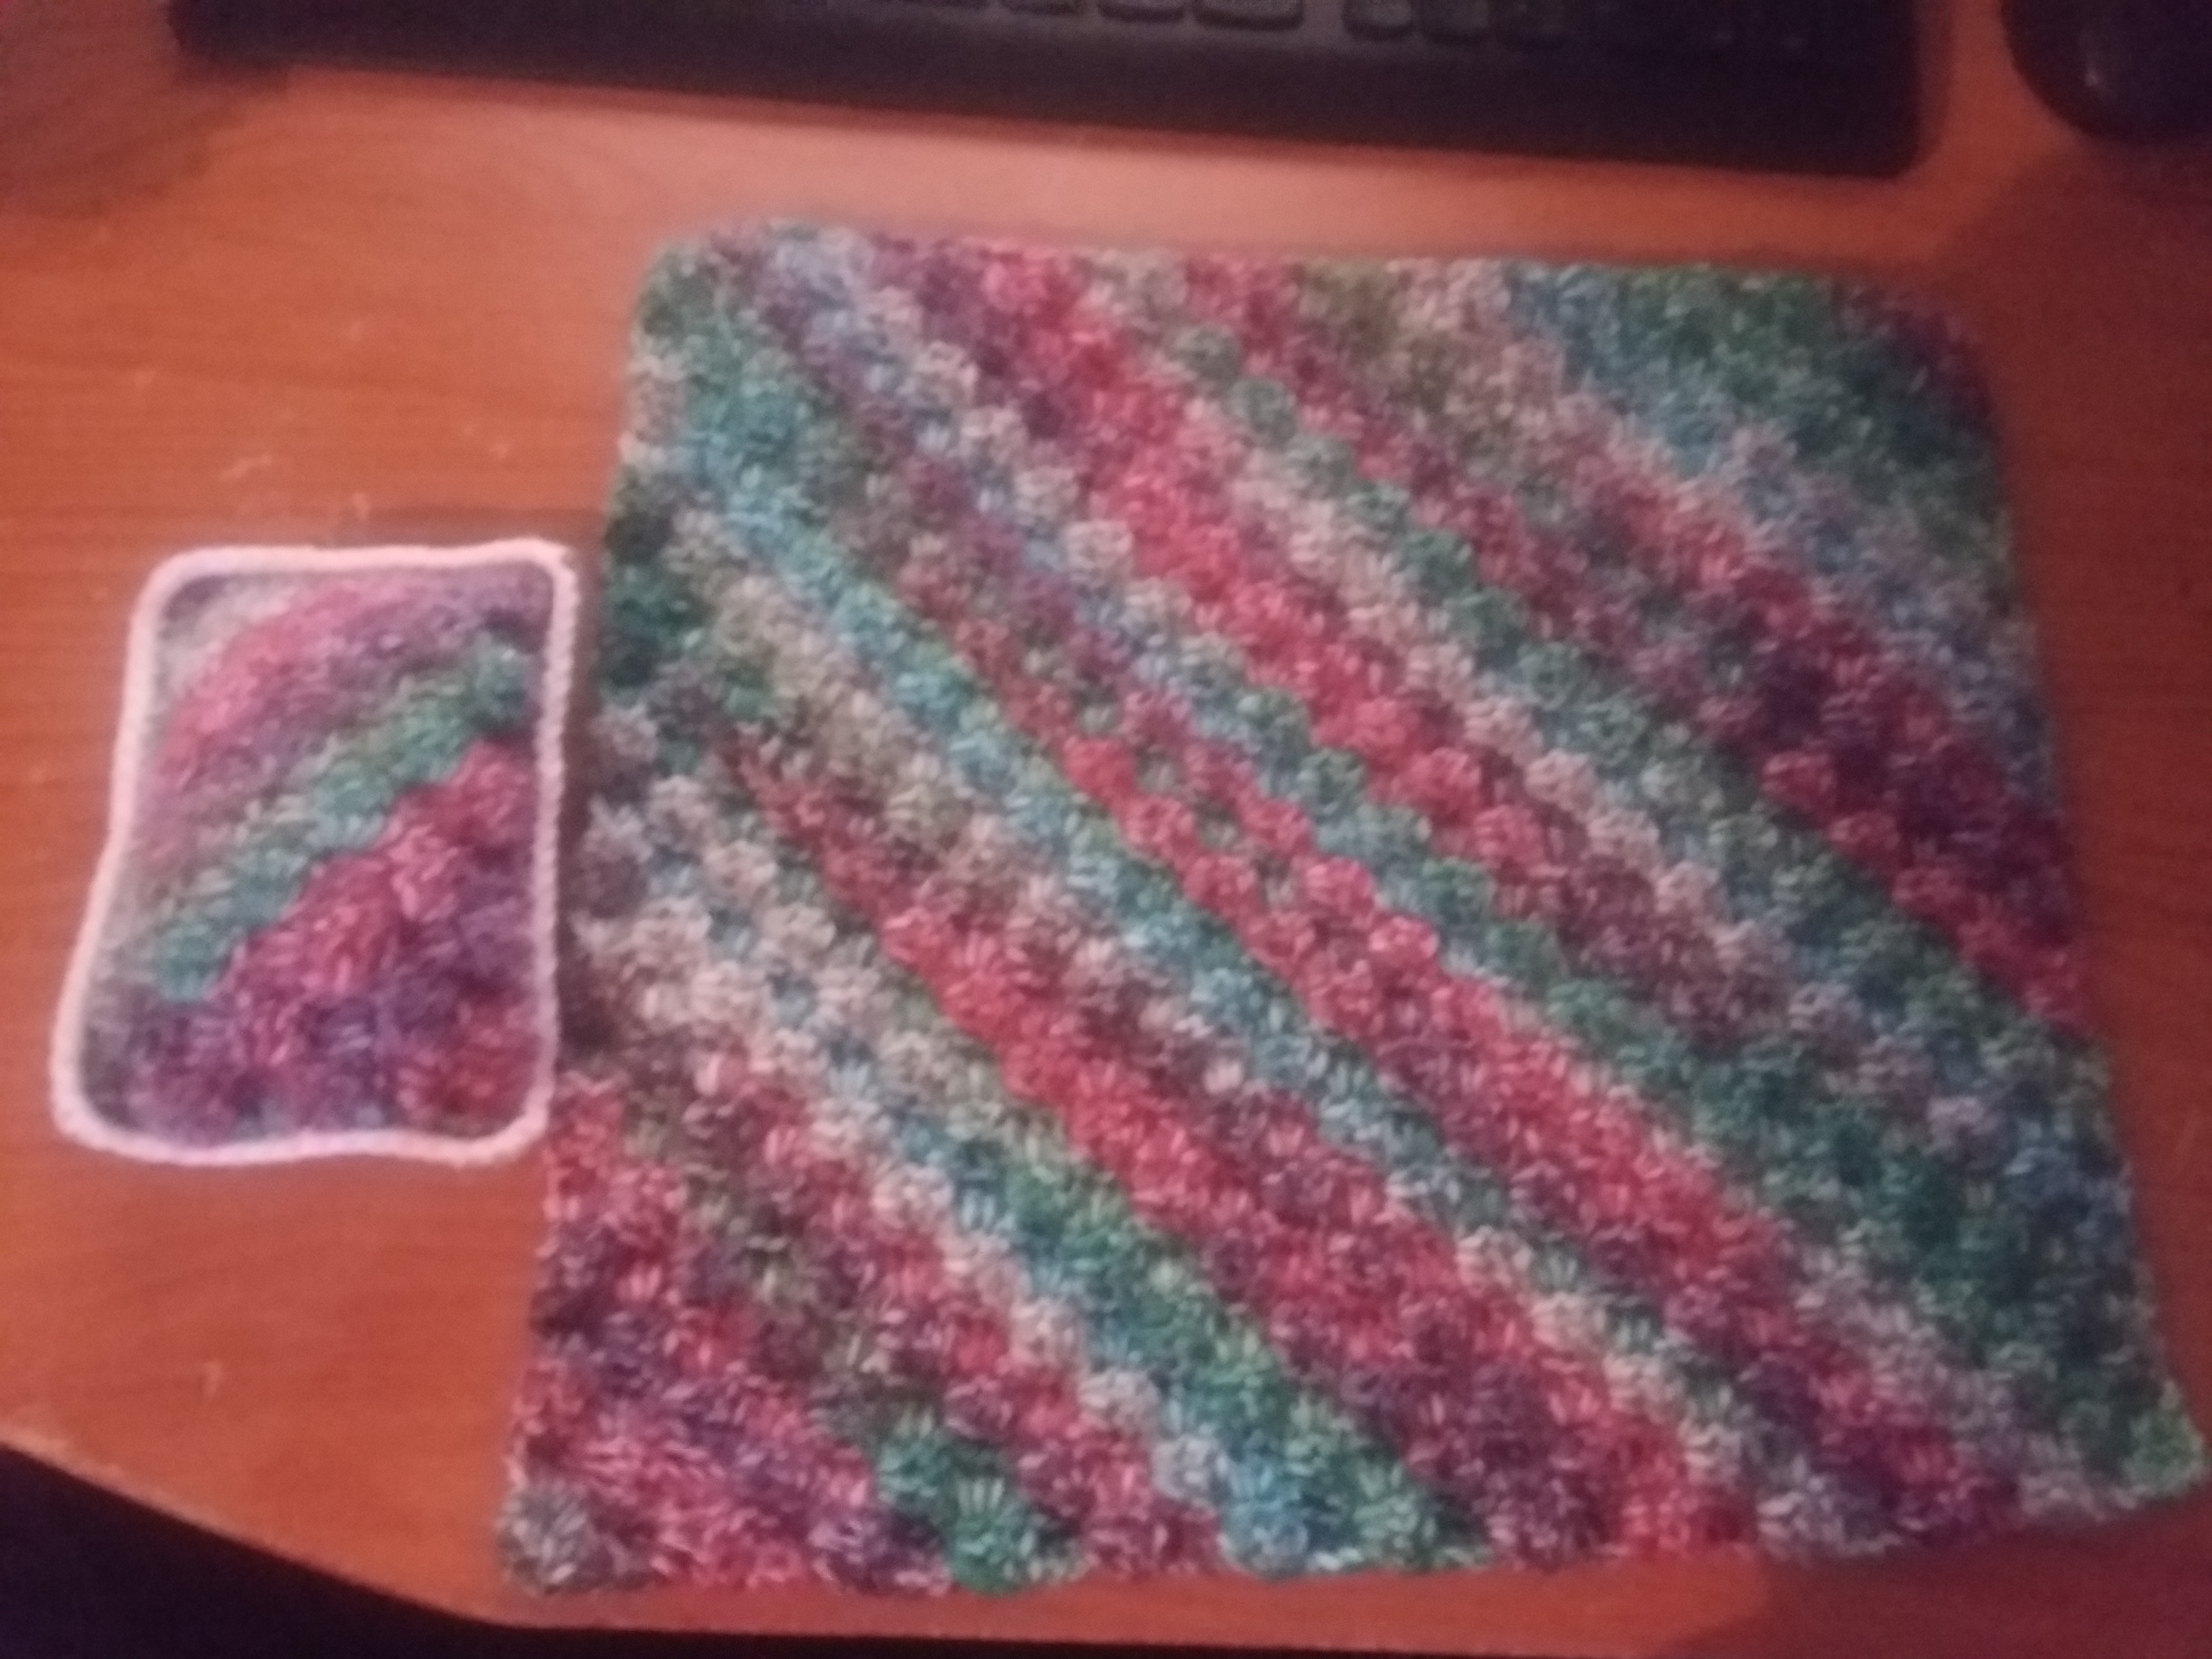
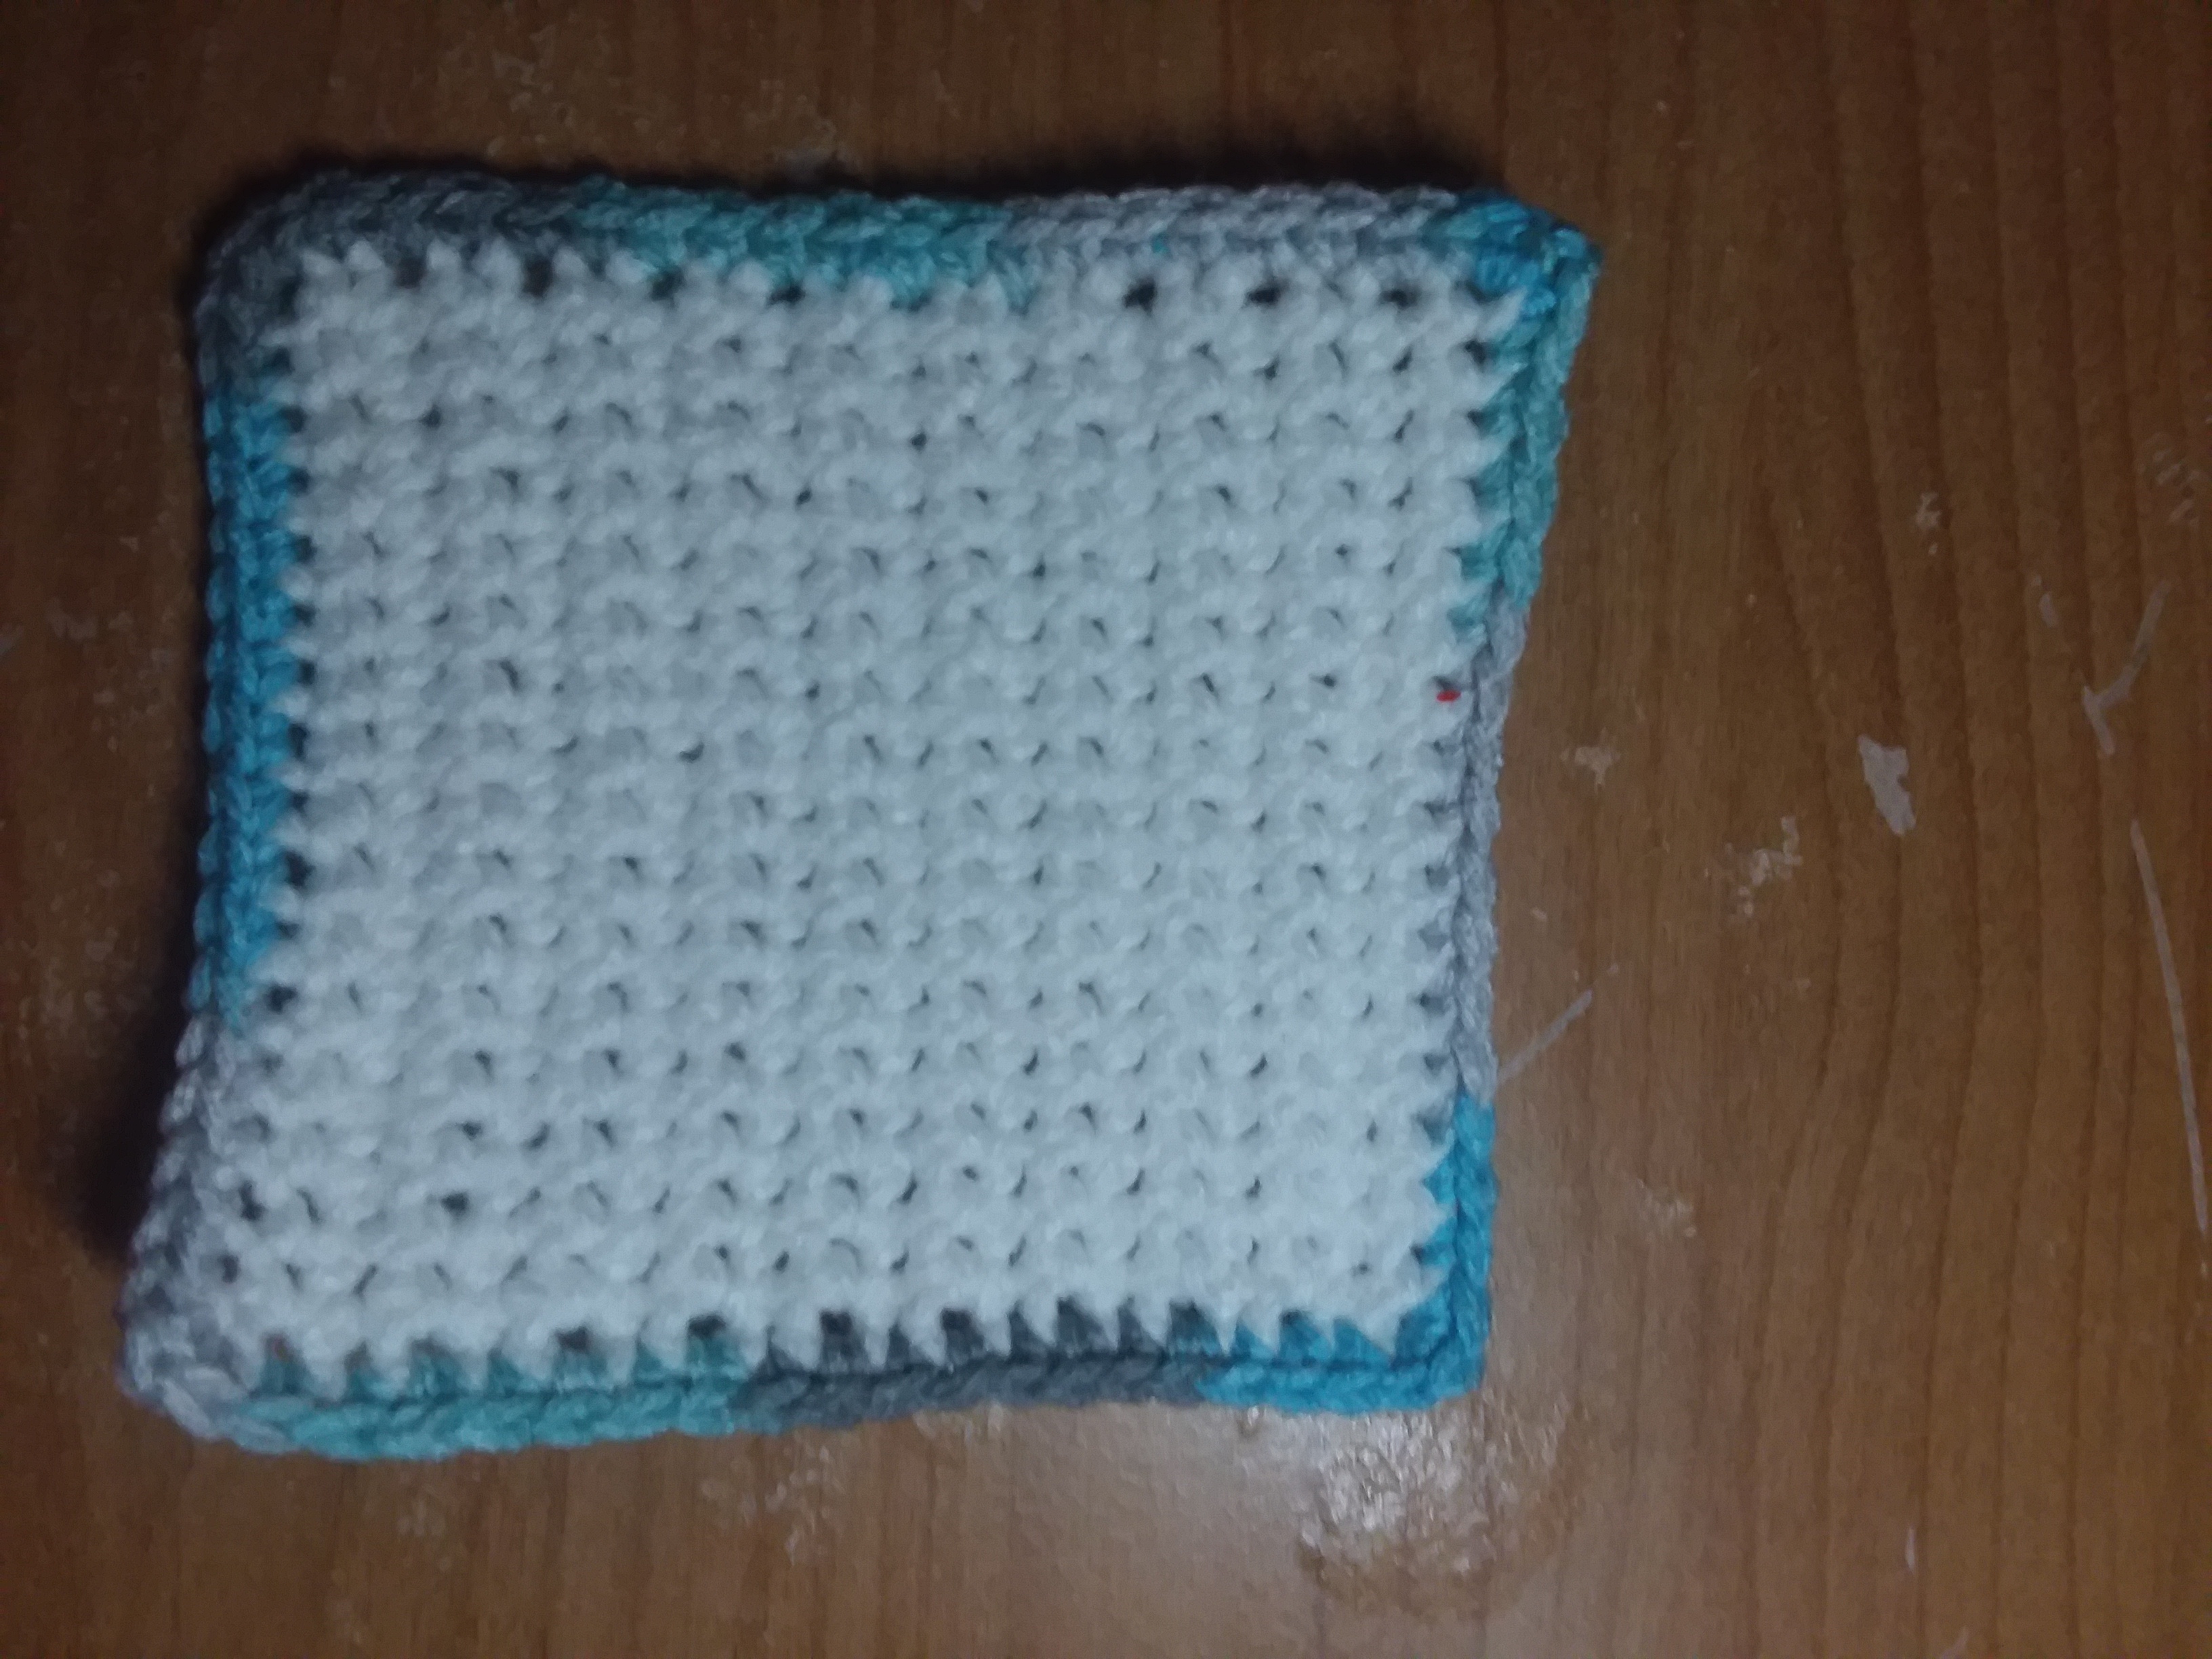
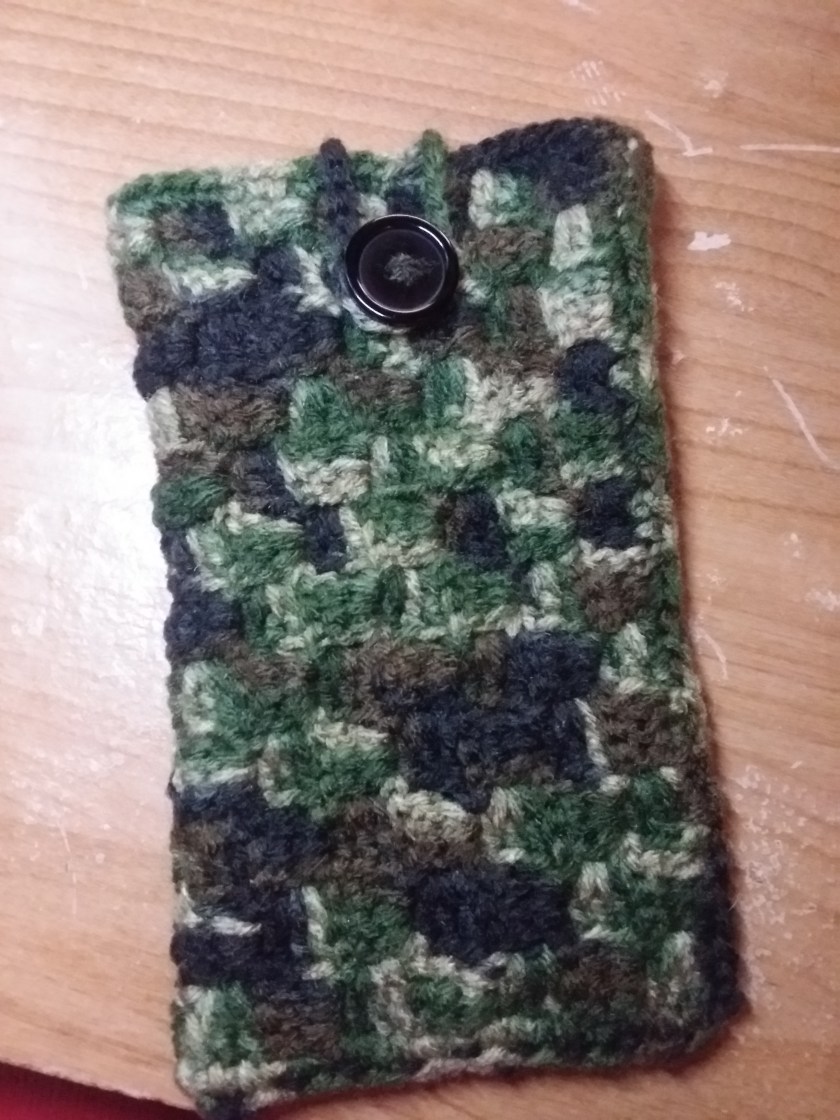
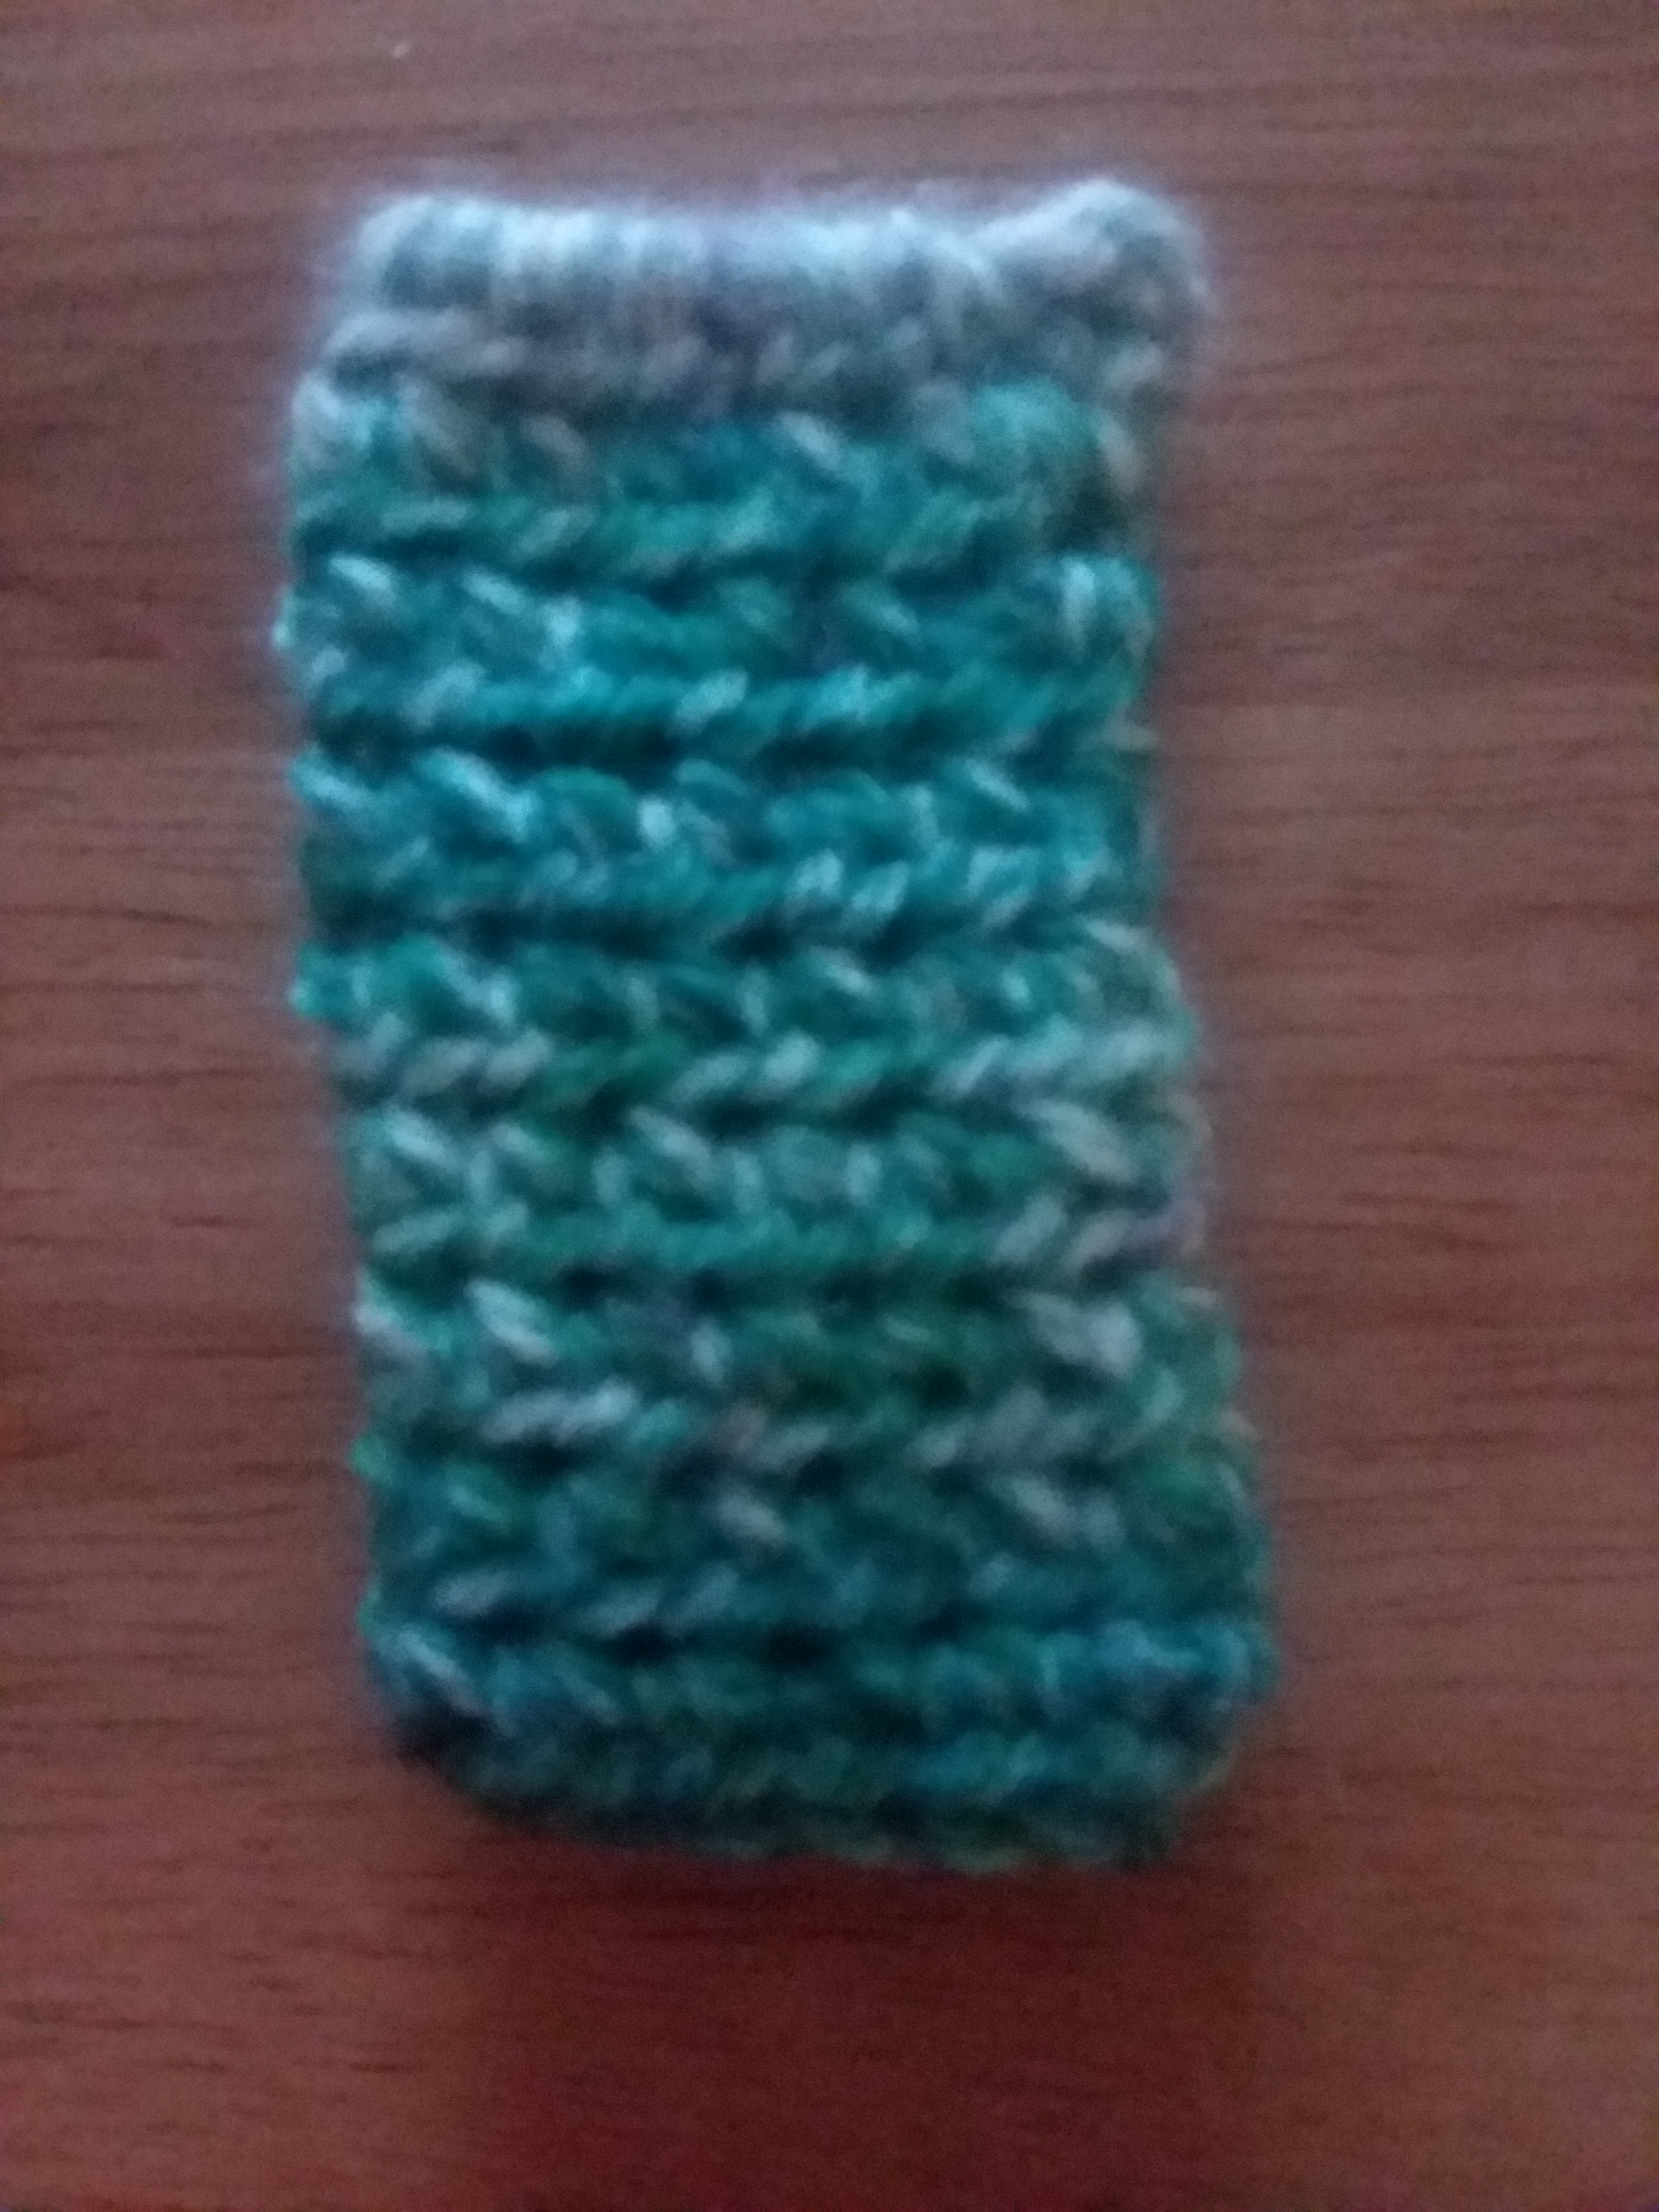
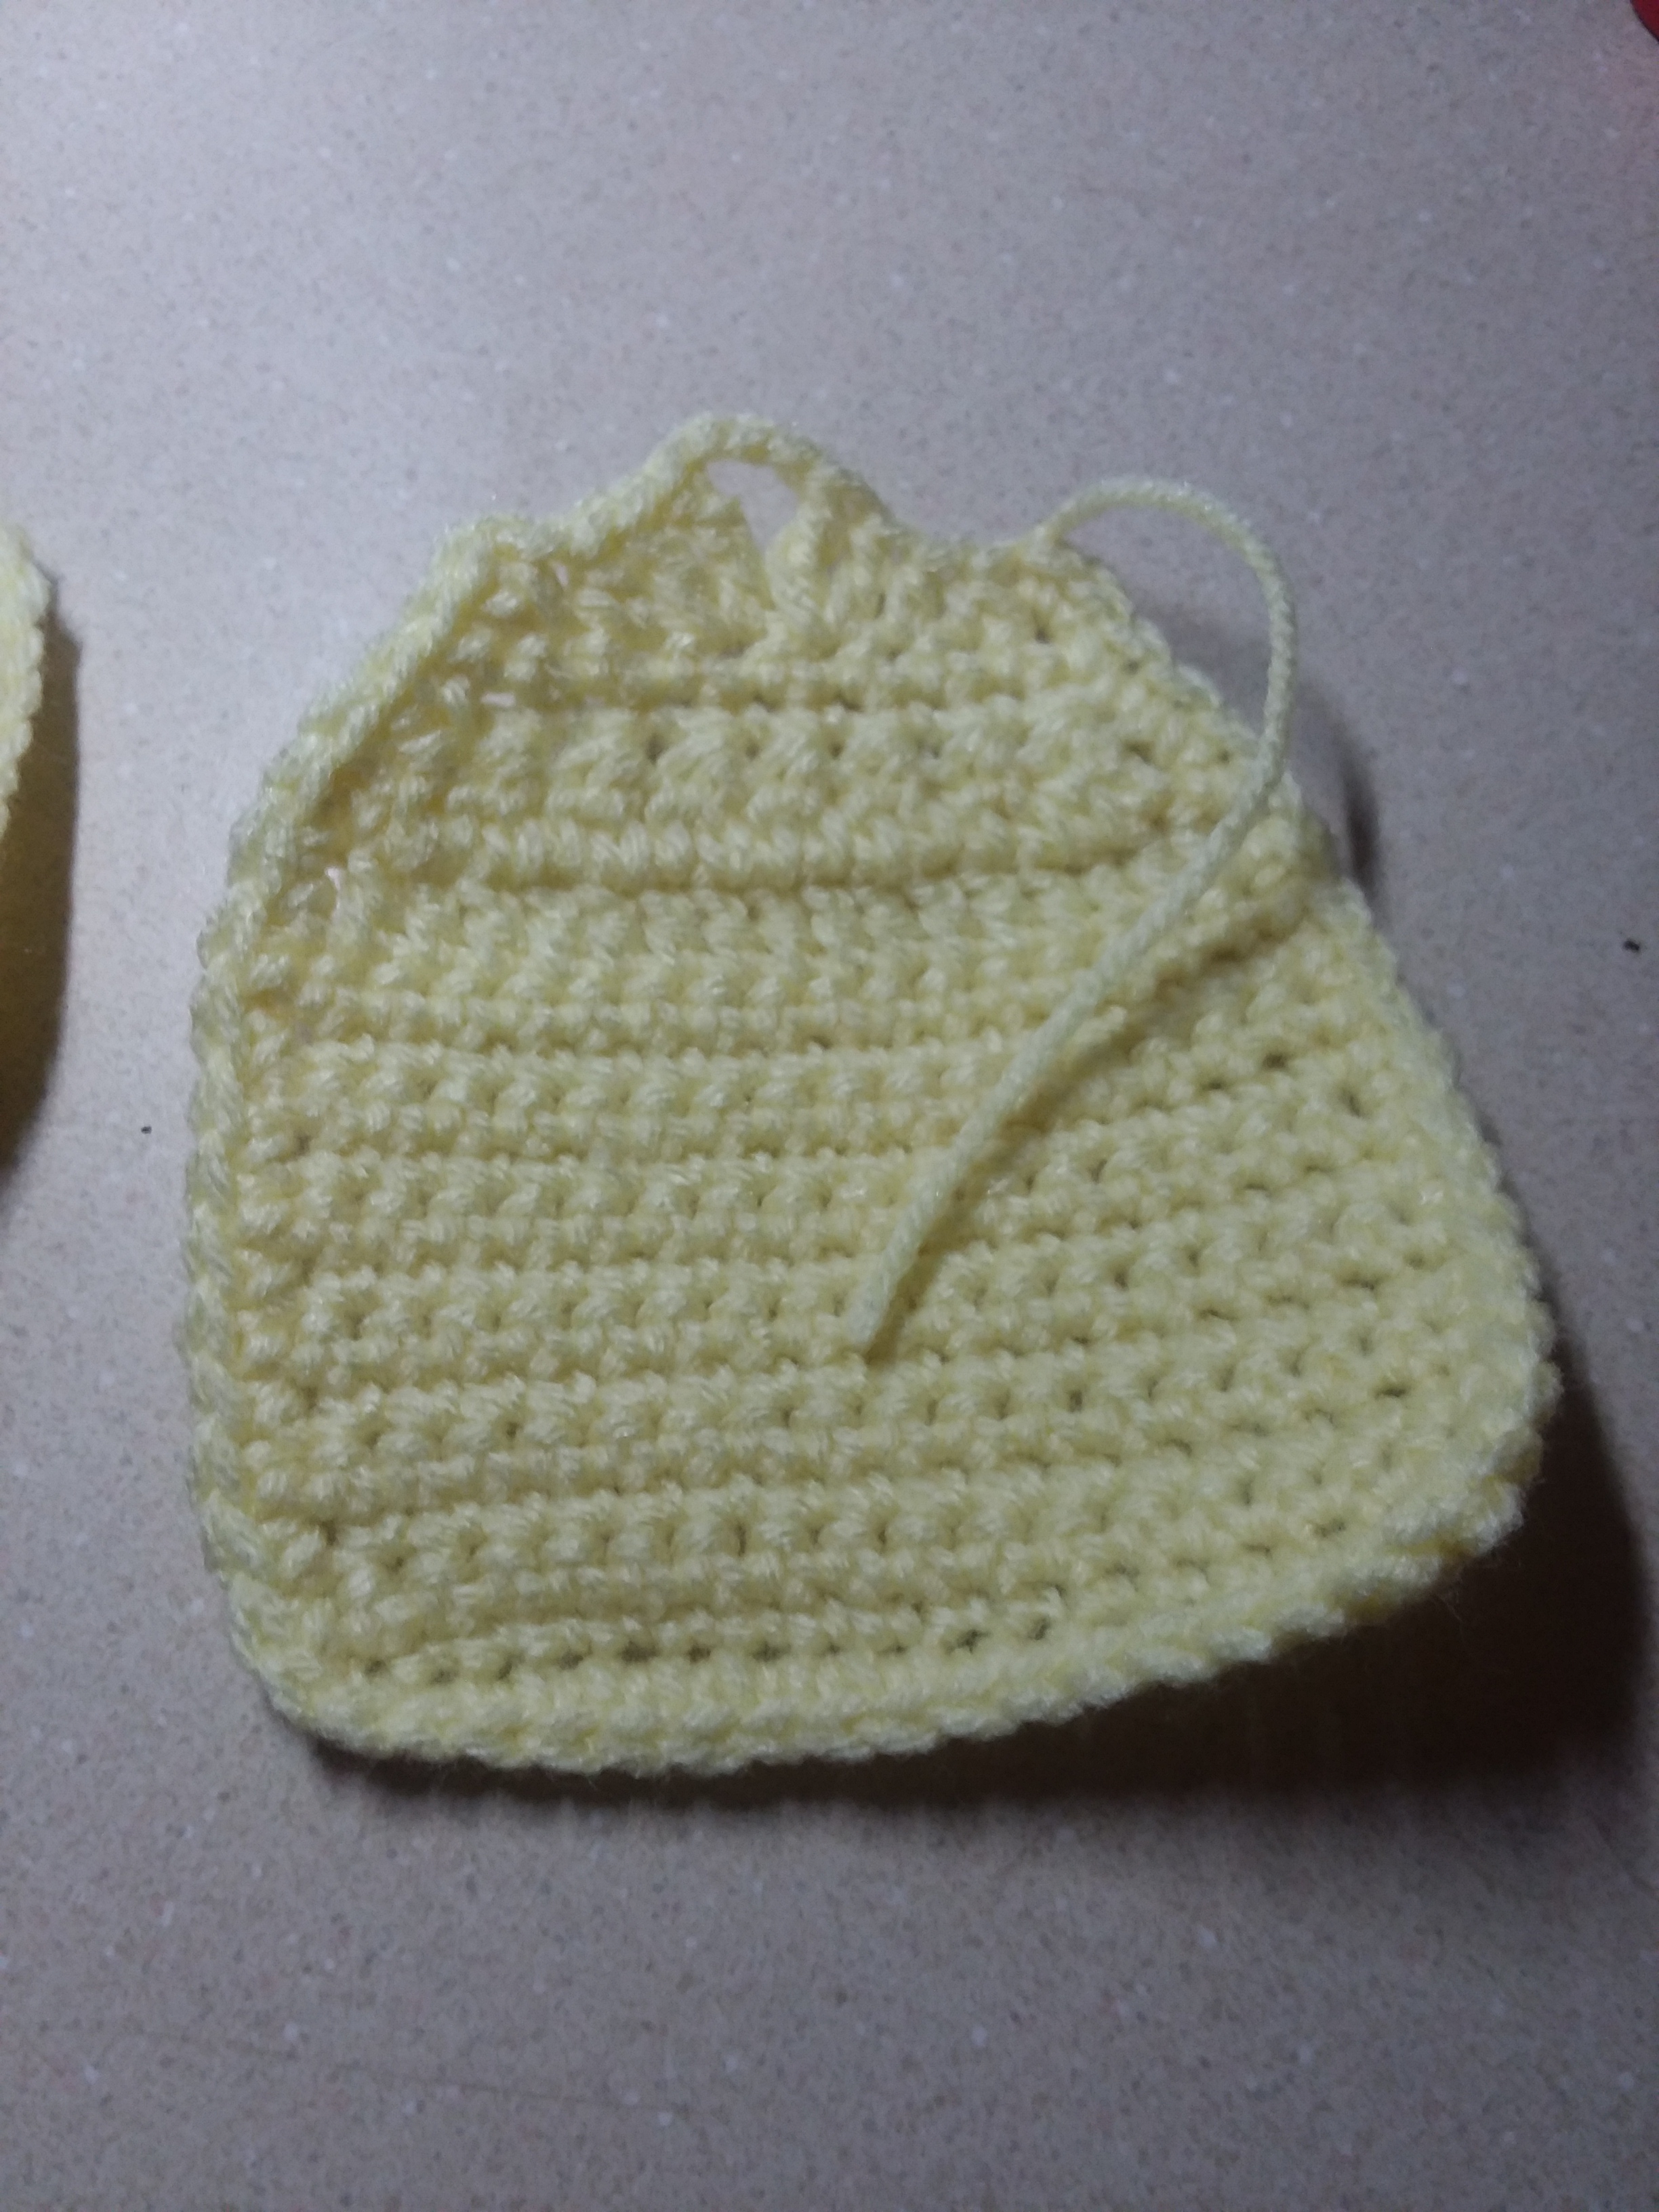
Making the pocket:
Using the same size hook, that you used for the base of the mug cozy, we are now going to make the pocket.
Chain 11
Row 1: Find the second chain from the hook and single crochet across. You should have 10 stitches. Chain 1 and turn.
Row 2 – 12: Repeat row 1. Or until it has reached the length you would like. Make sure to leave a long tail, as you will use this to sew it onto the mug cozy itself.
Weave in any ends.
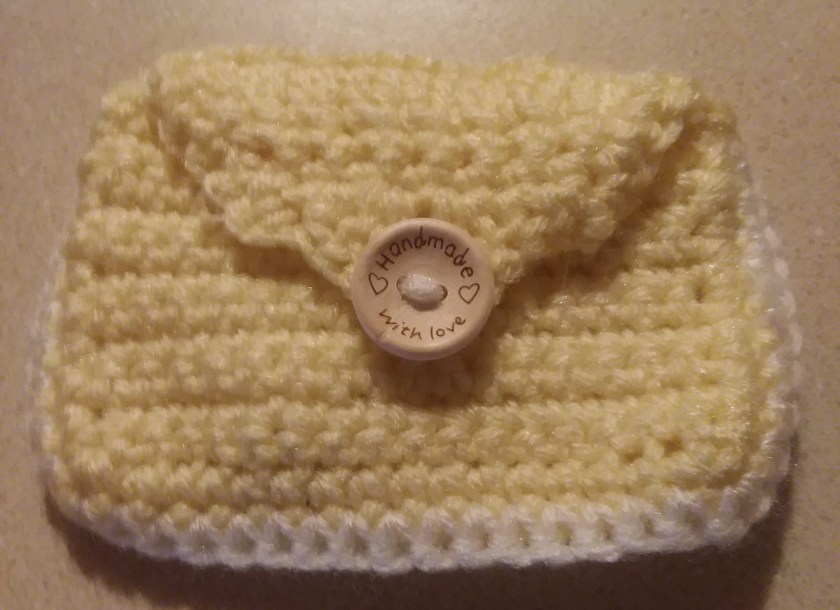
Sew on your button and you are done!
I will be posting a video on how to make this mug cozy with pocket on my YouTube channel. I’ll add the video on here, once it is posted.
If you want to see me go live, on making the coffee mug with pocket, make sure you like my Facebook page and keep an eye out on my weekly polls, where you guys get to choose between two items and pick which one you want to see me make live!


 that is commonly used in most, if not all patterns, especially for beginners.
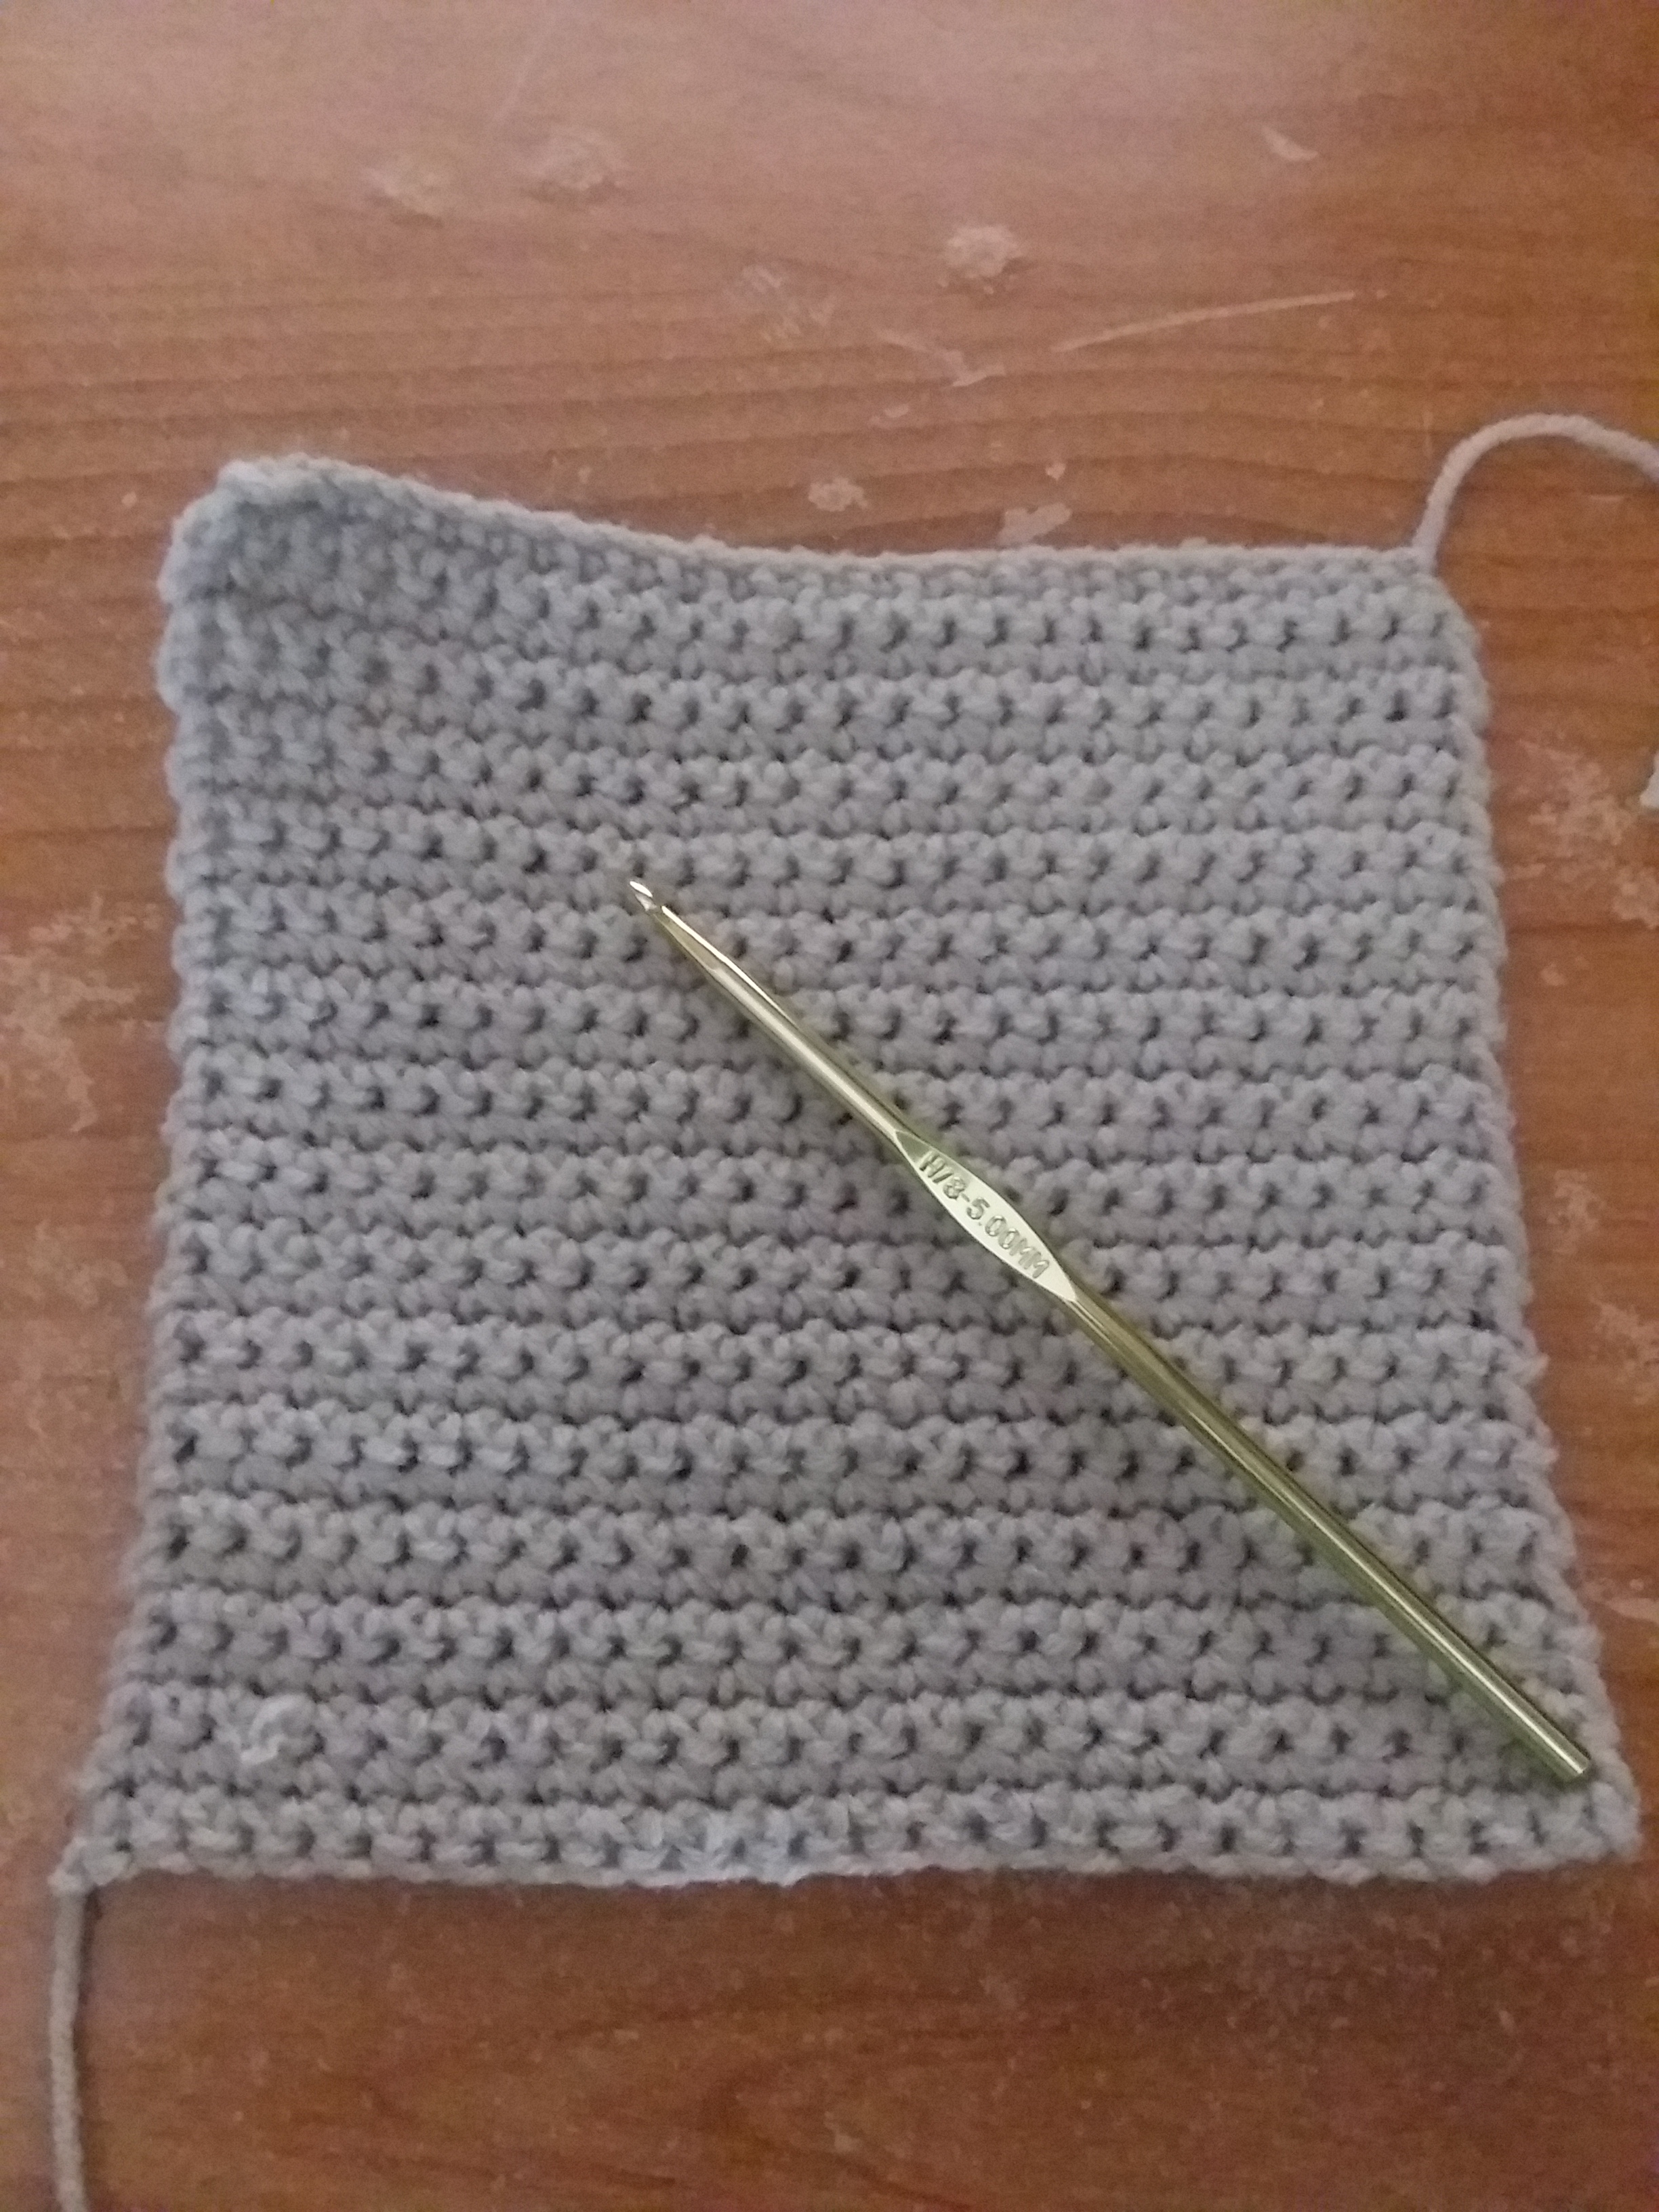


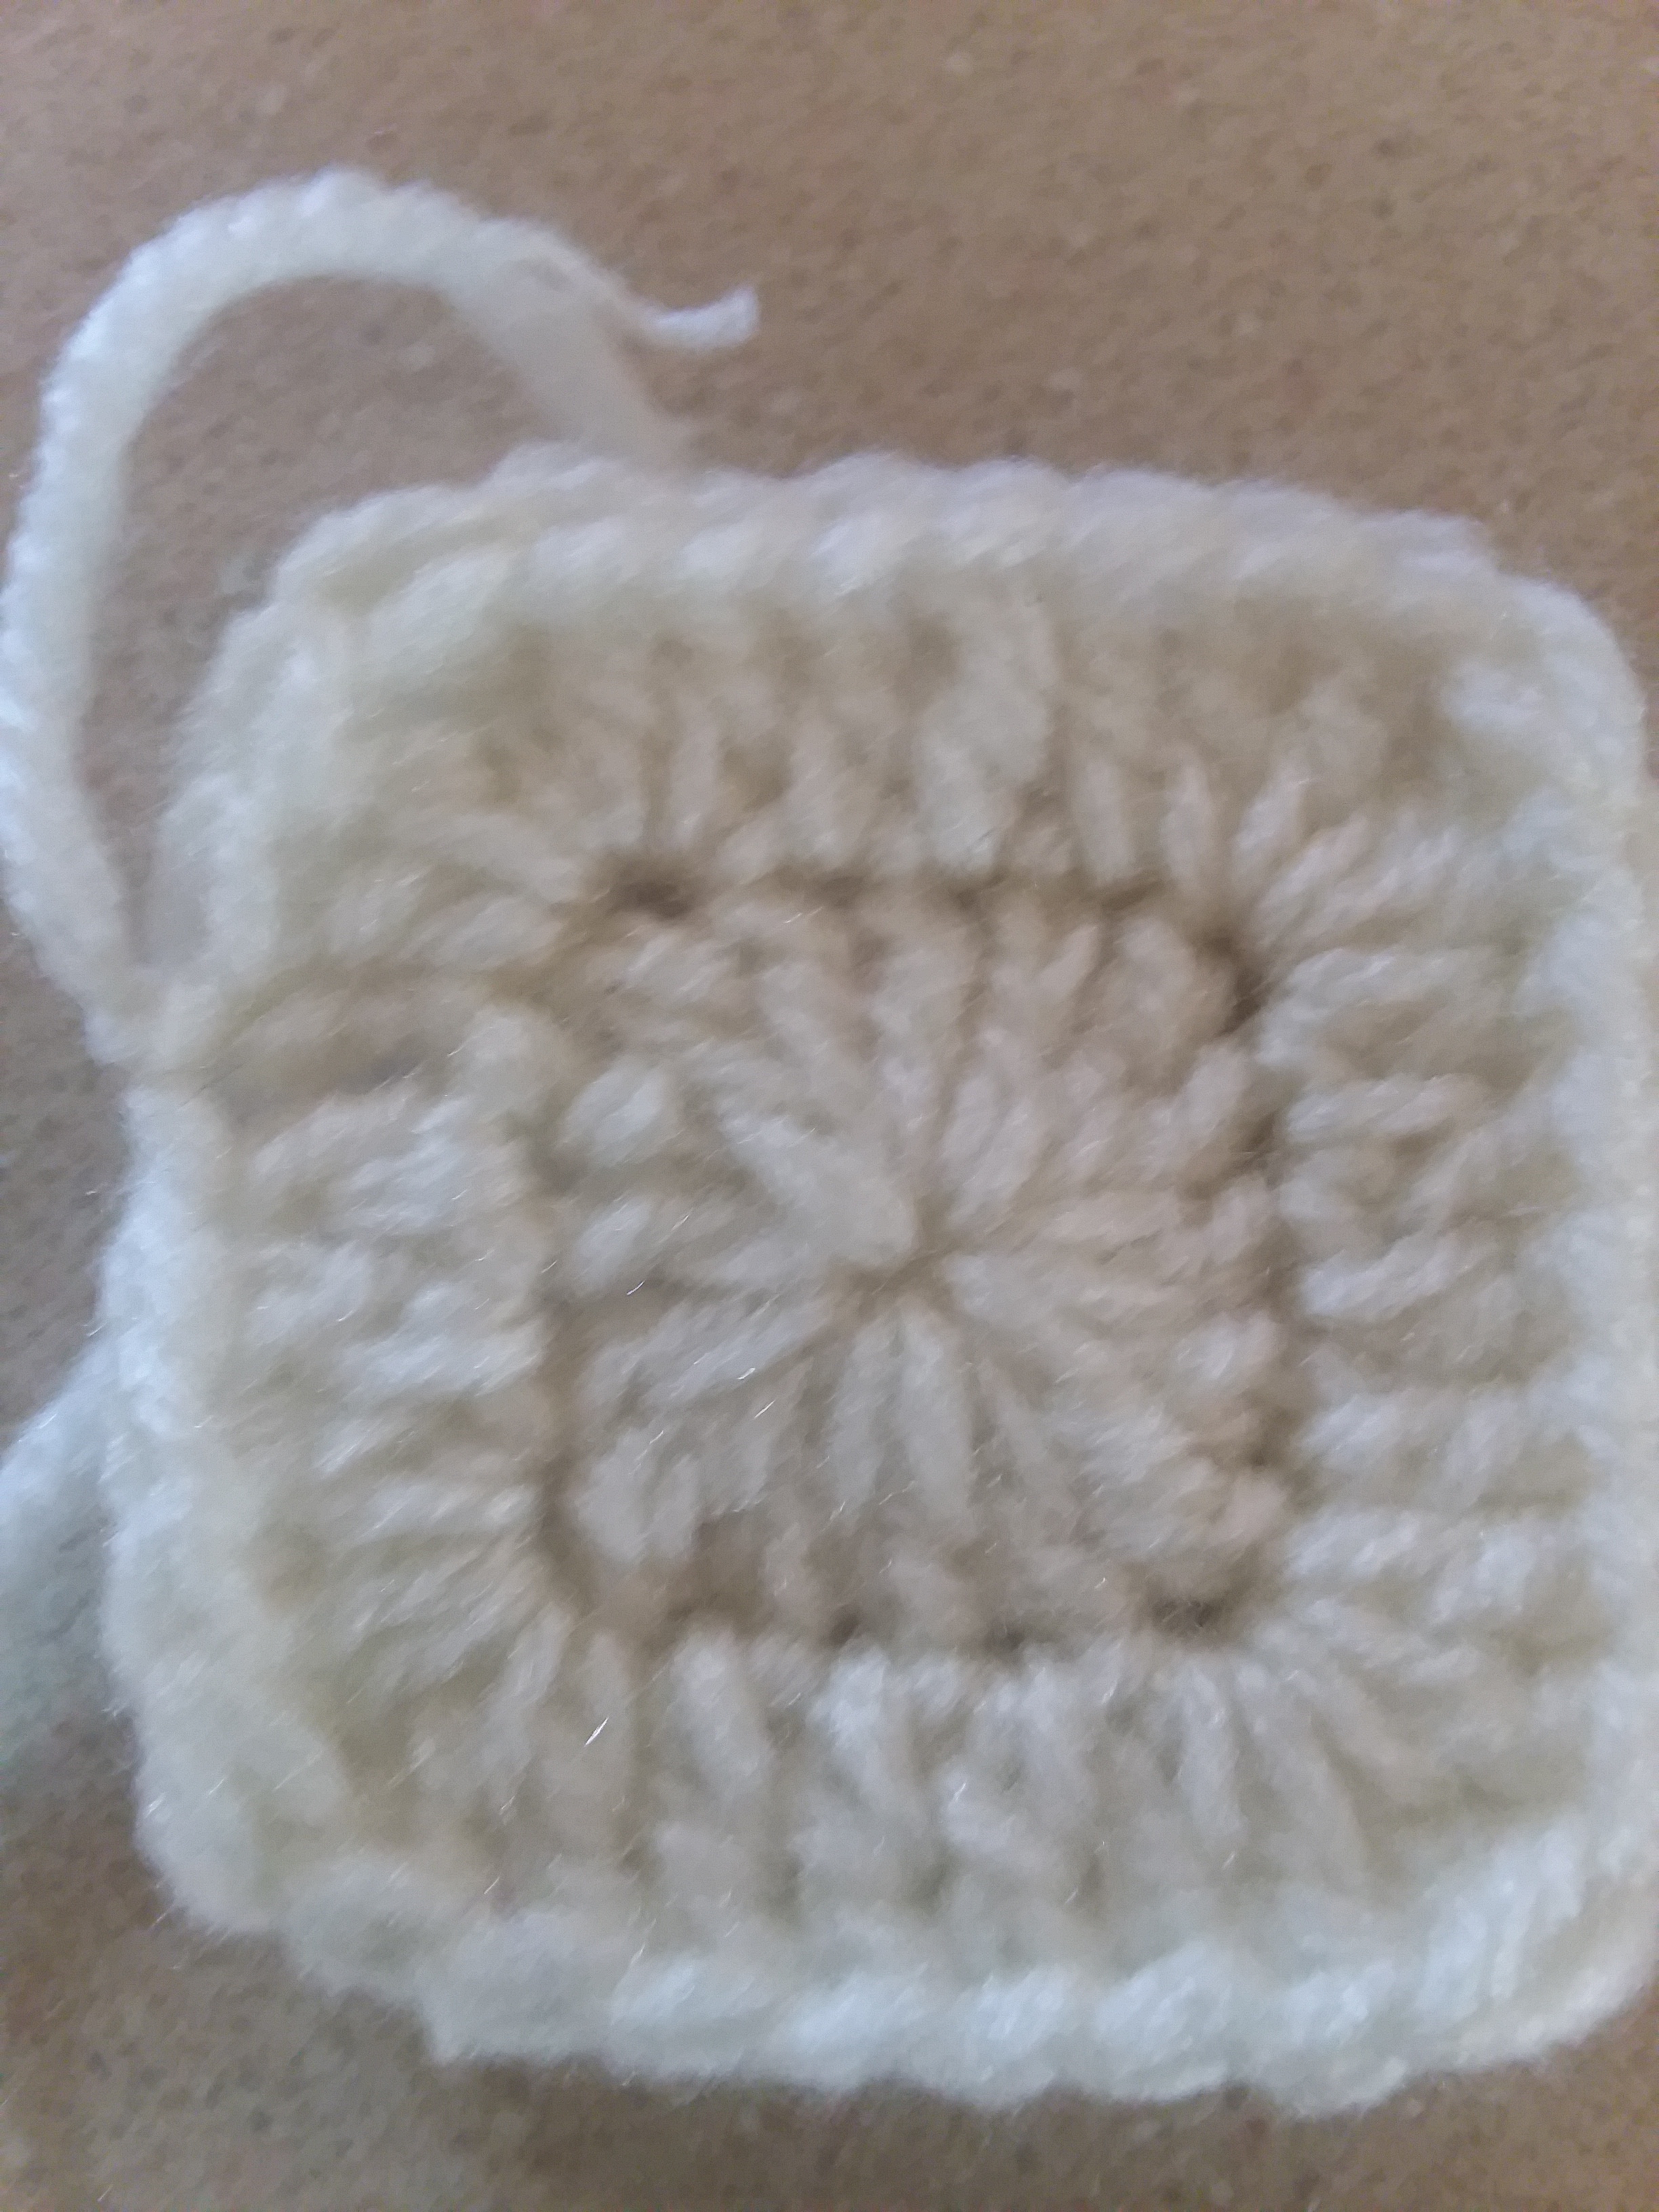 ripping it, I decided to just rip it and got granny square small instead. Which is why I suggest to really pay attention when it comes to C2C and learn as much as you can!


 e crocheting until it reaches the length you want it to be. If you are making a gift card holder, keep in mind that cards are about 2 1/5 inches long.