
Happy Tuesday to all my crafters! Today, I’m going to take you step-by-step on how to loom knit a basic scarf. I’m going to break it down, just in case some others go way too fast.

Now, I am going to be using a solid blue color yarn, I figured using a plan color would be easier to focus on. I’m also using a medium size yarn, which is a basic yarn that you would get from the craft store.
If you don’t have a looming set or kit, you can buy them on Amazon, Walmart, or your local craft store. The one I have is the KB Tadpole Loom, I got this from either Walmart or Kmart. It comes with the loom set and a little booklet, that shows you how to 8 different thinks with the loom.
So, first thing is first, we need to create a slip knot. Now, if you don’t know what a slip knot is, that’s okay because I am going to explain it too you. A slip knot is a basic knot that is used for knitting, crocheting, looming, etc, projects. I basically holds the start of your work together.
A lot of people do a slip knot differently, you don’t have to do it my way, but I would look on how other’s make a slip knot and choose whatever makes you comfortable. Here is a quick visual on how I make a slip knot:
- Find the start of your yarn and hold on to it. I have used this yarn before, as you can see. If you are using a brand new yarn, you can either find the start of it by grabbing the middle string, that might be sticking out, or look around the yarn and see if you can find the other end. Personally, I rather grab from the outside, because mostly every time that I grab onto the middle and pull, sometimes it be in a knot.
- Wrap the yarn around your finger, leaving a enough space in between them. See photo below:
- Next, you are going to pull the first yarn over the second yarn, like this, see below:
- Then, you are going to pull the end of the yarn, so that it’s tight, not too tight on your finger, though.

- And there you have your slip knot!


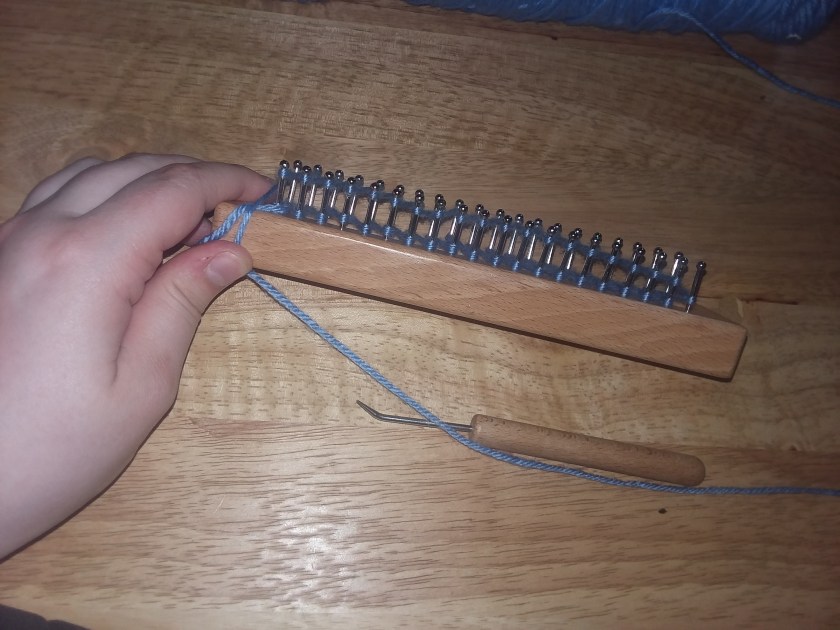
Now that we have a slip knot, we can begin! So, take the slip knot off of your finger and place it on one of the end pegs, and tighten it, not too tight, though. Like shown below:

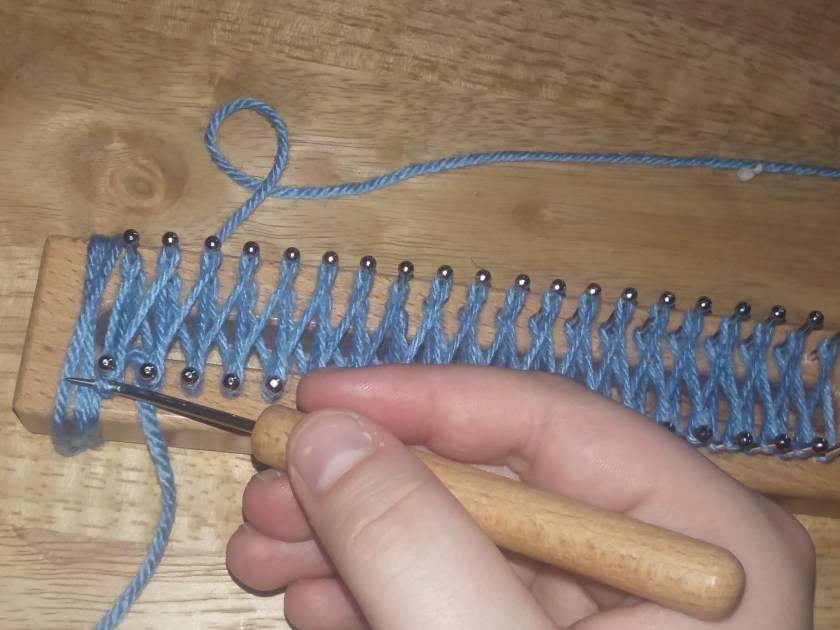
What we need to do next is wrap the yarn around the pegs. Pay very close attention to how we do the figure 8 stitch.


It will look tricky at first, but it’s very simple, just make sure that you are wrapping each and every peg, as shown in the picture above. Once you get to the other side, see below, go back and re-wrap all the pegs, using the same stitch that you just did.


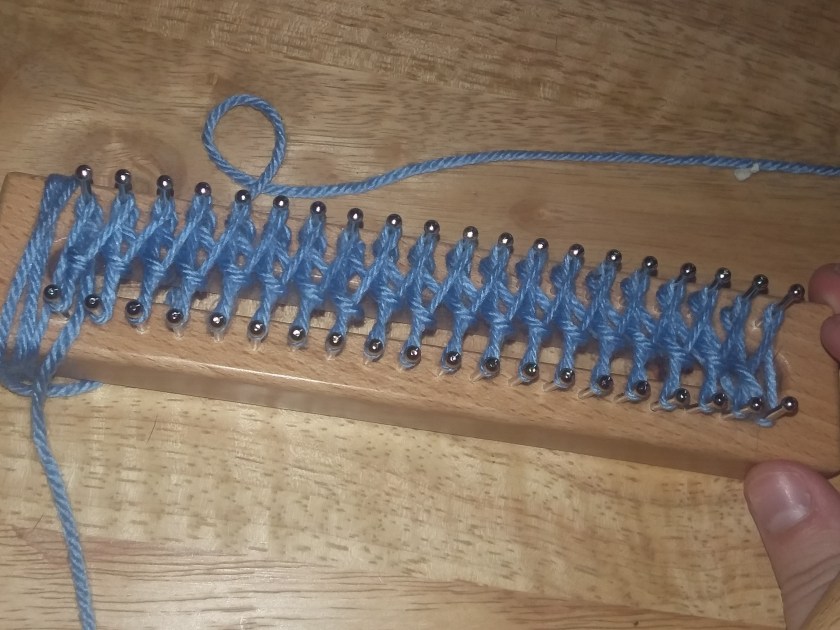
When you finish wrapping all the pegs again, your work should look like this, if I explained it well enough. This is the top view:

Here is what the side view will look like:
If you haven’t already noticed, that there was one peg that was only wrapped once. That is okay! It is supposed to be like that. Every time that you wrap them a second time, there will always be one that isn’t wrapped twice.
Now, because this loom doesn’t have a end peg that you can wrap around, I wrapped the yarn around the side of my loom, because if you don’t, your work will come undone. That is the only down fall with this loom, it doesn’t have a place to wrap your yarn.
Anyway, here comes the more difficult part. You will need your hook for this step. Take your hook and grab, from the first set of yarn that we cased on, you are going to pull it over the peg and over the second yarn. Note: It doesn’t matter which side you start on, but which every one you decide to start on, finish it before moving on to the other side.
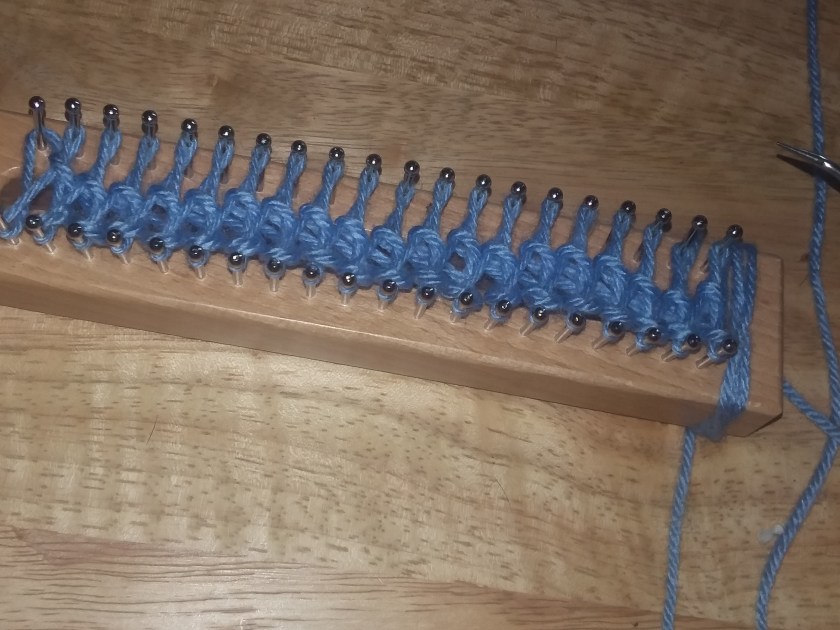
You keep doing this, on the side you are working on, it should look like this, when you finish your first side.
It’s okay if they are a little loose, most of them will end up in the middle anyway, so it’s okay that they don’t, at first.
Once you have completed the other side, your work should look like this:
Then, just gently push the middle of your work down and recast another figure 8 stitch, until you get it to the length you desire. I have added a chart, for the average lengths, but if you want a scarf that fits perfect, for you or whoever you are making it for. Hold you arms out side and have someone measure from fingertip to fingertip, that will give you the exact length you need.

How To End Your Work
I don’t have any pictures on how to cast off, so I am going to explain the best I can. I will be making a YouTube video about this blog post and will attach, once it is uploaded. I will make sure to have pictures, as well.
Basically, you’ll be transforming one side to the other and then binding off. So, grab your hook and take one of your yarn, from your first peg, and wrap it around the peg across from that peg. Note: I’m pretty sure you can start from either side, when you bind off. But don’t quote me on it.
Once you have finished that, and got to the final hook, your work should just come off and you should be all set.
There you have it! I’m sorry if I didn’t explain it a little better. I will be making a video on how to do it, as soon as possible and I will edit at this post, once I do! If you have any ideas or want me to try out something new, let me know in a comment or send me an e-mail at katie_farrington@aol.com!
