I know it has been a long time since I’ve posted much on anything to do with crocheting or craft-related stuff. I know I’ve been only posting book reviews, but I miss sharing with you guys what I’m working on and some more tips I’ve picked up along the way!
Of course, my life has been crazy this year! With both good and bad things happening, it’s been hard to find a moment to focus on crochet, and honestly, I’ve also been in a funk. What I mean by that is my mojo to crochet has been put on the back burner.
With a full-time job, raising my 2 daughters, and preparing for another little one due in October, it’s been a very busy year for me! Not to mention, with the rising cost of everything lately, it’s been rough, but I am glad I don’t have to buy yarn anymore; I do need to use what I was given since it’s hogging up extra storage that I need.
Anyway, if you have started to notice, I’ve been starting to post on Pinterest more! I will be working on doing that more in my spare time. Which brings me to the exciting news that I will be announcing!
I’ve noticed a LOT more traffic with some of my pattern posts, and I think it’s time I created PDF patterns for you guys!
Now, don’t worry! My free patterns aren’t going anywhere, but they will be updated if needed, and I will be including the PDF for purchase if you would rather have a copy free from ads. I’m debating whether to have them available on both my website and Etsy, but I think having them available on Etsy is the way I’m leaning towards.
My goal for the next few weeks is to focus on reviewing my current patterns, making edits where needed, and having a link or the option on my site/Etsy for you to purchase the pattern, if you wish to have it in a PDF version to make your lives easier!
I know what you are thinking; it’s about time you did it!
I also know that a lot of people have been asking where my Instagram/Facebook page has been, and honestly, I did get rid of them years ago. Why, you may ask? Well, I just forgot all about the Facebook page, and the Instagram was my personal Instagram. I also didn’t want to manage a lot of social media pages, since it is just me handling it all.
I really want my blog to grow beyond what it was doing before. I created this blog to express my creativity, my likes, my hobbies, etc. My blog isn’t like normal blogs because it’s got a little bit of everything that makes me, well, me!
Which is why I wanted to give back to my followers and thank them for supporting me throughout this journey! So, thank you! I couldn’t have done it without you all!
With that being said, just keep an eye out for the new changes going on my blog, and I’m really hoping to get those PDFs available before my due date! I will keep you all posted!
Hey Dearies! I wanted to talk about this topic as my daughter is into gaming, and some of the games she plays, I don’t see any issue with; however, there are some games that I thought were fine, but they really aren’t.
Growing up, we had a home computer that our family would use daily. My mom would be watching us like a hawk when we were on the internet. If we were playing the many educational CD Rom games, she wouldn’t have to worry. However, once I was in middle school, I had a little bit more freedom to explore the internet.
I completely understand why my mom watched us like a hawk whenever we were on the internet.
Nowadays, kids have access to tablets, smartphones, computers, and gaming consoles, so they cannot only play games, but also have access to play online with others. If you were like me and grew up playing the Super Nintendo, you never really had to worry about “online gameplay”.
However, you really DO need to worry. Especially if your kids play online.
Roblox
So, what started this was the fact that my daughter likes to play Roblox with her cousins. I signed up with an account to kinda check it out for myself, just to see what the fuss was about.
Well, once I started playing a few games, it seemed pretty harmless, but I jumped onto one server where this random person had messaged me saying I was ugly. I didn’t react because it’s literally a blocky character that’s your avatar. I honestly thought it was funny; however, depending on how young the players you have on here are, that could really upset them.
Ironically, I came across a video from this guy Visual Venture, about Roblox. I got curious and watched it. It really opened my eyes to how DANGEROUS this game really is.
Here is the video that I watched. Any parents who have their kids playing Roblox, I HIGHLY recommend watching this:
He not only breaks down some of the flaws about how Roblox can allow ANYONE to sign up and play, but how there are predators that have used Roblox to lure their victims.
Visual Venture talks about how the game is actually rating T for teens, but there are kids as young as 5 years old that are on this platform playing. The game was originally meant for players to create their own games and share for others to play, however, its not as sweet and innocent as you think.
When I saw this article, being pissed was an understatement:
You read that right, Roblox BANNED a guy that was trying to get predators off the platform, after he, himself, was groomed online by a predator. You’d think that Roblox would want to work with Schlep, the one banned, to make their platform safer for kids.
If you read in the article, there have been so many cases where Schlep has gotten justice for getting these real-life predators arrested, so that no other kids have to experience being groomed or worse abducted.
This is why I won’t let my daughter play Roblox.
Now, Roblox isn’t the only game you need to worry about, anytime your child has access to the internet, you need to always have your guard up. We can’t always protect them when it comes to the internet, but we can teach our kids about using the internet safely.
Here are a few things to teach your kids about protecting themselves online:
Never give out personal information
This is pretty common sense, but definitely a very good reminder.
Think of the word “Yappy”:
Y – Your Full Name
A – Address (Home/School/Email)
P – Phone Number
P – Passwords
Y – Your plans & birthday
Keep your passwords safe
Having a family Password/Username booklet can be very helpful for this! (Especially if you are like me and have a few streaming services)
Make your passwords long or use a phrase to ensure that no one can get it.
Avoid using personal names/birthdays/or same passwords.
Don’t talk to Strangers!
Same if it was in person.
Only talk to those online, IF you have met them in person.
Tell an Adult if something doesn’t seem right
If something looks bad or seems bad, tell your teacher, parent, or a trusted adult.
Parents: Don’t get upset with them as if it happens again, they might not want to tell you if they get in trouble.
Best way to prevent them searching random stuff is having parental locks and only have selective websites from a trusted source.
This also applies to any conversation they have online with others.
Ask before you Download
Always explain to them that not every website can be trusted and that they need to ask before downloading anything.
I see this more as a problem for young teens who don’t realize that the free game they want could be a virus.
Always Be Kind!
Remind your child that being kind to everyone!
Just remind them that you never want to be rude or mean to anyone because you never know who is on the other side of the screen.
As parents, we need to do anything and everything to protect our children, as using the internet because more and more normal each day, its best to make sure our children are growing up knowing how to use it safely.
Its just like them having cell phones at a young age. I didn’t have one until I was 13, the same age you’d need to be to sign up for Facebook, Instagram, Snapchat, etc. We shouldn’t be pushing the limits and having our children have access to those until they really understand and know how to use them respectfully and are actually the correct age to be on them.
Teaching them that anything you post, say, or do, you can’t just delete it and its gone, it will ALWAYS be on the internet in one form or another.
Let me know in the comments what you think about all this!
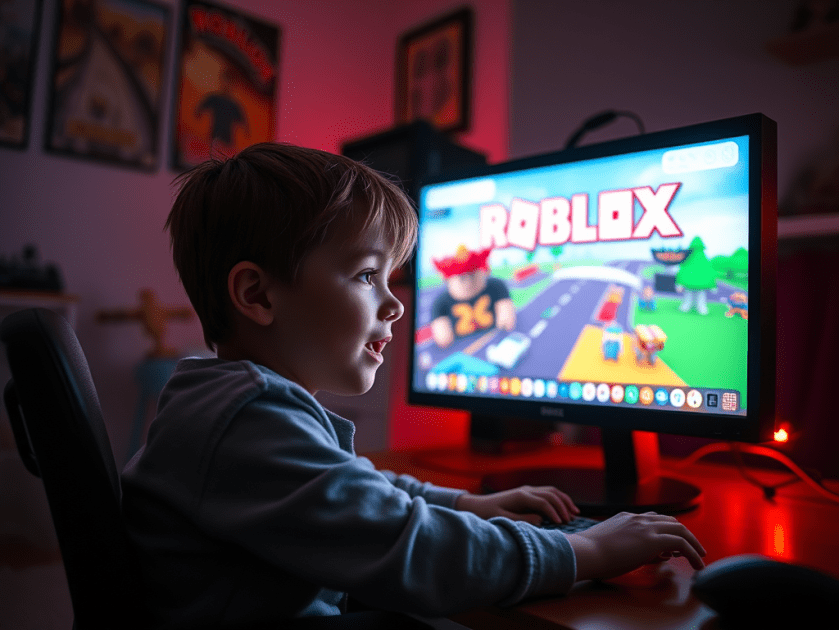
(Yes, I did use AI to general the man photo, got curious to try it out!)
Hey dearies! You are probably wondering why you are getting a Crafty Sassy on a Friday, so let me tell you why! Since this coming up week will be the beginning of October, I have decided to go live twice, for the month of October!
So, I wanted to show you guys how to make this flower pin, because it also goes with the headband I showed you guys how to make on Tuesday. So, I will be going live on my Facebook Page. More information on that will be at the bottom of this!
Let’s get started! First thing, let’s talk about what you will need for this project:
Medium Yarn
Any color of your choice. Since this flower goes with the headband, you can match a color to go with it or whatever color you feel works best!
Crochet Hook 4.5 mm
Sewing needle
1 Pin back
It doesn’t required any fancy pin, a safety pin would work find as well!
Part 1: Making the flower
Step 1: Chain 53
Step 2: Double crochet in the 3rd chain from the hook. Double crochet in every following chain across.
Step 3: Chain 1 and turn your work. *Single crochet in the next space. Make 5 double crochets in the next space* (The stars are to let you know that you have to repeat, until you reach the end or if they say otherwise)
Step 4: Fasten off and make sure you leave a long tail because we will be using it to sew the flower altogether.
Part 2: Sewing the flower together
Step 1: Loosely arrange the layers to form a flower.
Step 2: Using a threaded yarn/sewing needle, stitch each layer of the flower together, ending on the back side.
Step 3: Draw the threaded needle through the pin back. Secure the pin back onto the back of your flower and cut the excess yarn to complete the flower pin. And your done!
Having a pin, on the back of your flower, can make it so you can wear it on hats, scarfs, headbands, necklace, etc. So there’s not just one use for this project.
Let’s talk about the NEW plans for the month of October!
I plan on bring Crafty Sassy to you on Tuesday’s and Thursday, just for this month! Instead of the normal stuff that is for beginners and such, I’ve decided to make this month a ‘holiday special’. I will be doing the same for November and December.
If you have any projects that you want me to show you how to make, leave a comment down below, message my Facebook page, or even e-mail me at katie_farrington@aol.com!
This project, that I’m about to show you, is a very simple to make and is great for beginners, just like myself! I’m going to break down each step with pictures, and explain the process a little easier for you! I will also have a YouTube video in the makes for those who prefer videos to learn from.
First things first, let’s talk about what items you will need:
Meduim (Size 4) Yarn
If you are a beginner, I suggest working with light colors than dark ones. Lighter colors you will be able to see a bit better than dark colors.
Also, you will need 2 different colors, one for the heart and one for the stem, but if you want to stick with the same color, that is fine as well.
Crochet Hook: 4.5 mm/U.S. 7
Sewing Needle
Next, I will let you know what type of stitches that are involved with this stitch, I find it useful to know what kind of stitches the project requires, so that I can practice or get to know the stitches before hand:
Chain stitch (ch)
Double Crochet (dc)
Treble Crochet (tr)
Slip Stitch (sl st)
Small or Large Picot (For the stem)
I also what to remind you that if the first time you make this, it doesn’t come out perfect, that’s okay! It takes a lot of time and practice to make your projects come our perfect.
*Remember: You can always push your work back, if you feel you don’t have enough room to work your stitches in.*
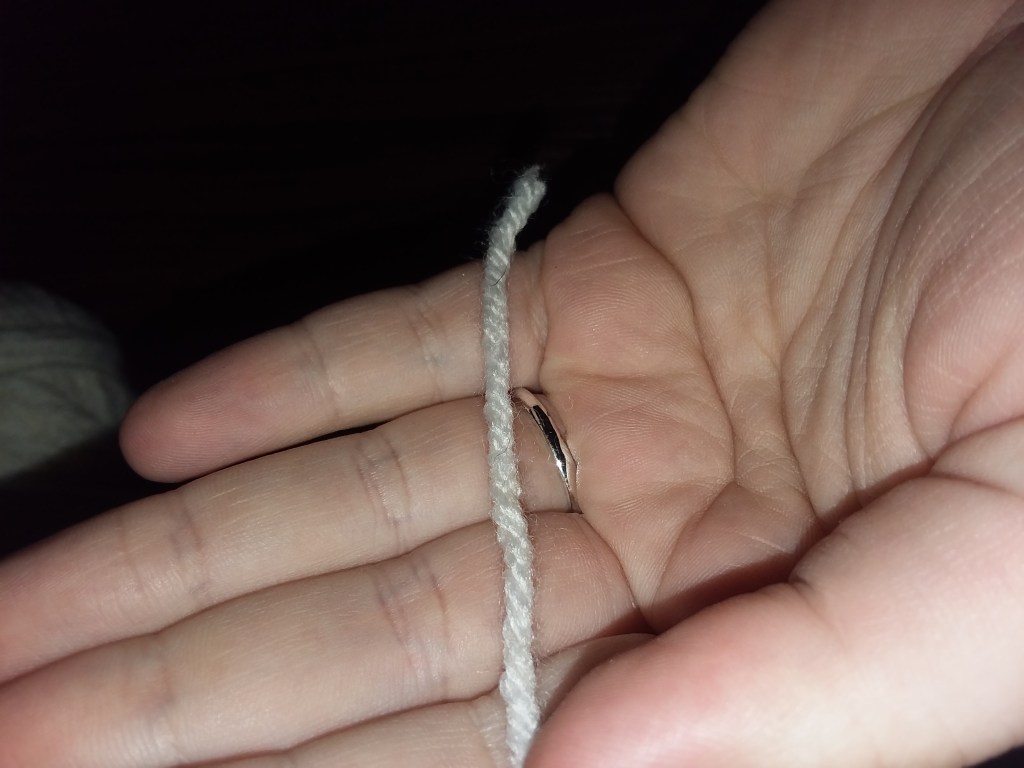
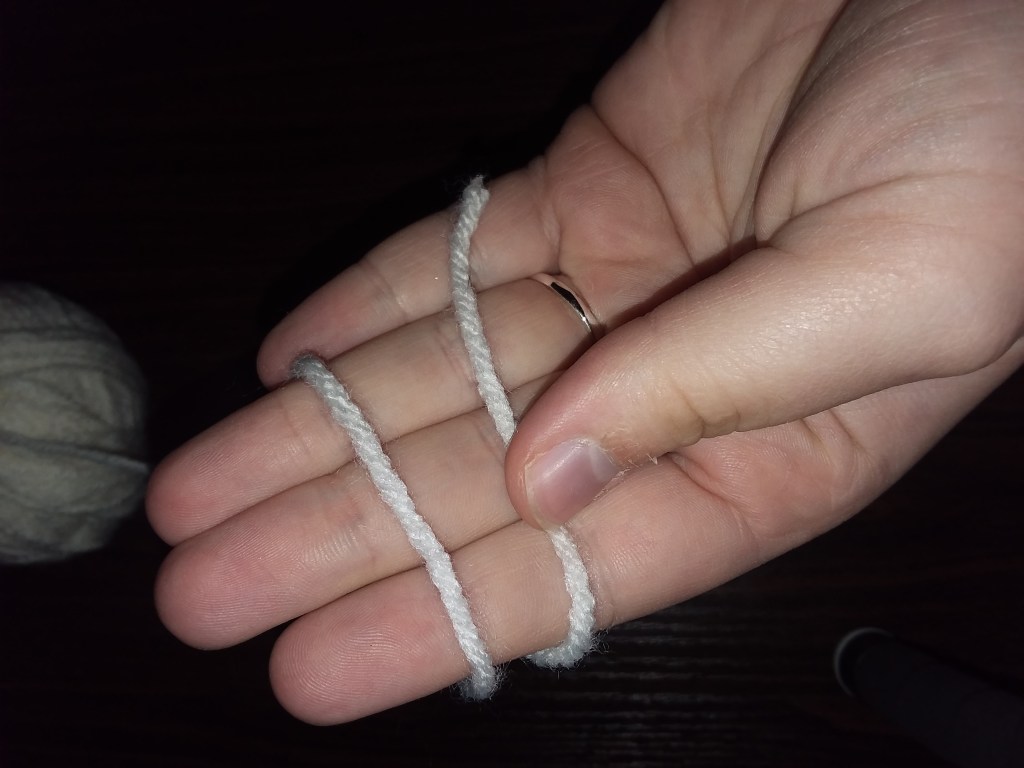
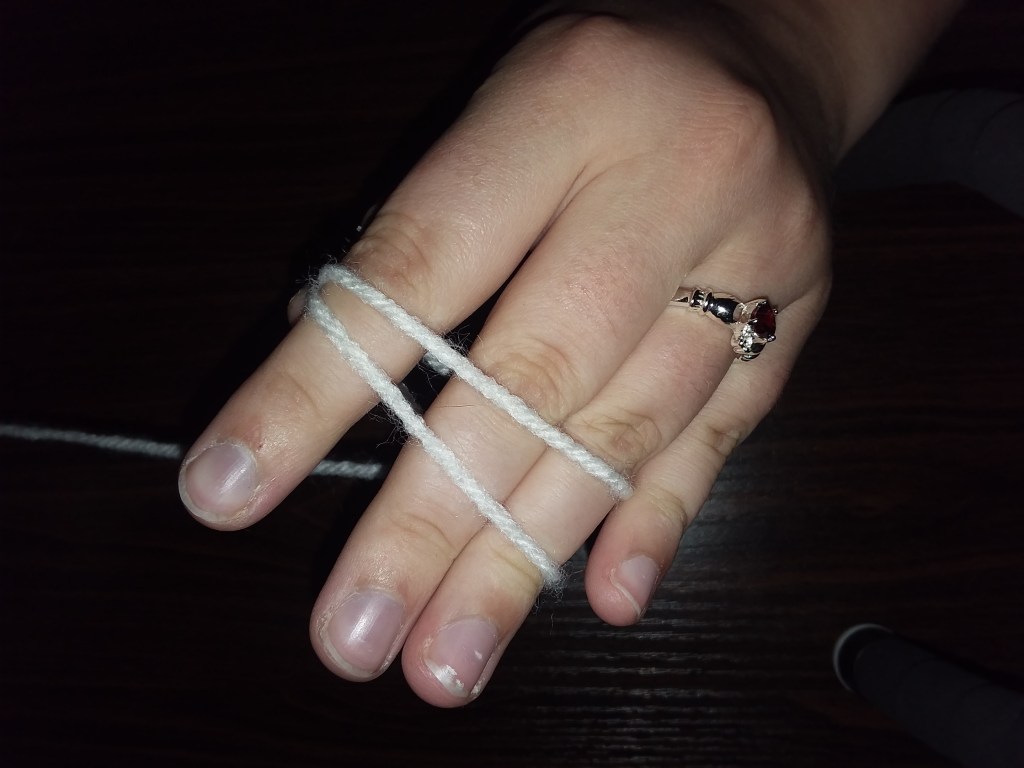
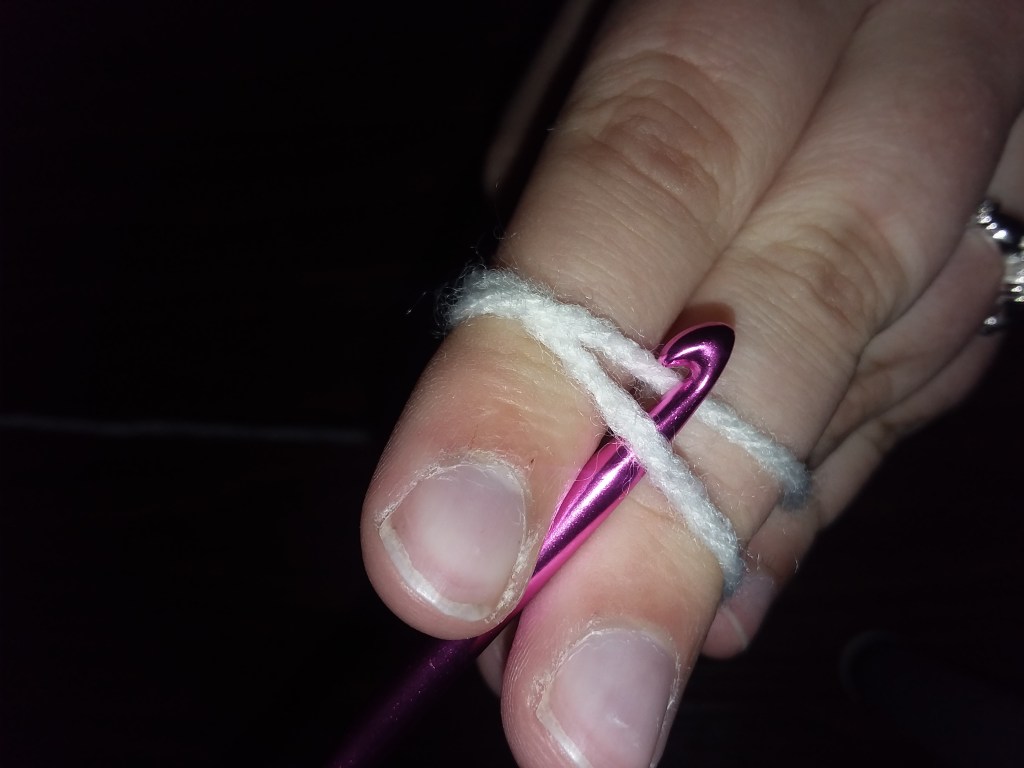
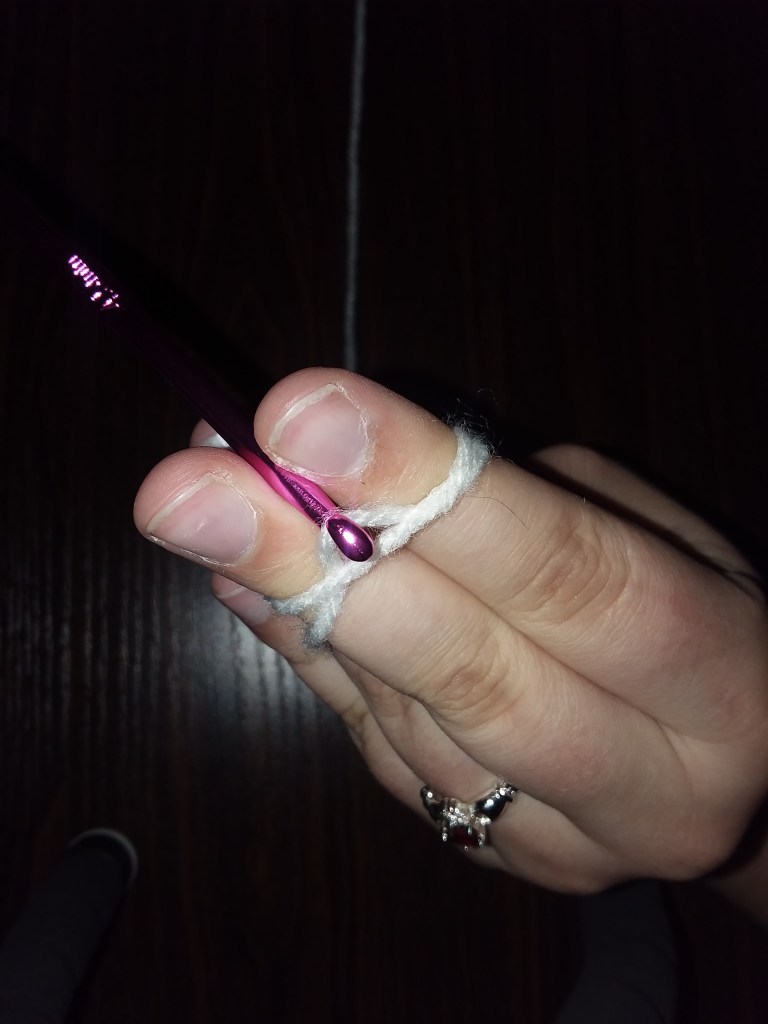
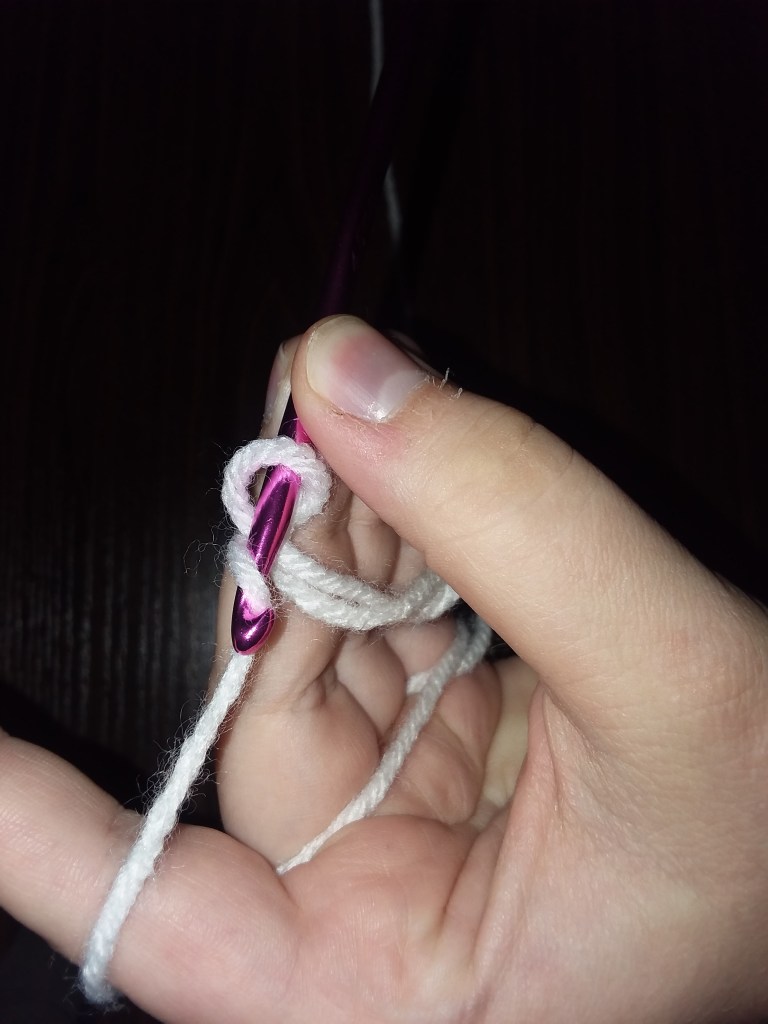
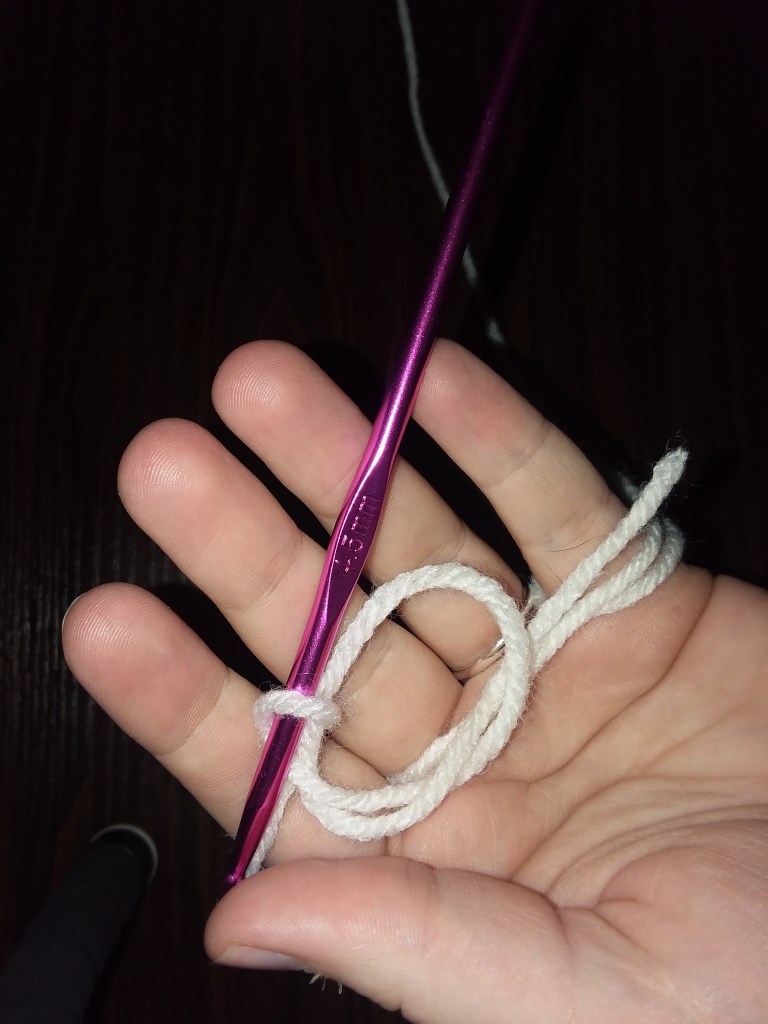
Step 1: Make a magic circle. (Down below I have a slide show on how to make a magic circle. However way you make a magic circle, is totally up to you! This was how I learned to make them.
Step 2: Now that we have our magic circle, we can begin! Chain 4 (ch).
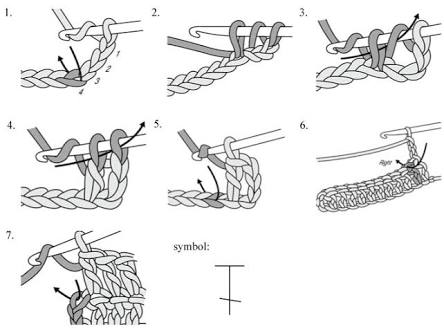
Step 3: Next, you will need to crochet 2 tr (Treble Crochet) into the circle. If you don’t know what a treble crochet is, here is a picture that can help you out with that!
Step 4: Double crochet (dc) into the circle 3 times. Down below will be a picture on how to double crochet.
Step 5: Chain 1 (ch).
Step 6: 1 Treble Crochet (tr) into the circle. (You can look back up to the picture if you forget.)
Step 7: Chain 1 (ch).
Step 8: Double crochet (dc) into the circle 3 times. (You can look back up to the picture if you forget.)
Step 9: Treble crochet (tr) into the circle 3 times.
Step 10: Chain 3 (ch).
Step 11: Make a slip stitch (sl st) into the circle to secure your work.
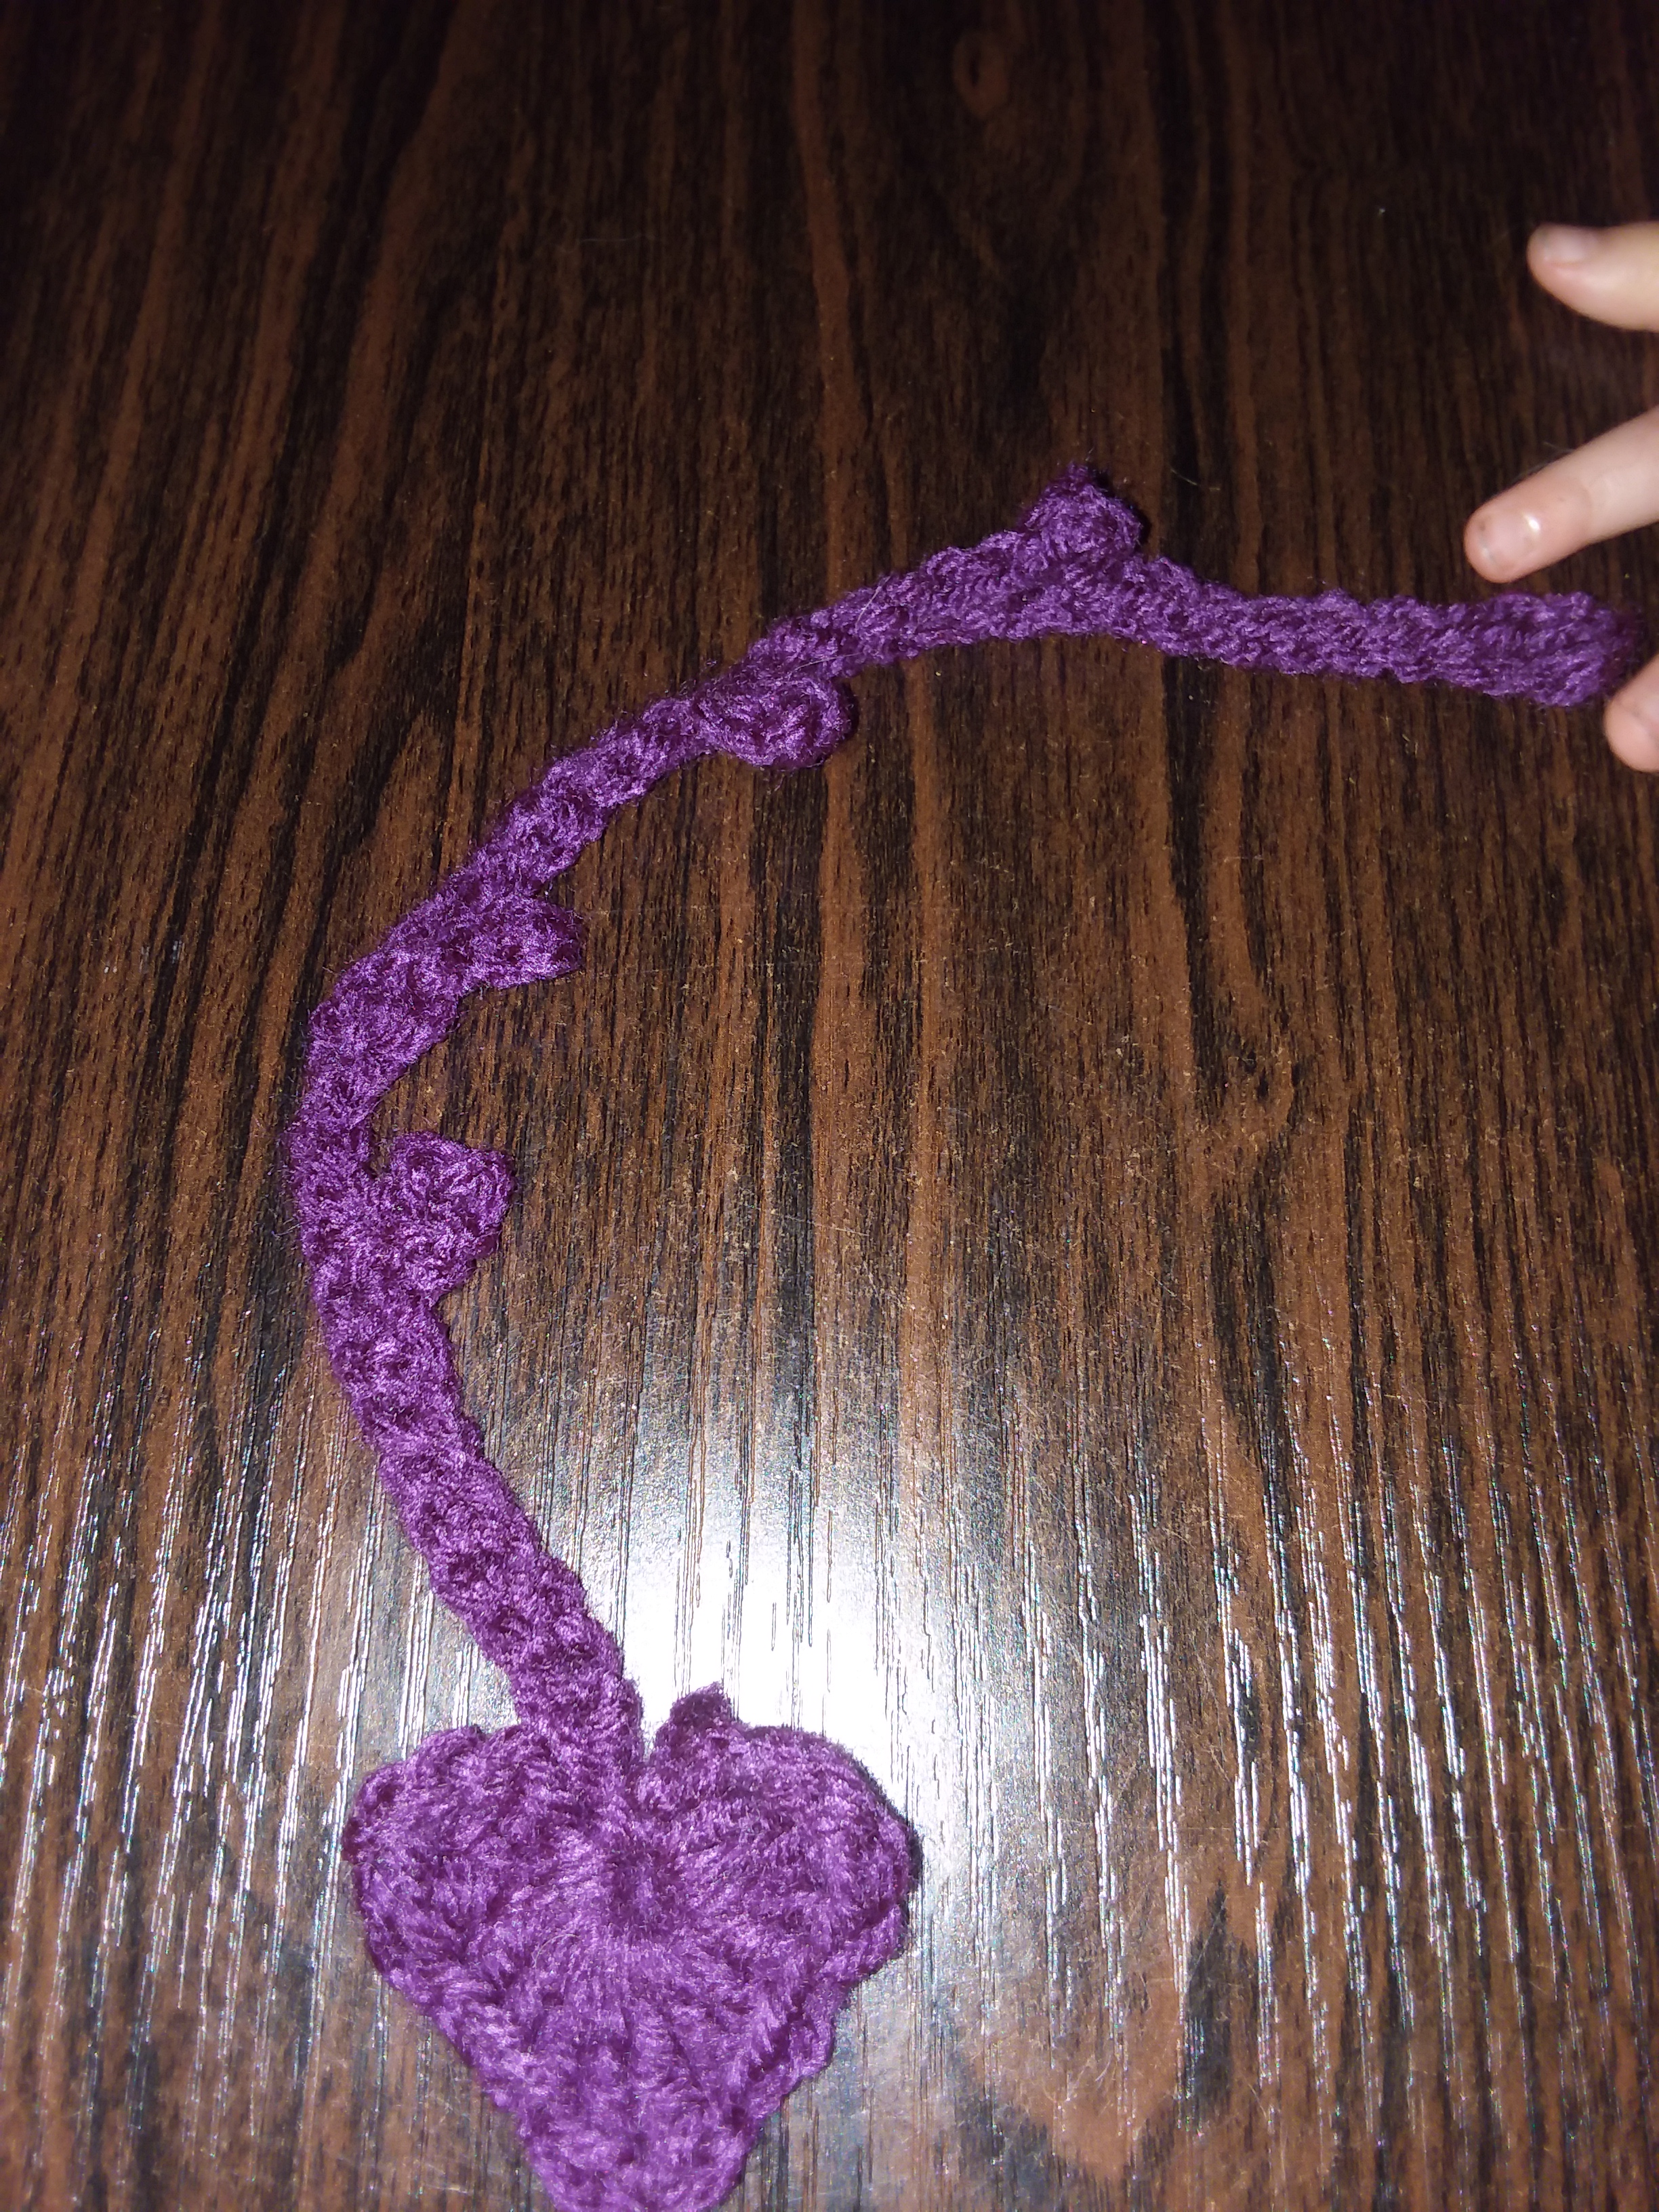
That’s how you make the heart part of the circle. The next part is the stem or the actually bookmark itself. This might be difficult, so I’m going to try my best to explain it.
Step 12: Make a slip stitch (sl st) into the heart circle with a different color, or with the same color.
Step 13: Chain 42 (ch), or however long you would like it to be. You can make it longer or shorter, but I would stick to chaining 42, just so you can see how long or short you might want it to be.
Step 14: Count from your hook the 6th chain and make a slip stitch (sl st) into that 6th stitch.
Step 15: Then you are going to slip stitch (sl st) into each chain, until you reach the 6th chain.
Step 16: Now, we are going to make a small picot. Chain 3 (ch), insert your hook into the 3rd chain from your hook, the first chain that you made if it is a little easier for you. Then, yarn over and pull through all the loops.
Step 17: Repeat Step 15 and slip stitch (sl st) into each chain until you reach the 6th chain.
Step 18: We are going to now do a large picot. It’s basically the same thing as a small, but you just chain more. So, chain 5 (ch), insert your hook into the 5th chain from your hook. Then, yarn over and pull through all the loops.
Step 19: Repeat Step 15.
Step 20: Repeat Step 16.
Step 21: Repeat Step 15
Step 22: Repeat Step 17.
Step 23: Slip Stitch (sl st) all the way up til you reach the heart and slip stitch into the middle of the hole, in the heart and you are done!
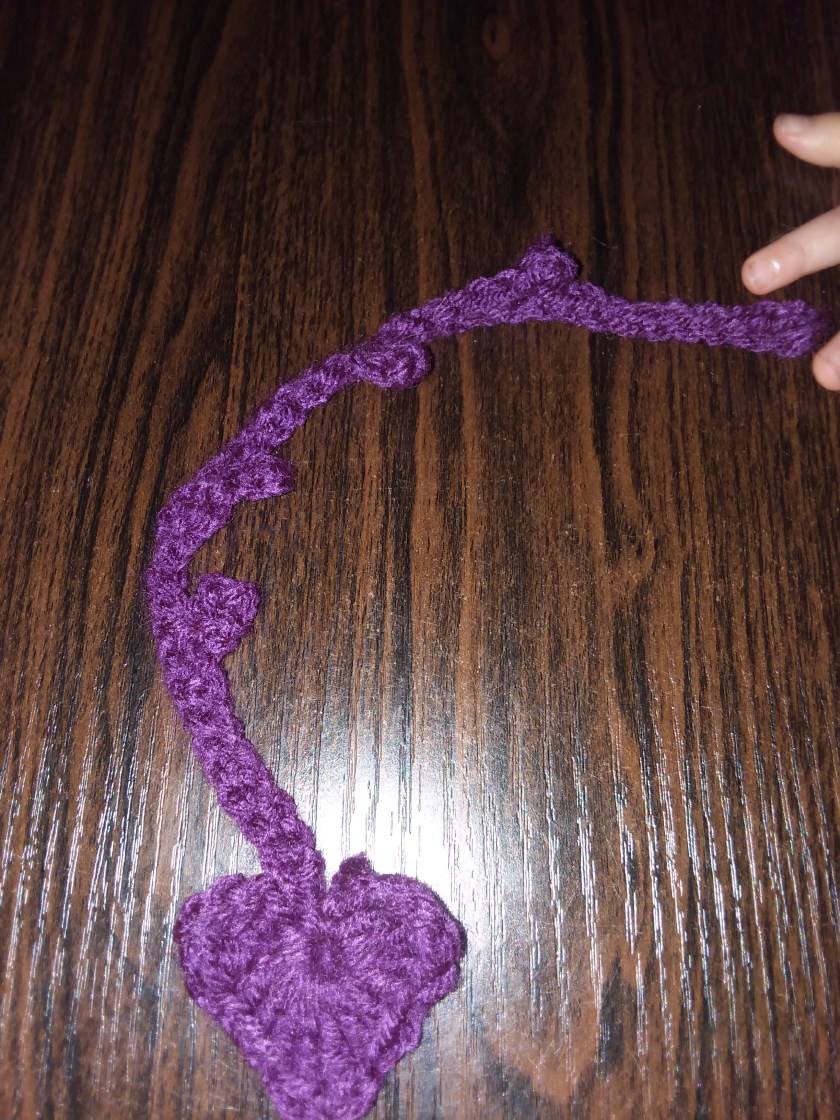
Here is what the finished product should look like! Mine isn’t perfect, but no one’s will be perfect the first time. Practice makes perfect!