
Hey Dearies! So, I’ve got another super fun project to show you guys! This one is another c2c pattern and since I created a c2c phone case, I figured we do another pattern using the c2c stitch!
This idea happened to show up, while I was on Pinterest, which is usually where I get a vast majority of patterns or ideas. I saw that they had a wrist pocket and I wanted to try it with more of a C2C kick to it!

These are perfect for going to amusement parks or just a hike or just in case you don’t want to have to take your purse/wallet with you. Plus they can look pretty stylish too!
Let’s talk about what you’ll need:
- 5.0 mm hook
- Medium Size Yarn
- I’m using a Red Heart Brand. I’m not sure what the color is labeled, but it does look like hot pink!
- Sewing Needle
- Button
Before we begin, if you don’t know how to do a C2C stitch, here is a link to a video on how to do so, if you need to visually see how to do the stitch. This is NOT my video, all credit goes to Heart Hook Home.
Now, let’s begin!
C2C Base
Chain 5.
Row 1: Double crochet into the 3 chain space from the hook. Double crochet in the last 2 chains.
Row 2: Chain 5. Double crochet into the 3rd chain space. Double crochet in the next 2 spaces. Turn your square and slip stitch in the chain 3, from the previous stitch. Chain 2. Work 3 double crochets in that same stitch where you did your slip stitch.
Row 3: Repeat Row 2.
We are now going to end the top row. If you want to make it thicker, add another row or repeat Row 3.
Row 4: Turn your work and slip stitch in the next 3 stitches. *Chain 2. Make 3 double crochet in the chain 3 gap.* Repeat until you reach the other side. Chain 5.
Row 5: Double crochet into the 3rd chain from the hook. Double crochet in the next 2 chains. Slip stitch into the chain 3 gap. *Chain 2. Make 3 double crochet in the chain 3 gap.* Repeat until you reach the other side. Chain 5.
Repeat this process until your work can wrap around your wrist. Make sure you add another row, for when we add the button.
Remember: To end a side, after you finish your double crochets, slip stitch in the top 3 holes to end the side. Look back into the video for more help!
Once you end your base, single crochet around it. Make sure to make 3 single crochets in each of the corners.
Button Hole
On one of the shorter sides, single crochet together in the first two stitches. Half double crochet in the next stitch. Double crochet in the next stitch. Treble crochet in the same stitch as your double crochet.
Chain 3. Treble crochet in the next stitch. Double crochet in the same stitch as the treble crochet. Half double crochet in the next stitch. End the last two stitches with single crochet together.
Pocket
Row 1: Chain 9. Single crochet in the second chain from your hook and single crochet across. You should have 8 stitches. Chain 1 and turn.
Row 2-8: Single crochet across. Chain 1 and turn. Fasten off and weave in ends.
Note: I made this to be about the same size as the width of the wrist base. You can make yours bigger if you need to.
Attach this to the wrist base by sewing it on. Only sew 3 of the sides. Weave off any ends.
Pocket Button Hole
Slip stitch into the top of the base, right above where your pocket opens up.
Row 1-3: Chain 1 and single crochet across the length of the pocket. Turn. Repeat.
Row 4: Chain 1. Single crochet in the first 2 stitches. Chain 3. Single crochet into the last 2 stitches. Turn.
Row 5: Chain 1. Single crochet into the first 2 stitches. Single crochet in the chain space 3 times. Single crochet into the last 2 stitches. Fasten off and weave in any ends.
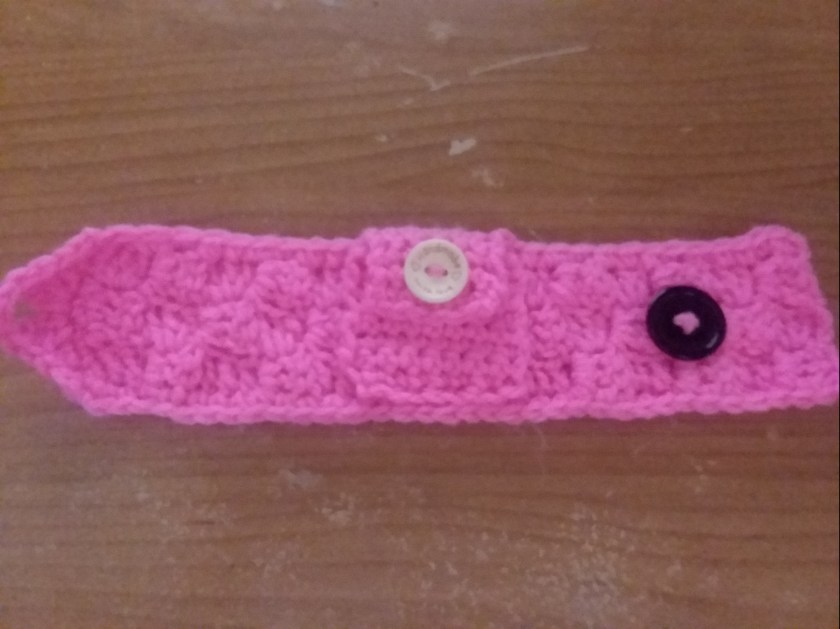
Sew on the buttons for the pocket and wrist base and you are all set!
There you have it! This is another pattern that is perfect to practice, especially if you want to get into C2C stitches.
Make sure you follow my Facebook page for updates on my blog and more extra fun stuff! I do lots of giveaways!
https://www.facebook.com/katiesblog96971617/?ref=bookmarks
